はじめに
こんにちは、Hideです。
javaに関する記事を投稿しています。
今回はNestJSを勉強しなくてはならなくなったので、メモとして記述しています。
MVCとは
MVC は、Webフレームワークで一般的に取り入れられているアプリケーション設定の機能を整理するための概念の一つです。
モデル(Model)頭文字「M」、ビュー(View)頭文字「V」、コントローラー(Controller)頭文字「C」で「MVC」 と言います。
役割:Model ・・・ 処理内容(Javaプログラム、Bean)
View ・・・ 出力結果(jsp、html、hbs)
Controller ・・・ どこに飛ばすかの処理(Servlet)
- MVCを使う利点
- 役割を分けることで、作業効率、管理効率、クオリティ効率が上がる
- コードの再利用がしやすい
MVCアプリの作成
プロジェクトの作成
Nestは、デフォルトでExpressライブラリを使用します。したがって、ExpressでMVC(Model-View-Controller)パターンを使用するためのすべてのテクニックは、Nestにも適用されます。
npm i -g @nestjs/cli
nest new project
まず、CLIツールを使って簡単なNestアプリケーションのプロジェクトを作成します。
MVCアプリを作るには、HTMLビューをレンダリングするためのテンプレートエンジンが必要なので、hbs (Handlebars) エンジンをインストールします。
npm install --save hbs
ここでは hbs (Handlebars) エンジンを使用しましたが、要件に合うものであれば何でも使用できます。
インストールが完了したら、次のコードを使って express インスタンスを main.ts で設定します。
import { NestFactory } from '@nestjs/core';
import { NestExpressApplication } from '@nestjs/platform-express';
import { join } from 'path';
import { AppModule } from './app.module';

async function bootstrap() {
  const app = await NestFactory.create<NestExpressApplication>(
    AppModule,
  );

  app.useStaticAssets(join(__dirname, '..', 'public'));
  app.setBaseViewsDir(join(__dirname, '..', 'views'));
  app.setViewEngine('hbs');

  await app.listen(3000);
}
bootstrap();
Express には、静的アセットを格納するために public ディレクトリを使用し、view は views というディレクトリに格納していることを設定し、HTML 出力をレンダリングするために hbs テンプレートエンジンを使用するように伝えました。
Viewの作成
views ディレクトリを作成し、その中に index.hbs テンプレートを作成します。
<html>
  <head>
    <meta charset='utf-8' />
    <title>App</title>
  </head>
  <body>
    <h1>Welcome to World</h1>
    {{message}}
  </body>
</html>
テンプレートでは、コントローラから渡されたメッセージを表示することにします。
コントローラーの設定
app.controllerファイルを開き、root()メソッドを次のコードに置き換えます。
import { Controller, Get, Res } from '@nestjs/common';
import { Response } from 'express';
import { AppService } from './app.service';

@Controller()
export class AppController {
  constructor(private readonly appService: AppService) {}

  @Get()
  root(@Res() res: Response) {
    return res.render(this.appService.getIndexName(), {
      message: this.appService.getMessage(),
    });
  }
}
getIndexName()でファイル名を指定し、getMessage()で message の中の内容を指定しています。
サービスの設定
app.serviceファイルを開き、getIndexName() と getMessage()メソッドを設定していきます。
import { Injectable } from '@nestjs/common';

@Injectable()
export class AppService {
  getIndexName(): string {
    const name: string = 'index';
    return name;
  }

  getMessage(): string {
    const message: string = 'Hello World';
    return message;
  }
}
ファイル名は index に指定し、メッセージは Hello World に設定しました。
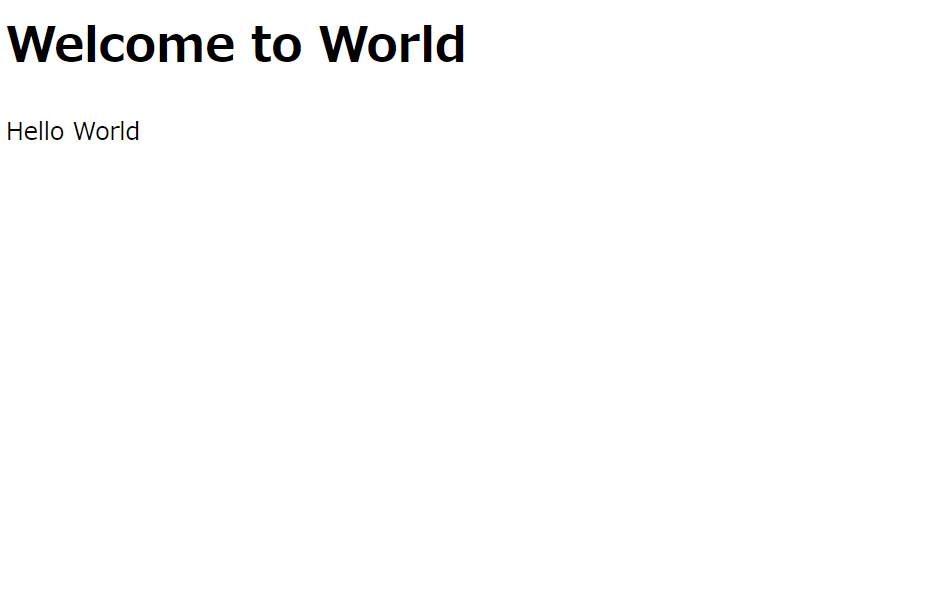
出力結果
コードが完成したので実際にターミナルで npm run start と打って、動かして localhost:3000 とURLに打ち込むとみると以下のような画面が出力されます。
ファイル階層
project/
├── node_module/
├── public/
|    ├── js/
|    └── css/
├── src/
|    ├── app.module.ts
|    ├── app.controller.ts
|    └── app.service.ts
├── test/
|    ├── app.e2e-spec.ts
|    └── jest-e2e.json
├── views/
|    └── index.hbs
├── .eslintrc.js
├── .gitignore
├── .prettierrc
├── nest-cli.json
├── README.md
├── tsconfig.build.json
├── nest-cli.json
├── tsconfig.json
└── package.json
まとめ
この資料はMVCアプリを作成するにおいての一例です。
他にも、handlebarsやrenderを使って作ることも出来ますので挑戦してみるのもいいかもしれません。