実装
main.go
package main

import (
	"encoding/json"
	"fmt"
	"net/http"
)

// データの構造体 (仮のデータ)
type Data struct {
	ID   int    `json:"id"`
	Name string `json:"name"`
}

func main() {
	// APIエンドポイントのハンドラを登録
	http.HandleFunc("/api/data", getData)

	// サーバーを起動 (ポート: 8080)
	fmt.Println("サーバーを起動します...")
	go func() {
		err := http.ListenAndServe(":8080", nil)
		if err != nil {
			fmt.Println("サーバーの起動に失敗しました:", err)
		}
	}()
	fmt.Println("サーバーは起動しています。")

	// サーバーが起動している間、メインの処理をブロックする
	select {}
}

// テスト用のデータを返すAPIハンドラ
func getData(w http.ResponseWriter, r *http.Request) {
	// テストデータを作成
	data := Data{
		ID:   1,
		Name: "サンプルデータ",
	}

	// データをJSON形式にエンコードしてレスポンスとして返す
	w.Header().Set("Content-Type", "application/json")
	err := json.NewEncoder(w).Encode(data)
	if err != nil {
		http.Error(w, "データのエンコードに失敗しました", http.StatusInternalServerError)
		return
	}
}
- 以下のコマンドでサーバーを起動する。
terminal
go run main.go
- VScodeの拡張機能のThunder clientかPostmanでAPIの動作確認をする。(以下、Thunder clientの画面を掲載)
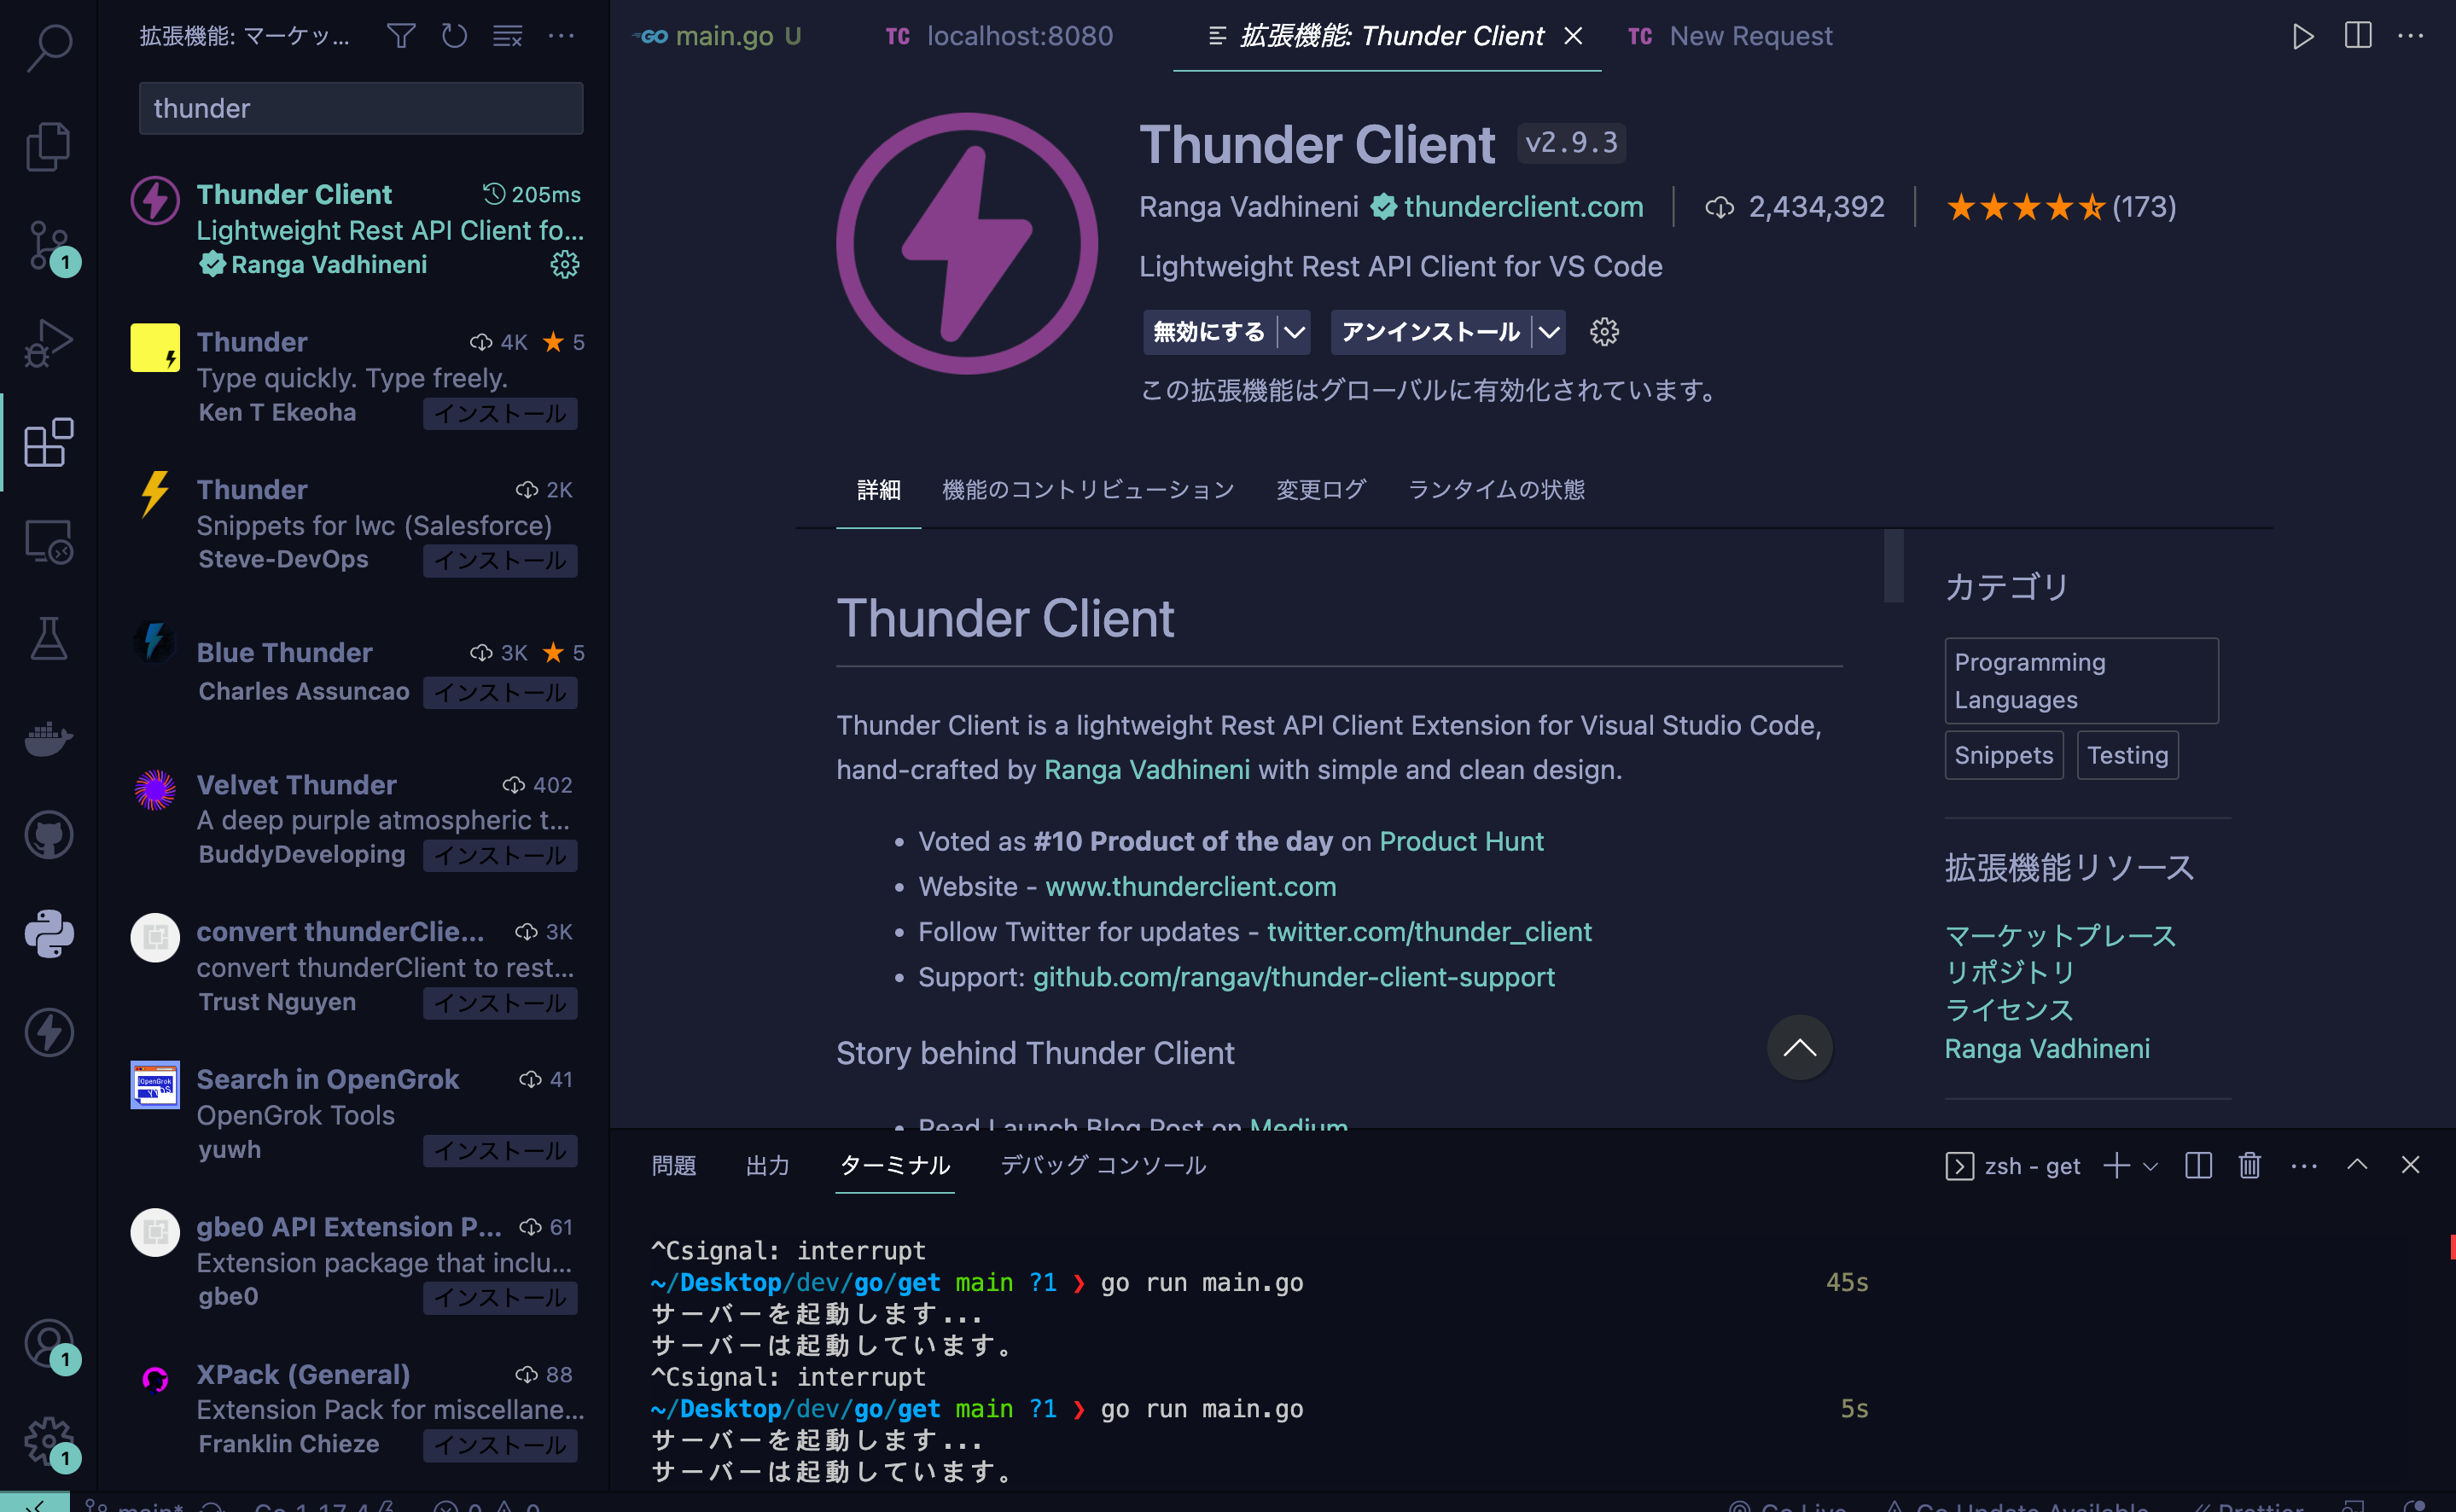
Thunder clientをインストールすると、左に雷模様のアイコンが追加されるのでクリックする。
New Requestを押し、Getで、http://localhost:8080/api/data
に書き換える。
Sendを押すと、idとnameが返ってくる。
