なにこれ
TIS Advent Calendar 2018の13日目の記事です。よろしくお願いします!
最近Reactコンポーネントをnpm公開してみました(参考記事:CSSのclip-pathでSlit Animationを実現する)。そこで今回は簡単なReactコンポーネントを作って、npm公開する方法を紹介します。
「React始めたんだけど...npmアカウント作ったんだけど...」という方でも30分くらいで公開できるので、とりあえず手を動かしたい人向けのチュートリアルです。
下記のような手順でnpm公開するまでの方法を見ていきましょう。
※ 完成品はGitHubに公開しています => Takumon/react-component-sample
※ 完成品は下記のようなプロジェクト構成になります。
プロジェクトルート
├─dist              ・・・ コンポーネントビルド資産出力場所
├─src               ・・・ コンポーネント資産
│   ├─index.js
│   └─styles.css
├─examples          ・・・ デモページ用資産
│  ├─dist           ・・・ デモページビルド資産出力場所
│  └─src
│     ├─index.html
│     └─index.js
├─node_modules
├─.babelrc          ・・・トランスコンパイル用設定ファイル
├─webpack.config.js ・・・ビルド用設定ファイル
├─package.json      ・・・依存ライブラリ・スクリプト定義ファイル
├─.npmignore        ・・・npm登録除外対処定義ファイル
└─.gitignore
1. コンポーネントを作成する
まずはコンポーネントを作ってトランスパイルするところまで完成させましょう。
※ 本手順完了時のソースコードは**こちら**
※ 本手順完了時のプロジェクト構成 ↓
プロジェクトルート
+ ├─dist          ・・・ コンポーネントビルド資産出力場所
+ ├─src           ・・・ コンポーネント資産
+ │   ├─index.js
+ │   └─styles.css
+ ├─node_modules
+ ├─.babelrc      ・・・トランスコンパイル用設定ファイル
+ └─package.json  ・・・依存ライブラリ・スクリプト定義ファイル(追記)
- 最初にプロジェクトの雛形を作ります。
npm initで色々聞かれますが全てデフォルトで構いません。
mkdir react-component-sample
cd react-component-sample
npm init
- 最低限のReact系ライブラリをインストールします。開発用ライブラリとしてインストールするので
-Dオプションを付けてください。
npm i -D react react-dom
- BabelでReactをトランスコンパイルするためのライブラリをインストールします。こちらも開発用ライブラリなので
-Dオプションを付けましょう。
npm i -D @babel/cli @babel/cli @babel/core @babel/preset-env @babel/preset-react babel-loader
-
.babelrcを作成し、Reactをトランスコンパイルするための定義を記載します。
{
    "presets": [
        "@babel/preset-env",
        "@babel/react"
    ]
}
- コンポーネントを作ります。
import React from 'react';
import './styles.css';
const MyComponent = () => (
    <h1>Hello from My Component</h1>
);
export default MyComponent;
- コンポーネントで読み込むCSSを作ります。
h1 {
    color: red;
}
- トランスパイル用スクリプトをpackage.jsonに追加します。具体的にはJSファイルをトランスパイルしdistフォルダに出力、それ以外のファイル(CSS)をdistファイルにコピーするスクリプトです。
    "scripts": {
+     "transpile": "babel src -d dist --copy-files"
    },
確認
- 準備が整ったので、トランスパイルしてみましょう。
npm run transpile
- 下記のようにdistフォルダ配下にindex.jsとstyles.cssが生成されればトランスパイル成功です。
プロジェクトルート
├─dist           ・・・ コンポーネントビルド資産出力場所
│   ├─index.js
│   └─styles.css
2. デモページを作成する
実際にコンポーネントを使用したデモページもあわせて用意しておきましょう。コンポーネントの使い方をユーザーにわかりやすく示すことができます。
ここではローカルでデモページが見れるところまでを作成します。
※ 本手順完了時のソースコードは**こちら**
※ 本手順完了時のプロジェクト構成 ↓
プロジェクトルート
  ├─dist
  ├─src
  │   ├─index.js
  │   └─styles.css
  ├─node_modules
  ├─.babelrc
+ ├─examples          ・・・ デモページ用資産
+ │  ├─dist           ・・・ デモページビルド資産出力場所
+ │  └─src
+ │     ├─index.html
+ │     └─index.js
+ ├─webpack.config.js ・・・ビルド用設定ファイル
+ └─package.json      ・・・依存ライブラリ・スクリプト定義ファイル
- デモページはwebpackでビルドするので必要なライブラリをインストールします。
npm i -D html-webpack-plugin webpack webpack-cli webpack-dev-server css-loader style-loader
- デモページのHTMLを作成します。
<html>
<head>
    <title>My Component Demo</title>
    <meta charset="utf-8">
    <meta name="viewport" content="width=device-width, initial-scale=1, shrink-to-fit=no">
</head>
<body>
    <noscript>
        You need to enable JavaScript to run this app.
    </noscript>
    <div id="root"></div>
</body>
</html>
- デモページの起点となるコンポーネントを作成します。この時、1. コンポーネントを作成するで作成したコンポーネントを使います。
import React from 'react';
import { render } from 'react-dom'
import MyComponent from '../../src'

const App = () => <MyComponent/>;
render(<App />, document.getElementById('root'));
- デモページのビルド設定ファイル(webpack.config.js)を作りましょう。
const path = require('path');
const HtmlWebpackPlugin = require('html-webpack-plugin');
// HTMLファイルのビルド設定
const htmlWebpackPlugin = new HtmlWebpackPlugin({
    template: path.join(__dirname, 'examples/src/index.html'),
    filename: './index.html'
});
module.exports = {
    // 依存関係解決の起点となる資産を指定します。
    entry: path.join(__dirname, 'examples/src/index.js'),
    // Babelのトランスパイル対象資産を指定します。
    module: {
        rules: [
            {
                test: /\.(js|jsx)/,
                use: 'babel-loader',
                exclude: /node_modules/
            },
            {
                test: /\.css$/,
                use: ["style-loader", "css-loader"]
            }
        ]
    },
    plugins: [htmlWebpackPlugin],
    resolve: {
        extensions: ['.js', '.jsx']
    },
    // 開発用Webサーバのポートを指定します。
    devServer: {
        port: 3001
    }
}
- デモページ起動用スクリプトをpackage.jsonに追記します。
    "scripts": {
+     "start": "webpack-dev-server --mode development"
    },
確認
- 準備が整ったのでデモページを起動しましょう。
npm start
- ブラウザで
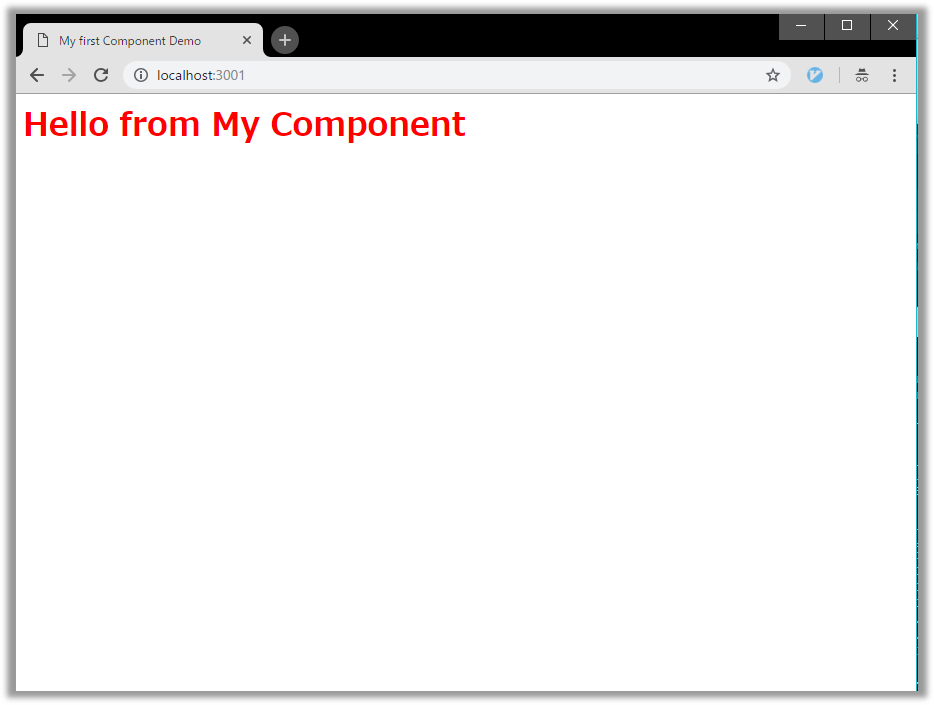
http://localhost:3001にアクセスしてコンポーネントが表示されればOKです。
3. デモページをGitHub Pagesで公開する
デモページをローカルで見れるようになったら、次はGitHubに資産を登録し、GitHub Pagesで公開しましょう。プラグインで簡単に公開できます。
※ 本手順完了時のソースコードは**こちら**
※ 本手順完了時のプロジェクト構成 ↓
プロジェクトルート
  ├─dist              ・・・ コンポーネントビルド資産出力場所
  ├─src               ・・・ コンポーネント資産
  │   ├─index.js
  │   └─styles.css
  ├─examples          ・・・ デモページ用資産
  │  ├─dist           ・・・ デモページビルド資産出力場所
  │  └─src
  │     ├─index.html
  │     └─index.js
  ├─node_modules
  ├─.babelrc          ・・・トランスコンパイル用設定ファイル
+ ├─webpack.config.js ・・・ビルド用設定ファイル(追記)
+ ├─package.json      ・・・依存ライブラリ・スクリプト定義ファイル(追記)
+ └─.gitignore
- github-pagesというGitHub公開用プラグインをインストールします。
npm i -D gh-pages
- package.jsonにGitHubPages公開用スクリプトを3個追加します。
-
publish-demoはビルドとデプロイをいっぺんにやるスクリプトです。デプロイ前に大抵の場合ビルドするので、1つにまとめておくと便利です。
-
    "scripts": {
+     "build": "webpack --mode production",
+     "deploy": "gh-pages -d examples/dist",
+     "publish-demo": "npm run build && npm run deploy"
    },
- webpack.config.jsに出力先を指定します。
  module.exports = {
+     output: {
+        path: path.join(__dirname, "examples/dist"),
+        filename: "bundle.js"
+    },
  }
- ではビルドしてみましょう。
npm run build
-
ビルドされて最小化された資産が
examples/dist配下に出力されたのが確認できればOKです。 -
Gitにあげる準備として
.gitignoreを作りましょう。
node_modules
dist
- GitHubでリポジトリを新規作成して資産を登録しましょう。新規作成後の「...or create a new respository on the command line」の説明に従ってください。
確認
- 下記を実行してGitHub Pagesに登録しましょう。
npm run publish-demo
- 2~3分後にGitHub PagesでWeb公開されていれば成功です。
(補足)画像ファイルを扱う場合
もしデモページで画像を読み込む場合はfile-loaderとurl-loaderを開発用依存ライブラリに追加してください。ビルド設定も下記のように修正が必要です。
npm i -D file-loader url-loader
  module.exports = {
    module: {
+     {
+       test: /\.(jpg|png|ico)$/,
+       use: 'url-loader'
+     },
    },
  }
これであとは最終手順のnpm公開を残すのみです!
4. コンポーネントをnpmに公開する
デモページも準備できたので、いよいよコンポーネントをnpmに公開しましょう。
※ 本手順完了時のソースコードは**こちら**
※ 本手順完了時のプロジェクト構成 ↓
プロジェクトルート
  ├─dist              ・・・ コンポーネントビルド資産出力場所
  ├─src               ・・・ コンポーネント資産
  │   ├─index.js
  │   └─styles.css
  ├─examples          ・・・ デモページ用資産
  │  ├─dist           ・・・ デモページビルド資産出力場所
  │  └─src
  │     ├─index.html
  │     └─index.js
  ├─node_modules
  ├─.babelrc          ・・・トランスコンパイル用設定ファイル
  ├─webpack.config.js ・・・ビルド用設定ファイル
+ ├─package.json      ・・・依存ライブラリ・スクリプト定義ファイル(追記)
+ ├─.npmignore        ・・・npm登録除外対処定義ファイル
  └─.gitignore
- トランスパイル後に生成されるdist/index.jsを、npm公開資産のメインファイルに指定します。
+ "main": "dist/index.js",
- 次にnpm公開時に自動で走るスクリプト
prepublishOnlyを追加します。これによりnpm公開時にビルドし忘れるということを防ぎます。
    "scripts": {
+     "prepublishOnly": "npm run transpile"
    }
- このコンポーネントを使う側には、Reactがインストール済という想定ですのでpeerDependenciesを指定します。
+   "peerDependencies": {
+     "react": "^16.3.0",
+     "react-dom": "^16.3.0"
+   },
-
.npmignoreを作成して、npm公開資産として不用な資産(トランスパイル前のjsファイルなど)は公開対象外としましょう。
src
examples
.babelrc
.gitignore
webpack.config.js
- 最後にパッケージ名(package.jsonのname)を決めます。現段階では
react-component-sampleとなっていて、お試しで作るコンポーネントとしては少し汎用的すぎる名前なので、@自分のnpmアカウント名/raect-component-sampleのようにしましょう。例えば下記のように修正します。
-   "name": "react-component-sample",
+   "name": "@takumon/react-component-sample",
確認
- ではnpm公開してみましょう。
-
@takumon/react-component-sampleのようなパッケージ名は、Scoped Packag(npmのプライベートなパッケージの命名規約)に沿っているのでデフォルトでプライベート公開になってしまいます。npmで有料契約をせずにプライベート公開しようとすると402エラーになります。そのため、ここでは--access=publicをつけて一般公開するようにしています。(参考:stachoverflow) -
Failed PUT 403になる場合は、npmの認証エラーです。npm loginしましょう。
それかpackage.jsonのversionが古いのが原因です。いったん公開したバージョンで再公開はできません。バージョンをインクリメントしましょう。
-
npm publish --access=public
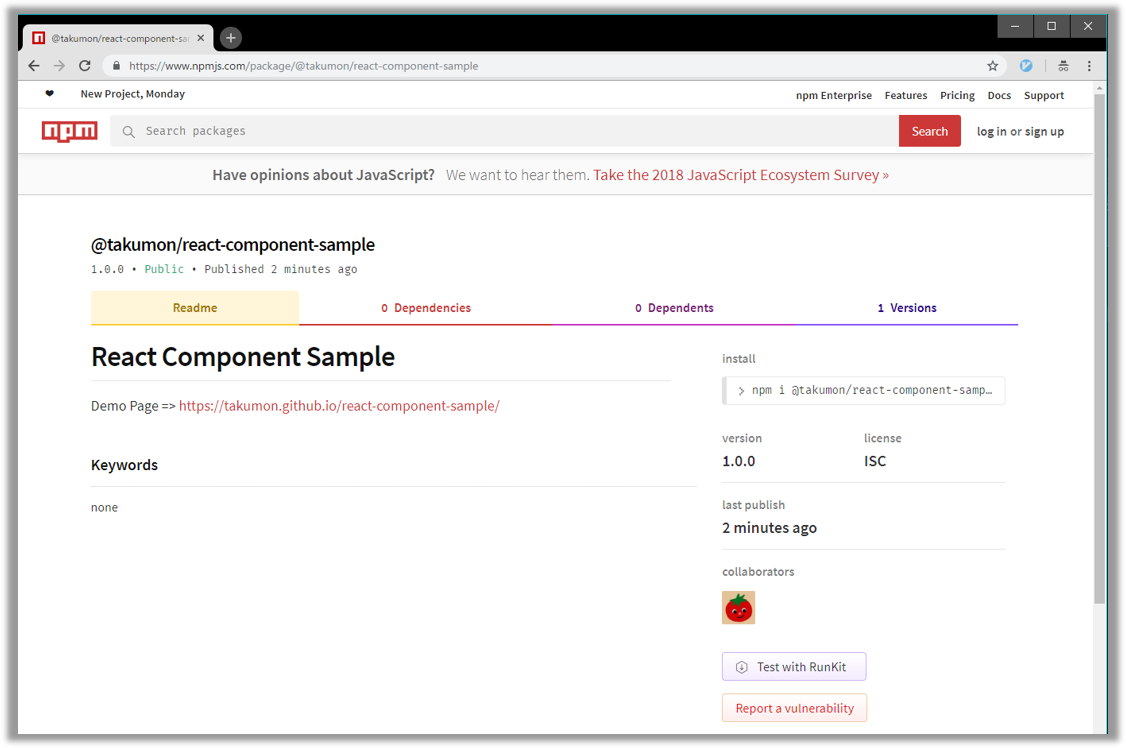
- これで、npm公式サイトを確認しパッケージが追加されていれば、公開完了です!
おわりに
今回紹介したように、わりと簡単にnpm公開できるので、普段使いまわしているようなコンポーネントがあれば公開してみるのもいいかもしれません。

