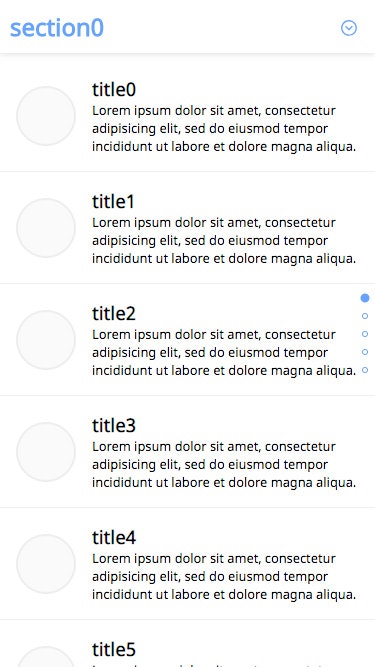
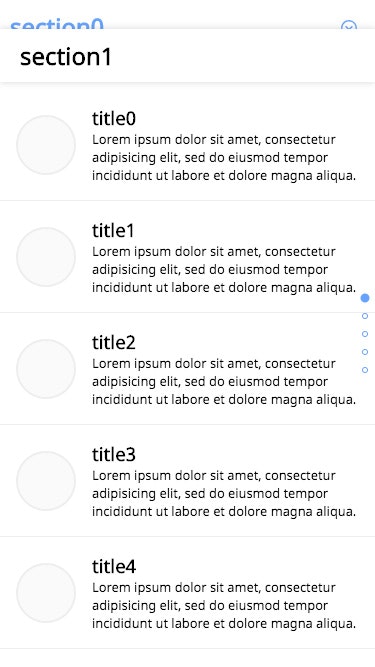
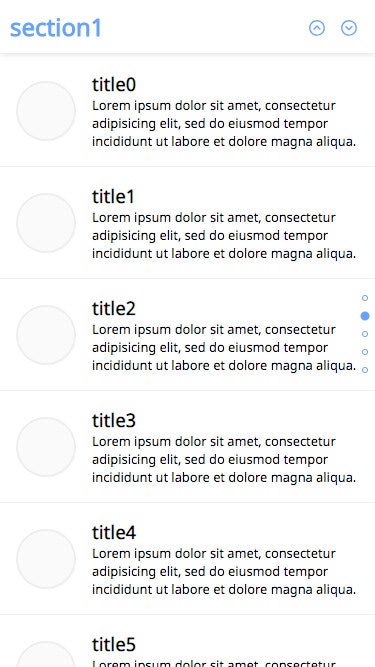
CSS に position: stickey という指定があります。指定要素がスクロール位置まで到達した場合、要素を画面位置固定する style です。この stickey ですが、ブラウザサポート状況がイマイチです。また、ピタっと固定されたタイミングを、javascript で捉える方法がありません。本日はこの振る舞いを実装しつつ、スクロール位置に応じて外部通知する手法を紹介します。
code: github / $ yarn 1209
 |
 |
 |
|---|
Context API / Provider 構成
本日も Context API を利用します。現在表示エリアに入っている Section の index を current に保持します。まずは型付き空 context を生成します。
import { createContext, Dispatch, SetStateAction } from 'react'
export const CTX = createContext({} as {
  current: number
  setCurrent: Dispatch<SetStateAction<number>>
})
次に、useState の戻り値を Provider の初期値として注入します。先日と一緒です。
export default (props: Props) => {
  const [current, setCurrent] = useState(0)
  return (
    <Provider value={{ current, setCurrent }}>
      {props.children}
    </Provider>
  )
}
App index で Provider を最高階に設置します。count はダミー作成用なので、気にしないでください。
const count = 5
export default () => (
  <Provider>
    <Sections count={count} />
    <Indicate count={count} />
  </Provider>
)
useStickyWrapper
Custom Hooks は今までのサンプルとほとんど変わりありません。画面内判定ロジックが多少異なり、今回は画面上部より上に section 上辺が位置する場合「画面内」と判定しています。
const useStickyWrapper = (props: Props) => {
  const [state, setState] = useState<State>(...)
  const options = useMemo(...)
  useEffect(...) // 画面スクロール時処理
  useEffect(...) // 画面内判定処理
}
今回は wrapper コンポーネントと Custom Hooks を分離しています。
export default (props: Props) => {
  const ref = useRef({} as HTMLDivElement)
  useStickyWrapper({
    ref,
    onEnter: props.onEnter,
    onLeave: props.onLeave,
    throttleInterval: props.throttleInterval
  })
  return (
    <div
      className={props.className}
      id={props.id}
      ref={ref}
    >
      {props.children}
    </div>
  )
}
Context の状態を変更する Section
ここまでで用意した StickyWrapper Component を利用し、Section を組み立てます。画面内外判定時の callback props は、親から注入されるハンドラをバインドします。
const View = (props: Props) => (
  <StickyWrapper
    id={`section${props.index}`}
    className={props.className}
    onEnter={props.onEnter}
    onLeave={props.onLeave}
  >
    ...
  </StickyWrapper>
)
以下が親 Container です。「onEnter」「onLeave」 で Context の current を更新しているのが分かります。同時に、自身が画面内に入っているか否かのフラグを useState で確保し、子コンポーネントに注入します。
export default (props: ContainerProps) => {
  const [isEnter, updateState] = useState(false)
  const { setCurrent } = useContext(CTX)
  const onEnter = useCallback(() => {
    updateState(true)
    setCurrent(props.index)
  }, [])
  const onLeave = useCallback(() => {
    updateState(false)
  }, [])
  return useMemo(
    () => (
      <StyledView
        index={props.index}
        title={props.title}
        onEnter={onEnter}
        onLeave={onLeave}
        isEnter={isEnter}
        isLast={props.isLast}
        isFirst={props.isFirst}
      />
    ),
    [isEnter]
  )
}
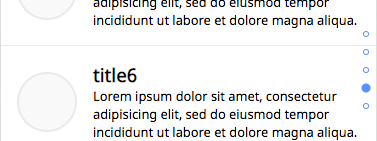
Indicate
画面右側に表示されているカレント表示です。Context の状態を参照します。
export default (props: ContainerProps) => {
  const { current } = useContext(CTX)
  const isCurrent = useMemo(() => current === props.index, [
    current
  ])
  const style = useMemo(
    () =>
      isCurrent
        ? {
            transform: 'scale(1.5)',
            backgroundColor: styles.blue
          }
        : {
            transform: 'scale(1)'
          },
    [isCurrent]
  )
  return useMemo(
    () => (
      <StyledView index={props.index} style={style} />
    ),
    [style]
  )
}
ここも memoize をサボらず施します。視覚効果としては地味ですが、アイデア次第で色々な機能に応用できそうです。
const StyledView = styled(View)`...`
const View = (props: Props) => (
  <span className={props.className} style={props.style} />
)