最近では好んで実装されていないかも?Pallax Section です。視覚効果以外に「画面内判定トリガー」が後日サンプルの役に立つので紹介します。まずは一番簡単な toggle class で実現する pallax 視覚効果で仕組みを理解します。
code: github / $ yarn 1207
 |
 |
|---|
以下の様に、wrapper 内部は動きのロジックに関与することなく、自由にコンテンツを配備出来る様に実装します。
components/sections/section1.tsx
const View = (props: Props) => (
<PallalaxSection
className={props.className}
toggleClassName={'inArea'}
topThrethold={100}
>
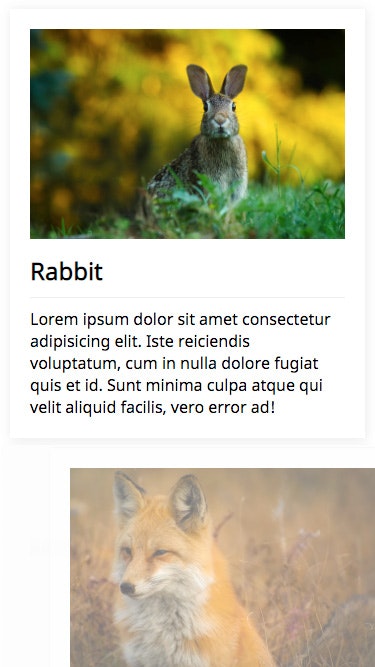
<img src={require('./assets/1.jpg')} width="100%" />
<h2>Rabbit</h2>
<p>
Lorem ipsum dolor sit amet consectetur adipisicing
elit. Iste reiciendis voluptatum, cum in nulla dolore
fugiat quis et id. Sunt minima culpa atque qui velit
aliquid facilis, vero error ad!
</p>
</PallalaxSection>
)
Component 概要図
Wrapper は包含要素が画面内に入っているか否かを保持しています。画面内ににセクションが入ったかどうかの判定は、セクションの上辺と下辺の座標から算出します。この時、座標ピッタリで class を toggle してしまうと、動いている様子があまり見えません。任意の閾値分だけ、画面内判定の距離を狭くします。topThrethold と bottomThrethold がその設定値です。

usePallalaxSection
今回定義した Custom Hooks です。画面判定処理が混み入っているだけで、他は単純です。
components/sections/usePallalaxSection.ts
const usePallalaxSection = (props: Props) => {
  const [state, setCurrent] = useState<State>(...)
  const options = useMemo(...)
  useEffect(...) // 画面内判定
  useEffect(...) // 判定後処理
}
以下の State を保持しています。
components/sections/usePallalaxSection.ts
type State = 'OUTSIDE' | 'IN_AREA' | null
画面内判定
画面内判定ロジックです。負荷を軽減するために、lodash.throttle でスクロール処理を間引きします。この throttleInterval も Optional Injection で調整出来る様にしておきます。
components/sections/usePallalaxSection.ts
useEffect(
  () => {
    const handleWindowScroll = throttle(() => {
      if (props.ref.current === null) return
      const {
        top,
        height
      } = props.ref.current.getBoundingClientRect()
      const topThrethold = options.topThrethold
      const bottomThrethold = options.bottomThrethold
      const offsetBottom = window.innerHeight - top
      const offsetTop = top + height
      const isOutOfBottom = offsetBottom < 0
      const isOutOfTop = offsetTop < 0
      const isInArea =
        !isOutOfBottom &&
        !isOutOfTop &&
        offsetBottom > bottomThrethold &&
        offsetTop > topThrethold
      if (isInArea) {
        setCurrent('IN_AREA')
      } else {
        setCurrent('OUTSIDE')
      }
    }, options.throttleInterval) // here
    handleWindowScroll()
    window.addEventListener('scroll', handleWindowScroll)
    return () =>
      window.removeEventListener(
        'scroll',
        handleWindowScroll
      )
  },
  [
    props.ref,
    options.topThrethold,
    options.bottomThrethold,
    options.throttleInterval
  ]
)
判定後処理
このサンプルでは、出入りの度に toggle class していますが、判定後処理を props callback に委ねることも出来ます。
components/sections/usePallalaxSection.ts
useEffect(
  () => {
    if (props.ref.current === null) return
    if (state === 'IN_AREA') {
      props.ref.current.classList.add(
        props.toggleClassName
      )
    } else {
      props.ref.current.classList.remove(
        props.toggleClassName
      )
    }
  },
  [props.ref, state]
)
Wrapper Component へ適用
冒頭の画面内判定閾値などを Optional Injection で注入します。この様に Wrapper とコンテンツを分離することで rerender を抑止します。
components/sections/pallalaxSection.tsx
export default (props: Props) => {
  const ref = useRef({} as HTMLDivElement)
  usePallalaxSection({
    ref,
    toggleClassName: props.toggleClassName,
    topThrethold: props.topThrethold, // here
    bottomThrethold: props.bottomThrethold, // here
    throttleInterval: props.throttleInterval
  })
  return (
    <section ref={ref} className={props.className}>
      {props.children}
    </section>
  )
}