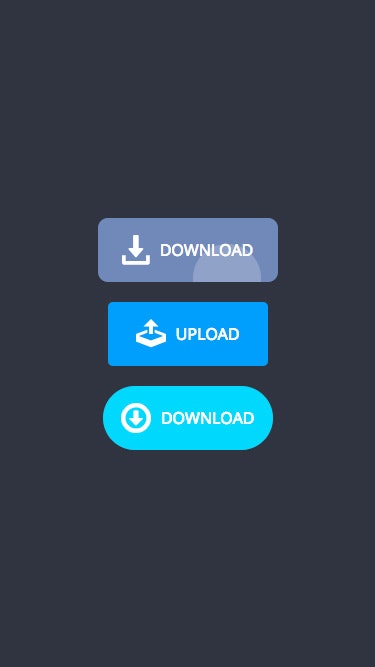
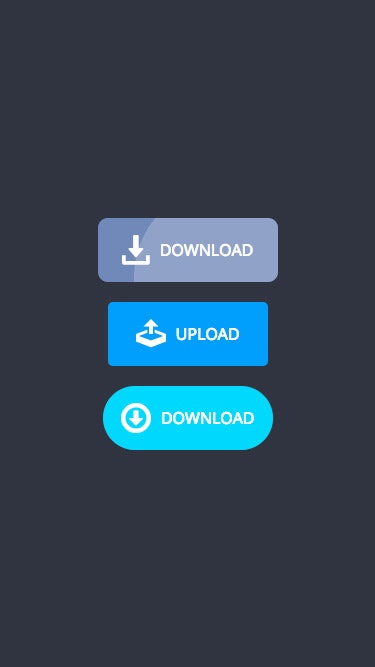
本日は、押下された位置に RippleEffect を発生させるボタンの実装を解説します。
code: github / $ yarn 1203
 |
 |
|---|
コンポーネントの使用感は以下の通りです。
<RippleButton
  width={'160px'}
  heihgt={'64px'}
  borderRadius={'5px'}
  backgroundColor={'#7089b9'}
  effectSize={160}
>
  <span className="children">
    <SVGInline svg={UP1} />
    UPLOAD
  </span>
</RippleButton>
見ての通りで、style設定を props で受けつけます。また、ボタン内部は自由にコンテンツが配備出来る様、props.children を render します。
Custom Hooks の切り出し
View とロジックの住み分けのため、useRippleEffect という Custom Hooks を定義します。戻り値には、コンポーネントで必要になる算出プロパティと更新ハンドラを含めます(ここでは、適用する style、マウスダウンハンドラ、マウスアップハンドラ)。各 Hooks API にバインドしている処理詳細は、解説上割愛します。
function useRippleEffect(props: Props) {
  const [state, update] = useState<State>(...)
  const tx = useMemo(...)
  const ty = useMemo(...)
  const ts = useMemo(...)
  const effectSytle = useMemo(...)
  const handleMouseDown = useCallback(...)
  const handleMouseUp = useCallback(...)
  return {
    effectSytle,
    handleMouseDown,
    handleMouseUp
  }
}
Ref Injection
従来 ref は Statefull Component でのみ利用出来ましたが、useRef を使うことで FC でも ref が利用可能になりました。ref は、Custom Hooks に含めず「useRippleEffect」を利用する Component 上で定義し、注入します。これは、ref が複数 Custom Hooks の興味対象となる可能性があるためです。
const View = (props: Props) => {
  const ref = useRef({} as HTMLButtonElement)
  const {
    handleMouseDown,
    handleMouseUp,
    effectSytle
  } = useRippleEffect({
    ref,
    effectDuration: props.effectDuration
  })
  return (
    <button
      ref={ref}
      className={props.className}
      onMouseDown={handleMouseDown}
      onMouseUp={handleMouseUp}
      onClick={props.onClick}
    >
      <span className="effect" style={effectSytle} />
      {props.children}
    </button>
  )
}
位置の算出
波紋は DOM を用いて表現します。ボタン押下時に、要素の相対位置とボタン座標から、波紋DOM の中央位置を特定します。この時、アニメーション動力になる「transitionDuration」を 0 に指定します。
const handleMouseDown = useCallback(
    (event: MouseEvent<HTMLButtonElement>) => {
      event.persist()
      update(_state => {
        if (props.ref.current === null) return _state
        const clickX = event.pageX
        const clickY = event.pageY
        const clientRect = props.ref.current.getBoundingClientRect()
        const positionX = clientRect.left + window.pageXOffset
        const positionY = clientRect.top + window.pageYOffset
        const transformX = clickX - positionX
        const transformY = clickY - positionY
        return {
          ..._state,
          opacity: 0.5,
          transformX,
          transformY,
          transformScale: 0,
          transitionDuration: 0
        }
      })
    },
    []
  )
今回のサンプル集では、useState で扱う状態は積極的に object にまとめています。先日の投稿による意図も勿論ありますが、この様にまとめて状態を更新する必要がある場合、state毎に useState するよりも便利です。
CSSアニメーション発火
マウスアップ時、動かしたいプロパティと供に、transitionDuration を付与するとアニメーションが発火します。
const handleMouseUp = useCallback(
  (event: MouseEvent<HTMLButtonElement>) => {
    event.persist()
    update(_state => ({
      ..._state,
      opacity: 0,
      transformScale: 1,
      transitionDuration: _state.effectDuration
    }))
  },
  []
)