Twitter APIをJavaで動かしたいと思い、twitter4Jに出会いました。
ここに、環境構築やデバッグ時の操作についてメモを残します。
動作環境
- Windows10
- Java11
- Eclipse IDE
- twitter4J 4.0.7
環境構築
何はともあれTwitter APIの登録を。https://developer.twitter.com/en
Consumer API keys, Access token & access token secretを取得しておきましょう。
次に、twitter4Jのダウンロード。http://twitter4j.org/ja/index.html#download
適当なディレクトリに解凍しておきましょう。
Eclipseのインストール方法は省きます。
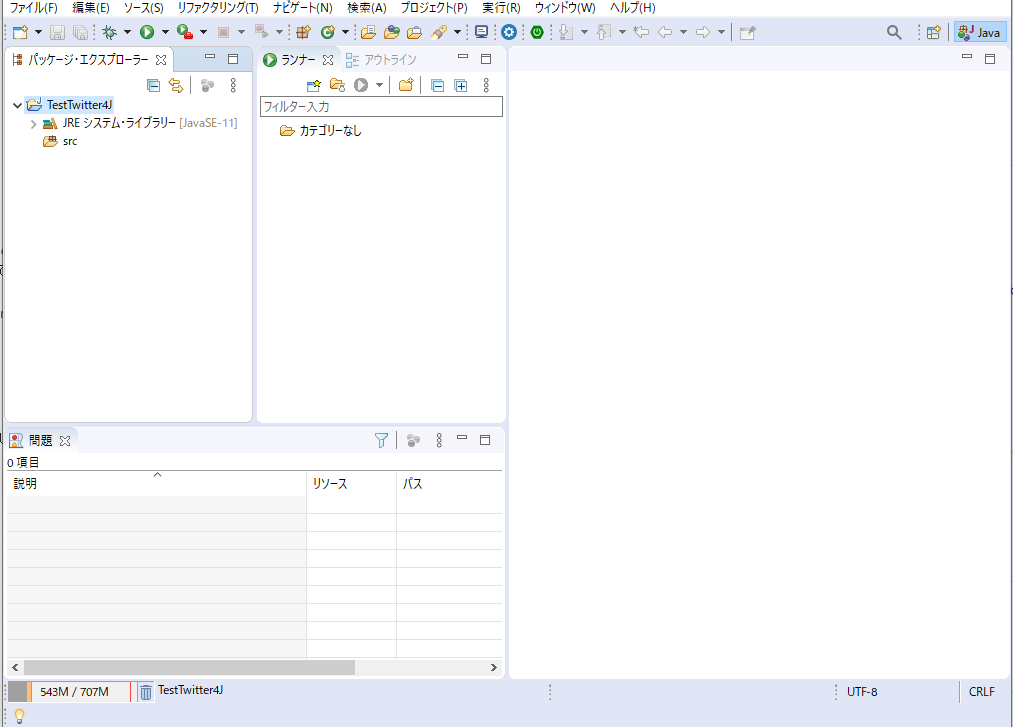
プロジェクト作成
Javaプロジェクトを作成します。ここでは、TestTwitter4Jという名前にしました。
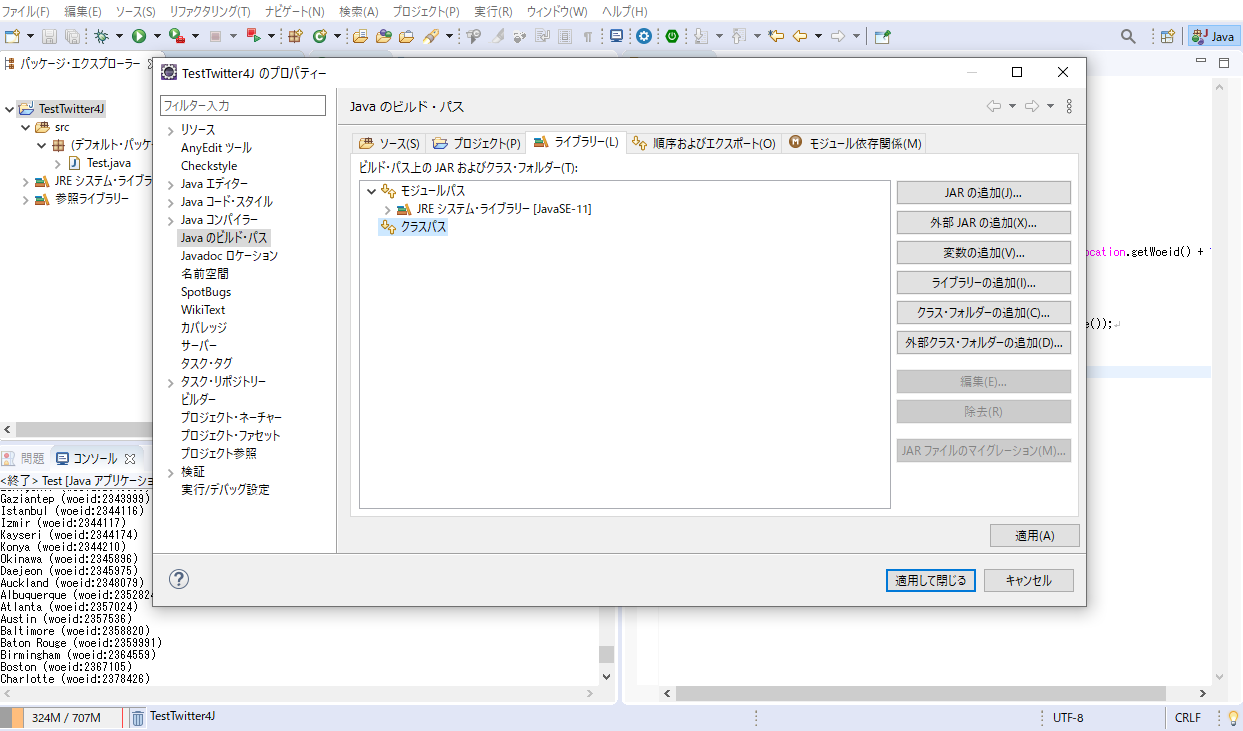
JARの追加
プロジェクト作成後、このプロジェクトからtwitter4Jが見えるようにします。
プロジェクトを右クリック→Javaのビルド・パス→ライブラリーを選択します。
「クラスパス」を選択し、「外部JARの追加」から先ほどダウンロードしたtwitter4J-core-4.0.7.jarを追加します。
twitter4J-core-4.0.7.jarは、インストール先\twitter4j\libにあります。
ほかにもいろいろ.jarファイルが見えますが、coreだけで充分だそうです。(詳しくは公式サイトで)
プロパティファイル
twitter4j.propertiesにTwitter APIから取得したConsumer API keys, Access token & access token secretをそれぞれ書きます。
ひな形は、twitter4j\binにあるので参考に。
プロパティの設定についてはこちらを参照してください。
プロパティファイルは、プロジェクトフォルダに置いてください。
デバッグ
あとは、普段通りデバッグすれば動きます。
twitter4Jのサンプルは、twitter4j-examplesにあるので参考に。
以下のサンプルを動かしてみます。
Twitterトレンドのロケーションを一覧表示するだけです。
import twitter4j.Location;
import twitter4j.ResponseList;
import twitter4j.Twitter;
import twitter4j.TwitterException;
import twitter4j.TwitterFactory;

public class Test {
	public static void main(String[] args) {
        try {
            Twitter twitter = new TwitterFactory().getInstance();
            ResponseList<Location> locations;
            locations = twitter.getAvailableTrends();
            System.out.println("Showing available trends");
            for (Location location : locations) {
                System.out.println(location.getName() + " (woeid:" + location.getWoeid() + ")");
            }
            System.out.println("done.");
            System.exit(0);
        } catch (TwitterException te) {
            te.printStackTrace();
            System.out.println("Failed to get trends: " + te.getMessage());
            System.exit(-1);
        }
    }
}
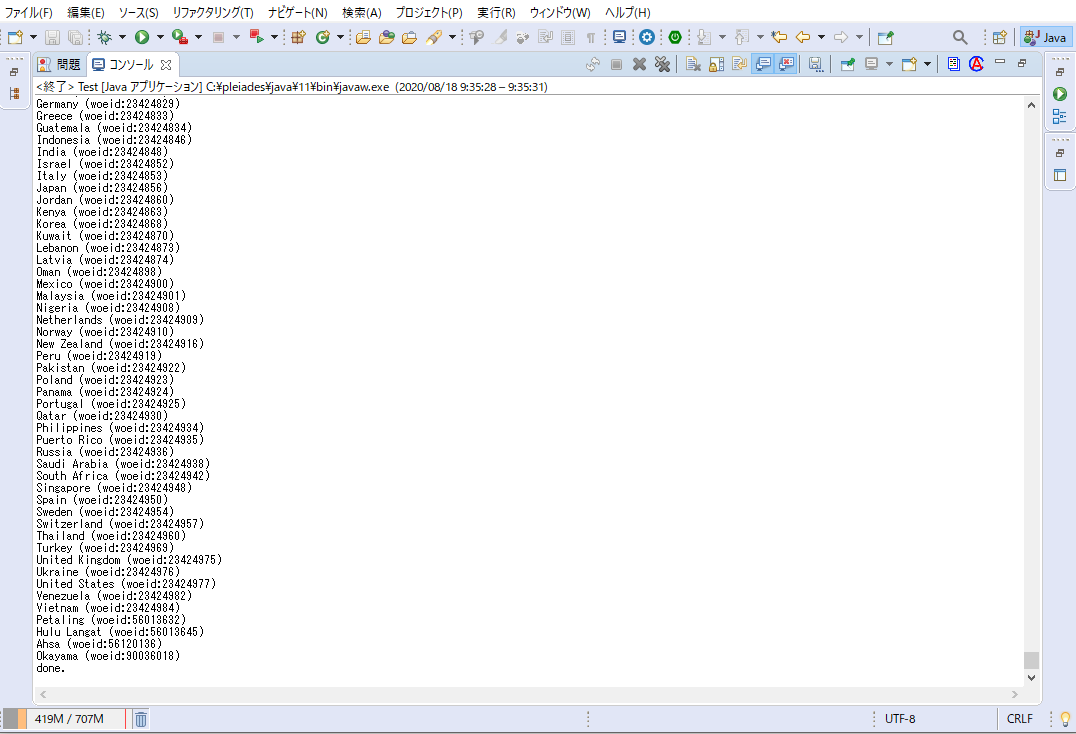
実行結果
以下のように表示されれば、問題ありません。
最後に
こうして書き起こすと結構シンプルですね。
最初はよくわからないエラー吐かれたりして、対処法もわからず悩みました。
次はもっといろんなメソッド使ってみたい。