はじめに
Cloud9は優秀なIDEではあるもののVSCodeの自由度には勝てない。
やっぱVSCodeで開発してなんぼだろう。
ただ、パブリックIP経由でSSHアクセスなんて恐くてできないし、アクセスキーもなるべく暗号化して取り扱いたい
となると

のようにアクセスしつつアクセスキーは暗号化して管理したい
そんなニッチな目的を持つ人向けの記事
TL;DL
~/.ssh/configの設定でProxyCommandを使用する
https://docs.aws.amazon.com/ja_jp/systems-manager/latest/userguide/session-manager-getting-started-enable-ssh-connections.html
前提
- クライアントPCはWindows(試したのはWindows11)
- Cloud9はSSM経由アクセス設定で作成済み
https://docs.aws.amazon.com/ja_jp/cloud9/latest/user-guide/ec2-ssm.html - アクセス用IAMユーザと最小権限は設定済み
詳細
1. SSH keyを設定する
VSCode上でgitbash terminalを開き以下を実行する
- SSH key作成
$ ssh-keygen -b 4096 -C 'VS Code Remote SSH user' -t rsa
Generating public/private rsa key pair.
Enter file in which to save the key (/c/Users/user/.ssh/id_rsa): vsc9
Enter passphrase (empty for no passphrase):
Enter same passphrase again:
Your identification has been saved in vsc9
Your public key has been saved in vsc9.pub
The key fingerprint is:
SHA256:xxxxxxxxxxxxxxxxxxxxxxxxxxxxxxxxxxxxxxxxxxx VS Code Remote SSH user
The key's randomart image is:
+---[RSA 4096]----+
|                 |
|                 |
|                 |
|                 |
|                 |
|                 |
|                 |
|                 |
|                 |
+----[SHA256]-----+
- 公開鍵確認
$ cat ~/.ssh/vsc9.pub
ssh-rsa xxxxxxxxxxxxxxxxxxxxxxxxxxxxxxxxxxxxxxxxxxxxxxxxxxxxxxxxxxxxxxx/xxxxxxxxxxxxxxxxxxxxxxxxxxxxxxxxxxxxxxxxxxxxxxxxxxxxxxxxxxxxxxxxxxxxxxxxxxxxxxxxxxxxxxxxxxxxxxxxxxxxxxxxxxxxxxxxxxxxxxx/xxxxxxxxxxxxxxxxxxxxxxxxxxxxxxxxxxxxxxxxxxxxxxxxxxxxxxxxxxxxxxxxxxxxxxxxxxxxxxxxxxxxxxxxxxxxxxxxxxxxxxxxxxxxxxxxxxxxxxxxxxxxxxxxxxxxxxxxxxxxxxxxxxxxxxxxxxxxxxxxxxxxxxxxxxxxxxxxxxxxxxxxxxxxxxxxxxxxxxxxxxxxxxxxxxxxxxxxxxxxxxxxxxxxxxxxxxxxxxxxxxxxxxxxxxxxxxxxxxxxxxxxxxxxxxxxxxxxxxxxxxxxxxxxxxxxxxxxxxxxxxxxxxxxxxxxxxxxxxxxxxxxxxxxxxxxxxxxxxxxxxxxxxxxxxxxxxxxxxx= user@DESKTOP-0000000
表示された公開鍵はメモっておく
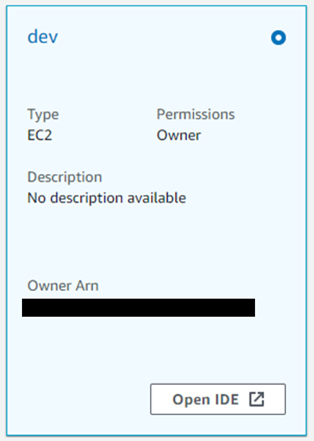
2. Cloud9にkeyを登録する
-
Cloud9をマネジメントコンソールから開く
-
左上の設定からHome直下を見えるようにする

-
~/.ssh/authorized_keysを開き公開鍵を追加する

-
シャットダウン時のスクリプト処理を変更する
$ sudo mv ~/.c9/stop-if-inactive.sh ~/.c9/stop-if-inactive.sh-SAVE
$ curl https://raw.githubusercontent.com/aws-samples/cloud9-to-power-vscode-blog/main/scripts/stop-if-inactive.sh -o ~/.c9/stop-if-inactive.sh
$ sudo chown root:root ~/.c9/stop-if-inactive.sh
$ sudo chmod 755 ~/.c9/stop-if-inactive.sh
3. aws-vaultを設定する
[ToDo: MFAやスイッチロール対応]
Set-ExecutionPolicy Bypass -Scope Process -Force; [System.Net.ServicePointManager]::SecurityProtocol = [System.Net.ServicePointManager]::SecurityProtocol -bor 3072; iex ((New-Object System.Net.WebClient).DownloadString('https://community.chocolatey.org/install.ps1'))
choco install aws-vault
- aws-vaultにProfile追加
事前に登録済みのIAMユーザに紐づくアクセスキー/シークレットアクセスキーを登録する
> aws-vault add vsc9
Enter Access Key Id: ABDCDEFDASDASF
Enter Secret Key: %%%
これでWindows資格情報に登録され、暗号化された状態で管理される

aws-vault:aws-vault:vsc9
- Profileを追加する
~/.aws/configに以下を追加する
[profile vsc9]
tregion=us-east-1
output=yaml
コマンドで追加
echo -n -e "\n[profile vsc9]\nregion=us-east-1\noutput=yaml\n" >> ~/.aws/config
直接編集する場合の参考
4. ssh接続先を設定する
~/.ssh/configに以下を追加する
Host vsc9
  ProxyCommand C:\Windows\System32\WindowsPowerShell\v1.0\powershell.exe "aws-vault exec awscliuser -- aws ssm start-session --target %h --document-name AWS-StartSSHSession --parameters portNumber=%p"
  HostName i-00000000000000000
  User ec2-user
  IdentityFile ~/.ssh/vsc9
i-00000000000000000は接続先Cloud9のインスタンスID
コマンドで追加
echo -n -e "\nHost vsc9\n ProxyCommand C:\Windows\System32\WindowsPowerShell\v1.0\powershell.exe \"aws-vault exec awscliuser -- aws ssm start-session --target %h --document-name AWS-StartSSHSession --parameters portNumber=%p\"\n HostName i-00000000000000000\n User ec2-user\n IdentityFile ~/.ssh/vsc9\n" >> ~/.ssh/config
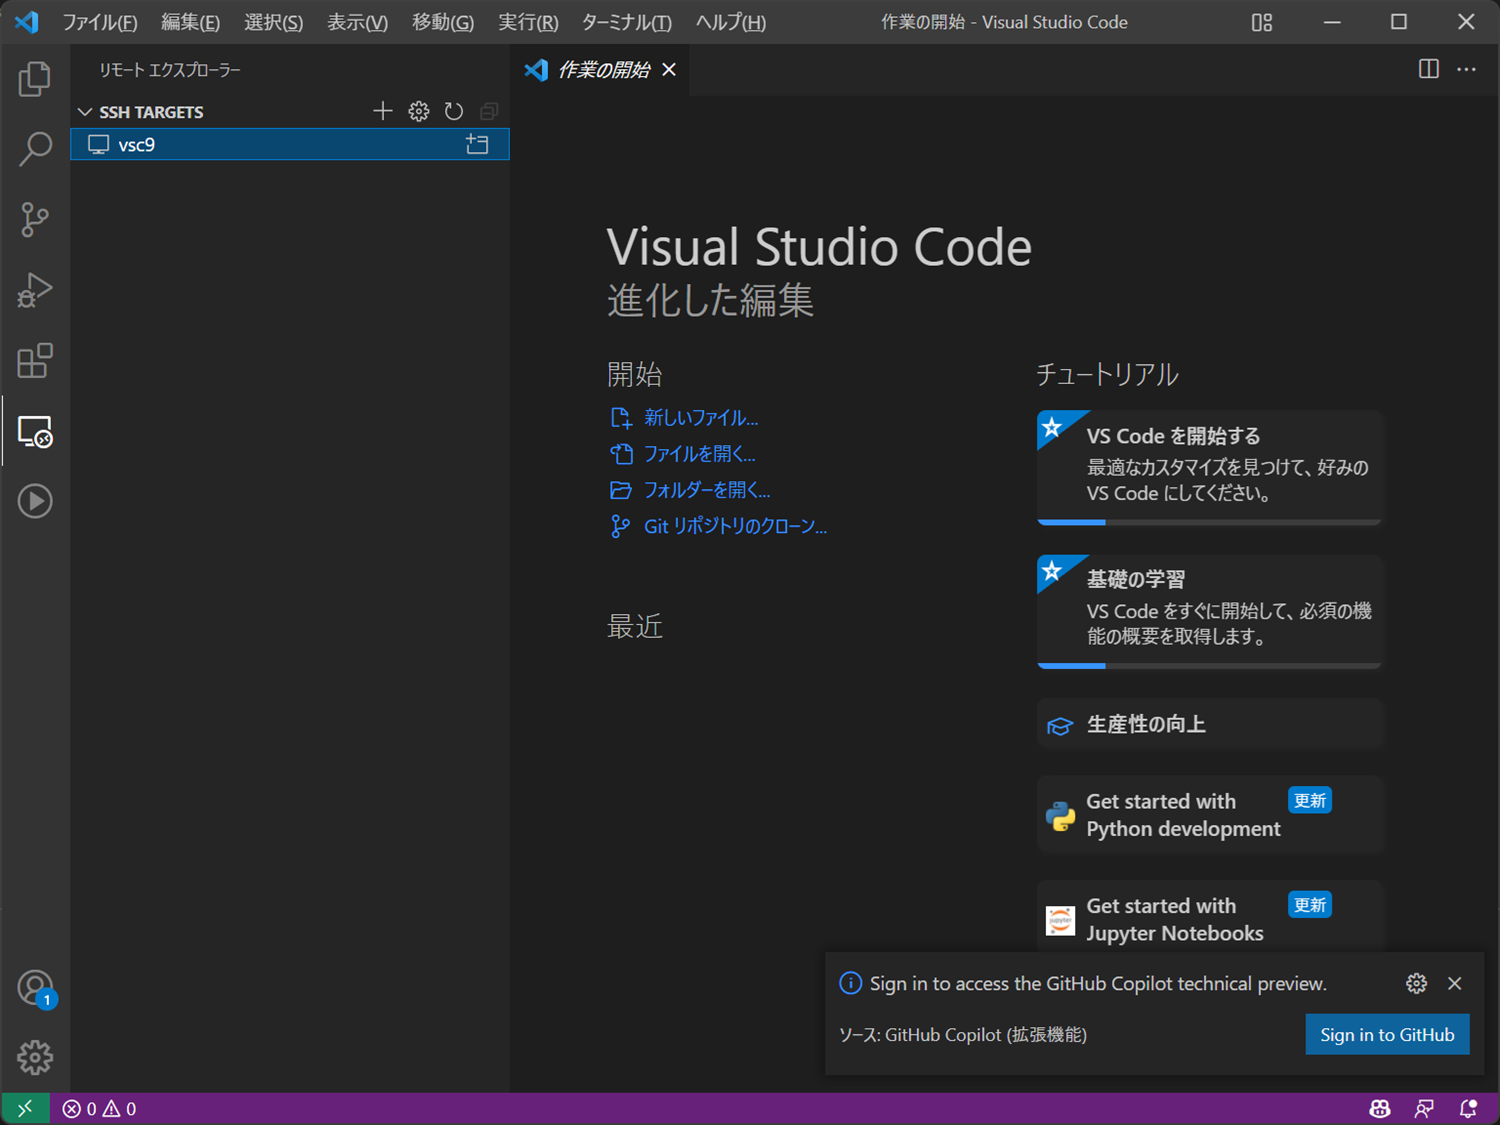
5. VisualStudioCodeのRemote-SSHでvsc9から接続する
おわりに
実際に活用しようとすると、MFAやスイッチロールの対応、Cloud9の環境構築自動化などが必要になりそう
追ってアップデートしていきたい