概要
Windows環境で開発するユーザー向けに Python(Anaconda) + Djang REST Frameworkで、CRUD APIを構築する手順をまとめた記事になります
前提
この記事は以下の環境を前提に作成しています
- Windows10 64bit
- PyCharm 2019.2.2
- Anaconda 2019.07 Python 3.7
- Django
- django REST framework
環境構築
仮想環境の作成
- まずは動作環境を作成するため、仮想環境を構築しました
- Anacondaで仮想環境を構築するため、Anaconda Promptを起動し、仮想環境を構築します
conda create -n django-rest python=3.7
- 環境を作成したら、activate します
conda activate django-rest
必要なライブラリのインストール
- Django REST Frameworkを稼働させるため、下記の通り、ライブラリをインストールしました
pip install django djangorestframework
(django-rest) C:temp>pip install django djangorestframework
Collecting django
  Downloading https://files.pythonhosted.org/packages/94/9f/a56f7893b1280e5019482260e246ab944d54a9a633a01ed04683d9ce5078/Django-2.2.5-py3-none-any.whl (7.5MB)
     |████████████████████████████████| 7.5MB 6.8MB/s
Collecting djangorestframework
  Using cached https://files.pythonhosted.org/packages/33/8e/87a4e0025e3c4736c1dc728905b1b06a94968ce08de15304417acb40e374/djangorestframework-3.10.3-py3-none-any.whl
Collecting sqlparse (from django)
  Downloading https://files.pythonhosted.org/packages/ef/53/900f7d2a54557c6a37886585a91336520e5539e3ae2423ff1102daf4f3a7/sqlparse-0.3.0-py2.py3-none-any.whl
Collecting pytz (from django)
  Downloading https://files.pythonhosted.org/packages/87/76/46d697698a143e05f77bec5a526bf4e56a0be61d63425b68f4ba553b51f2/pytz-2019.2-py2.py3-none-any.whl (508kB)
     |████████████████████████████████| 512kB 6.4MB/s
Installing collected packages: sqlparse, pytz, django, djangorestframework
Successfully installed django-2.2.5 djangorestframework-3.10.3 pytz-2019.2 sqlparse-0.3.0
プロジェクトの作成
- 今回は気象庁のデータを利用して、CRUD APIシステムを作ることにしました
- 利用データ
-
プロジェクト、モデル情報
- サイト名:amedas
- アプリ名:weather
- モデル名:obvervation(観測データ)
サイトおよびアプリケーションを作成します
django-admin startproject amedas
cd amedas
django-admin startapp weather
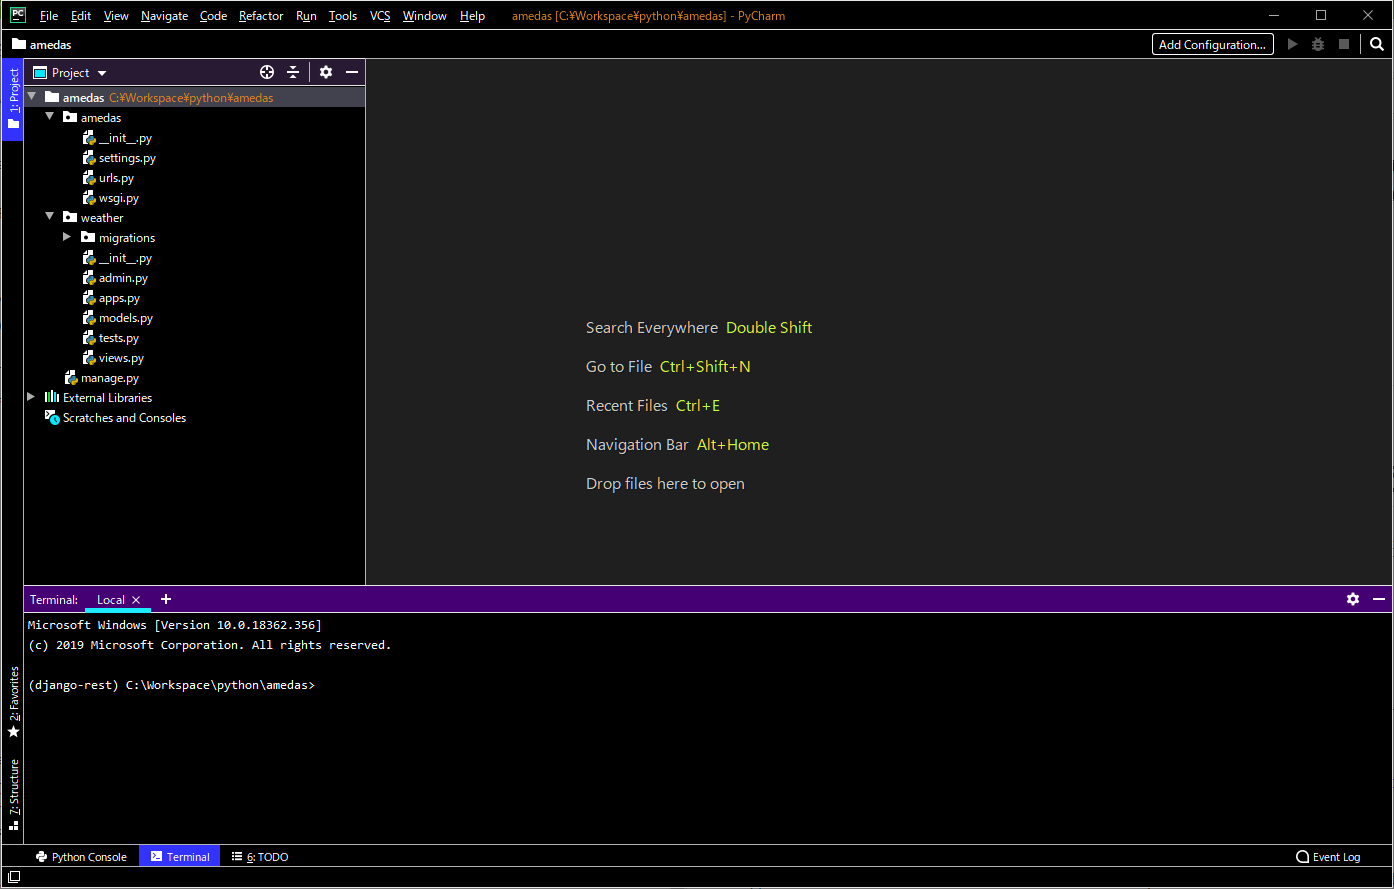
- 下記の通り、セットアップができました
(django-rest) c:\Workspace\python\amedas>dir /B
amedas
manage.py
weather
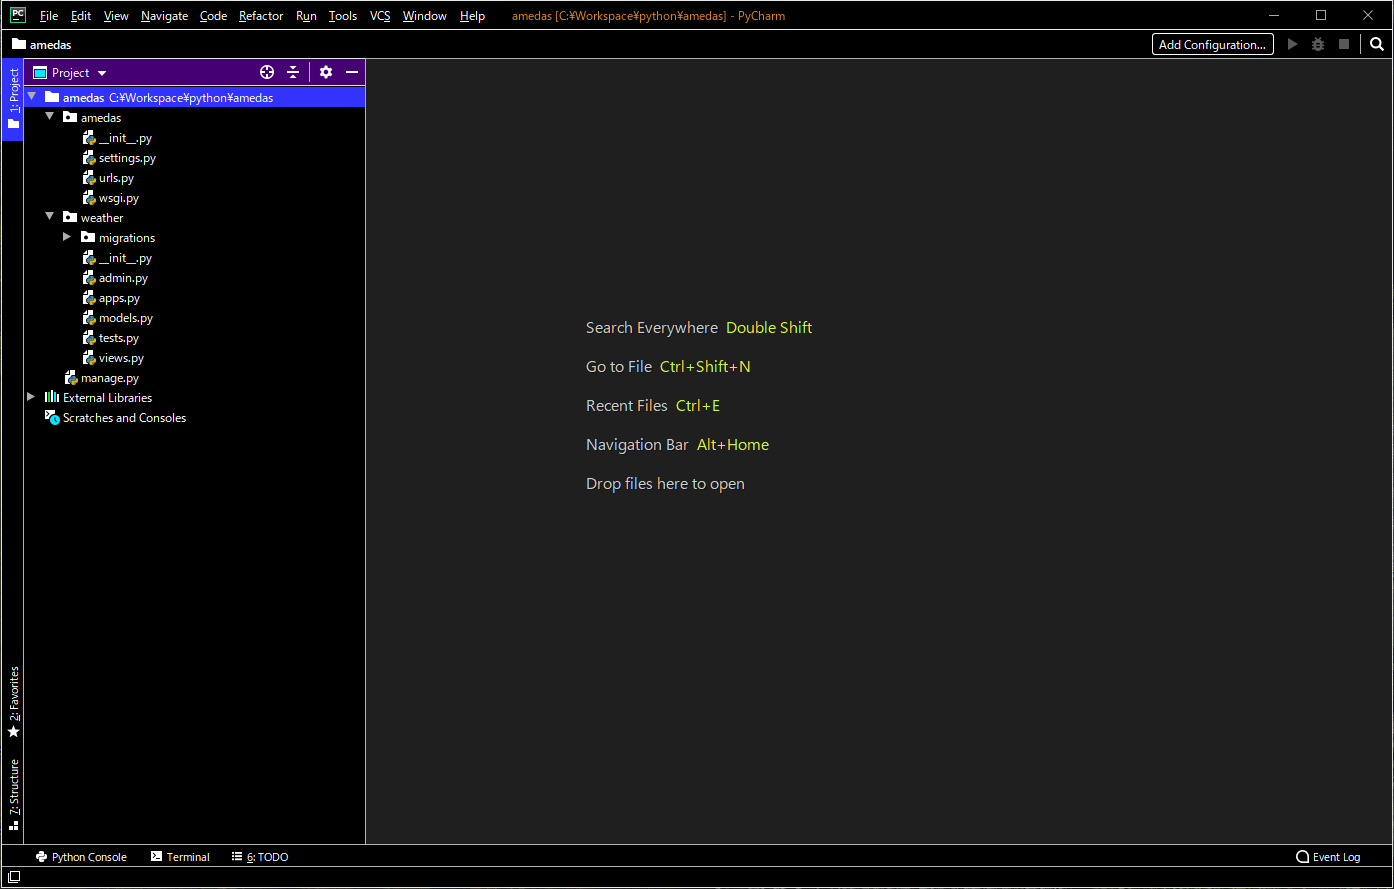
PyCharmで設定
-
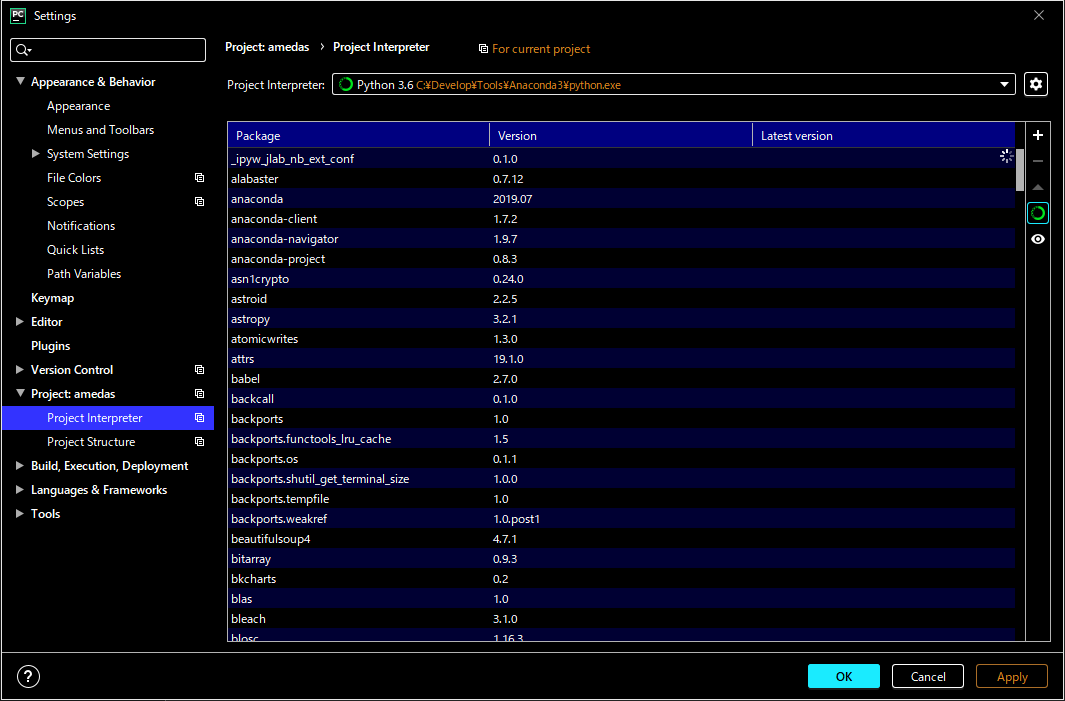
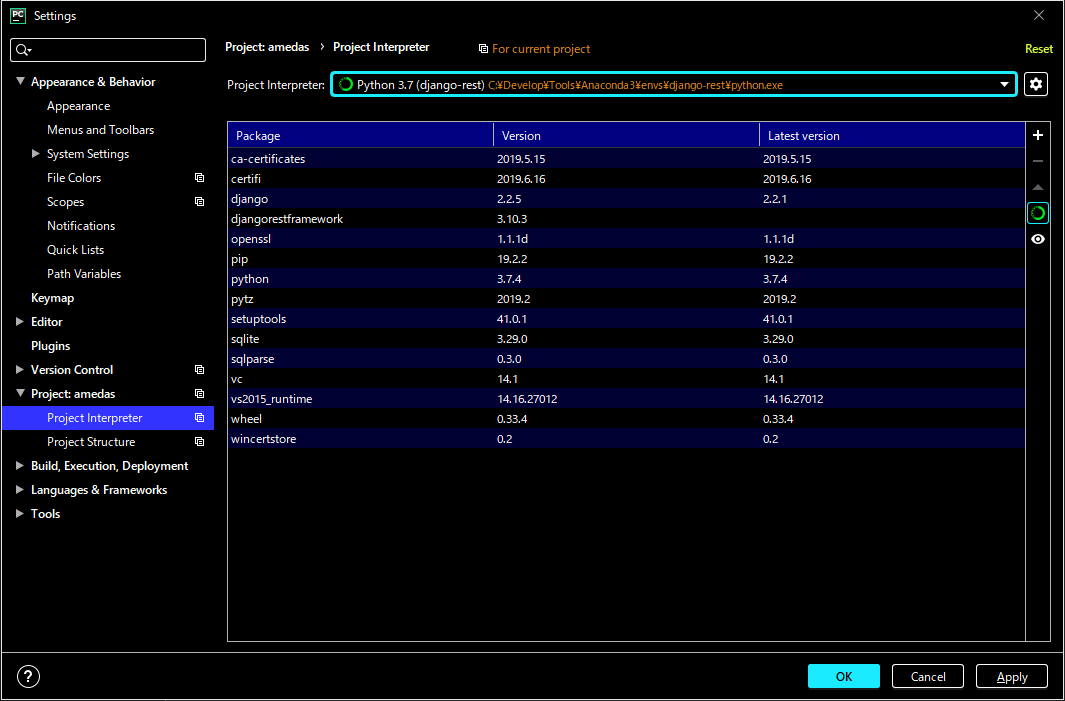
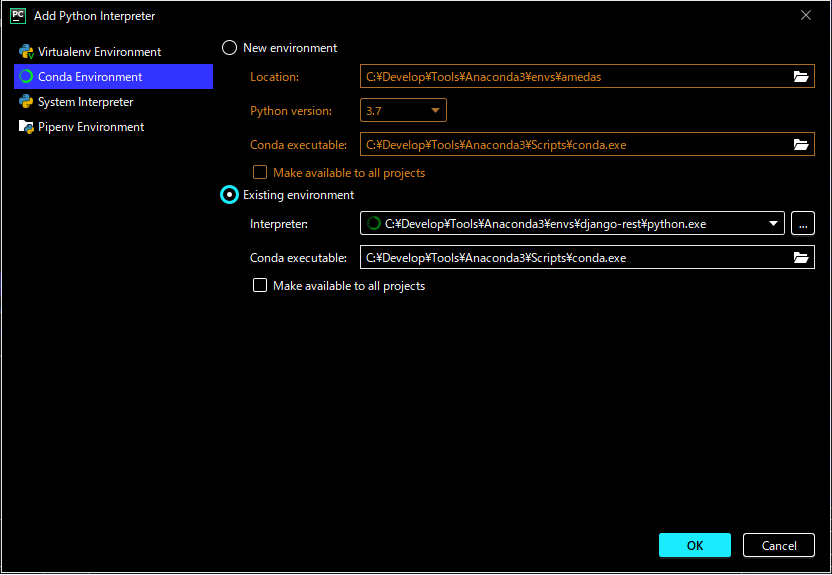
仮想環境「django-rest」を利用するように Python Interpreter を設定します
-
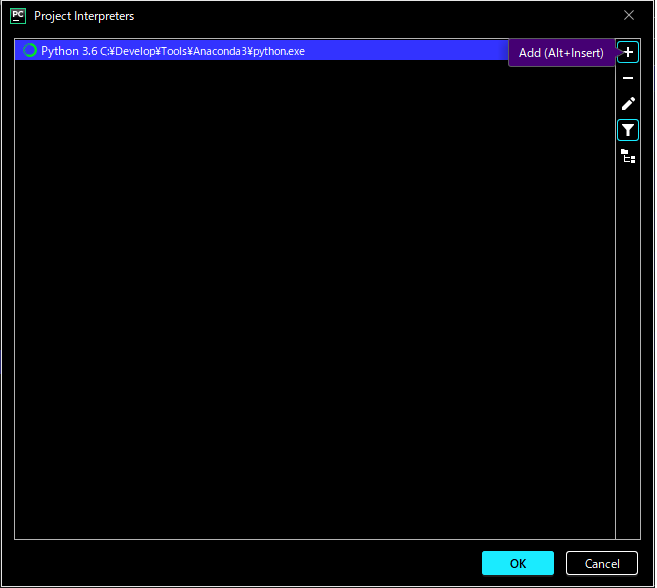
今は (base) が選択されているため、仮想環境を変更します
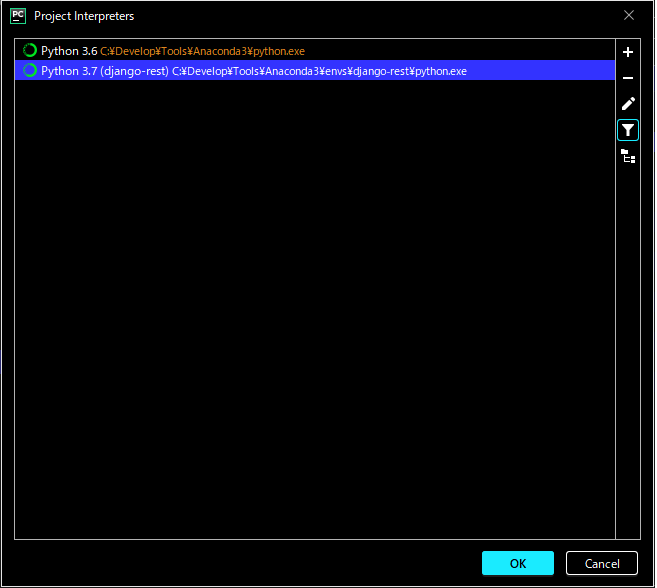
Existing environmentに先ほど作成した仮想環境「django-rest」が表示されているので、選択して、「OK」をクリックします
CRUD APIの作成
- 環境が出来上がったところでAPIを構築します
- 実装手順
- モデルの作成
- シリアライザー、ビューの作成
- settingsファイルの設定
- URLの設定
- マイグレーション
モデルの作成
- 気象庁が提供する過去データの必要データを取り込むことを想定したカラムを持つテーブルを作成します
| 気象項目 | カラム名 | データ型 |
|---|---|---|
| 観測日 | observation_date | Date |
| 観測地点 | observation_station | Integer |
| 気温(最小・平均・最大) | max_temp, avg_temp. min_temp | decimal(5,1) |
| 降水量(1日トータル) | rainfall_total | decimal(8,1) |
| 降雪量(1日トータル) | snowfall_total | decimal(8,1) |
weather/models.py
from django.db import models

# Create your models here.
class Observation(models.Model):
    observation_date = models.DateField()
    observation_station_code = models.IntegerField()
    avg_temp = models.DecimalField(max_digits=5, decimal_places=1, null=True)
    max_temp = models.DecimalField(max_digits=5, decimal_places=1, null=True)
    min_temp = models.DecimalField(max_digits=5, decimal_places=1, null=True)
    rainfall_total = models.DecimalField(max_digits=8, decimal_places=1, null=True)
    snowfall_total = models.DecimalField(max_digits=8, decimal_places=1, null=True)
    create_date = models.DateTimeField(auto_now_add=True)
    update_date = models.DateTimeField(auto_now=True)
- create_dateはデータ追加時、update_dateはデータ更新時に自動で更新されるように設定しています
シリアライザー、ビューの作成
- シリアライザーを作成し、ビューはViewSetを利用して作成します
weather/serializer.py
from rest_framework import serializers

from weather.models import Observation

class ObservationSerializer(serializers.HyperlinkedModelSerializer):
    class Meta:
        model = Observation
        fields = ('__all__')
weather/views.py
from rest_framework import viewsets

from weather.models import Observation
from weather.serializers import ObservationSerializer


class ObservationViewSet(viewsets.ModelViewSet):
    queryset = Observation.objects.all()
    serializer_class = ObservationSerializer
settingsファイルの設定
INSTALLED_APPS
- REST Frameworkとアプリケーション(今回の場合、weather)を設定します
- 今後もライブラリを追加する際は、この項目に追加します(filters, swagger, cors, etc…)
INSTALLED_APPS = [
    'django.contrib.admin',
    'django.contrib.auth',
    'django.contrib.contenttypes',
    'django.contrib.sessions',
    'django.contrib.messages',
    'django.contrib.staticfiles',
    'rest_framework',           # REST Framework
    'weather',                  # 作成したApp
]
DATABASES
- 利用するデータベースを指定します
- 今回はそのまま sqlite3 を設定します(変更無し)
DATABASES = {
    'default': {
        'ENGINE': 'django.db.backends.sqlite3',
        'NAME': os.path.join(BASE_DIR, 'db.sqlite3'),
    }
}
言語、タイムゾーン
- 初期値は英語圏になっているので、下記の通り、アジア(東京)に設定
LANGUAGE_CODE = 'ja-JP'

TIME_ZONE = 'Asia/Tokyo'
Django REST Frameworkの設定
- REST frameworkの設定をファイルの最後に追加します
REST_FRAMEWORK = {
    'DEFAULT_SCHEMA_CLASS': 'rest_framework.schemas.coreapi.AutoSchema',
}
URLの設定
- URLの設定は、「urls.py」設定します
- 「admin/」は管理サイト設定で最初からコードに入っていますので、そのまま残しています
- 管理対象にしたいモデルは、admin.pyで設定
amedas/url.py
from django.contrib import admin
from django.urls import include, path

from rest_framework import routers
from weather import views as weather_views

router = routers.DefaultRouter()
router.register(r'weather/observations', weather_views.ObservationViewSet)

urlpatterns = [
    path('', include(router.urls)),
    path('admin/', admin.site.urls),
]
マイグレーション
- 一通り、実装を終えたら、データベースにマイグレーションを行い、作成したモデルの内容を反映します
- PyCharm で terminal を起動し、下記のコマンドを実行します
(django-rest) C:\Workspace\python\amedas>python manage.py makemigrations
Migrations for 'weather':
  weather\migrations\0001_initial.py
    - Create model Observation
- 作成されたマイグレーションの内容(SQL)を表示してみます
- CREATE TABLE文が生成されていることを確認できます
(django-rest) C:\Workspace\python\amedas>python manage.py sqlmigrate weather 0001
BEGIN;
--
-- Create model Observation
--
CREATE TABLE "weather_observation" ("id" integer NOT NULL PRIMARY KEY AUTOINCREMENT, "observation_date" date NOT NULL, "observation_station_code" integer NOT NULL, "avg_temp" decimal NULL, "max_temp"
 decimal NULL, "min_temp" decimal NULL, "rainfall_total" decimal NULL, "snowfall_total" decimal NULL, "create_date" datetime NOT NULL, "update_date" datetime NOT NULL);
COMMIT;
- マイグレーションを実行し、データベースに反映します
(django-rest) C:\Workspace\python\amedas>python manage.py migrate
Operations to perform:
  Apply all migrations: admin, auth, contenttypes, sessions, weather
Running migrations:
  Applying contenttypes.0001_initial... OK
  Applying auth.0001_initial... OK
  Applying admin.0001_initial... OK
  Applying admin.0002_logentry_remove_auto_add... OK
  Applying admin.0003_logentry_add_action_flag_choices... OK
  Applying contenttypes.0002_remove_content_type_name... OK
  Applying auth.0002_alter_permission_name_max_length... OK
  Applying auth.0003_alter_user_email_max_length... OK
  Applying auth.0004_alter_user_username_opts... OK
  Applying auth.0005_alter_user_last_login_null... OK
  Applying auth.0006_require_contenttypes_0002... OK
  Applying auth.0007_alter_validators_add_error_messages... OK
  Applying auth.0008_alter_user_username_max_length... OK
  Applying auth.0009_alter_user_last_name_max_length... OK
  Applying auth.0010_alter_group_name_max_length... OK
  Applying auth.0011_update_proxy_permissions... OK
  Applying sessions.0001_initial... OK
  Applying weather.0001_initial... OK
APIサーバーの起動
- これで簡単なCRUD APIサーバーの構築は完了です。実際に起動して動作を確認してみます
(django-rest) C:\Workspace\python\amedas>python manage.py runserver
Watching for file changes with StatReloader
Performing system checks...

System check identified no issues (0 silenced).
September 16, 2019 - 17:04:32
Django version 2.2.5, using settings 'amedas.settings'
Starting development server at http://127.0.0.1:8000/
Quit the server with CTRL-BREAK.
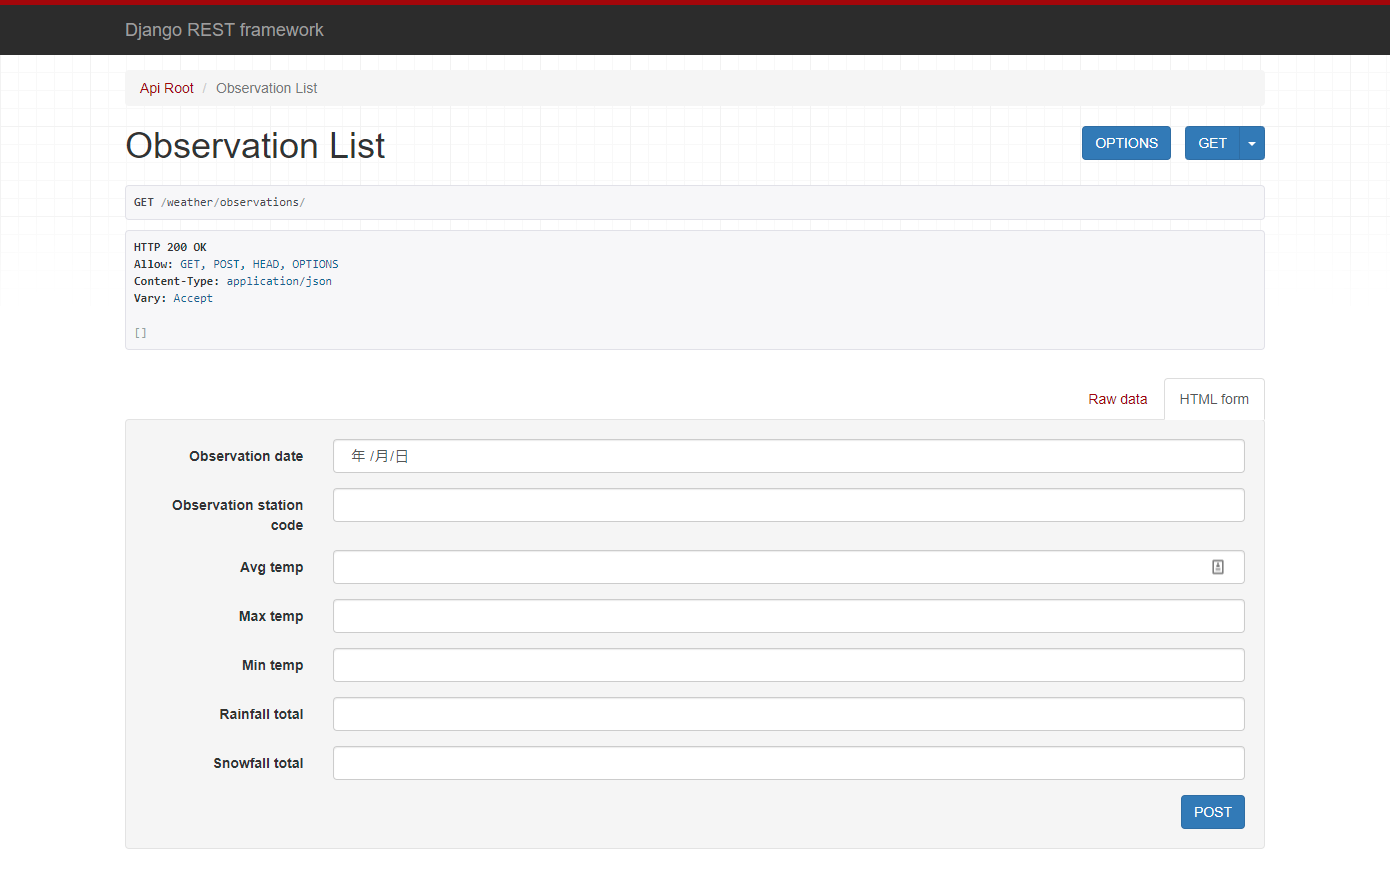
- ブラウザを開いて、「 http://127.0.0.1:8000/weather/observations 」と入力します
- 下記の画面が表示されます、データは入っていないので空ですが、GETで一覧を取得した結果になります
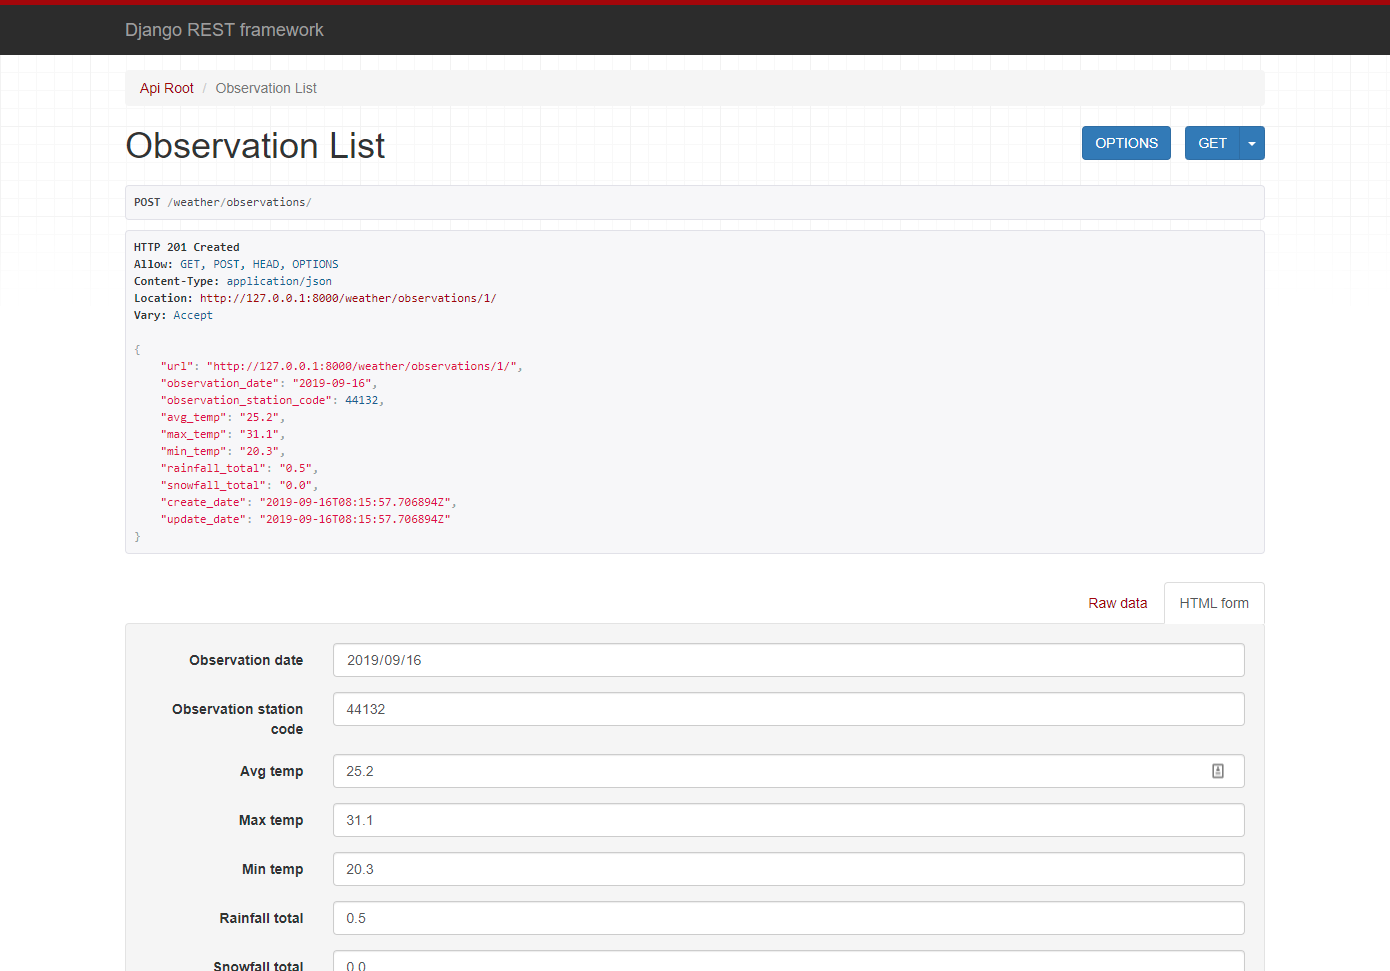
- 各項目に入力し、一番下の「POST」で登録します、登録後、登録内容が表示されます(Http201 Createdって表示されてます)
- 気象庁の過去データを見て登録してみました
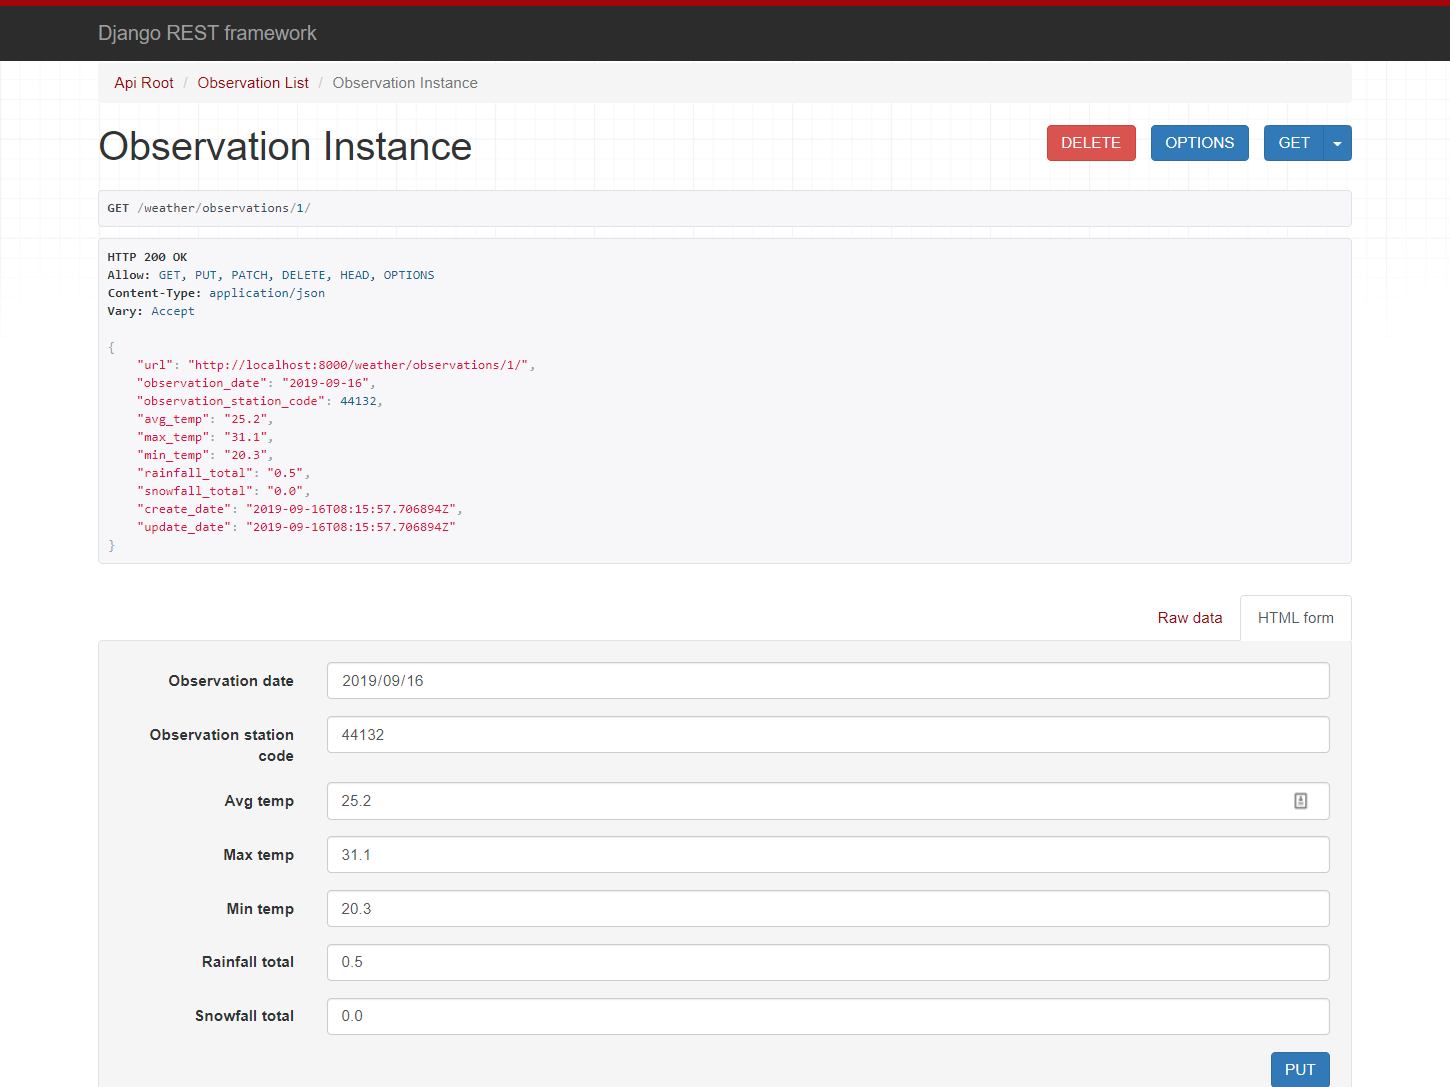
- 続いて一覧画面で表示されるオブジェクトのurl 「 http://localhost:8000/weather/observations/1/ 」をクリックすると、オブジェクトの詳細画面に遷移します。ここではデータを更新する「PUT」や削除する「DELETE」が実行できることがわかります
- 以上でCRUD APIの構築はひとまず完了です
次に向けて
- Django + REST Frameworkを触るきっかけとなったのは、開発途中でAPIを3日後に立ち上げる必要があり、すぐ対応できるものはないかな?と探していた時に出会いました。
- テーブルの元となるデータモデルを作れれば、CRUD APIであれば、あっさり作ることができ、Django + REST Frameworkが広まっている理由もわかります
- ただこれだけでは実際に利用するAPIとしては不十分で、利用するまでには以下のような対応が必要でした
- 検索パラメータの追加(観測日の from/to、観測地点のポイント指定)
- OAuth認証
- Cors設定
- CRUDではなく、何かしらの演算処理をして、計算結果を返すAPIの追加
- 次、更新する記事では上記の内容を記載したいと思います
