はじめに
今回はCentOS6.5コンテナの上にPHP5.6とComposerとFuelPHP1.7をインストールして画面が見れるようにするまでをやってみます
PHP5.6単体のDockerfileと
PHP5.6+Composerが入ったDockerfileと
PHP5.6+Composer+oilが入ったDockerfileを作っておきたいですが今回は割愛します
たぶんこれ書いたあと暇な時にDockerHubに載せます
今回僕のdocker ipは192.168.99.100になっています
各自IPは変わるかもしれないので
docker ip VM名
で確認しておいてください
CentOSコンテナ立ち上げ
今回ベースとなるコンテナを立ち上げます
imageはこちらです
https://hub.docker.com/r/takashioshikawa/centos6base/
必要な人はpullっておきましょう
docker pull takashioshikawa/centos6base
ではコンテナを立ち上げます
docker run --rm -it -p 80:8080 --name fuel-con takashioshikawa/centos6base
立ち上がりました
~ ❯ docker run --rm -it -p 80:8080 --name fuel-con takashioshikawa/centos6base
[root@947ec361248a /]#
PHP5.6をインストールする
3つのコマンドを打つ
rpm -Uvh http://ftp.iij.ad.jp/pub/linux/fedora/epel/6/x86_64/epel-release-6-8.noarch.rpm
rpm -Uvh http://rpms.famillecollet.com/enterprise/remi-release-6.rpm
yum install -y --enablerepo=remi --enablerepo=remi-php56 php php-opcache php-devel php-mbstring php-mcrypt php-mysqlnd php-phpunit-PHPUnit php-pecl-xdebug php-pecl-xhprof
バージョンの確認
[root@947ec361248a tmp]# php -v
PHP 5.6.17 (cli) (built: Jan  6 2016 19:05:40)
Copyright (c) 1997-2015 The PHP Group
Zend Engine v2.6.0, Copyright (c) 1998-2015 Zend Technologies
    with Zend OPcache v7.0.6-dev, Copyright (c) 1999-2015, by Zend Technologies
    with Xdebug v2.3.3, Copyright (c) 2002-2015, by Derick Rethans
5.6が入っています
Composerのインストール
現在のディレクトリは
/tmp
でここにComposerをインストールします
curl -sS https://getcomposer.org/installer | php
[root@947ec361248a tmp]# ls
anaconda-post.log  composer.phar  ks-script-mbvg2Y  yum.log
composer.pharが入っていればOK
そして
mv composer.phar /usr/bin/composer
を実行して
これで
which composer
とすると
[root@947ec361248a tmp]# which composer
/usr/bin/composer
composerコマンドが事項出来るようになりました
FuelPHPをインストール
oilコマンドをイントール
curl https://get.fuelphp.com/oil | sh
[root@947ec361248a tmp]# curl get.fuelphp.com/oil | sh
  % Total    % Received % Xferd  Average Speed   Time    Time     Time  Current
                                 Dload  Upload   Total   Spent    Left  Speed
128   385  128   385    0     0    484      0 --:--:-- --:--:-- --:--:--  1258
which: no sudo in (/usr/local/sbin:/usr/local/bin:/usr/sbin:/usr/bin:/sbin:/bin)
oilコマンド確認
which oil
[root@947ec361248a tmp]# which oil
/usr/bin/oil
OK
FuelPHPをインストールしていきます
ディレクトリを変更しましょう
cd /usr/src/
ここでFuelプロジェクトを作成します
oil create fuel-app
その時Tokenを聞かれると思います
to retrieve a token. It will be stored in "/root/.composer/auth.json" for future use by Composer.
Token (hidden):
GitHubにログインして
https://github.com/settings/tokens
Personal settings -> Personal access tokens -> Generate new tokenでトークンを作成します
文字列が生成されると思うのでそれをコピーして
Token (hidden):
に貼り付けます
※文字は表示されません
これでダウンロードが始まるので少し待ちましょう
最後に
Writing lock file
Generating autoload files
Error - date_default_timezone_get(): It is not safe to rely on the system's timezone settings. You are *required* to use the date.timezone setting or the date_default_timezone_set() function. In case you used any of those methods and you are still getting this warning, you most likely misspelled the timezone identifier. We selected the timezone 'UTC' for now, but please set date.timezone to select your timezone. in COREPATH/classes/fuel.php on line 162
エラーが出てきますが、これはタイムゾーンの問題で起こるようです
php.iniを確認しましょう
php --ini
[root@947ec361248a src]# php --ini
Configuration File (php.ini) Path: /etc
Loaded Configuration File:         /etc/php.ini
・
・
色々出てきますが実際に読み込んでいるphp.iniは
Loaded Configuration File: /etc/php.ini
これです
編集していきましょう
vim /etc/php.ini
ここを
[Date]
; Defines the default timezone used by the date functions
; http://php.net/date.timezone
;date.timezone =
こう
![]()
[Date]
; Defines the default timezone used by the date functions
; http://php.net/date.timezone
date.timezone = "Asia/Tokyo"
動作確認
プロジェクトに入ります
cd fuel-app
FuelPHPが待ち受ける標準ポートは8000
アドレスにすると
http://localhost:8000
ですが
docker runの時に -p 80:8080と指定したので
ポートは8080を指定します
ホストは0.0.0.0に変更します
サーバー起動コマンドはこうなります
php oil server -h=0.0.0.0 -p=8080
-h=0.0.0.0でホスト指定
-p=8080でポート指定
=付けないといけないのは何とも…
[root@947ec361248a fuel-app]# oil server -h=0.0.0.0 -p=8080
Listening on http://0.0.0.0:8080
Document root is public
Press Ctrl-C to quit.
こんな風に出れば起動出来ています
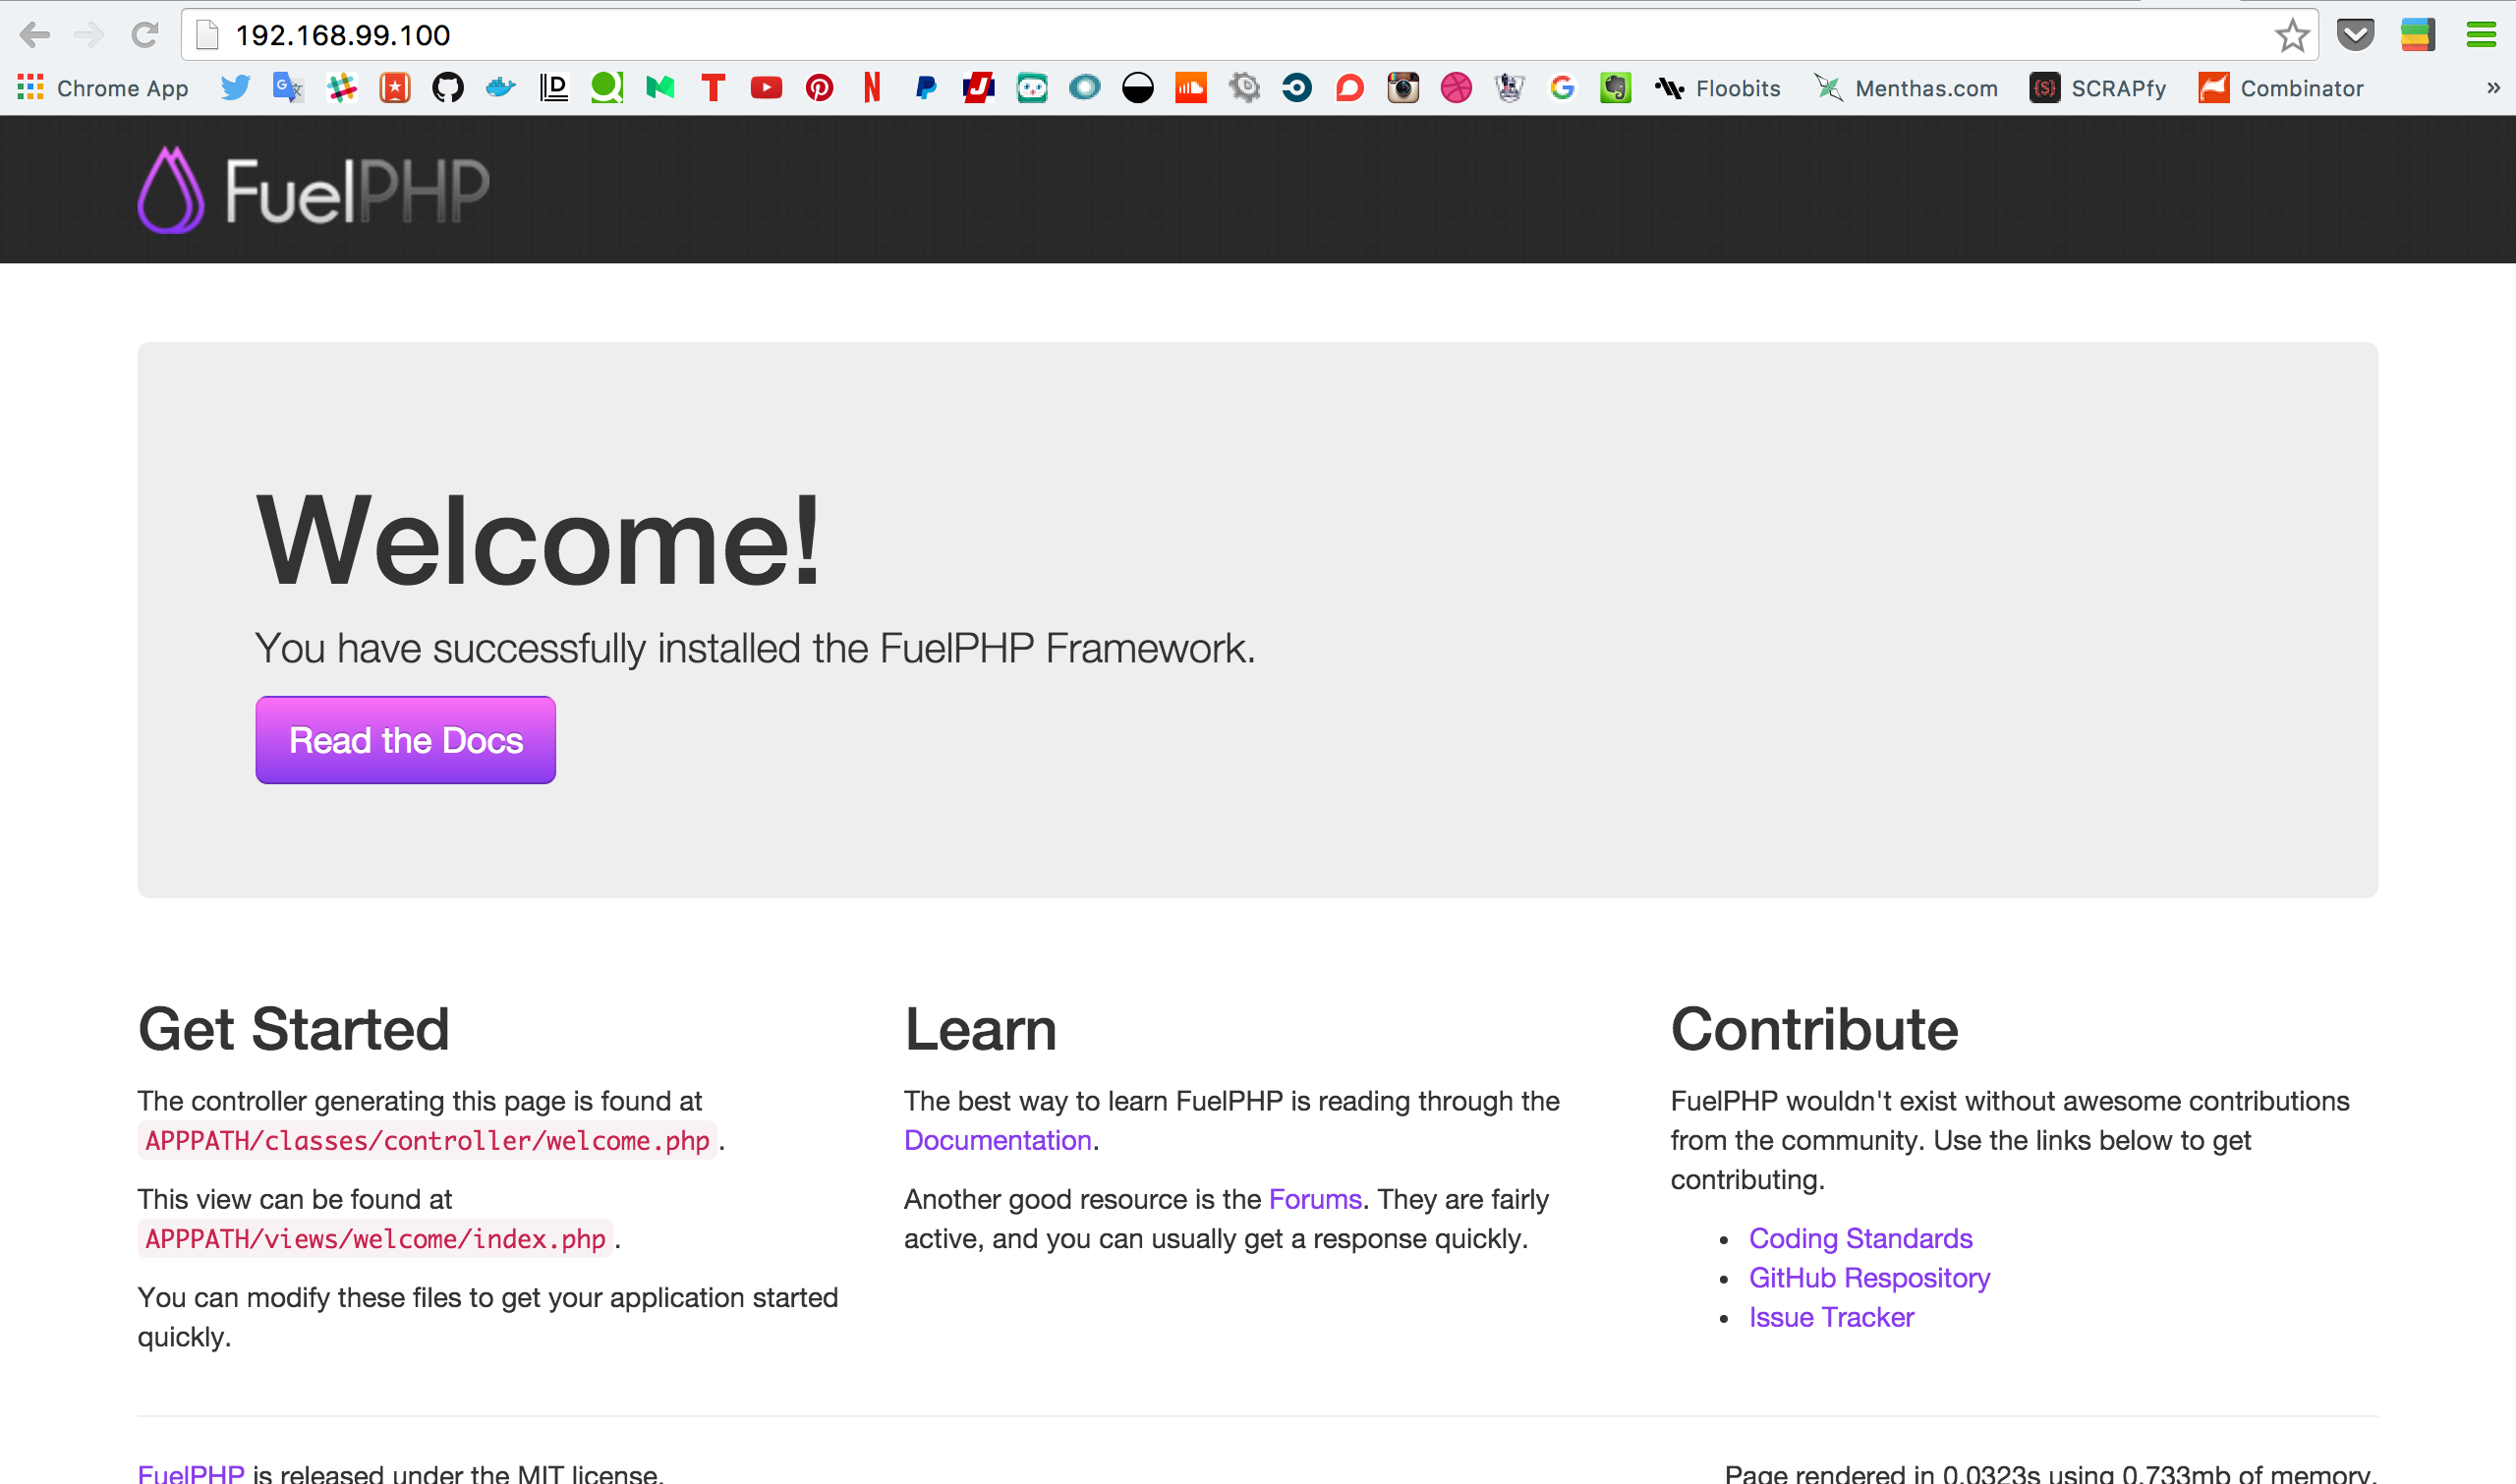
ではブラウザで確認しましょう
出来ていますね
所感
FuelPHPのインストールが長いのとGitHubのtoken取っておかないといけないのとタイムゾーンに気をつければ大丈夫ですね
以上です
参考資料
CentOSにPHP5.6をインストール
Composer本体をインストールする
高速で軽量なフレームワークFuelPHPを使う
FuelPHP 1.7 Documentation
