概要
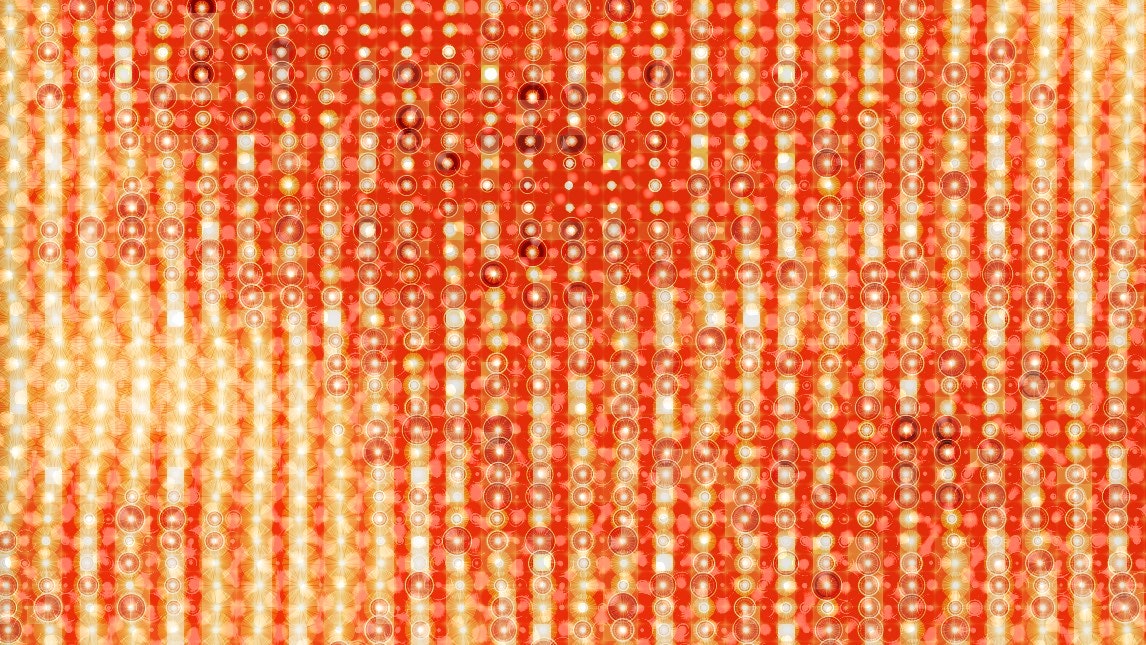
ジェネラティブな手法を使い模様を生成する機会がありましたので、その手法を共有します。
描画ライブラリであるProcessing.jsを使用し、Chromeのcanvasに描画します。
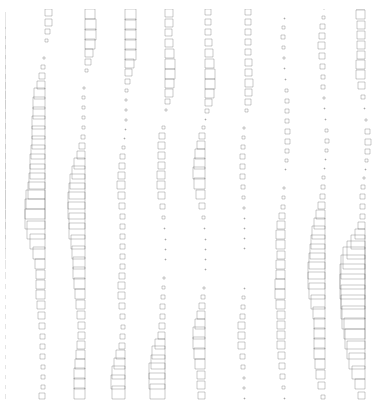
2次元パーリンノイズを使用し、統一感のあるゆらぎを出しています。
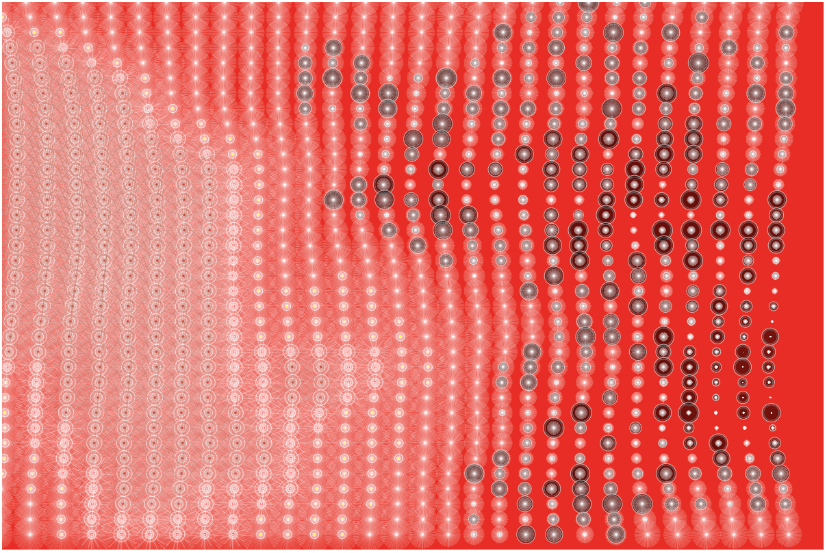
上の絵は、生成された絵のスクリーンショットを画像編集ソフトで多少加工したものになります。
Processing.jsについて
MITが開発したアーティストも使えるよう設計した言語Processingを擬似的にwebのテクノロジで動かすjsライブラリです。canvasの機能をそのまま使うのに比べ、細い線や透明度のあるオブジェクトの重なりがとても綺麗に描画されているような気がします。色指定や描画命令もたくさんあり、大変に使いやすいものでした。
HPはこちら。
リファレンスは本家のものを。java的な表記なので、js的な表記に書き直す必要があります。
実装
ファイルは下記の通り。すべて同じ階層にあります。
<制作物>
index.html
set_up.js
CellManager.js
Flower.js
<ライブラリ>
underscore-min.js
processing.min.js
index.html
ブラウザで読み込まれるページ。
必要なjsファイルを登録(読み込み)しましょう。
<!DOCTYPE html>
<html>

<head>
    <title>title_name</title>
</head>

<body>
    <canvas id="stage"></canvas>
</body>

<script src="processing.min.js"></script>
<script src="underscore-min.js"></script>

<script src="Flower.js"></script>
<script src="CellManager.js"></script>

<script src="set_up.js"></script>

</html>
set_up.js
webでprosessing.jsを動かす基礎部分です。
"prosessing"はライブラリの中で宣言されているインスタンスですが、
表記が長いので、ひとまず"P"にしています。
Processingクラス(?)に対象となるcanvas,処理を与えてあげると機能します。
色モードをHSBに変えているのは、引数が(色相,彩度,明度)となり、
プログラムで生成するときに制御がし易いからです。
var P = null;
function sketchProc(prosessing) {
    P = prosessing;
    P.setup = function () {
        P.colorMode(P.HSB, 360, 100, 100, 1);
        createFiled();
    }
    function createFiled() {
        P.background(P.color(4, 90, 90));
        P.size(1200, 800);
        new CellManager(36,29);
    }
}
var canvas = document.getElementById("stage");
var processingInstance = new Processing(canvas, sketchProc);
CellManager.js
たくさんオブジェクトを並べるクラスです。
一度に制御する場合は、リストを宣言しますが、
ここでは出しっぱなしなので何もケアしません。
var CellManager = function (row, column) {
    var cell_width = P.width / column;
    var cell_height = P.height / row;
    for(var r = 0; r < row; r++)
        for(var c = 0; c < column; c++)
            new Flower(c * cell_width, r * cell_height);
}
Flower.js
表現のメインとなるクラスです。
自分がいる位置を基礎の情報として二次元パーリンノイズの引数にして、
いいかんじのゆらぎを取り出します。
ここからは実際に絵を描く作業に近く、自分の感覚に合うよう
何も考えず、手が動くままに調整をします。
ですので可読性がほとんどなくなります。
var Flower = function (x, y) {
    this.x = x;
    this.y = y;
    this.spread();
}
Flower.prototype.spread = function () {
    var step = 2 * Math.PI / 100;
    var noise = P.noise(this.x / P.width, this.y / P.height);
    this.x += noise * 200 - 100;
    if (noise < 0.44) {
        P.stroke(P.color(0, 0, 80));
        P.fill(P.color(0, 0, 0, noise));
        var r = _.random(1, 30);
        P.ellipse(this.x, this.y, r, r);
        P.stroke(P.color(0, 0, 40));
        P.ellipse(this.x, this.y, r - 5, r - 5);
    }
    for (var radian = 0; radian < Math.PI * 2; radian += step) {
        var radius = noise * 140 - 45;
        var target_x = this.x + Math.sin(radian) * radius;
        var target_y = this.y + Math.cos(radian) * radius;
        P.strokeWeight(0.8);
        P.stroke(P.color(0, 0, 100, 0.2));
        P.line(this.x, this.y, target_x, target_y);
    }
    if (noise > 0.5) {
        P.noStroke();
        P.fill(P.color(60, 100, 100));
        P.ellipse(this.x, this.y, 2, 2);
        P.stroke(P.color(0, 0, 100));
        P.strokeWeight(0.6);
        P.noFill();
        P.ellipse(this.x, this.y, 12, 12);
    }
    if (noise > 0.53) {
        P.noStroke();
        P.fill(P.color(00, 100, 100));
        P.ellipse(this.x, this.y, 4, 4);
        for (var radian = 0; radian < Math.PI * 2; radian += (step * 8)) {
            var radius = noise * 600 - 300;
            var target_x = this.x + Math.sin(radian) * radius;
            var target_y = this.y + Math.cos(radian) * radius;
            P.strokeWeight(0.8);
            P.stroke(P.color(0, 0, 100, 0.4));
            P.line(this.x, this.y, target_x, target_y);
        }
    }
    if (noise > 0.550) {
        for (var radian = 0; radian < Math.PI * 2; radian += (step * 8)) {
            var radius = noise * 600 - 300;
            var target_x = this.x + Math.sin(radian) * radius;
            var target_y = this.y + Math.cos(radian) * radius;
            P.strokeWeight(0.8);
            P.stroke(P.color(10, 100, 60, noise* 0.8));
            P.line(this.x, this.y, target_x, target_y);
        }
    }
    if (noise > 0.534) {
        P.noFill();
        P.strokeWeight(0.8);
        P.stroke(P.color(0, 0, 100, 0.8));
        P.ellipse(this.x, this.y, 22, 22);
    }
}
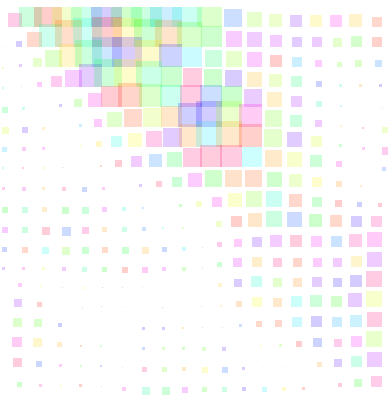
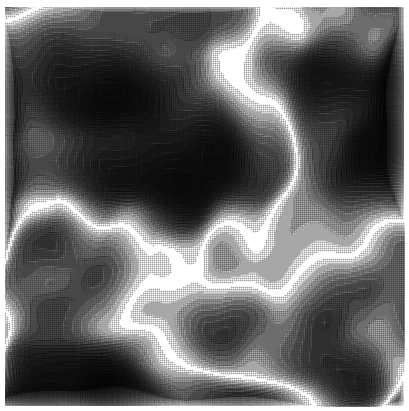
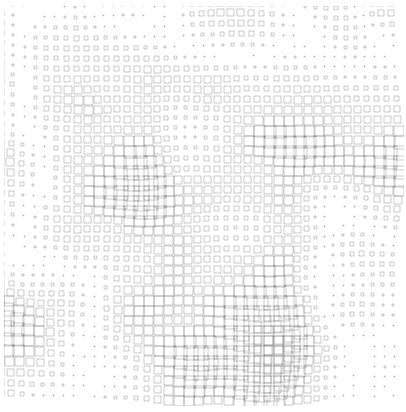
ギャラリー
制作の過程でボツ案になった絵も載せておきます。
すべて二次元パーリンノイズを使っています。