はじめに
この記事ではConstraintLayoutとそのヘルパーウィジェットであるflowを使って、下記の図のようなタイトルの長さに合わせて、画面から右端のコンポーネントがはみ出さないように中央のTextViewを改行させるレイアウトを作成するのに色々てこずったので紹介します

flowを使って並べる
flowとは
ConstraintLayoutのflowとはConstraintLayout内のViewの整列に便利なヘルパーウィジェットです。
詳しくは過去に私が書いたテックブログをご覧ください(※ConstraintLayout2.0で追加されるFlowを使ってタグを実装する)
必要なウィジェットをConstraintLayout内に配置する
絵文字を表示するTextView、コンテンツを表示するTextView, 常にコンテンツの右隣に配置されるButtonの3つとヘルパーウィジェットであるflowをconstraintLayout内に配置します。
<androidx.constraintlayout.widget.ConstraintLayout xmlns:android="http://schemas.android.com/apk/res/android"
    xmlns:tools="http://schemas.android.com/tools"
    android:layout_width="match_parent"
    android:layout_height="match_parent"
    tools:context=".MainActivity">

    <androidx.constraintlayout.helper.widget.Flow
        android:layout_width="match_parent"
        android:layout_height="match_parent" />

    <TextView
        android:id="@+id/icon"
        android:layout_width="wrap_content"
        android:layout_height="wrap_content"
        android:text="🎉"
        android:textSize="30sp" />

    <TextView
        android:id="@+id/contentTextView"
        android:layout_width="wrap_content"
        android:layout_height="wrap_content"
        android:text="タイトル"
        android:textSize="32sp" />

    <Button
        android:id="@+id/button"
        android:layout_width="wrap_content"
        android:layout_height="wrap_content"
        android:text="決定" />
</androidx.constraintlayout.widget.ConstraintLayout>
現段階では何も制約がないため、全てのコンポーネントが左上に固まっています。
横に整列させる
コンポーネントを整列するのにflowが活躍します。
flowのAttributesを以下のように指定します
<androidx.constraintlayout.helper.widget.Flow
        android:layout_width="match_parent"
        android:layout_height="match_parent"
        android:orientation="horizontal"
        app:constraint_referenced_ids="icon, contentTextView, button"
        app:flow_horizontalBias="0"
        app:flow_horizontalGap="6dp"
        app:flow_horizontalStyle="packed"
        app:flow_maxElementsWrap="3"
        app:flow_verticalAlign="center"
        app:flow_wrapMode="none" />

...

</androidx.constraintlayout.widget.ConstraintLayout>
それぞれのAttributesについては
-
android:orientation- 整列方向 -
app:constraint_referenced_ids- 整列させるViewのid -
app:flow_horizontalBias- 水平方向の重心(今回は左寄せにしたいので0を指定) -
app:flow_horizontalGap- View間の間隔 -
app:flow_maxElementsWrap- 1列あたりの要素の最大個数 -
app:flow_verticalAlign- 垂直方向のViewの合わせ方 -
app:flow_wrapMode- 整列方法(今回は改行させる必要がないのでnoneを指定)
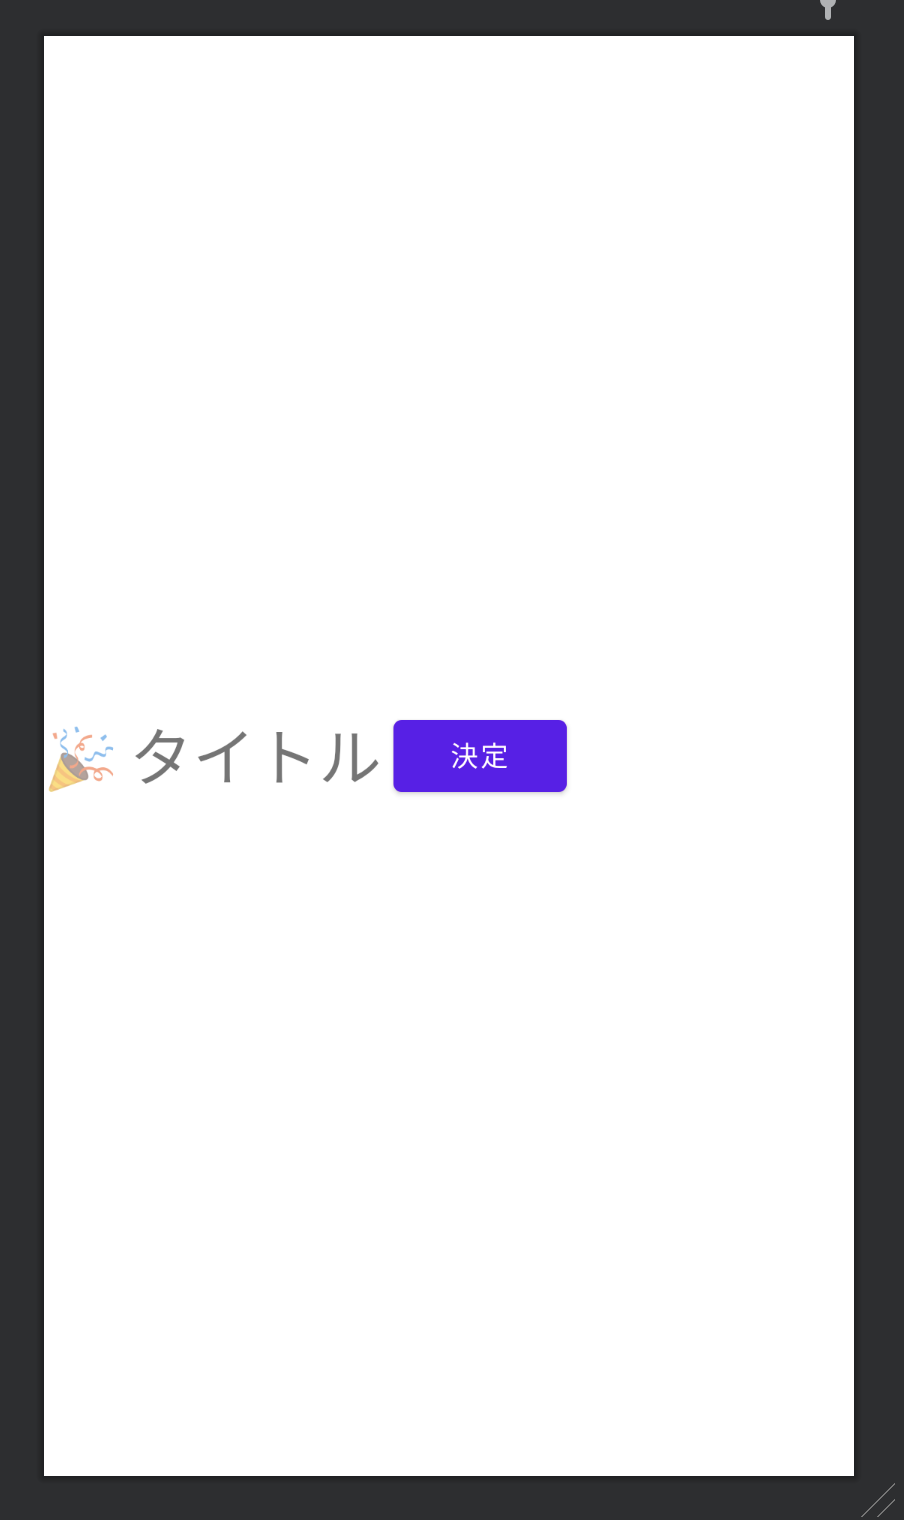
flowを使って整列させることで、プレビュー内のViewでは想定どおり表示されていることが確認できます。
改行を考慮する
テキストが改行の不要な範囲内では正しくレイアウトできていることができました。
では、テキストが改行が必要になる程度大きくなった場合はどうなるでしょうか?
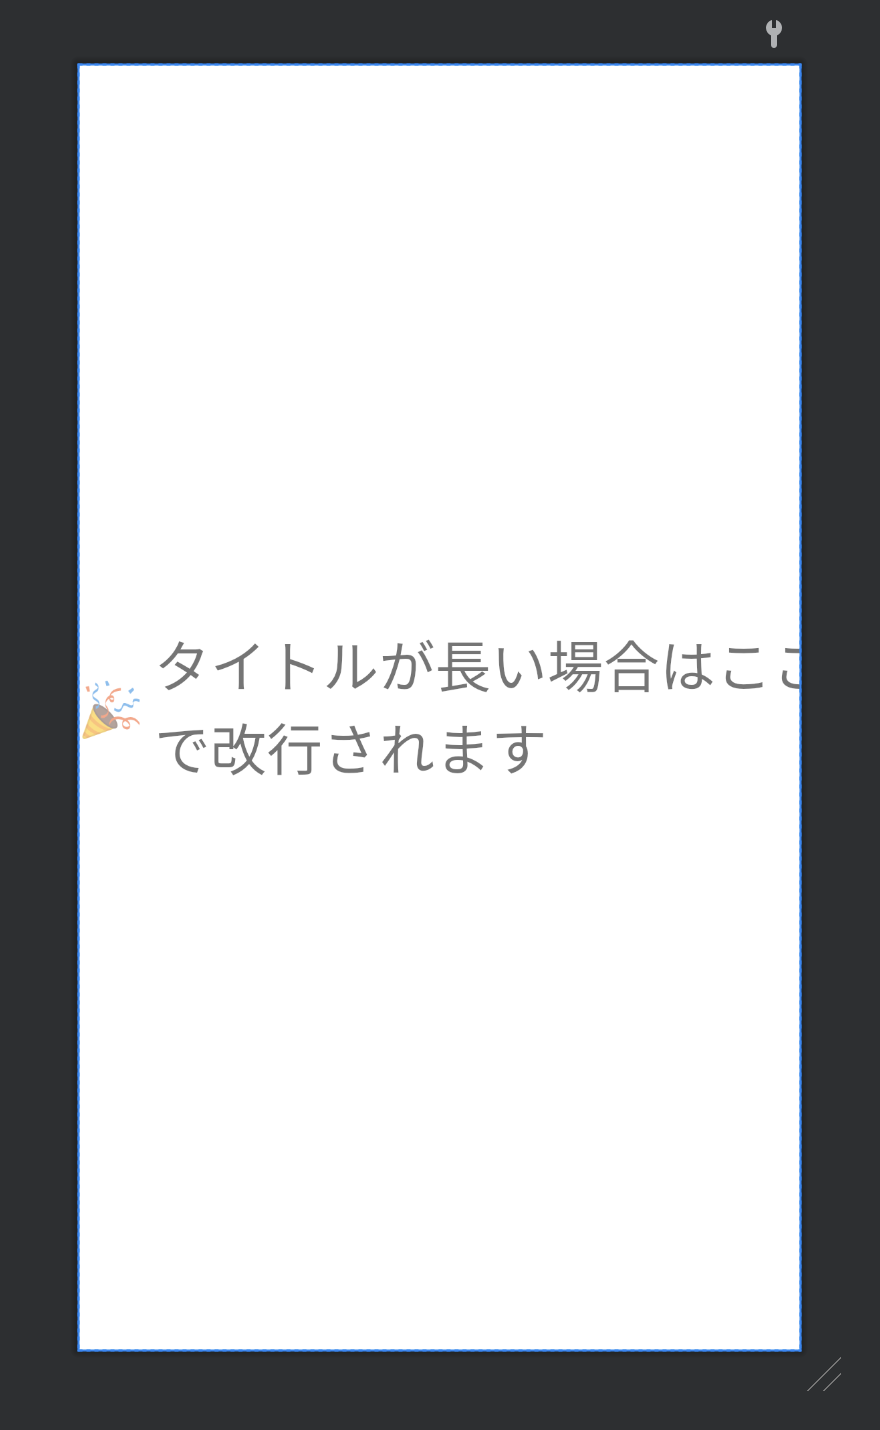
ボタンが消えた?
そうです。
中央のTextViewのlayout_widthをwrap_contentで指定しているため、右にあるボタンを考慮して改行を行うことができず、親のビューからはみ出てレイアウトされてしまいます。
制約に合わせて大きさを決める
ConstraintLayout内の制約に合わせてコンテンツの大きさを変える方法があります。
layout_widthを0dpとして指定する方法です。
以下のように中央のTextViewのAttributeを変更するとどうなるでしょうか?
<TextView
    android:id="@+id/contentTextView"
    android:layout_width="0dp"
    android:layout_height="wrap_content"
    android:text="タイトル"
    android:textSize="32sp" />
| 通常 | タイトルが長い場合 |
|---|---|
 |
 |
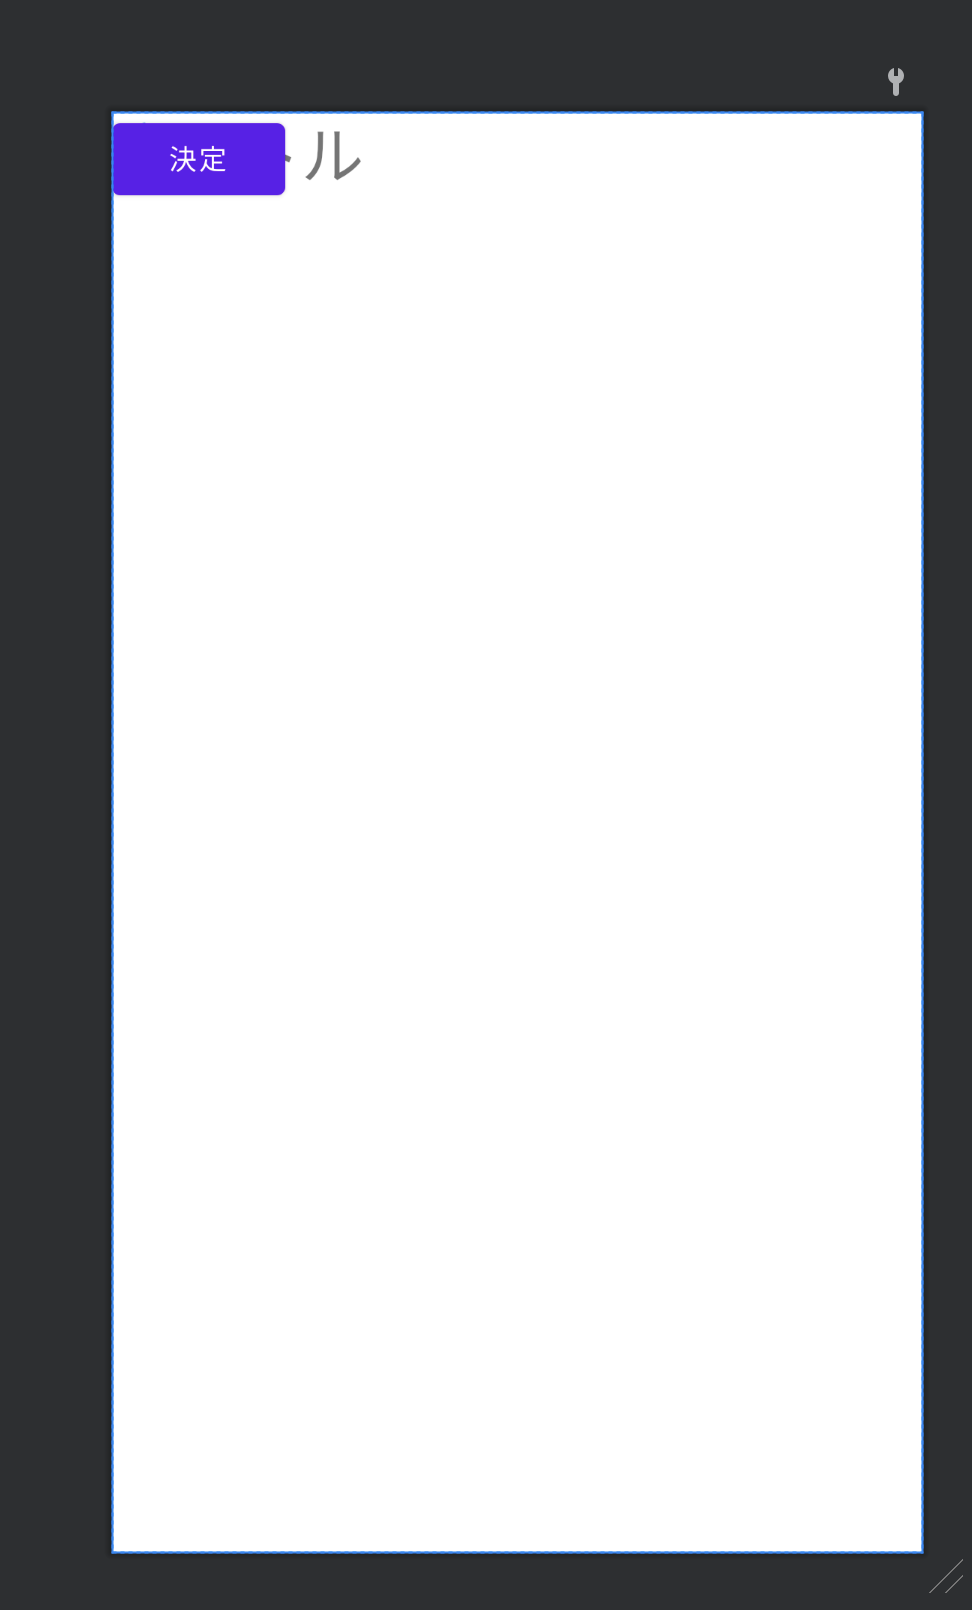
タイトルが長い場合はこれで対応することができますが、タイトルが短い場合はボタンが左寄せになっておらず、意図したようにレイアウトされていません。
これは、中心のTextViewが制約通りの横幅を保持するため、文字数にかかわらず領域を保有してしまうためです。
あと少しで表示できそうなのに、、、
そんな心の声が聞こえてきそうですが、ここで使用するのがlayout_constraintWidth_defaultというattributesです。
制約のによる領域の確保を最小にする
基本的にlayout_width="0dp"のように指定した場合、横幅はレイアウトが許す限り最大の大きさを保有しようとします。
ただ、最大まで保有するかどうかはlayout_constraintWidth_defaultというattributesによって変更することができます。(デフォルトでは"spread"となっており、最大まで広がるようになっている)
そこで制約による領域の確保を最小にするため、
app:layout_constraintWidth_default = "wrap"
と指定することで中心のTextViewの横幅を必要最小限にすることができます。
<TextView
    android:id="@+id/contentTextView"
    android:layout_width="0dp"
    android:layout_height="wrap_content"
    android:text="タイトル"
    android:textSize="32sp"
    app:layout_constraintWidth_default = "wrap" />
このようにTextViewのattributesを変更する
| 通常 | タイトルが長い場合 |
|---|---|
 |
|
これで意図した通りにレイアウトを作成できました🎉
最終的なコード
最後に最終的なコードを以下にまとめます。
<androidx.constraintlayout.widget.ConstraintLayout xmlns:android="http://schemas.android.com/apk/res/android"
    xmlns:app="http://schemas.android.com/apk/res-auto"
    xmlns:tools="http://schemas.android.com/tools"
    android:layout_width="match_parent"
    android:layout_height="match_parent"
    tools:context=".MainActivity">

    <androidx.constraintlayout.helper.widget.Flow
        android:layout_width="match_parent"
        android:layout_height="match_parent"
        android:orientation="horizontal"
        app:constraint_referenced_ids="icon, contentTextView, button"
        app:flow_horizontalBias="0"
        app:flow_horizontalGap="6dp"
        app:flow_horizontalStyle="packed"
        app:flow_maxElementsWrap="3"
        app:flow_verticalAlign="center"
        app:flow_wrapMode="none" />

    <TextView
        android:id="@+id/icon"
        android:layout_width="wrap_content"
        android:layout_height="wrap_content"
        android:text="🎉"
        android:textSize="30sp" />

    <TextView
        android:id="@+id/contentTextView"
        android:layout_width="0dp"
        android:layout_height="wrap_content"
        android:text="タイトル"
        android:textSize="32sp"
        app:layout_constraintWidth_default="wrap" />

    <Button
        android:id="@+id/button"
        android:layout_width="wrap_content"
        android:layout_height="wrap_content"
        android:text="決定" />
</androidx.constraintlayout.widget.ConstraintLayout>