はじめに
この記事は自作CPU Advent Calendar 2024の20日目の記事です。
いつかは作ってみたい自作CPU。でも敷居が高い。そうだChatGPT先生に教えてもらおう。
ChatGPT先生の自作CPU
asm.py
# SimpleCPU コンパイラ
import sys

# 命令セットの定義
INSTRUCTION_SET = {
    'NOP': '0000',
    'LOAD': '0001',
    'STORE': '0010',
    'ADD': '0011',
    'JMP': '0100',
    'HALT': '1111'
}

def assemble(source_code):
    binary_code = []
    for line in source_code.strip().split("\n"):
        parts = line.split()
        if not parts: continue
        instr = INSTRUCTION_SET.get(parts[0].upper(), None)
        if instr is None:
            raise ValueError(f"Unknown instruction: {parts[0]}")
        if len(parts) > 1:
            operand = format(int(parts[1]), '04b')
        else:
            operand = ''
        binary_code.append(instr + operand)
    return binary_code

if __name__ == "__main__":
    if len(sys.argv) < 2:
        print("Usage: python compiler.py <source_file>")
        sys.exit(1)

    with open(sys.argv[1], 'r') as f:
        source_code = f.read()

    binary_code = assemble(source_code)
    with open("output.bin", 'w') as f:
        f.write("\n".join(binary_code))
    print("Compilation successful! Output: output.bin")
コンパイラというがアセンブラか?
add.asm
LOAD 5       ; レジスタに5をロード
ADD 3        ; レジスタに3を加算
STORE 0      ; メモリのアドレス0に保存
HALT         ; 実行停止
add.asm
LOAD 5
ADD 3
STORE 0
HALT
上記のように;以下のコメントを消して再チャレンジ。
おー、できてる!
emu.py
# SimpleCPU エミュレータ
def execute(binary_code):
    memory = [0] * 16
    acc = 0
    pc = 0
    while pc < len(binary_code):
        instr = binary_code[pc][:4]
        operand = int(binary_code[pc][4:], 2) if len(binary_code[pc]) > 4 else None
        pc += 1
        if instr == '0000':  # NOP
            continue
        elif instr == '0001':  # LOAD
            acc = operand
        elif instr == '0010':  # STORE
            memory[operand] = acc
        elif instr == '0011':  # ADD
            acc = (acc + operand) & 0b1111  # 4ビットの制限
        elif instr == '0100':  # JMP
            pc = operand
        elif instr == '1111':  # HALT
            break
        else:
            raise ValueError(f"Unknown instruction: {instr}")
    print(f"Memory: {memory}")
    print(f"ACC: {acc}")

if __name__ == "__main__":
    with open("output.bin", 'r') as f:
        binary_code = f.read().strip().split("\n")
    execute(binary_code)
ほんとに?試してみる。
動いた。
回路も作ってもらおう。
cpu.v
module SimpleCPU (
    input clk,               // クロック
    input reset,             // リセット
    output reg [3:0] acc,    // アキュムレータ
    output reg [3:0] mem_out // メモリ出力
);

    // メモリとプログラムカウンタの定義
    reg [7:0] memory [0:15]; // 4ビットデータ×16アドレス
    reg [3:0] pc;            // プログラムカウンタ

    // 初期化 (リセット時のメモリ値設定)
    initial begin
        memory[0] = 8'b00010101; // LOAD 5
        memory[1] = 8'b00110011; // ADD 3
        memory[2] = 8'b00100000; // STORE 0
        memory[3] = 8'b11110000; // HALT
        memory[4] = 8'b00000000; // 未使用
        // 他のメモリは0に初期化される
    end

    // 制御信号
    reg halt; // 実行停止フラグ

    // クロック駆動ロジック
    always @(posedge clk or posedge reset) begin
        if (reset) begin
            pc <= 0;        // プログラムカウンタをリセット
            acc <= 0;       // レジスタをリセット
            halt <= 0;      // HALT解除
        end else if (!halt) begin
            // フェッチ (命令をメモリから取得)
            reg [7:0] instruction;
            instruction = memory[pc];
            pc <= pc + 1;

            // デコード
            case (instruction[7:4]) // 上位4ビットで命令判定
                4'b0000: ;          // NOP (何もしない)
                4'b0001: acc <= instruction[3:0];              // LOAD
                4'b0010: memory[instruction[3:0]] <= acc;      // STORE
                4'b0011: acc <= (acc + instruction[3:0]) & 4'b1111; // ADD
                4'b0100: pc <= instruction[3:0];               // JMP
                4'b1111: halt <= 1;                            // HALT
                default: ; // 無効な命令は無視
            endcase
        end
    end

    // メモリ出力 (デバッグ用)
    always @(*) begin
        mem_out = memory[0]; // メモリアドレス0の値を出力
    end
endmodule
cpu_tb.v
module SimpleCPU_tb;
    reg clk;
    reg reset;
    wire [3:0] acc;
    wire [3:0] mem_out;

    // CPUインスタンス
    SimpleCPU cpu (
        .clk(clk),
        .reset(reset),
        .acc(acc),
        .mem_out(mem_out)
    );

    // クロック生成
    initial begin
        clk = 0;
        forever #5 clk = ~clk; // 10単位時間ごとにクロック反転
    end

    // テストシーケンス
    initial begin
        // 初期化
        reset = 1;
        #10 reset = 0;

        // 実行中の状態を監視
        #100 $stop; // シミュレーション停止
    end

    // モニタ (デバッグ用)
    initial begin
        $monitor("Time: %d, ACC: %b, MEM[0]: %b", $time, acc, mem_out);
    end
endmodule
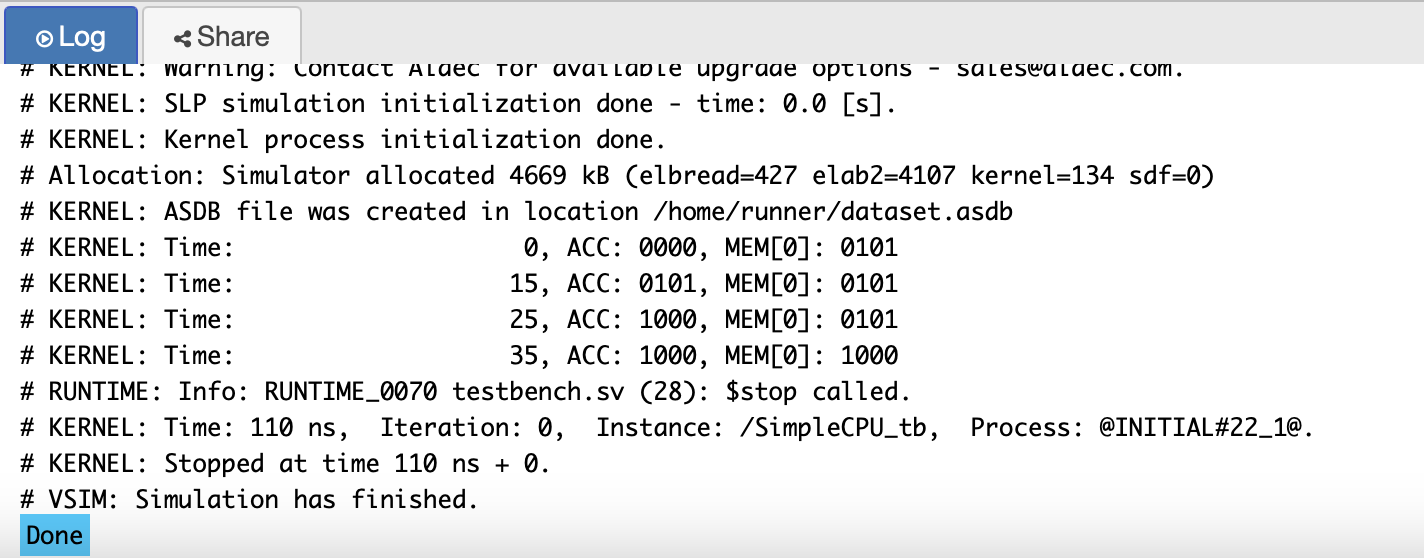
ほんとに?動かしてみる。
https://uzusayuu.hatenadiary.jp/entry/2018/12/17/125833
こちらを参考に
https://www.edaplayground.com/
へGoogleアカウントでログイン。
右側にcpu.v、左側にcpu_tb.vを貼り付け、
左のペインで適当なSimulatorを選択する。
左上の青色のRunボタンを押すと・・
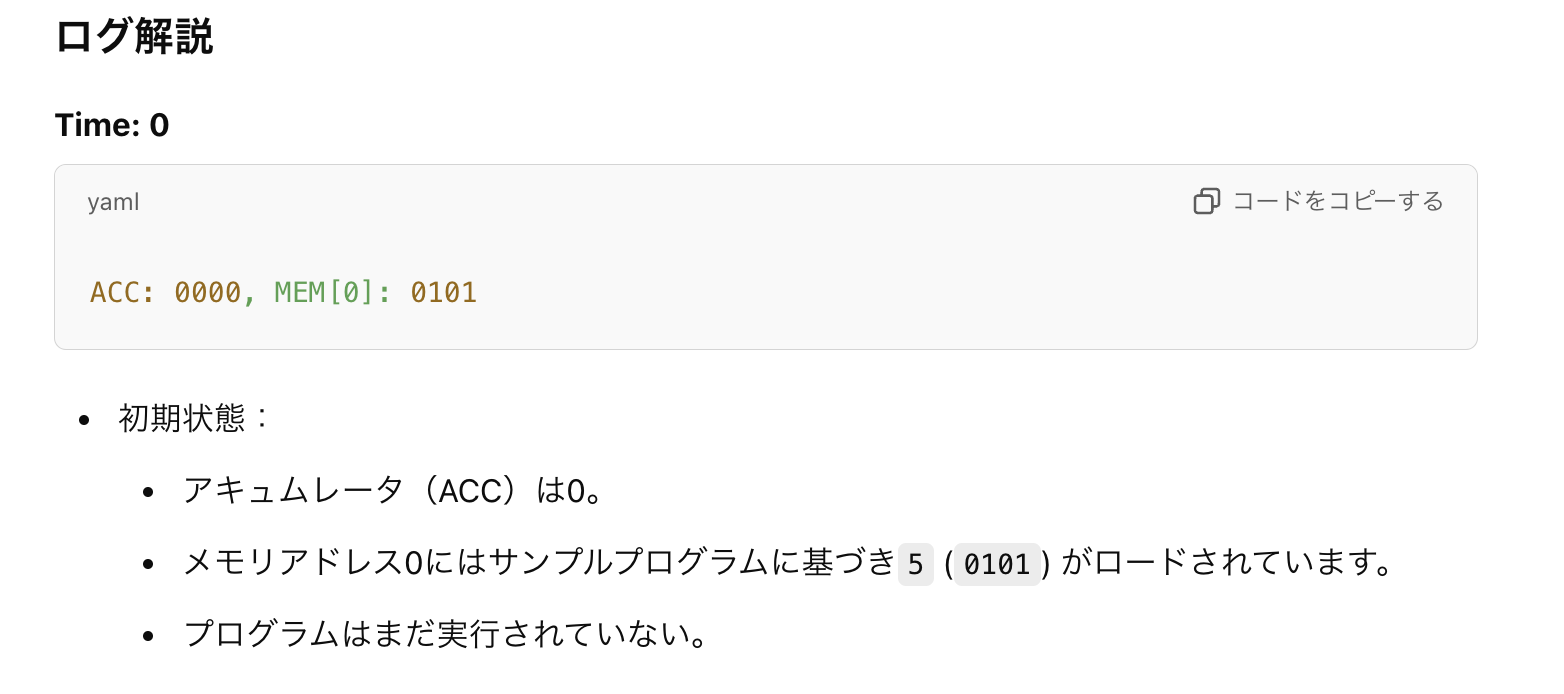
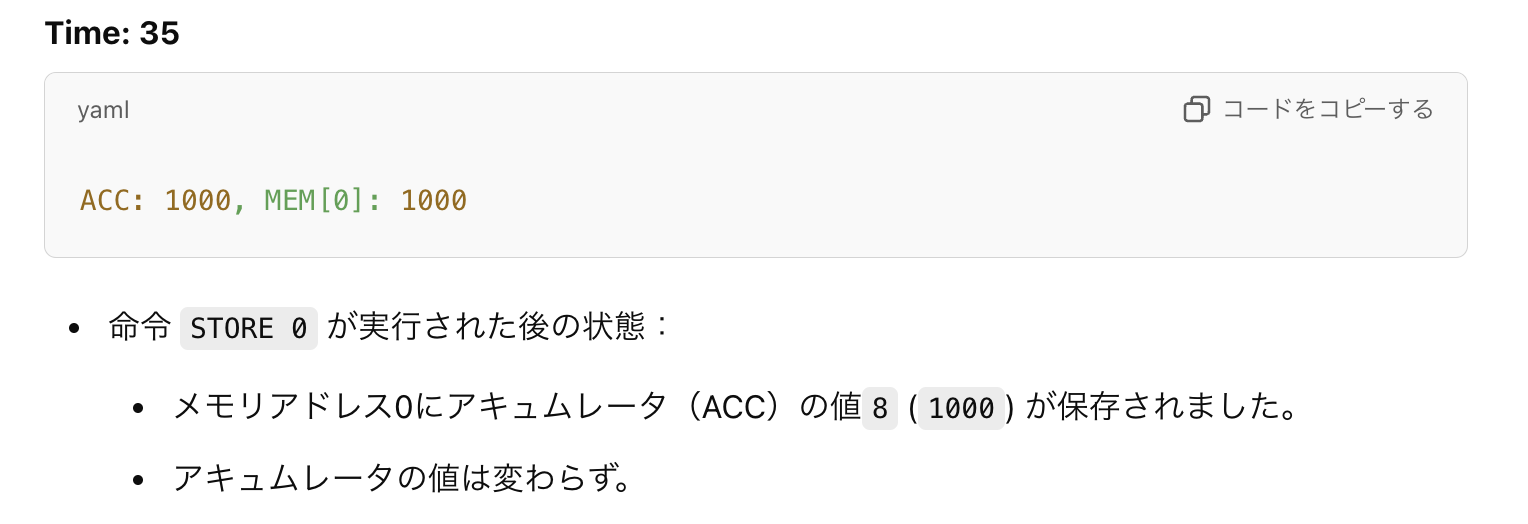
合ってるか確認。
おお。素晴らしい。
ChatGPT先生と対話しながらCPU設計していけそうな雰囲気を感じられる結果になりました。
以上、ChatGPTに自作CPUを作ってもらったでした。
最後までご覧いただきましてありがとうございました。


