はじめに
Kubernetes上で動作可能なFaaS(Function as a Service)として、GitHub Starを見る限り、OpenFaaSが人気を博しています。
OpenFaaSはDocker Swarm, Kubernetesでも動作するそうだが、Kubernetesで動作させている事例があまり見当たらなかったため、今回調査してみました。
OpenFaaSとは
DockerとKubernetesで動作する、サーバレスフレームワーク。
関数自体はDockerイメージ化され、実行されます。
テンプレートエンジンでDockerfileが作られるのだが、独自にDockerfileをカスタマイズもできてしまうので、言語ランタイムに縛られることもなく、拡張性・自由度が非常に高いです。
![]() https://github.com/openfaas/faas
https://github.com/openfaas/faas
faas-netes とは
Kubernetes上で動作させるためのプラがぶるな機能が実装されており、Swarm版と実装が異なります。
以下のレポジトリでは、faas-netesをデプロイするための、K8Sマニフェスト、Helmパッケージが提供されています。
![]() https://github.com/openfaas/faas-netes
https://github.com/openfaas/faas-netes
実際に試してみる
環境
- minikube:v0.23.0
- kubernetes Master:v1.8.0
- openfaas:v0.5
デプロイ
K8Sへのデプロイ方法は2通りです。
- 1.Manifestによるデプロイ
- 2.Helm templateによるデプロイ
今回は、1のManifestによるデプロイで実行しました。
下記コマンドを実行します。
$ git clone https://github.com/openfaas/faas-netes && \
cd faas-netes
kubectl apply -f faas.yml -f monitoring.yml -f rbac.yml
Pod一覧を見てみます。
$ kubectl get po
NAME                           READY     STATUS    RESTARTS   AGE
alertmanager-77b4b476b-qdbl5   1/1       Running   0          14m
faas-netesd-64fb9b4dfb-mqss5   1/1       Running   0          14m
gateway-5cb4f64656-pltpb       1/1       Running   0          14m
prometheus-7fbfd8bfb8-kv98c    1/1       Running   0          14m
FaaS本体とAPI Gateway, Prometheus, AlertManager がデプロイされました。
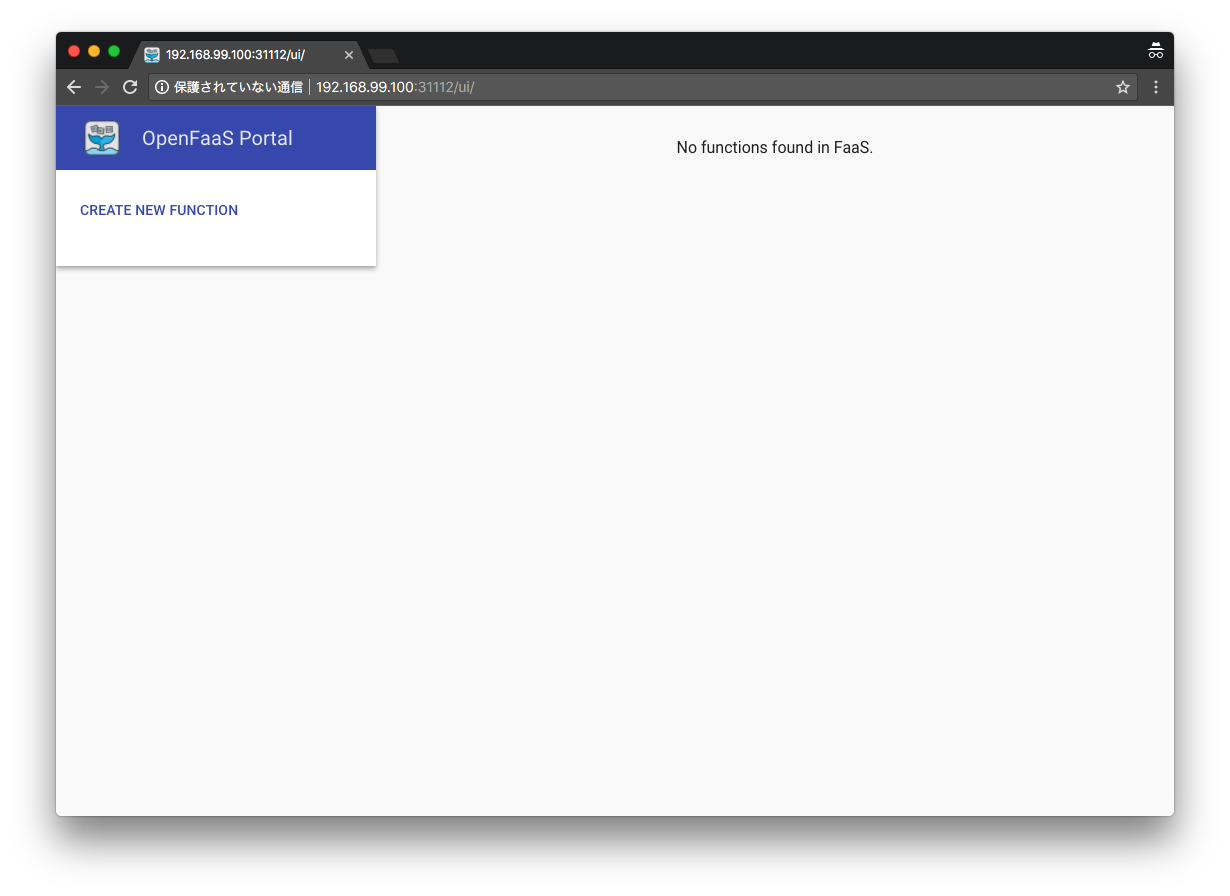
ブラウザでUI見てみます。
# Mac限定
$ open http://$(minikube ip):31112/

関数がまだ空の状態です。
関数をデプロイするために、CLIをダウンロードしましょう。
$ curl -sSL https://cli.openfaas.com | sudo sh
サンプルを取得します。
$ git clone https://github.com/openfaas/faas-cli && \
cd faas-cli
サンプルファイルのgatewayのIPアドレスをminikubeのものに書き換えます。
provider:
  name: faas
  gateway: [API Gateway の URL。今回はminikube で動作させているので、minikube ip の値(http://IP:31112)に変更します]
  network: "func_functions"       # this is optional and defaults to func_functions
デプロイします。
$ faas-cli deploy -f samples.yml
Deploying: nodejs-echo.
No existing function to remove
Deployed.
URL: http://192.168.99.100:31112/function/nodejs-echo

202 Accepted
Deploying: shrink-image.
No existing function to remove
Deployed.
URL: http://192.168.99.100:31112/function/shrink-image

202 Accepted
Deploying: ruby-echo.
No existing function to remove
Deployed.
URL: http://192.168.99.100:31112/function/ruby-echo

202 Accepted
Deploying: url-ping.
No existing function to remove
Deployed.
URL: http://192.168.99.100:31112/function/url-ping

202 Accepted
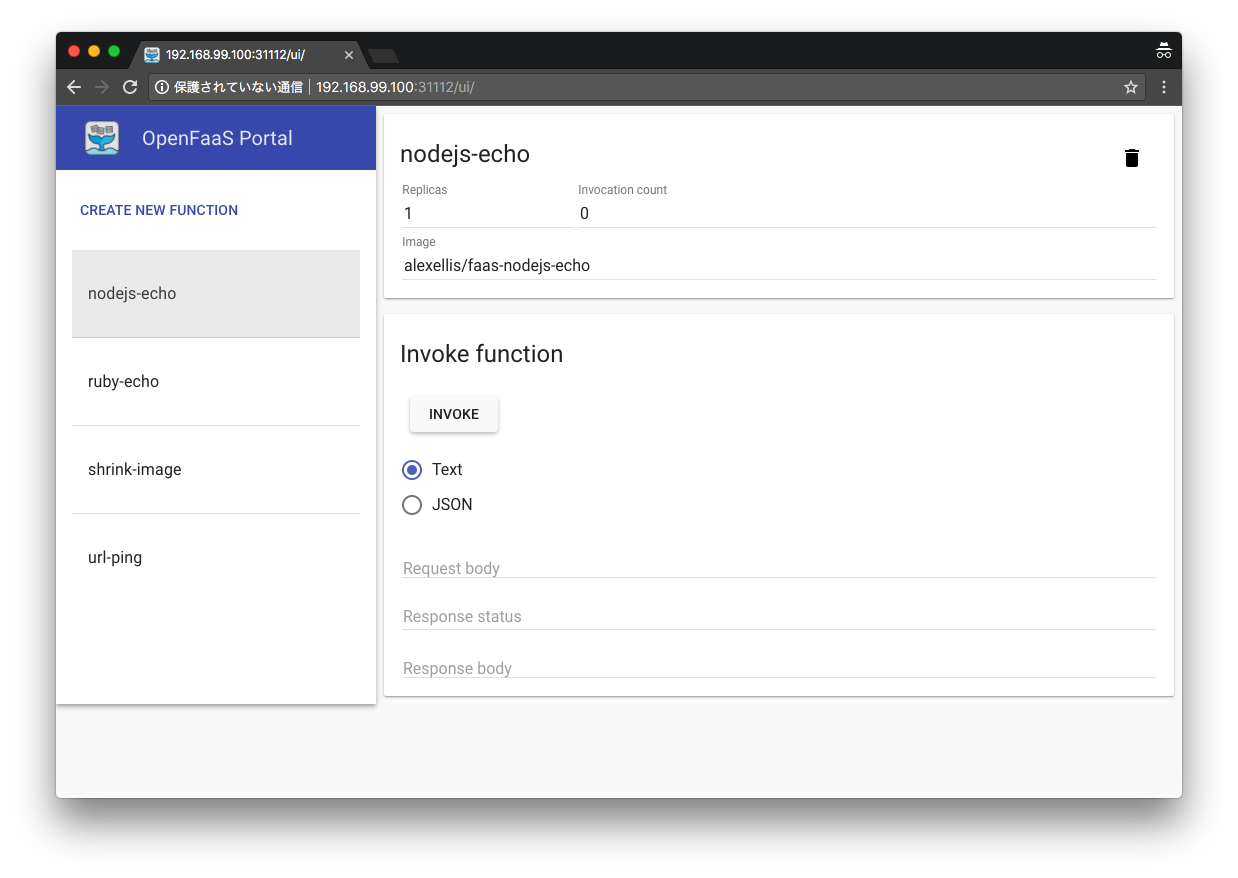
4つのサンプル関数がデプロイされました。
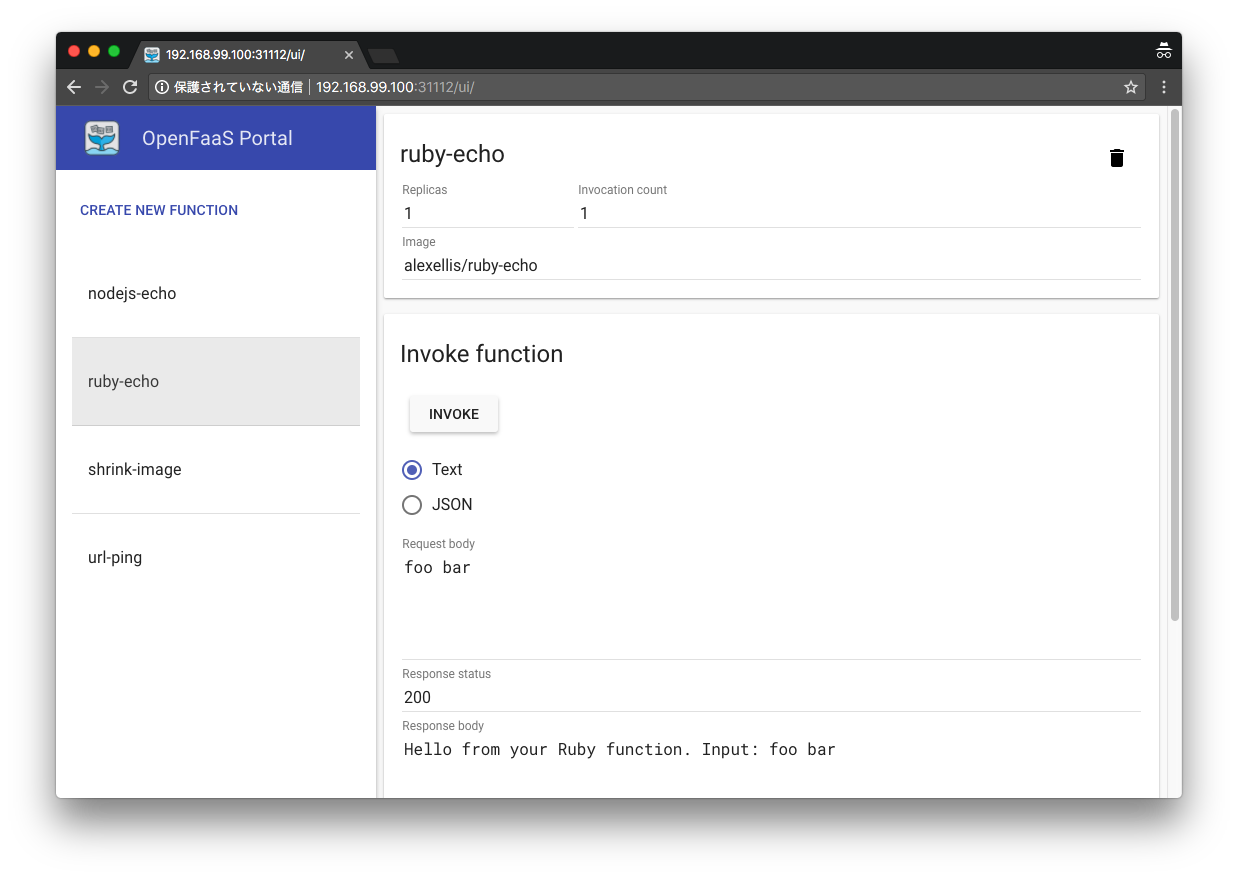
関数ruby-echoに対してUI上から、テキストデータをInvokeしてみます。
すると、200でResponseが返ります。
各FunctionはK8SのPodとして登録されており、kubectl logs を見ても確認できます。
$ kubectl logs ruby-echo-8d95f97fb-4wkm7
2017/11/27 09:32:39 Writing lock-file to: /tmp/.lock
Hello from your Ruby function. Input: foo bar
Functionの作り方
各FunctionはstdinでText or JSONをfunctionに渡し、stdoutで返却するというシンプルなものです。
# 各言語ごとのtemplate を取得します
$ faas-cli template pull
# 対応言語一覧
$ faas-cli new --list
Languages available as templates:
- csharp
- go
- go-armhf
- node
- node-arm64
- node-armhf
- python
- python-armhf
- python3
- ruby


Or alternatively create a folder containing a Dockerfile, then pick
the "Dockerfile" lang type in your YAML file.
テンプレートからMockを作ります。言語は今回はPythonにしました。
$ faas-cli new hello-python --lang=python3
$ vim
 hello-python3/handler.py
def handle(st):
    print(st)
    print("End") #追加
このhandle関数にstdinの値が引数で渡されるので、これに対し何かしらの処理を記述すればよい、という形です。
続いて、関数をビルドします。関数はDockerイメージなので、Docker build が勝手に行われます。
$ faas-cli build -f hello-python3.yml
[0] > Building: hello-python3.
....
Image: hello-python3 built.
[0] < Builder done.
イメージ名の変更は --imageオプション、もしくは、hello-python3.ymlファイルを変更することで設定できます。
provider:
  name: faas
  gateway: [API Gateway の URL。今回はminikube で動作させているので、minikube ip の値(http://IP:31112)に変更します]

functions:
  hello-python3:
    lang: python3
    handler: ./hello-python3
    image: [Customイメージ名]
イメージ名は適宜変更し、DockerレポジトリにPushします。
docker pushでも構いません。
$ faas-cli push -f hello-python3.yml
デプロイします。
$ faas-cli deploy -f hello-python3.yml
Deploying: hello-python3.
No existing function to remove
Deployed.
URL: http://192.168.99.100:31112/function/hello-python3

202 Accepted
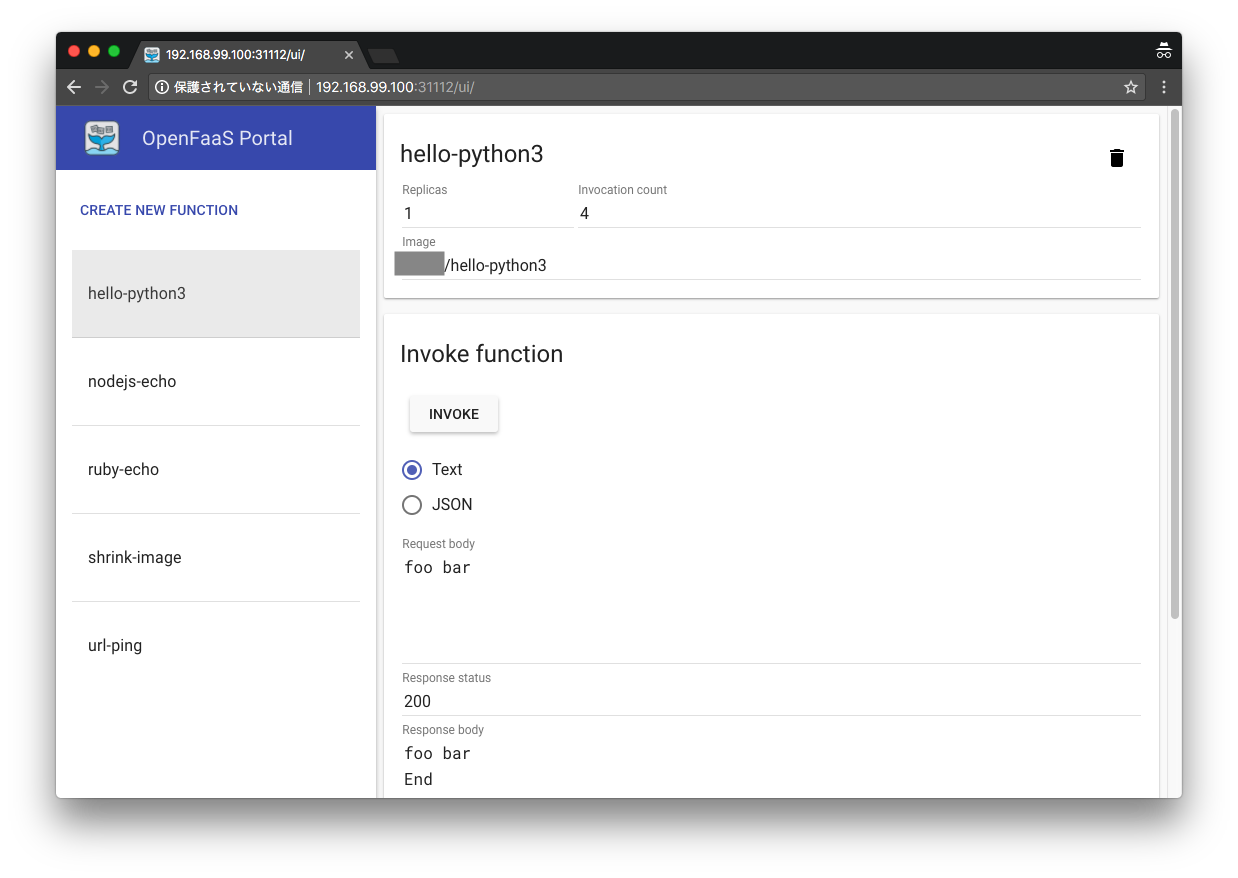
UI上に関数が表示され、Invokeすると標準出力が返却されました。
さて、これだけではKubernetesとの関連がよくわからず、面白味がありません。
Kubernetes上でどんな仕組みで動作しているか、引き続きZ Lab Advent Calendar 2017にてお届けします。


