今回、ViewController同士の値の受け渡し方法がわかったので、メモとして書いていきます。
UIはこんな感じ
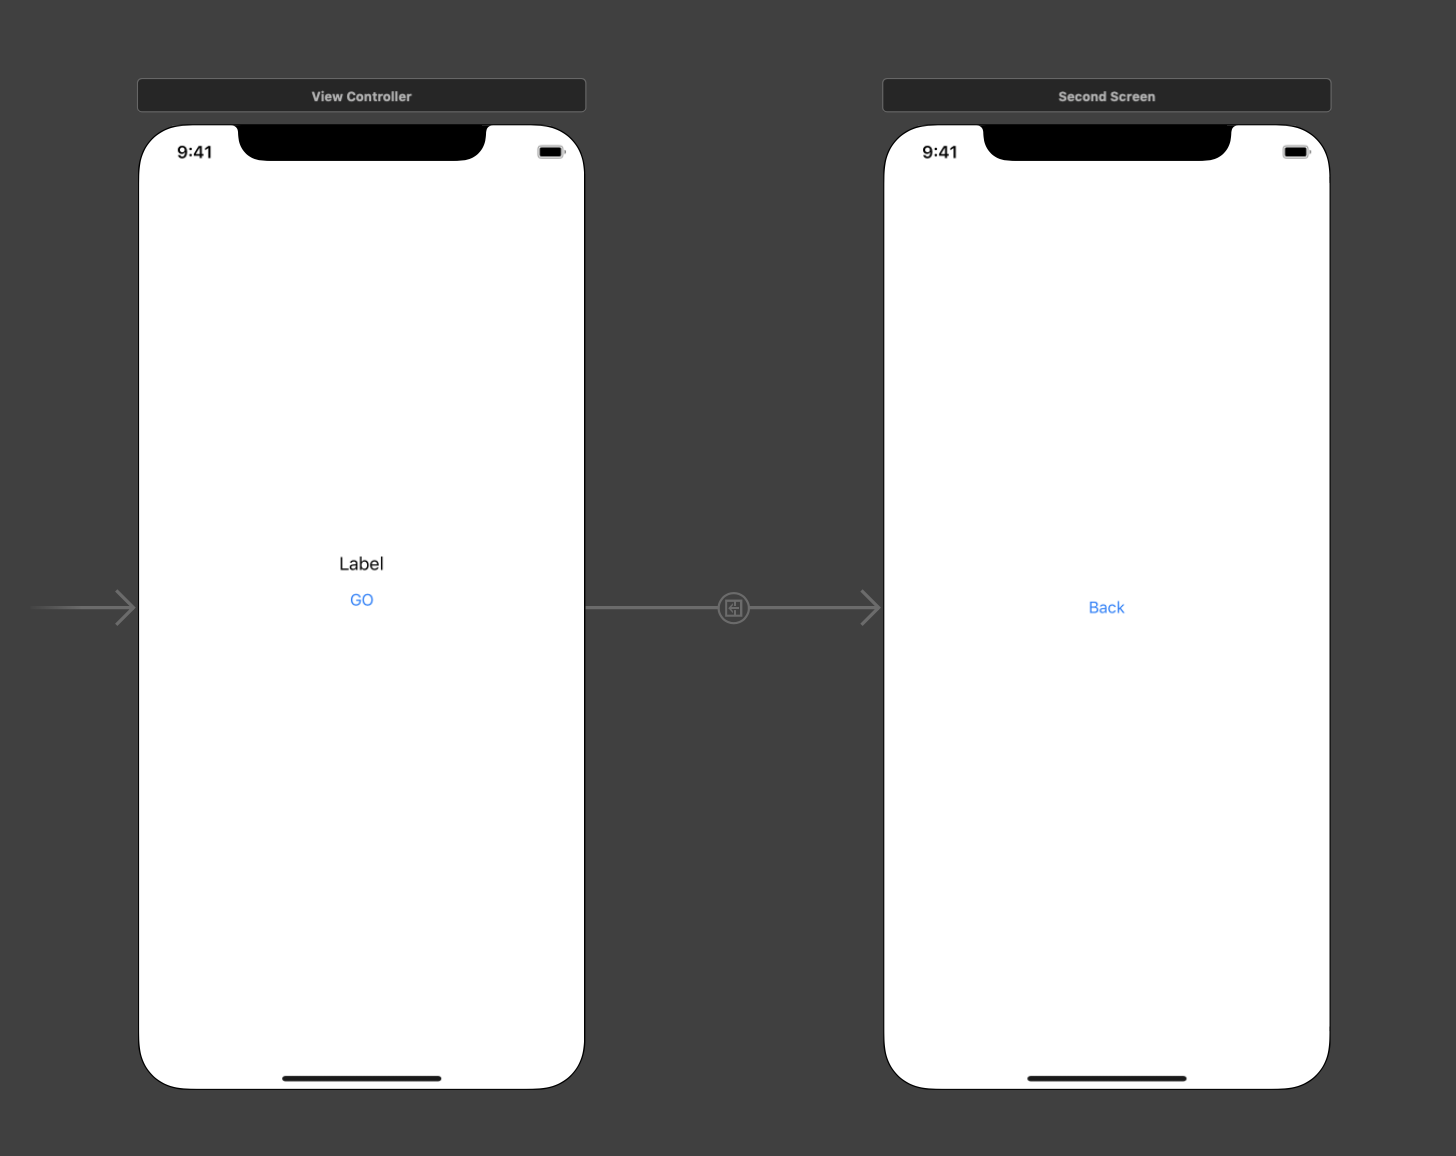
仕様:
”GO”を3回タップすると右の画面(MainView)に遷移して、”Back”を4回タップすると左の画面(SecondView)に遷移する簡単なもの。
MainView→SecondView: ”Hello”を渡す
SecondView→MainView: ”Back”を渡しLabelに表示する
MainViewのソースコード
ViewController.swift
    var backText: String?
    @IBOutlet weak var label: UILabel!

    //画面遷移時に呼ばれる
    override func prepare (for segue: UIStoryboardSegue,sender: Any?){
        guard let identifier = segue.identifier else {
            //identifierが取得できなかったら処理を終える
            return
        }

        if identifier == "toSecond" {
            let secondViewController = segue.destination as! SecondScreen
            //SecondScreenで宣言した変数(String型)にsenderの値を格納する
            secondViewController.receiveText = sender as! String
        }
    }

    var count=0
    ///タップするたびに呼び出される
    @IBAction func Button(_ sender: UIButton) {

        count = count + 1
        print(count)

        if count == 3 {
            //SecondScreenを呼び出して表示する
            //self.performSegue(withIdentifier: 遷移するidentifierの名前, sender: 送りたいもの(今回は”Hello"))
            self.performSegue(withIdentifier: "toSecond", sender: "Hello")
            count = 0
        }
    }
SecondViewのソースコード
SecondScreen.swift
    //受け取る値を格納するもの
    var receiveText: String?

    override func viewDidLoad() {
        super.viewDidLoad()

        //表示
        print(receiveText)
        // Do any additional setup after loading the view.
    }
SecondScreen.swift
    var count = 0

    @IBAction func BackButton(_ sender: UIButton) {

        count = count + 1
        print(count)
        if count == 4 {

            //MainControllerの情報を取得
            let pvc = self.presentingViewController as? ViewController

            //MainControllerにあるラベルに”Back”を表示させる
            pvc?.label.text = "Back"

            //MainViewに戻る
            dismiss(animated: true, completion: nil)
        }
    }
これでViewController同士の値の受け渡しができるようになる。
参考
【Swift】コードを使った二つの画面遷移の方法
https://qiita.com/zlia_7/items/e99b77372d8c0f38d98b
Swift 前画面への値受け渡しについて
https://teratail.com/questions/47140
NavigationControllerとViewControllerの遷移/値の渡し方/受け取り方/戻り方まとめ
https://virusee.net/swift4-move-view/