PAY.JPとは
はじめにどんな機能なのかをざっくりと説明します。
PAY.JPを使うと、シンプルなAPIでクレジットカード決済機能を導入できます。
ApplePayに対応していたり、cronを使わず定期課金を組み込むことができたりと
お客様にとっても事業者にとっても便利なサービスです🙆♀️
事前準備
-
まずはPAY.JPのアカウントを取得しましょう。
ログインすると、下記のような画面が表示されると思います。
このダッシュボードでテストモードでの売上データや金額も確認できます。
(これ確認するの、ちょっと楽しい)

実装にまず必要なのは、左側のメニューバーの中にある**「API」**の部分です。

このテスト秘密鍵とテスト公開鍵を使って、実装を進めていきます。 -
Rails側ではgemをインストールします。
gem 'payjp'
超簡単・シンプルな決済機能の実装
Checkoutという便利なライブラリが用意されており、なんと1行で決済機能が実装できちゃいます。
公式の説明も下記の通り!
チェックアウトは<script>タグを1行で、 デザインされた決済フォーム、カード情報のバリデーション、カード情報のトークン化を行うフォームを生成するライブラリです。
とにかく練習がてら、サクッと実装してみましょう。
1. ビューを作成
scriptタグ1行書くだけ!!
hamlで書いてるのでplainオプションを使って挿入しました。
= form_with url: purchase_item_path do
  :plain
    <script type="text/javascript" src="https://checkout.pay.jp" class="payjp-button" data-key="公開鍵"></script>
このコードでピンクで囲ったボタンが出現します。

押すとPayjp側で用意してくれているフォームがモーダルで開きます。
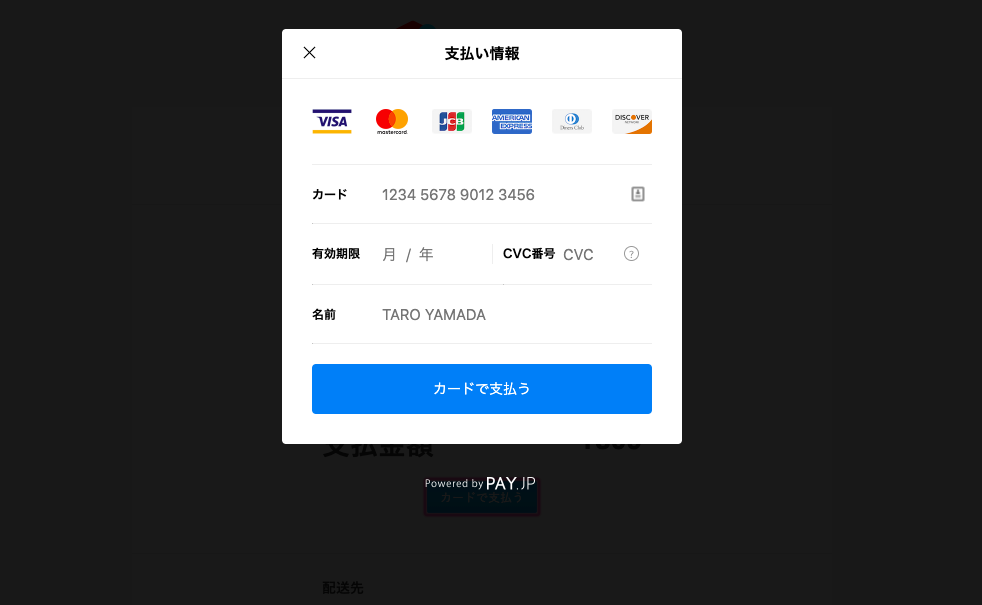
このチェックアウトで生成されたフォームにカード情報を入力し、送信します。
⚠️テストの場合はテストカードが用意されているのでそちらの情報を使います。
2. コントローラーにアクションを記述
フォームからカード情報を送信すると、PAY.JPサーバーに情報が送られ、PAY.JPから一意のトークンが返されます。
サーバーサイドでトークンを受け取り、その情報を使ってコントローラーで支払い処理を記述します。
  require 'payjp'

  def purchase
    Payjp.api_key = "秘密鍵"
    Payjp::Charge.create(
      amount: 809, # 決済する値段
      card: params['payjp-token'], # フォームを送信すると作成・送信されてくるトークン
      currency: 'jpy'
    )
  end
これで、支払いボタンを押すと決済が完了するようになりました!
メニューの「売上」を押すと、売上が立ったのが確認できます。

実際、運用したい方法に当てはめる
今回はフリマサイトを想定しているので、
✔︎ ログインしているユーザーに紐づけてカード情報を登録する
✔︎ 登録したユーザーのカード情報で出品されている商品を購入できるようにする
✔︎ クレジットカードの登録フォームは独自で作成したものを使う
という内容で実装を行います。
顧客情報・カード情報を登録する
1. Cardsテーブルを作成
PAY.JPの情報を保存+ユーザーに紐づけるためのテーブルです。
class CreateCards < ActiveRecord::Migration[5.2]
  def change
    create_table :cards do |t|
      t.references :user, foreign_key: true, null: false
      t.string :customer_id, null: false
      t.string :card_id, null: false
      t.timestamps
    end
  end
end
2. モデルを作成・編集
*今回、ユーザーは1枚のカードのみ登録できるように設定しています。
class Card < ApplicationRecord
  belongs_to :user
end
class User < ApplicationRecord
  devise :database_authenticatable, :registerable,
         :recoverable, :rememberable, :validatable
  # 追記 ---------
  has_many :cards
  # -------------
  has_many :items
end
3. コントローラーを編集
class CardsController < ApplicationController
  require "payjp"
  before_action :set_card

  def new # カードの登録画面。送信ボタンを押すとcreateアクションへ。
    card = Card.where(user_id: current_user.id).first
    redirect_to action: "index" if card.present?
  end

 # indexアクションはここでは省略

  def create #PayjpとCardのデータベースを作成
    Payjp.api_key = '秘密鍵'

    if params['payjp-token'].blank?
      redirect_to action: "new"
    else
      # トークンが正常に発行されていたら、顧客情報をPAY.JPに登録します。
      customer = Payjp::Customer.create(
        description: 'test', # 無くてもOK。PAY.JPの顧客情報に表示する概要です。
        email: current_user.email,
        card: params['payjp-token'], # 直前のnewアクションで発行され、送られてくるトークンをここで顧客に紐付けて永久保存します。
        metadata: {user_id: current_user.id} # 無くてもOK。
      )
      @card = Card.new(user_id: current_user.id, customer_id: customer.id, card_id: customer.default_card)
      if @card.save
        redirect_to action: "index"
      else
        redirect_to action: "create"
      end
    end
  end

  private

  def set_card
    @card = Card.where(user_id: current_user.id).first if Card.where(user_id: current_user.id).present?
  end
end
4. カード新規登録のビューを作成
余計なコードはなるべく省いて載せてるので、適宜デザイン等加えてください。
私のチームが作った某フリマサイトの登録フォームを真似たものがこちらです。

.content__title
  %h2 クレジットカード情報入力
.content__credit-card
  .content__credit-card__inner
    = form_with url: cards_path, method: :post, html: { name: "inputForm" } do |f| -# createアクションのパスを指定
      = f.label :カード番号, class: 'label'
      %span 必須
      = f.text_field :card_number, type: 'text', class: 'input-number', placeholder: '半角数字のみ', maxlength: "16"
      .cards-expire
        = f.label :有効期限, class: 'label'
        %span 必須
        %br
        .cards-expire__wrap
          = f.select :exp_month, [["01",1],["02",2],["03",3],["04",4],["05",5],["06",6],["07",7],["08",8],["09",9],["10",10],["11",11],["12",12]],{} , class: 'input-expire'
          %span.expire-text 月
          %br
        .cards-expire__wrap
          = f.select :exp_year, [["19",2019],["20",2020],["21",2021],["22",2022],["23",2023],["24",2024],["25",2025],["26",2026],["27",2027],["28",2028],["29",2029]],{} , class: 'input-expire'
          %span.expire-text 年
      .cards-expire
        = f.label :セキュリティコード, class: 'label'
        %span 必須
        = f.text_field :cvc, type: 'text', class: 'input-number', placeholder: 'カード背面4桁もしくは3桁の番号', maxlength: "4"
      .content-bottom#card_token
        = f.submit '追加する', class: 'content-bottom--add-btn', id: 'token_submit'