TL;DR
Jupyter Notebook で分析を進める際、バージョン管理をしたいと思いGitで管理をしてみましたが、普通に進めるとNotebook のメタデータによって差分がとても見づらかったので、JupyterLab の jupyterlab-gitと nbdimeエクステンションを利用し、差分を見やすく表示できるようにしてみました。
JupyterLab 環境を構築
今回の記事では、下記の環境を利用します。
- docker-compose を使用
- docker-compose のインストールは こちら を参照
- コンテナイメージのベースは kaggle-images を利用
Jupyter notebook のバージョンコントロールに必要な JupyterLab エクステンションは下記になります。
- jupyterlab-git
-
nbdime
- こちらは jupyterlab-git をインストールすると一緒にインストールされる
環境構築
下記2ファイルを作成します。
- Dockerfile
- docker-compose.yml
FROM gcr.io/kaggle-images/python:v74

RUN apt-get update && \
    apt-get install -y git \
    curl

RUN curl -sL https://deb.nodesource.com/setup_12.x | bash - &&\
    apt-get install -y nodejs

RUN pip install -U pip \
    jupyterlab && \
    pip install jupyterlab-git

RUN jupyter lab build
version: "3"
services:
  jupyter:
    build: .
    volumes:
      - $PWD:/tmp/work
    working_dir: /tmp/work
    ports:
      - 8888:8888
    command: jupyter lab --ip=0.0.0.0 --allow-root --no-browser
Docker イメージのビルド
上記2ファイルを作成後、同ディレクトリにてビルドします。
$ docker-compose build
コンテナを起動
ビルド後コンテナを起動します。
$ docker-compose up
起動後は http://localhost:8888/ にアクセスし、token を入力して JupyterLab にアクセスできます。
token とは起動後に出力される、例:http://acb729d0c5ce:8888/?token=45d10c660d2e85f0c8d59995a04667c154542ae79f27f65d の 45d10c660d2e85f0c8d59995a04667c154542ae79f27f65d にあたる箇所です。
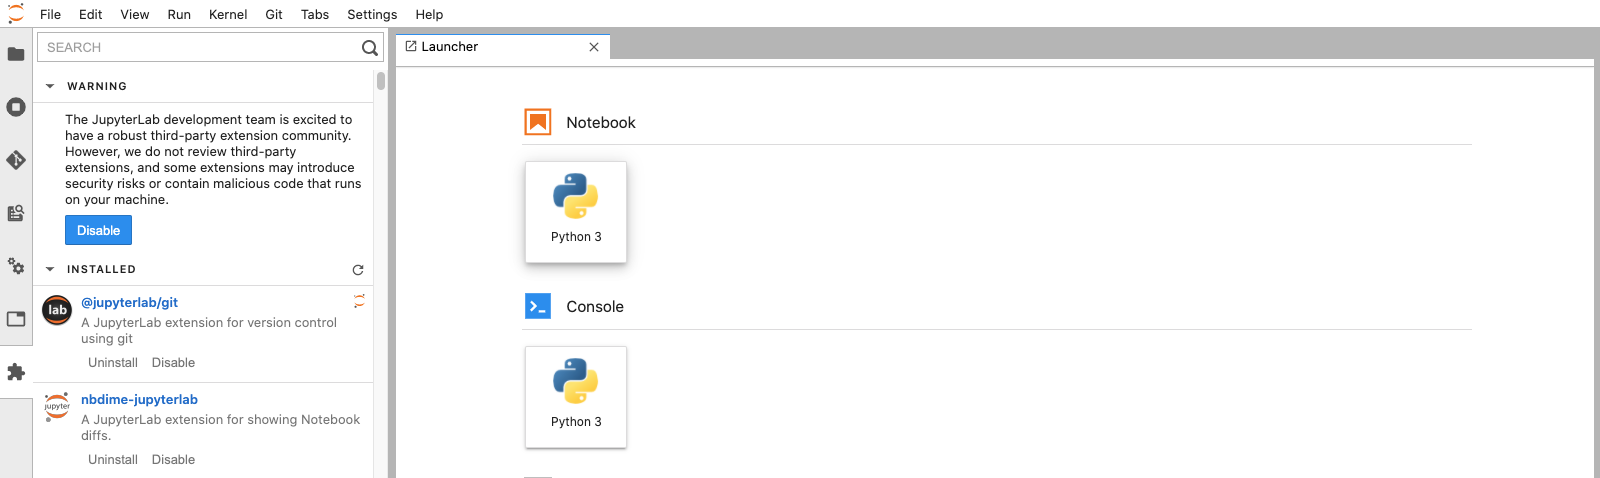
Extension Manager を Enable
起動後は Exxtension Manager を Enable します。

2つのエクステンションがインストールされています。
Notebook を Git でバージョン管理をする
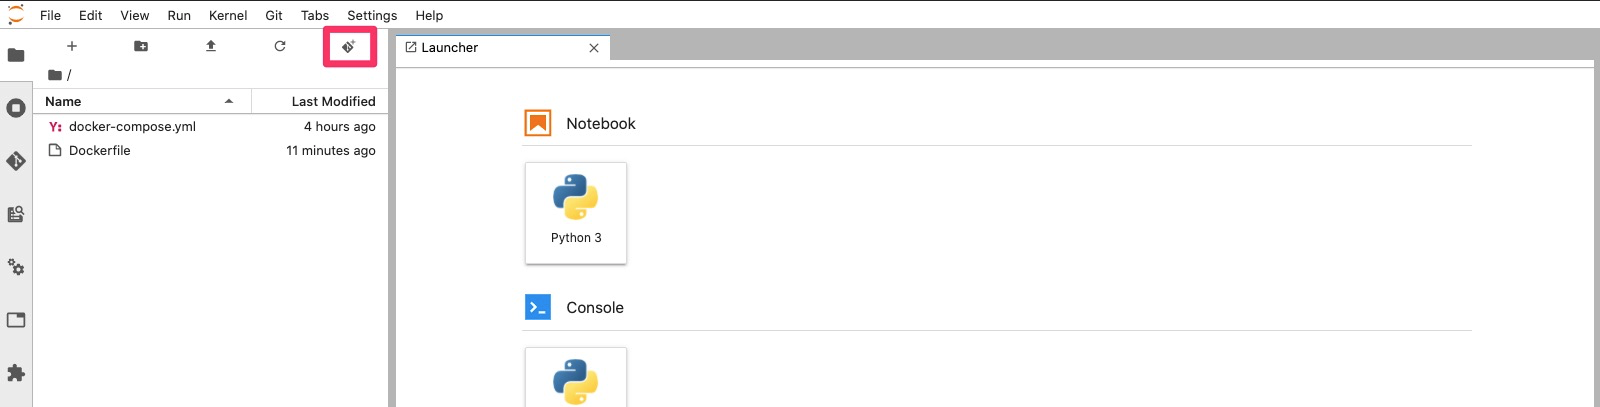
Git リポジトリ を Clone
必要なリポジトリをクローンします。すでに Notebook などがある場合は git init などをします。
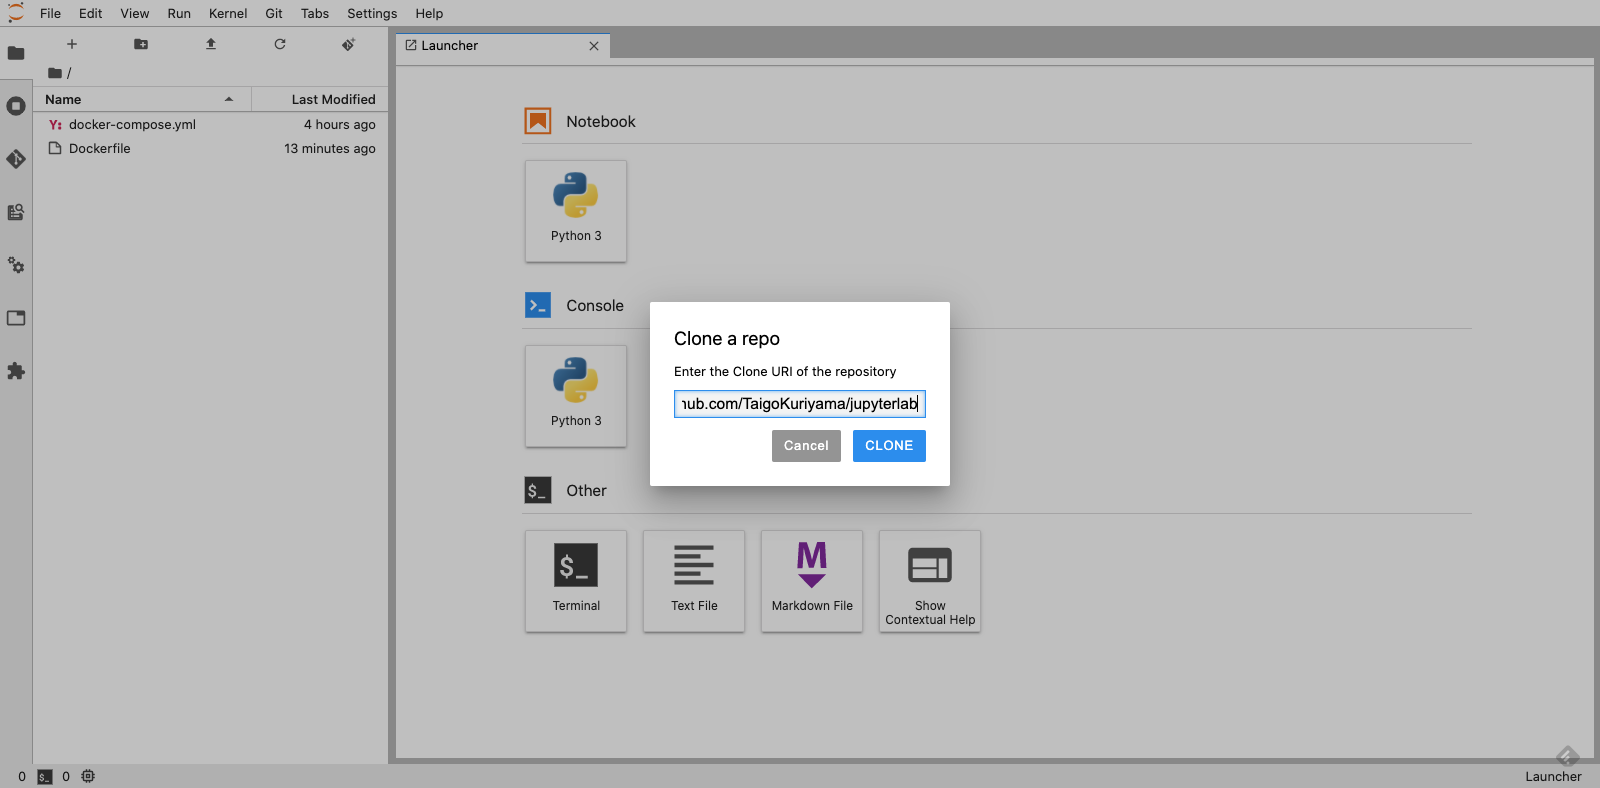
リポジトリの URL を入力
Notebook (test.ipynb) を作成して first commit します。
$ git config --global user.email "you@example.com"
$ git config --global user.name "Your Name"
$ git add test.ipynb
$ git commit -m "first commit"
first commit 後、 Notebook で分析を進めたとします。例えば df.head() というコードを追加したとします。
git diff での差分表示
まず、git diff コマンドで確認した場合は、下記のように Notebook のメタデータなどの差分が表示されてしまいとてもわかりづらいです。
# git diff
diff --git a/test.ipynb b/test.ipynb
index f6c1f17..5af6074 100644
--- a/test.ipynb
+++ b/test.ipynb
@@ -2,7 +2,7 @@
  "cells": [
   {
    "cell_type": "code",
-   "execution_count": 1,
+   "execution_count": 6,
    "metadata": {},
    "outputs": [],
    "source": [
@@ -21,7 +21,7 @@
   },
   {
    "cell_type": "code",
-   "execution_count": 4,
+   "execution_count": 7,
    "metadata": {},
    "outputs": [],
    "source": [
@@ -30,12 +30,164 @@
   },
   {
    "cell_type": "code",
-   "execution_count": 5,
+   "execution_count": 8,
    "metadata": {},
    "outputs": [],
    "source": [
     "df = pd.read_csv(data_dir + \"train.csv\")"
    ]
+  },
+  {
+   "cell_type": "code",
:
JupyterLab nbdime での差分表示
JupyterLab にて nbdime を利用して diff を確認した場合は下記になります。ピンクの左側は変更前、緑の右側は変更後になります。
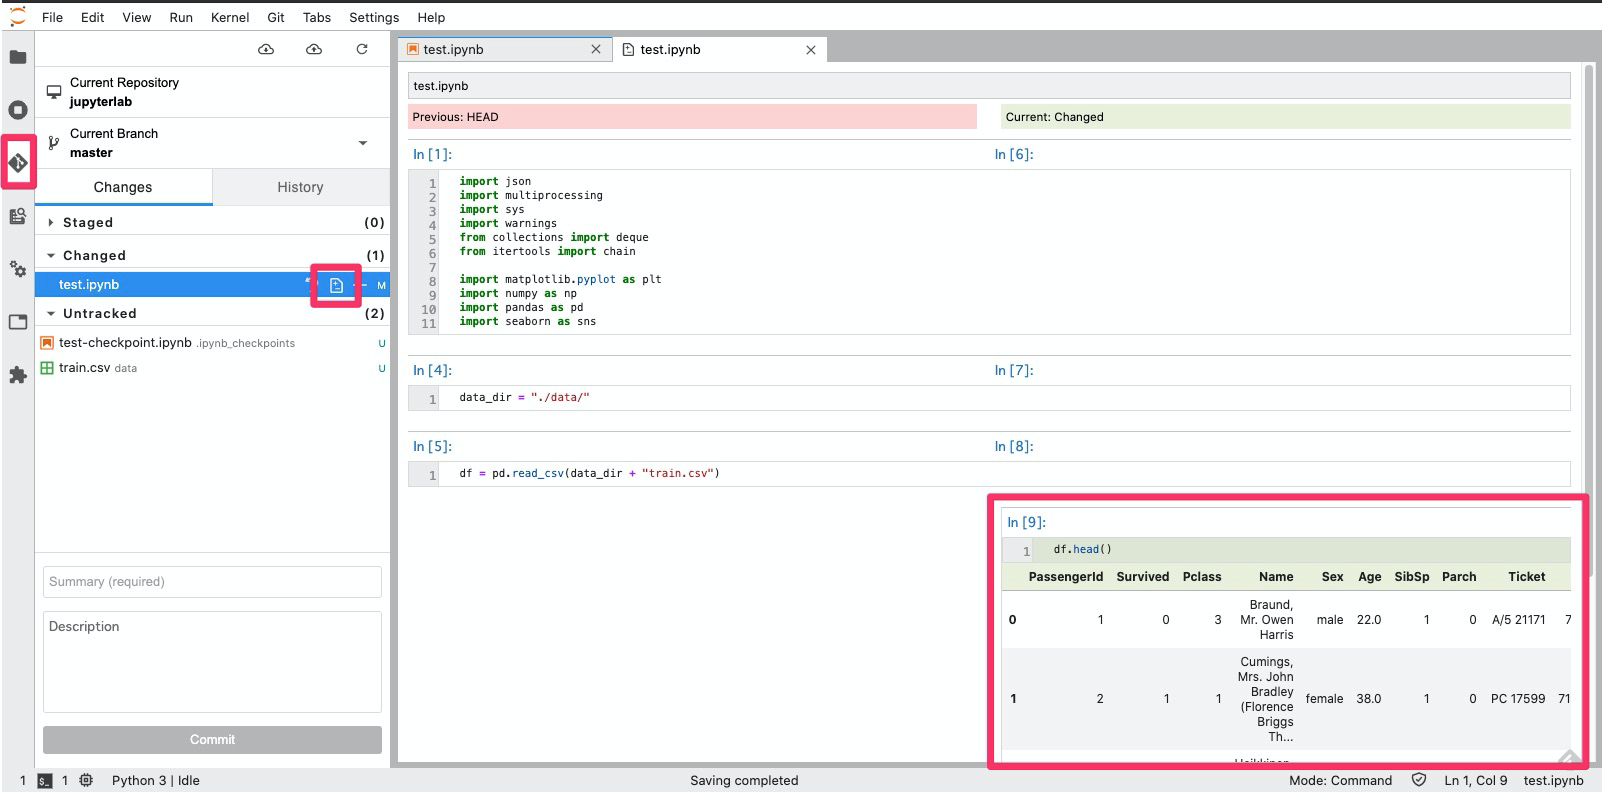
とても見やすく差分が表示されていると思います。