動的サイトを読める必要性
動的サイトはjavascriptが使用されていますが
javascriptで何かシステムを作った経験がないため
自分の勉強を兼ねて備忘録として残します
上の動画がとても分かりやすかったです!
こちらの動画を参照にしながら作っていきます!!
HTMLタグ HEADタグ BODYタグの準備
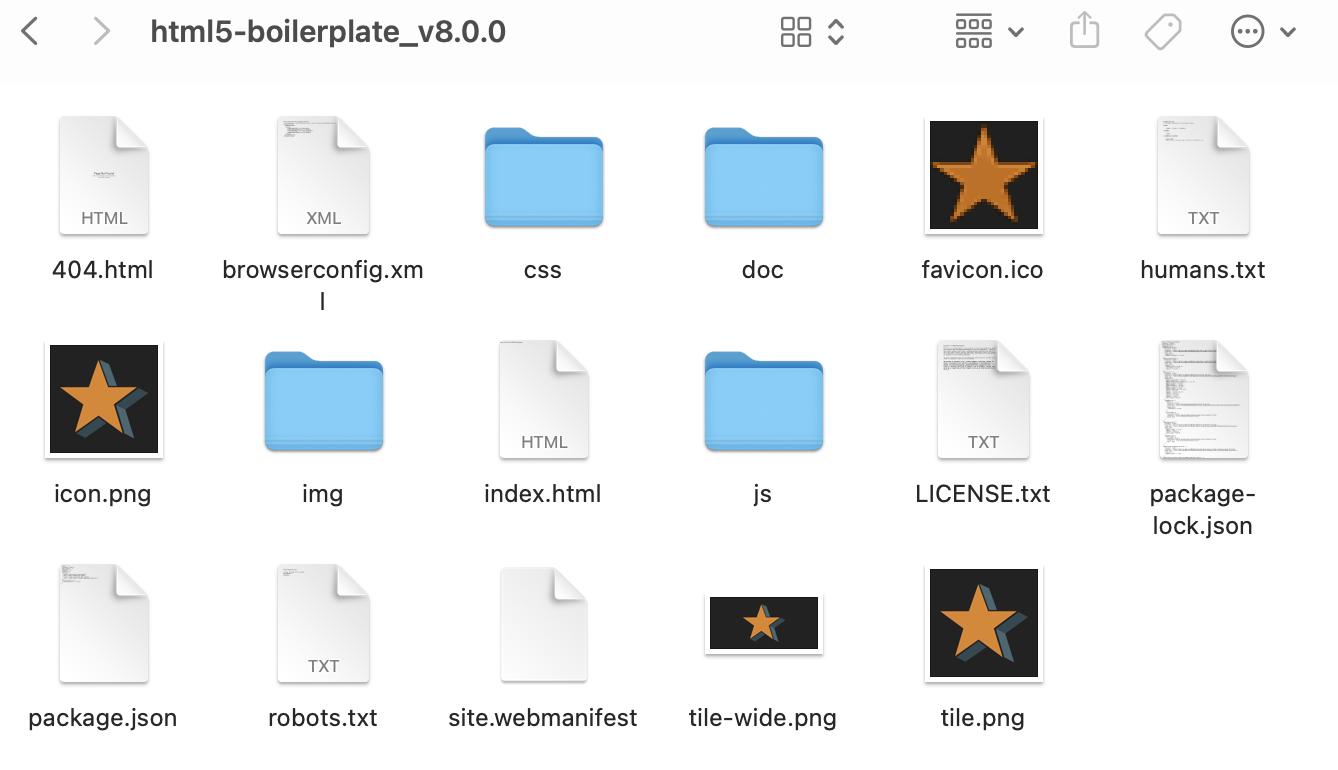
index.html のみ使用する
VScode で確認する

この中の <body> タグは使わないので消す
以下のようなソースコードになる
<!doctype html>
<html class="no-js" lang="">

<head>
  <meta charset="utf-8">
  <title></title>
  <meta name="description" content="">
  <meta name="viewport" content="width=device-width, initial-scale=1">

  <meta property="og:title" content="">
  <meta property="og:type" content="">
  <meta property="og:url" content="">
  <meta property="og:image" content="">

  <link rel="manifest" href="site.webmanifest">
  <link rel="apple-touch-icon" href="icon.png">
  <!-- Place favicon.ico in the root directory -->

  <link rel="stylesheet" href="css/normalize.css">
  <link rel="stylesheet" href="css/main.css">

  <meta name="theme-color" content="#fafafa">
</head>

<body>
 hello word
</body>

</html>
ブラウザで確認すると以下のようになる

Bootstrap
css や html のパーツ群を コピペで使える
bootstrap で利用する ことができます
上記サイトで の部分をコピーして
  <link rel="stylesheet" href="css/normalize.css">
  <link rel="stylesheet" href="css/main.css">
の部分に貼り付ける!

これで bootstrap の css が読み込まれたよ
という事になり
bootstrap の HTML をコピペするだけで使えるようになります
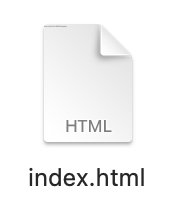
さまざまなドキュメントを使ってみる

間を開けたい時はspacing を使う

crass に ms-1 を追加すると表示されるようになった

card title の左側に隙間ができることを確認
上記のhtmlはとにかく
bootstrap の componentos を使ってみました
<body>
<div class="alert alert-primary" role="alert">
A simple primary alert—check it out!
</div>
<button type="button" class="btn btn-primary">Primary</button>
<button type="button" class="btn btn-secondary">Secondary</button>
<button type="button" class="btn btn-success">Success</button>
<button type="button" class="btn btn-danger">Danger</button>
<button type="button" class="btn btn-warning">Warning</button>
<button type="button" class="btn btn-info">Info</button>
<button type="button" class="btn btn-light">Light</button>
<button type="button" class="btn btn-dark">Dark</button>
<button type="button" class="btn btn-link">Link</button>
<button type="button" class="btn btn-outline-primary">Primary</button>
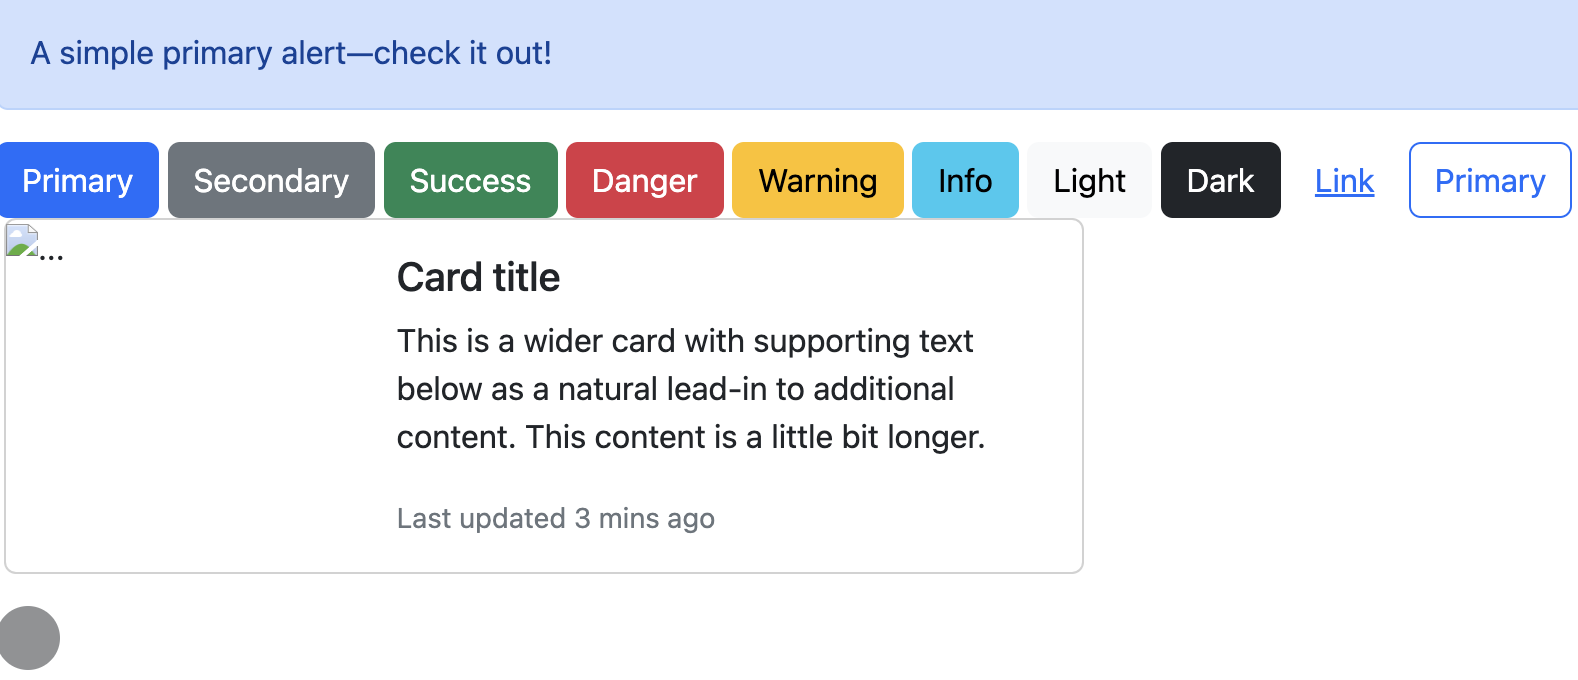
<div class="ms-1 card mb-3" style="max-width: 540px;">
<div class="row g-0">
<div class="col-md-4">
<img src="..." class="img-fluid rounded-start" alt="...">
</div>
<div class="col-md-8">
<div class="card-body">
<h5 class="card-title">Card title</h5>
<p class="card-text">This is a wider card with supporting text below as a natural lead-in to additional content. This content is a little bit longer.</p>
<p class="card-text"><small class="text-muted">Last updated 3 mins ago</small></p>
</div>
</div>
</div>
</div>
<div class="spinner-grow" role="status">
<span class="visually-hidden">Loading...</span>
</div>
</body>
javascript ファイルを作成
test.js ファイルを作成後
index.html ファイルから test.js ファイルを
呼び出すようにする
以下の部分が JavaScript を読み込むために必要
"test.js" は同じディレクトリにあるため読み込めますが
場合によっては ./ などファイルパスを合わせる必要があります
<script src="test.js"> </script>
test.js ファイルを編集
こちらのyoutube動画
29:33 くらいからの内容を見て書いてきました
test.js
//変数
let word = "CEML AI TASK FORCE";
console.log(word);
//配列
let num_b = ["one","two","three","three","three"];
console.log(num_b[0]);
//繰り返し ループ文
let index = 0;
while(index < 4){
    //繰り返したい命令
    console.log(num_b[index]);
    index++;
}
//関数
const test = (arg) => {
    //ここに実行したい命令を書く
    if(num_b.length > arg){
        console.log("5より大きいです");
    }else{
        console.log("5より小さいです");
    }
};

//関数の実行
test(6);
test(3);
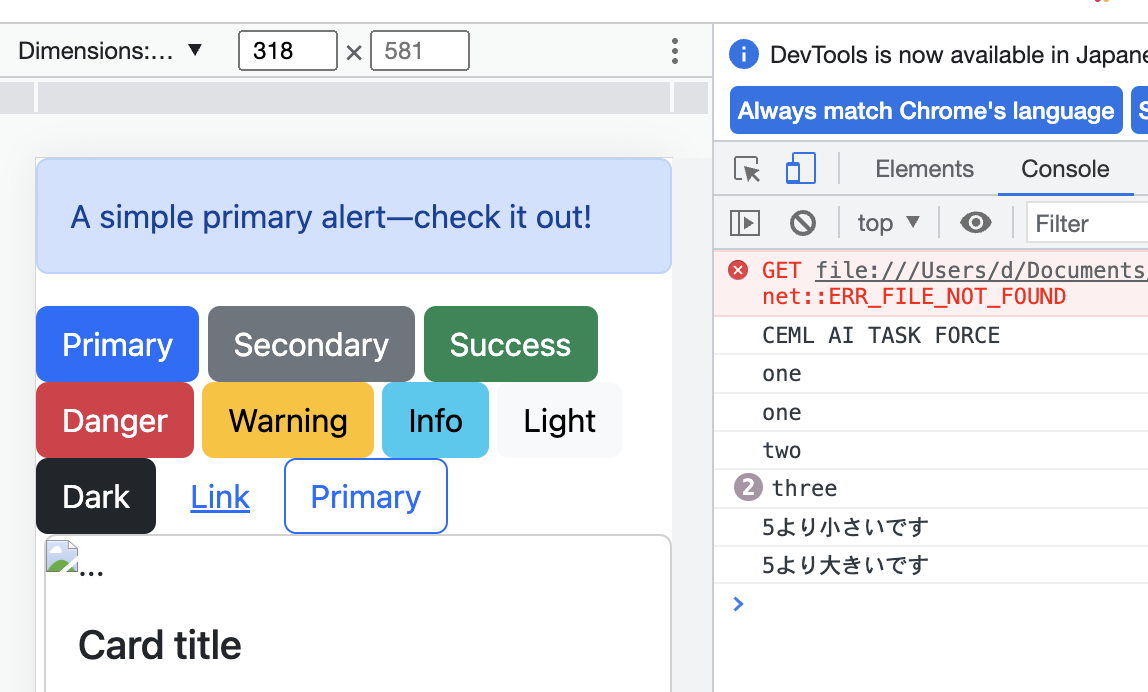
いい感じで動いてます!
yotubeの動画では
50:43 の部分まで出来ました!