#Djangoで機械学習アプリケーション作成
機械学習モデル構築と評価;https://qiita.com/T_Na/items/1187130a8153f515af18
##プロジェクトとアプリの立ち上げ
コマンドプロンプトもしくはターミナルで以下のコマンドを入力する。
django-admin startproject imageapps
imageapps/
    manage.py
    imageapps/
        __init__.py
        settings.py
        urls.py
        wsgi.pymanage.pyと同じディレクトリ上でターミナルに以下のコマンド
python manage.py startapp imageai
全体のディレクトリ構成
imageapps/
    manage.py
    imageapps/
        __init__.py
        settings.py
        urls.py
    imageai/
        __init__.py
        admin.py
        apps.py
        migrations/
              __init__.py
        models.py
        tests.py
        urls.py
        views.py
********************************追加*********************************************
        forms.py
        urls.py
    media/
        photos
    static/
        css/
           style.css
    templates/
        imageai/
           index.html
           base.html
           result.html
    ml_models/
        model-1.h5
##必要なコード編集
###サーバーサイド
setting.py
以下が変更箇所
INSTALLED_APPS = [
    'django.contrib.admin',
    'django.contrib.auth',
    'django.contrib.contenttypes',
    'django.contrib.sessions',
    'django.contrib.messages',
    'django.contrib.staticfiles',
    'imageai.apps.ImageaiConfig',
    'bootstrap4',
]

LANGUAGE_CODE = 'ja'

TIME_ZONE = 'Asia/Tokyo'

静的ファイルの読み込み
STATIC_URL = '/static/'

STATICFILES_DIRS = [os.path.join(BASE_DIR, 'static')]
サーバーサイドでの動き
models.py
from django.db import models
import numpy as np
import keras,sys
import tensorflow as tf
from keras.models import load_model
from PIL import Image
import io,base64
# Create your models here.
graph=tf.get_default_graph()
class Photo(models.Model):
    image=models.ImageField(upload_to="photos")

    IMAGE_SIZE=100#画像サイズ
    MODEL_PATH="./imageai/ml_models/model-1.h5"
    imagename=[自分で作ったデータラベル]
    image_len=len(imagename)

    def predict(self):
        model=None
        global graph#毎回同じモデルのセッションに投入して推論可能にする。
        with graph.as_default():
            model=load_model(self.MODEL_PATH)

            img_data=self.image.read()
            img_bin=io.BytesIO(img_data)

            image=Image.open(img_bin)
            image=image.convert("RGB")
            image=image.resize((self.IMAGE_SIZE,self.IMAGE_SIZE))
            data=np.asarray(image)/255.0
            X=[]
            X.append(data)
            X=np.array(X)

            result=model.predict([X])[0]
            predicted=result.argmax()
            percentage=int(result[predicted]*100)

            return self.imagename[predicted],percentage
    def image_src(self):
        with self.image.open() as img:
            base64_img=base64.b64encode(img.read()).decode()

            return "data:"+img.file.content_type+";base64,"+base64_img
apps.py
from django.apps import AppConfig

class ImageaiConfig(AppConfig):
    name = 'imageai'
forms.py
from django import forms

class PhotoForm(forms.Form):
    image=forms.ImageField(widget=forms.FileInput(attrs={"class":"custom-file-input"}))
画面に表示する要素を決める。
views.py
from django.http import HttpResponse
from django.template import loader
from .forms import PhotoForm
from .models import Photo

def index(request):
    template=loader.get_template("imageai/index.html")
    context={"form":PhotoForm()}
    return HttpResponse(template.render(context,request))

def predict(request):
    if not request.method=="POST":
        return redirect("imageai:index")
    form=PhotoForm(request.POST,request.FILES)
    if not form.is_valid():
        raise ValueError("Formが不正です")

    photo=Photo(image=form.cleaned_data["image"])
    predicted,percentage=photo.predict()

    template=loader.get_template("imageai/result.html")

    context={
        "photo_name":photo.image.name,
        "photo_data":photo.image_src(),
        "predicted":predicted,
        "percentage":percentage,
    }
    return HttpResponse(template.render(context,request))
アプリ内のルーティング
imageai/urls.py
rom django.urls import path
from . import views

app_name="imageai"
urlpatterns=[
    path("",views.index,name="index"),
    path("predict/",views.predict,name="predict"),
]
urls.py
from django.contrib import admin
from django.urls import path,include

urlpatterns = [
    path('admin/', admin.site.urls),
#imageaiの中のurls.pyをルーティングに組み込む
    path("imageai/",include("imageai.urls")),
]
###フロントエンド部分
{% block content %}{% endblock %}で囲まれた部分を結果表示画面と入力画面にhtmlコードを分けて記述
base.html
{% load static %}
<!DOCTYPE html>
<html lang="ja">
<head>
  <meta charset="UTF-8">
  {% load bootstrap4 %}
  {% bootstrap_css %}
  <link rel="stylesheet" type="text/css" href="{% static 'css/style.css' %}">
  {% bootstrap_javascript jquery="full" %}
  <title>画像推定サイト {% block title %}{% endblock %}</title>
</head>
hrefでstatic/css/style.cssを参照できる(setting.pyのSTATICFILES_URL)
<body>
  <header>
    <nav class="navbar navbar-expand-lg navbar-light bg-light">
      <button class="navbar-toggler" type="button" data-toggle="collapse" data-target="#navbarNav" aria-controls="navbarNav" aria-expanded="false" aria-label="Toggle navigation">
        <span class="navbar-toggler-icon"></span>
      </button>
      <div class="collapse navbar-collapse" id="navbarNav">
        <ul class="navbar-nav">
          <li class="nav-item active">
            <a class="nav-link" href="#">Home <span class="sr-only">(current)</span></a>
          </li>
          <li class="nav-item">
            <a class="nav-link" href="#">Features</a>
          </li>
          <li class="nav-item">
            <a class="nav-link" href="#">Pricing</a>
          </li>
          <li class="nav-item">
            <a class="nav-link disabled" href="#" tabindex="-1" aria-disabled="true">Disabled</a>
          </li>
          <div class="title-method">
            <p class="navber-brand">画像判定アプリケーション</p>
          </div>
        </ul>
      </div>
    </nav>
  </header>
  <div class="container">
    {% block content %}{% endblock %}
  </div>
</body>
</html>
index.html
{% extends "imageai/base.html" %}
{% block title %}画像判定アプリケーション{% endblock %}

{% block content %}
<div class="alert">
    <td><h1 class="mt-4 mb-5 boder-top">画像推定フォーム</h1></td>
  <br>
  <p class="custom-class">画像ファイルを選択して推定ボタンを押してください。</p>
  <br>
  <form action="{% url 'imageai:predict' %}"  method="post" class="form" enctype="multipart/form-data">
  {% csrf_token %}
  <div class="form-group">
    <div class="custom-file">
      {{ form.image }}
      <label class="custom-file-label" for="customFile">
        推定したいファイルを選択してください。
      </label>
    </div>
  </div>
  <br>
  <div class="btn-wrapper">
  <button type="submit" class="btn btn-secondary btn-lg btn-block">推定スタート!</button>
  </div>
  </form>
</div>
<br></br>

{% endblock %}
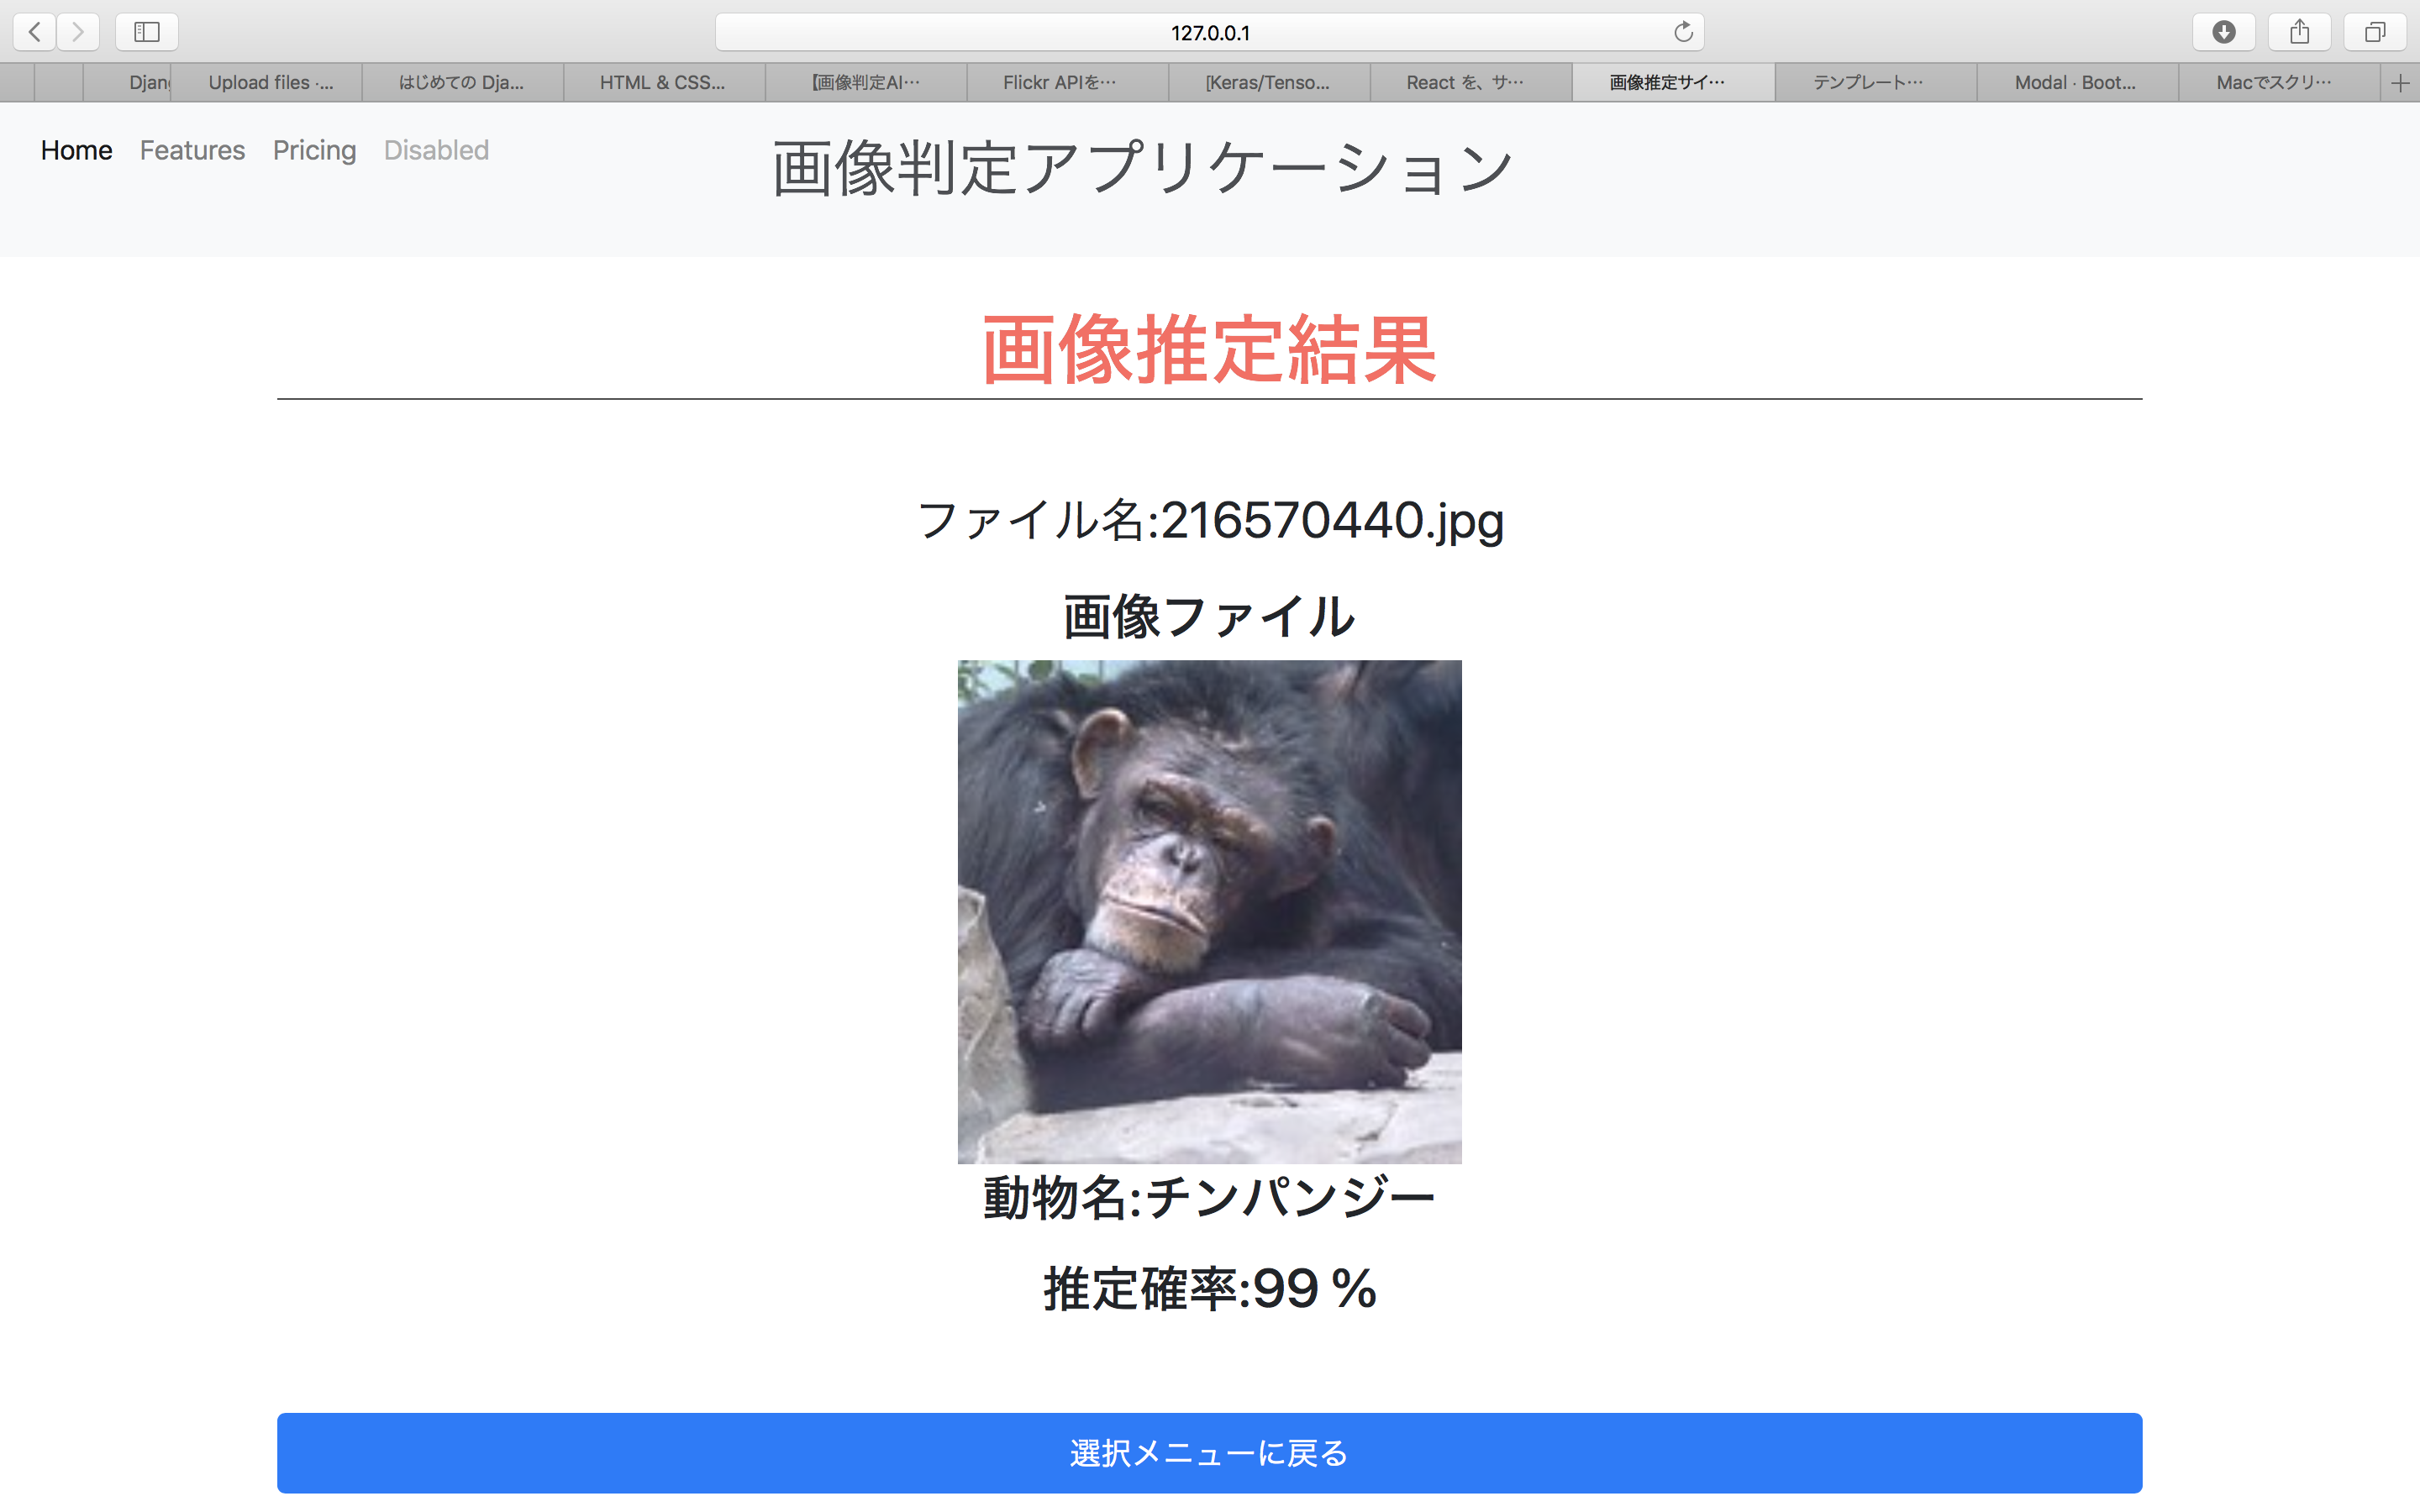
result.html
{% extends "imageai/base.html" %}
{% block title %}ゴリラ・サル・チンパンジー推定結果{% endblock %}

{% block content %}
<div class="result">
  <h4 class="mt-4 mb-5 boder-bottom">画像推定結果</h4>
  <table class="table">
      <p class="body-wrapper">ファイル名:{{photo_name}}</p>

      <h2>画像ファイル<h2>
      <img class="preview-img" src={{photo_data}}></img>

      <p>動物名:{{predicted}}</p>
      <p>推定確率:{{percentage}} %</p>

  </table>
  <br>

  <a href="{% url 'imageai:index' %}" class="btn btn-primary btn-lg btn-block">選択メニューに戻る</a>

</div>
{% endblock %}
htmlを修飾する。
base.htmlの{% load static %}とsetting.pyの下2行を設定するこでcssファイルなど静的ファイルを読み込む
style.css
.navber-brand{
  font-size:40px;
  opacity:0.8;
  width:100%;
}

.title-method{
  margin:0 160px;
}

.container{
  width:100%;
  text-align:center;
}
.alert {
  background-image:url("./image/background-image.jpg");
  background-size: cover;
  padding:150px 50px;
  height:50%;
  width:100%;
}

.boder-top{
  font-size:50px;
  border-bottom:1px solid white;
  color:red;
  opacity:0.6;
  text-align:center;
}

.custom-class {
  font-size:30px;
  opacity:0.9;
}

.btn-wrapper{
  padding: 8px 24px;
}

.btn:hover{
  background-color:red;
}


.boder-bottom{
  font-size:50px;
  border-bottom:1px solid black;
  color:red;
  opacity:0.7;
  text-align:center;
}

.body-wrapper {
    font-size:30px;
}

.preview-img {
  width:300px;
  height:300px;
}
##Djangoサーバー起動
以上を実行し(ターミナルでpython manage.py runserver)ブラウザ上で確認。
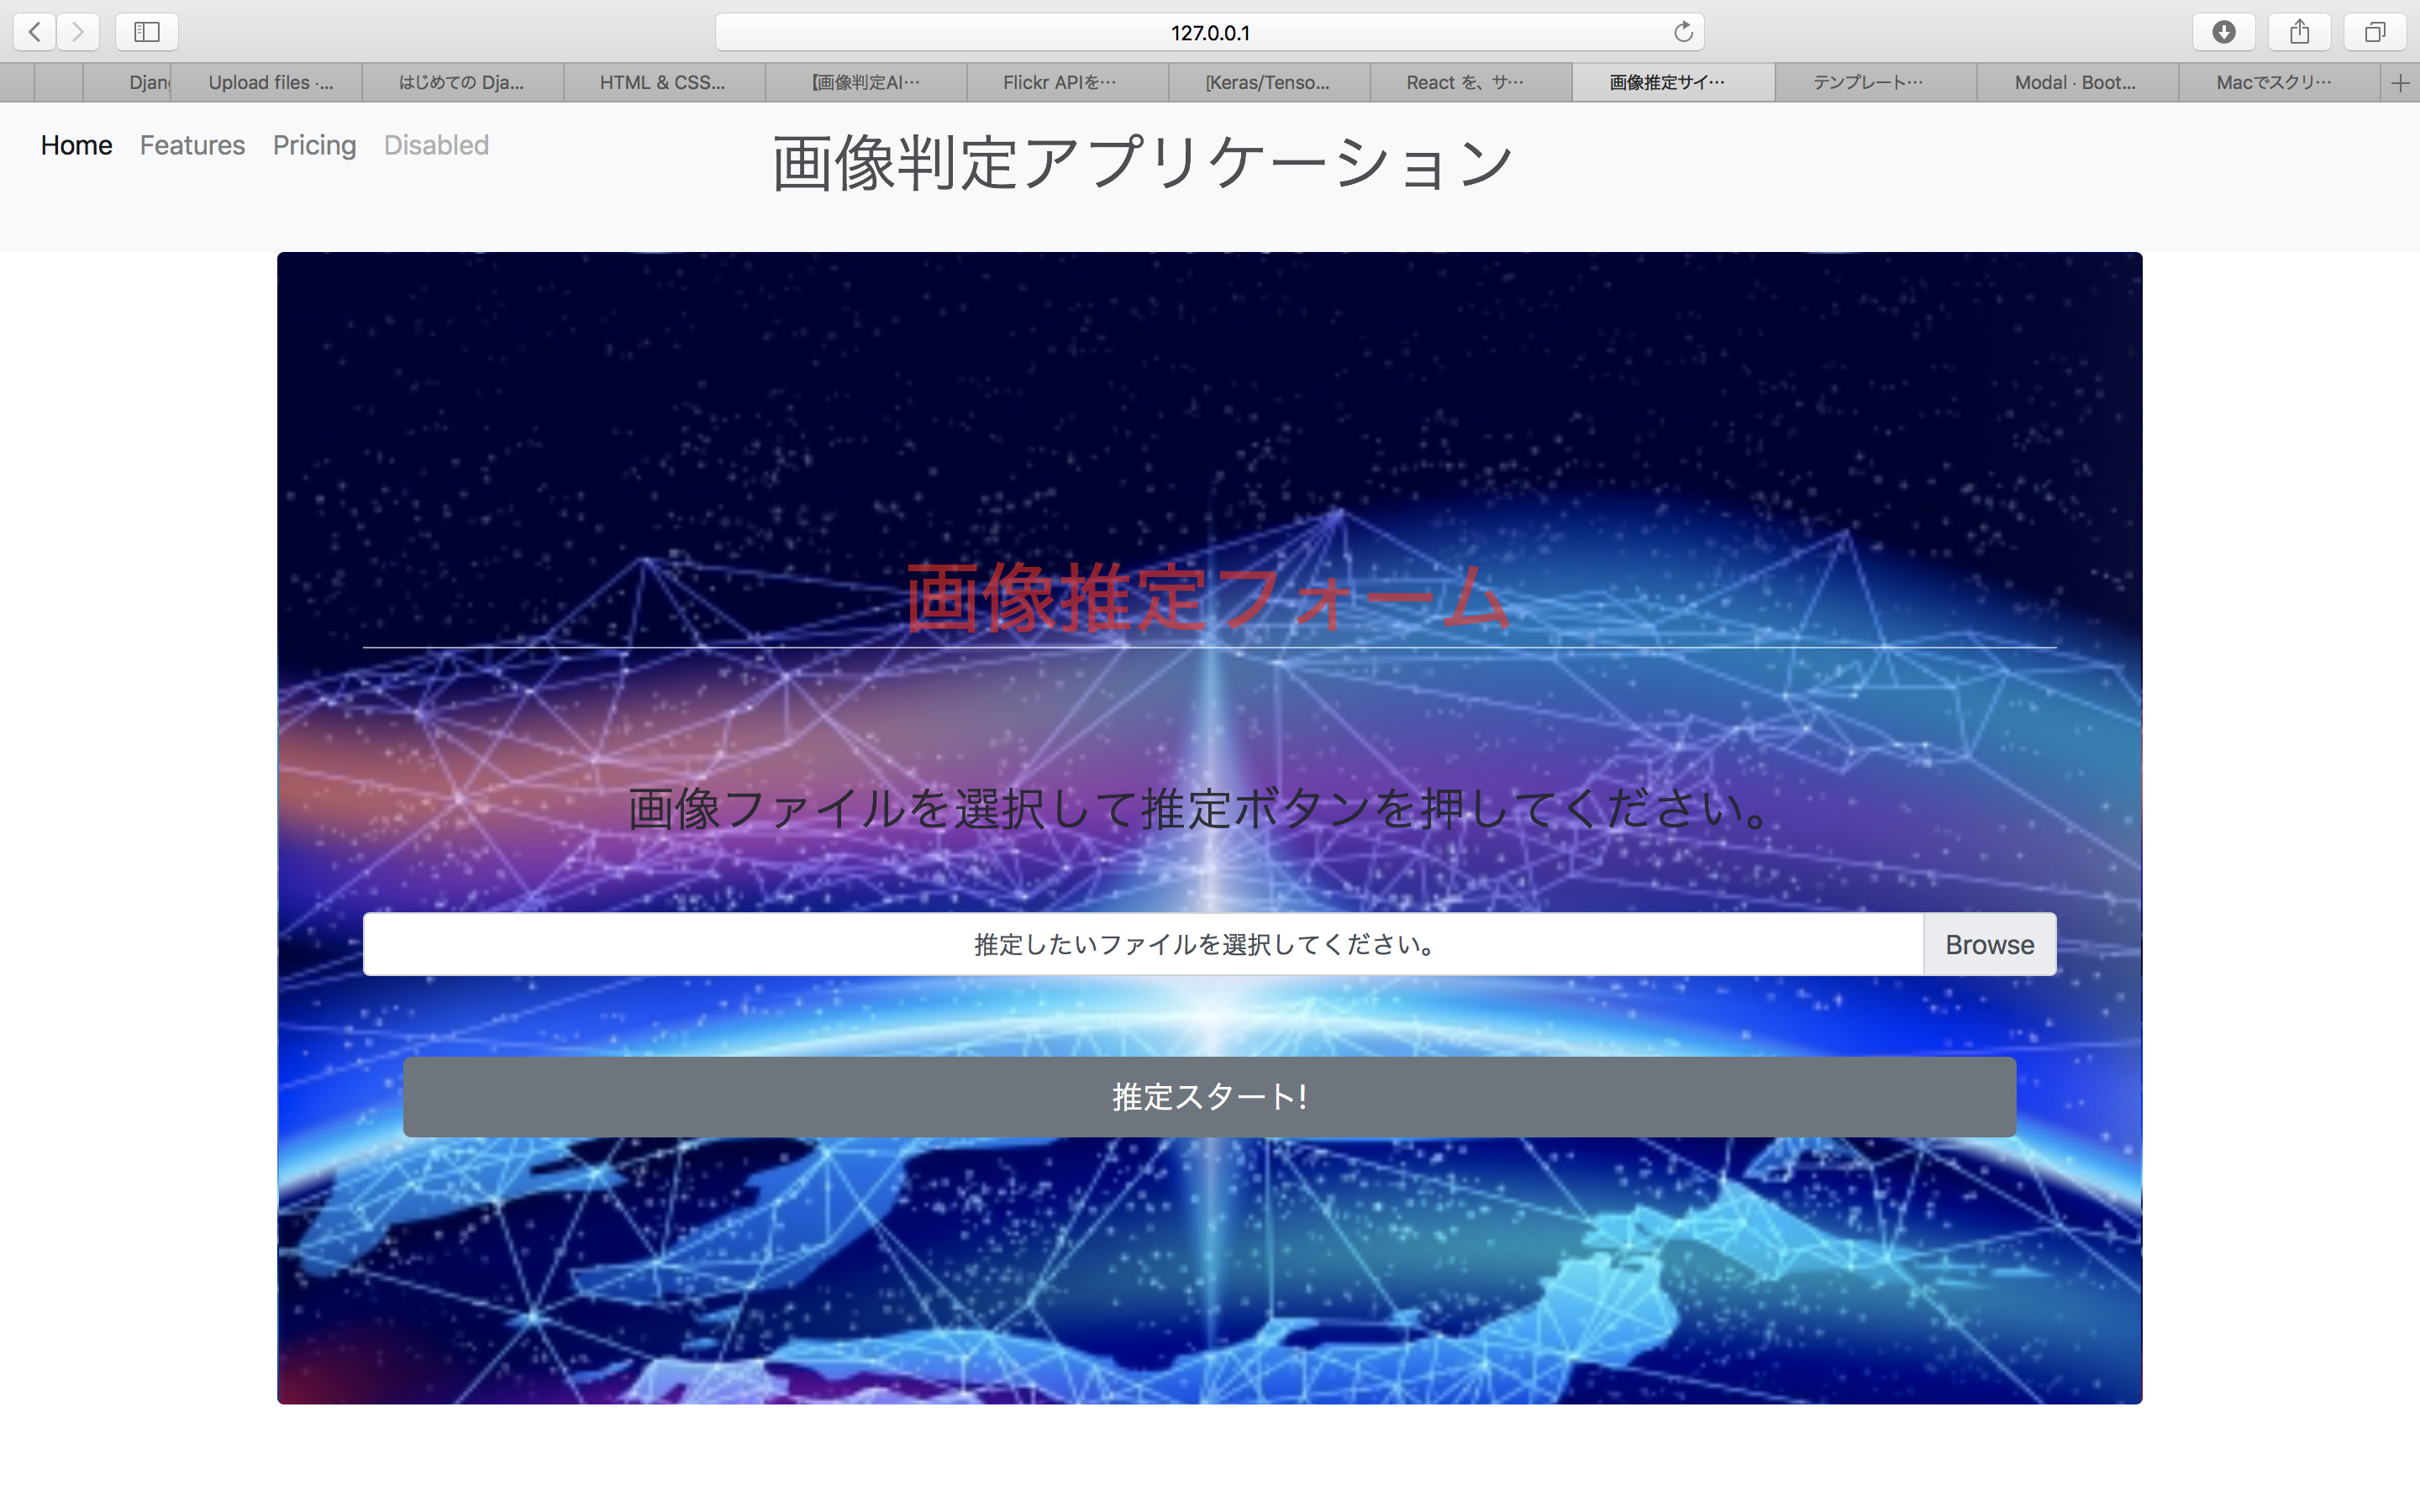
ここに画像入力フォームで入力し、推定スタートボタンをクリックすると、
次はフロントエンドにReact.jsとかを使いたい。