Viewの作成
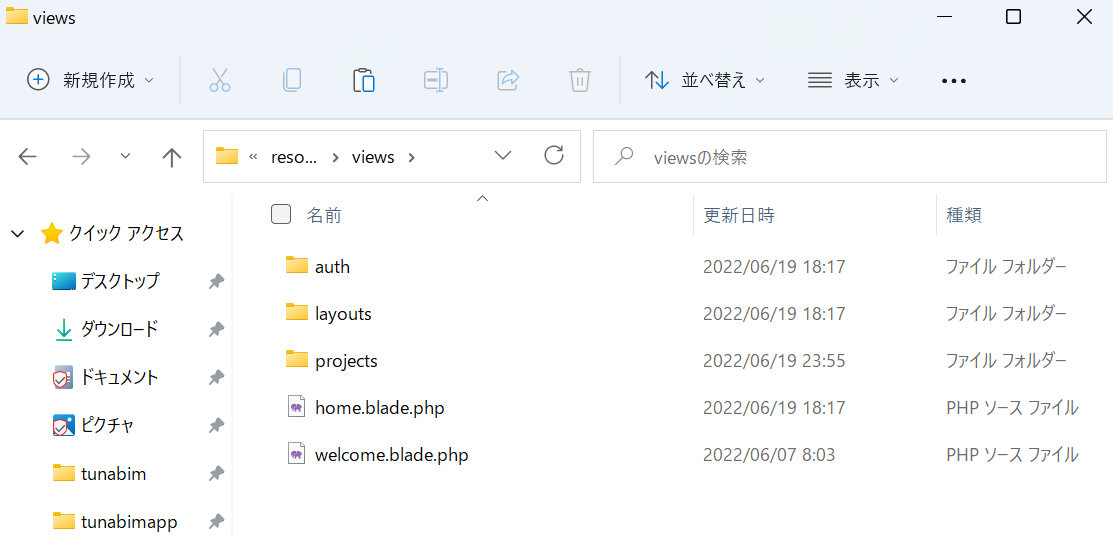
C:\xampp\<プロジェクト名>\resources\viewsフォルダに、任意のテーブル名でフォルダを作成。 ここでは例として、"projects"という名前でフォルダを作成する。projects内には、一覧View(index.blade.php)、新規追加View(create.blade.php)、編集View(edit.blade.php)を用意する。createとeditは、detailというフォルダ下に作成しておく。
具体的なファイルの内容については、改めて書きます。
Modelの作成
コマンドプロンプトに下記を記載。
php artisan make:model <任意のモデル名>
C:\xampp<プロジェクト名>\app\Models\に、<モデル名>.phpファイルが生成される。
このファイルに、モデルで使用するカラム名を記載。具体的内容はいつか。
次に、データベースを作成。
php artisan make:migration create_<テーブル名>_tables
C:\xampp\<プロジェクト名>\database\migrations\に、<作成日時>_create_<テーブル名>_tables.phpが作成されている。
ここに、カラムの型やルール(Nullを許すかどうかなど)を記載。
それができたら、実際に作成。下記を記載。
php artisan migrate
phpMyAdminに指定したテーブルが作成されていることを確認。
Controllerの作成
ここでは一覧Viewを呼び出すControllerと、新規作成・編集Viewを呼び出すControllerの2つを作成。php artisan make:controller <テーブル名>Controller
php artisan make:controller <テーブル名>DetailController
app\Http\Controllers\に作成される。
まとめ
かなり雑だが、手順はこんな感じ。具体的な書き方はまた今度、気が向けば。 Routeに関しては、routes\web.phpがすでにあるので、そこに加筆してくだけ。MVCモデルの仕組みが、個人的には面白かったです。


