必要なものをインストール
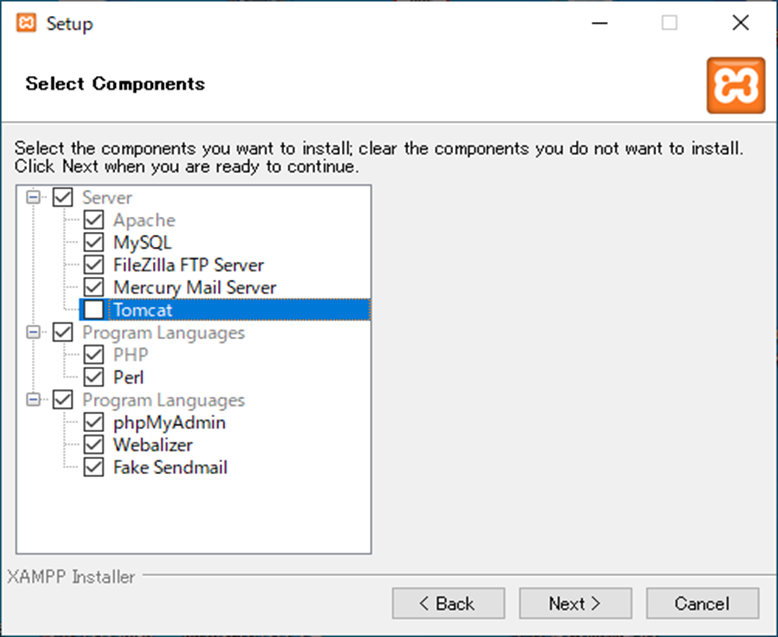
・XAMPPのインストール
下記から、XAMPPをインストールする。
設定では、すべてにチェックを入れてもよい。
Composerインストール
下記からインストール。
チェック不要。
環境構築
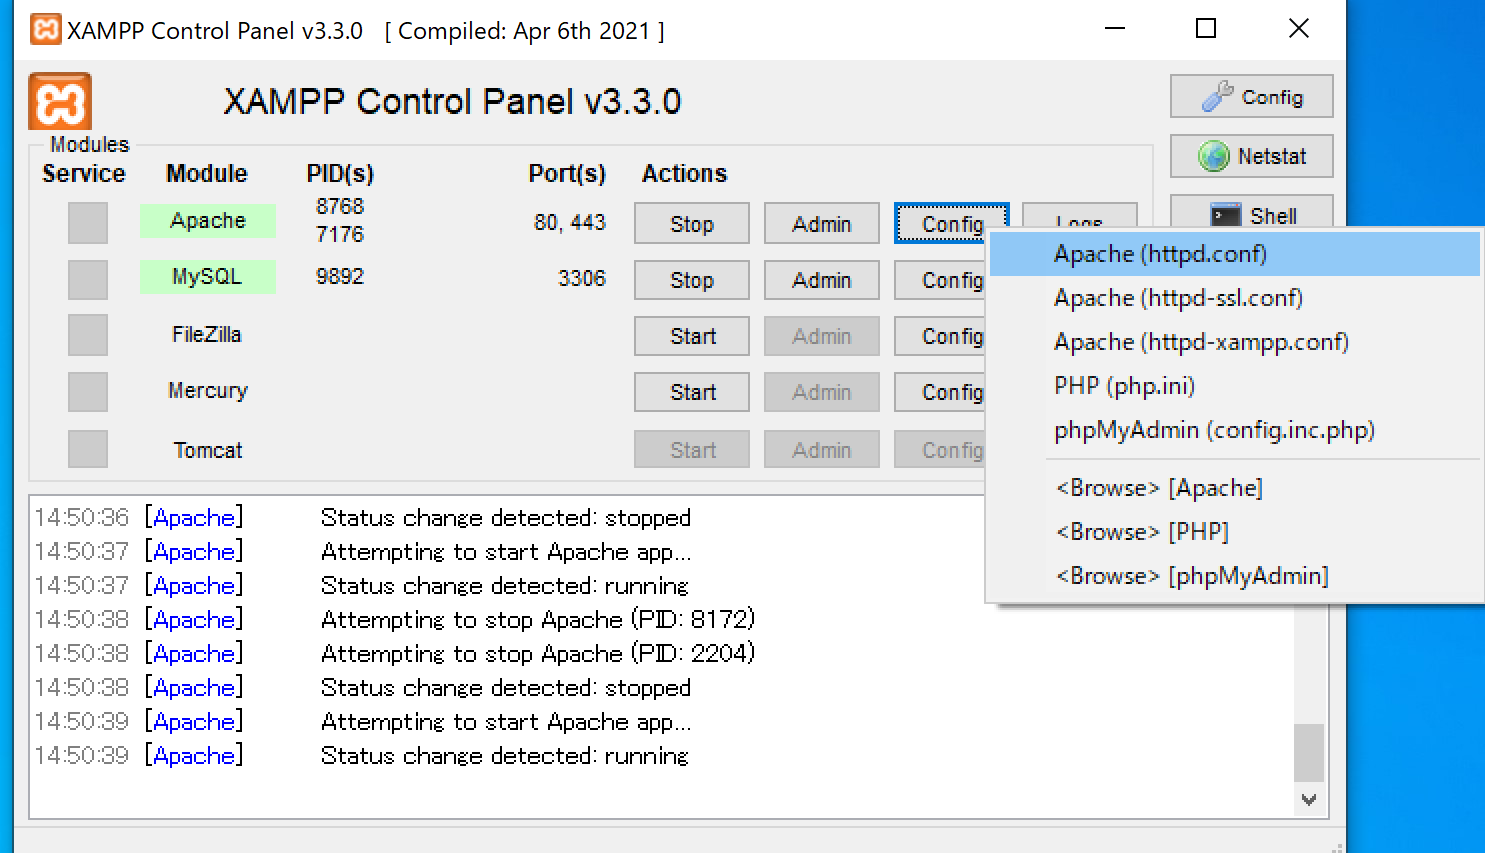
XAMPP起動
ApacheとMySQLをStart。Command起動
下記をコマンドに記載していく。XAMPP下移動
C:\xampp
Composerインストール
composer global require laravel/installer
プロジェクト作成
laravel new <プロジェクト名>
xampp下にプロジェクト名のフォルダとモジュールが作成されていることを確認。
Apacheのデフォルトルートディレクトリを変更
httpd.confを開いて、下記パスを変更する。
DocumentRoot "C:\xampp\htdocs"
<Directory "C:\xampp\htdocs">
↓
DocumemtRoot "C:\xampp\<作成したプロジェクト名>\public"
<Directory "C:\xampp\<作成したプロジェクト名>\public">
パスを書き換えたら、apacheを再起動。
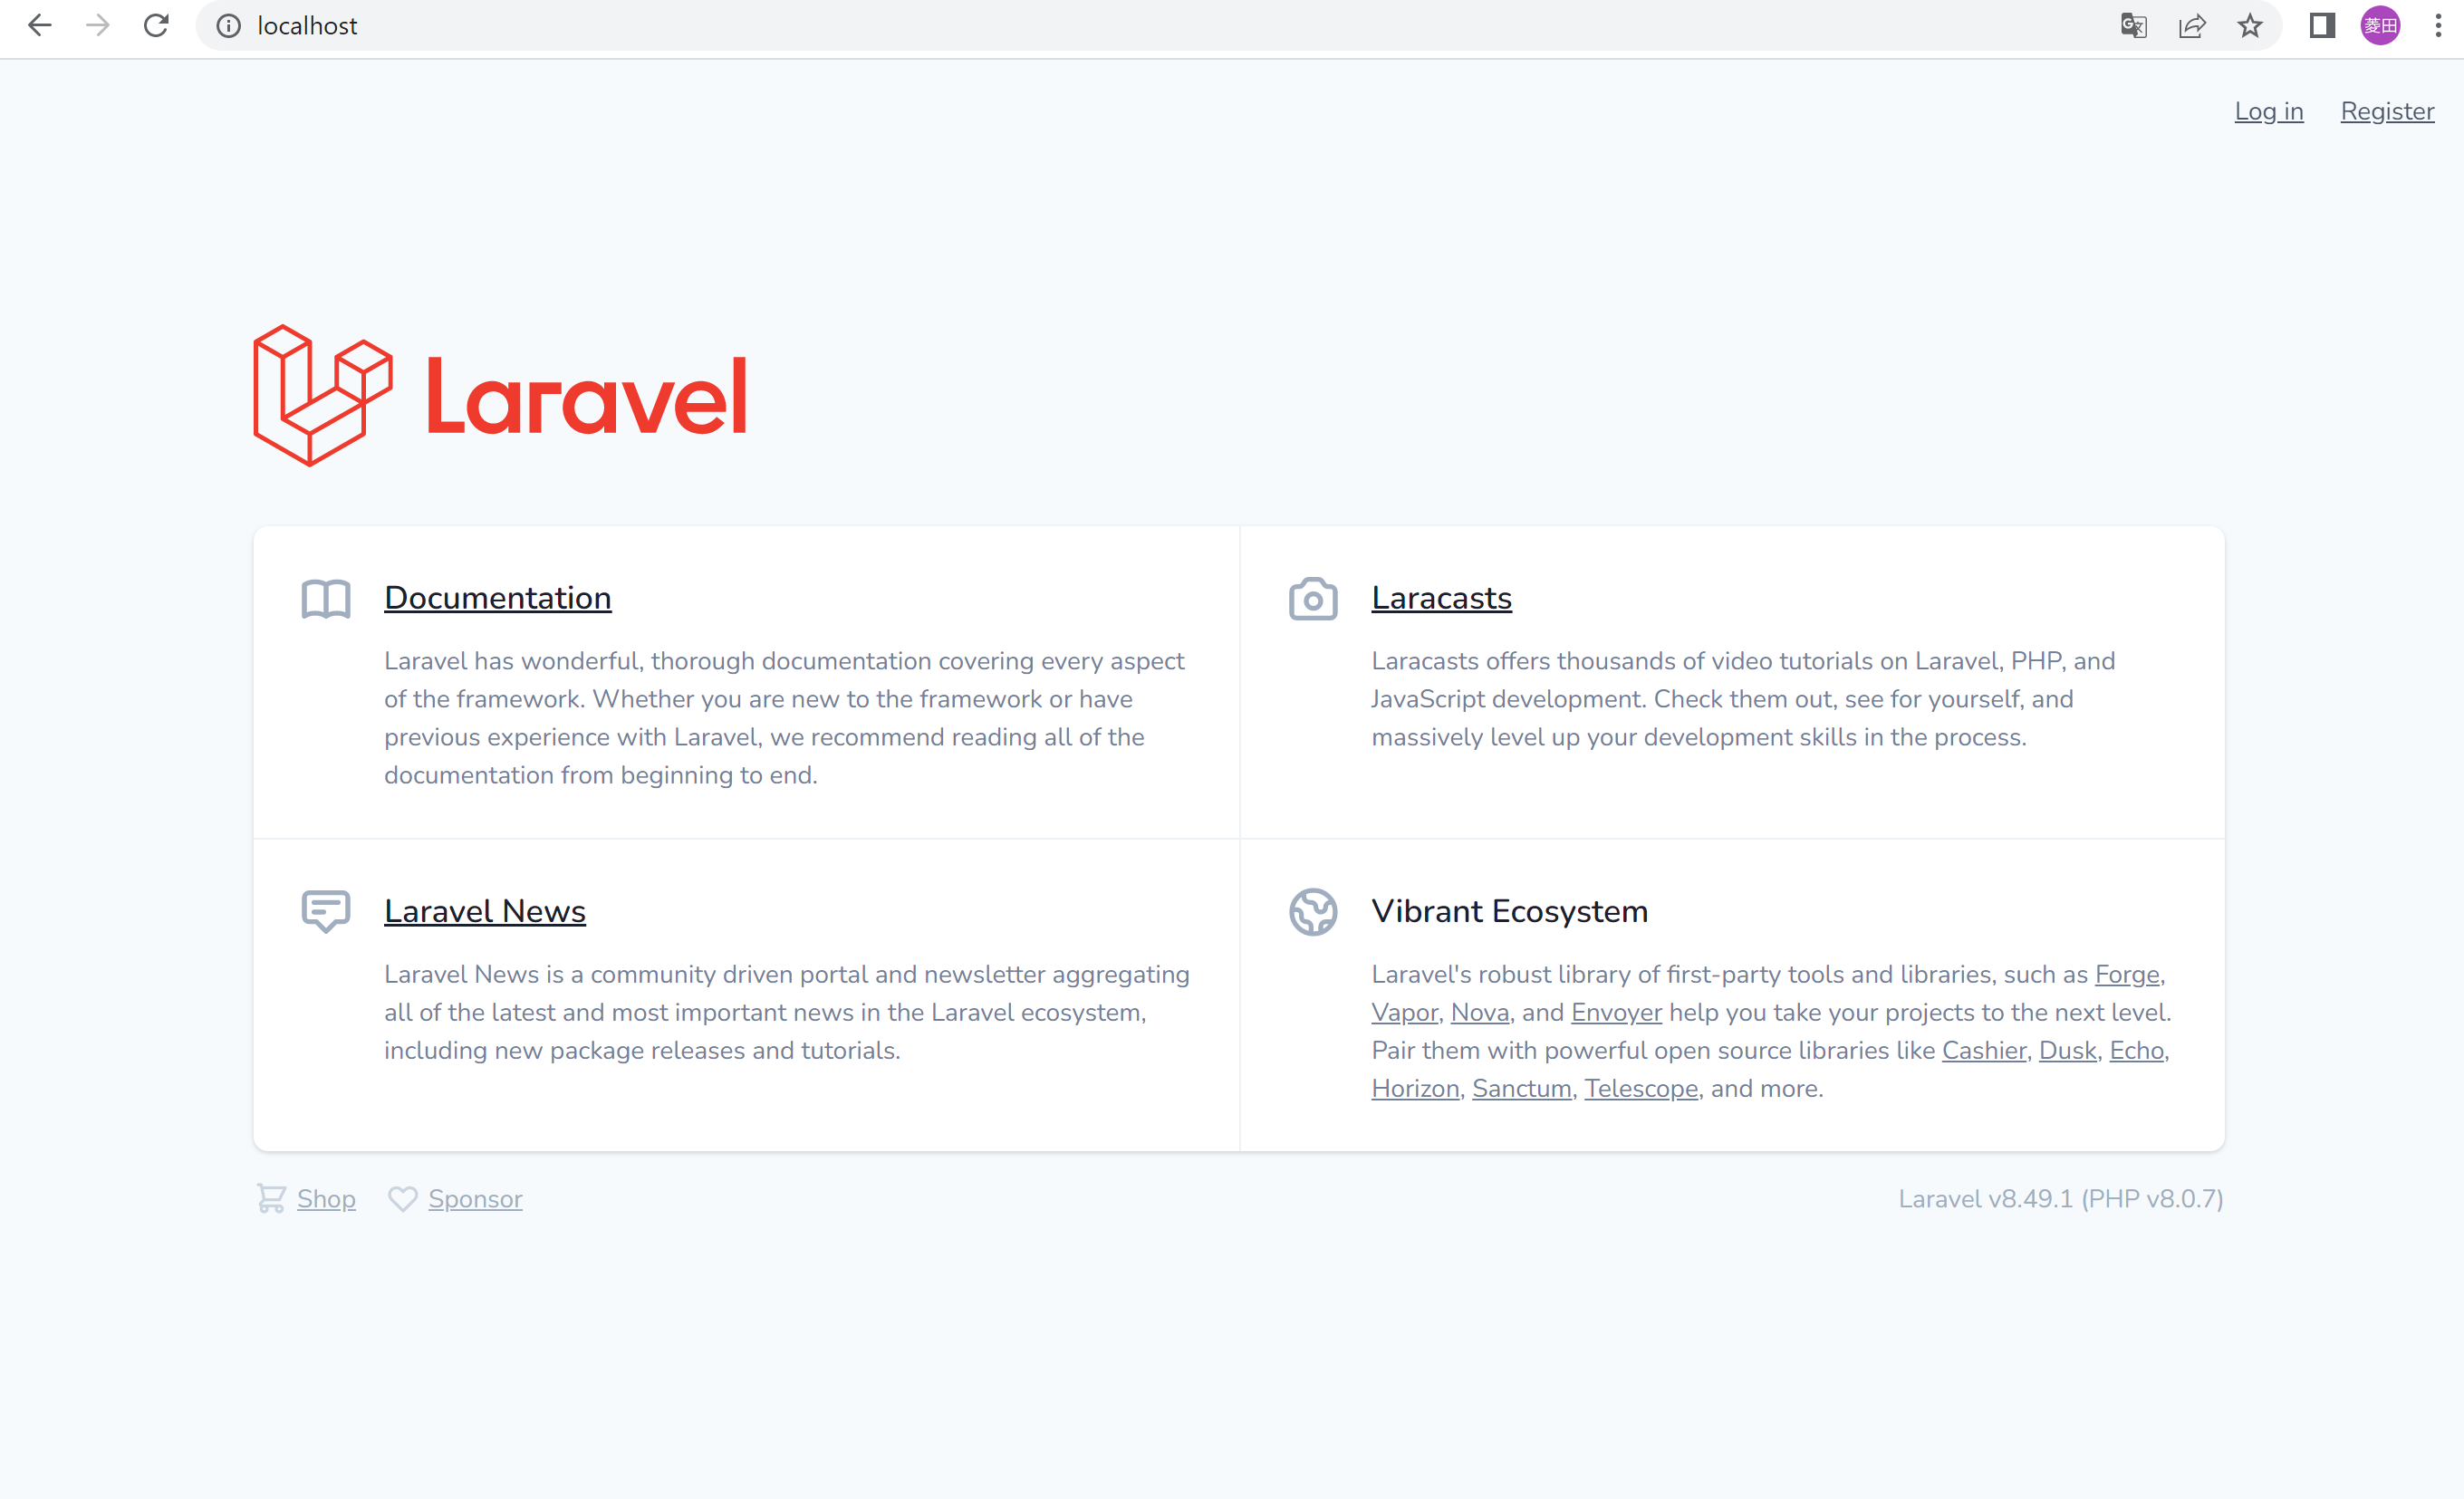
ブラウザからlocalhostにアクセス
プロジェクト下に移動
cd <プロジェクト名>
UIインストール
composer require laravel/ui
Authインストール
php artisan ui vue --auth
データベース作成
XAMPPからphpMyAdminを開いて、Laravel用データベースを作成する。データベース名は任意。ここでは先に作成したプロジェクト名と同じ名前に設定します。

.envのパラメータ確認
C:\xampp<プロジェクト名>.envを開く。APP_URLを変更。おそらく5行目。
APP_URL = http://localhost
database.phpのパラメータ確認
C:\xampp<プロジェクト名>\config\database.phpを開く。下記を確認。
'mysql' => [
       'driver' => 'mysql',
       'url' => env('DATABASE_URL'),
       'host' => env('DB_HOST', '127.0.0.1'),
       'port' => env('DB_PORT', '3306'),
デバッグバーの導入
プロジェクトフォルダ下から。下記をコマンドプロンプトに記入。
composer require barryvdh/laravel-debugbar
まとめ
以上で環境設定は完了。次回、テーブルやMVCの作成方法についてメモしておきます。


