この記事では、dotenv-railsを使ってGmailのメール送信機能を実装し、イベント通知を行うシステムをRailsで構築する方法について説明します。
今回はグループに入っているメンバーに,グループリーダーがメールを一括送信できるような機能を作成していきたいと思います.
グループ機能の作り方については、別の記事の方でまとめているので、こちらの方を参考にしていただけるとありがたいです。
https://qiita.com/TPO/items/d4b64688c8280c282f73
1. dotenv-railsの導入
まず、dotenv-railsをGemfileに追加します。
gem 'dotenv-rails', groups: [:development, :test]
※dotenv-railsとは
dotenv-railsは、Railsアプリケーションで環境変数を管理するためのGemです。`.env`ファイルに設定した環境変数をアプリケーション内で利用できるようにし、セキュリティや設定の管理を簡単にします。特に、開発やテスト環境での機密情報の管理に役立ちます。その後、bundle installコマンドを実行します。
2. 環境変数の設定
プロジェクトのルートディレクトリに.envファイルを作成し、Gmailの認証情報を設定します。これにより、Gmailのアカウント情報をコードに直接記述することを避け、GitHubにアップロードされるのを防ぎます。
.envファイルの内容:
GMAIL_USERNAME=自分のメールアドレス
GMAIL_PASSWORD=自分のパスワード
ここに記述したメールアドレスからメールが送信されます.
※アプリケーションパスワードを使用する方法
セキュリティの観点から直接パスワードを記述せずにアプリケーションパスワードを用いて記述することもできます.1.Googleのアカウント設定ページにアクセスします。
2.「2段階認証プロセス」に進み、ログインします。
3.「アプリケーションパスワード」をクリックします。
4.「メール」や「カスタム名前」を選択し、アプリケーションパスワードを生成します。
5. 生成された16文字のパスワードを.envファイルに使用します。
3. Action Mailerの設定
config/environments/development.rbにAction Mailerの設定を追加します。
  :
  config.action_mailer.delivery_method = :smtp
  config.action_mailer.smtp_settings = {
    address: 'smtp.gmail.com', #GmailのSMTPサーバーのアドレス
    port: 587, #GmailのSMTPサーバーのポート番号
    domain: 'gmaill.com',#送信するメールのドメイン
    user_name: ENV['GMAIL_USERNAME'], #ここに.envファイルに記述した文字列が入る
    password: ENV['GMAIL_PASSWORD'], #ここに.envファイルに記述した文字列が入る
    authentication: 'plain',
    enable_starttls_auto: true,
    open_timeout: 5,
    read_timeout: 5
  }
end
4. eventモデルの追加
次に、rails g model Event title:string content:text group_id:integerでeventモデルを作成します。
作成されたらrails db:migrateしましょう.
create_table "events", force: :cascade do |t|
class CreateEvents < ActiveRecord::Migration[6.0]
  def change
    create_table :events do |t|
      t.string :title #タイトル
      t.text :content #本文
      t.integer :group_id #送る先の外部キー

      t.timestamps
    end
  end
end
5. アソシエーションとバリデーションの追加
event.rbにアソシエーションとバリデーションを追加します。
class Event < ApplicationRecord
  belongs_to :group
  validates :title, presence: true
  validates :content, presence: true
end
6. ルーティングの追加
routes.rbにevents用のルーティングを追加します。
    :
    resources :groups do
      resource :group_users, only: [:create, :destroy]
      resources :events, only: [:new, :create, :show] #追加
    end
    :
ルーティングは以下のようになっています.

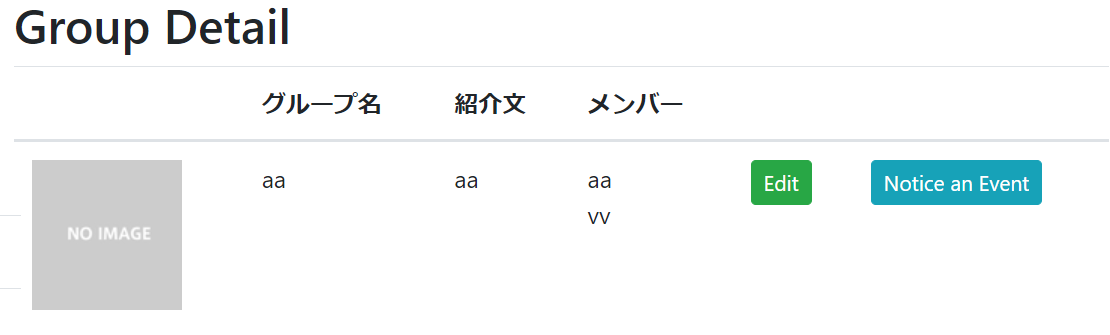
7. ボタンの追加
メール作成画面へ遷移するためのボタンを追加します。
:
<% if @group.owner_id == current_user.id %>
  <td><%= link_to 'Edit', edit_group_path(@group.id), class: "btn btn-sm btn-success edit_book" %></td>
  <td><%= link_to 'Notice an Event', new_group_event_path(@group), class: "btn btn-sm btn-info" %></td>
<% else %>
:
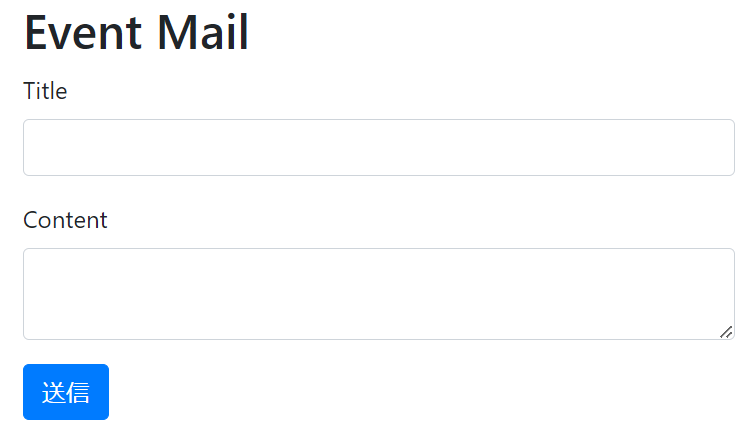
8. viewの作成
events/new(メール作成ページ)
<div class='container'>
  <div class='row'>
    <div class="col-sm-12 col-md-8 col-lg-5 px-5 px-sm-0 mx-auto">
      <h2>Event Mail</h2>
      <%= form_with model: [@group, @event], local: true do |f| %>
        <div class="form-group">
          <%= f.label :title %>
          <%= f.text_field :title, class: "form-control" %>
        </div>
        <div class="form-group">
          <%= f.label :content %>
          <%= f.text_area :content, class: "form-control" %>
        </div>
        <%= f.submit "送信", class: "btn btn-primary" %>
      <% end %>
    </div>
  </div>
</div>
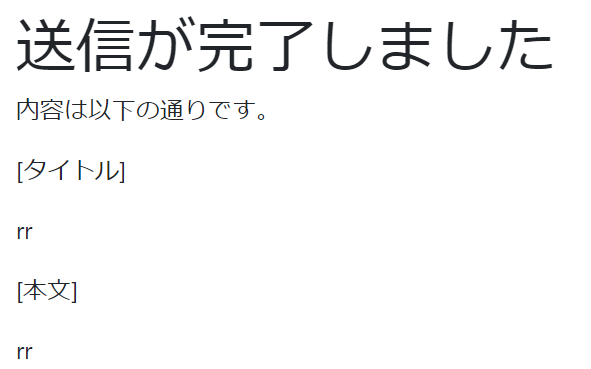
events/show(送信後の完了ページ)
<div class='container'>
  <div class='row'>
    <div class="col-sm-12 col-md-8 col-lg-5 px-5 px-sm-0 mx-auto">
      <h1>送信が完了しました</h1>
      <p>内容は以下の通りです。</p>
      <p>[タイトル]</p>
      <p><%= @event.title %></p>
      <p>[本文]</p>
      <p><%= @event.content %></p>
    </div>
  </div>
</div>
9. コントローラーの作成
rails g controller Eventsでevents_controller.rbを作成し、イベントの新規作成、保存、表示を行います。
class EventsController < ApplicationController
  def new
    @event = Event.new
    @group = Group.find(params[:group_id])
  end

  def create
    @group = Group.find(params[:group_id])
    @event = @group.events.new(event_params)
    if @event.save
      EventMailer.notice_event(@group, @event).deliver_now #重要
      redirect_to group_event_path(params[:group_id], @event.id)
    else
      render :new
    end
  end

  def show
    @event = Event.find(params[:id])
  end

  private

  def event_params
    params.require(:event).permit(:title, :content)
  end
end
この時createアクションに追記した
EventMailer.notice_event(@group, @event).deliver_now
で,RailsのAction Mailerを使用してメールを送信する処理を行っている.
EventMailerクラスのnotice_event(@group, @event)メソッドで引数として@groupと@eventを受け取り、メールの内容を設定します。そしてdeliver_nowでメールを即時に送信します。
それではEventMailerクラスを作成していきましょう.
10. Mailer作成
rails g mailer EventMailerコマンドでMailerを生成します。
Mailerとはメールの内容、送信先、送信元などを設定し、管理するためのクラスです.
class EventMailer < ApplicationMailer
  # 環境変数 GMAIL_USERNAME に格納されたメールアドレスを使用する。
  default from: ENV['GMAIL_USERNAME']

  def notice_event(group, event)
	#メールを送るuser達を代入
    @group = group
    @users = @group.users

    #メール文(title,contentなど)を代入
    @event = event

    #@usersに代入されたuser全員に送信、件名は@eventのtitle
    mail to: @users.pluck(:email), subject: @event.title
  end
end
default from: ENV['GMAIL_USERNAME']は、.envファイルに記述したメールアドレスを送信元として設定する記述
def notice_event(group, event)メソッドではコントローラーから受け取ったgroupとeventを使用して,メールの受信者として@usersに,メールの内容(title,content)として@eventに情報を格納します.
そして,mail to: @users.pluck(:email), subject: @event.titleで@usersのemail属性を取得し,@usersのメアドに@event.titleという件名でメールが送信されます.
まとめると,.envファイルに記述したメアドで,グループに入っている@usersのメアドにメールが届くということである.
最後にメールの中身を記述して終わりです!
11. メールビューの作成
app/views/event_mailer/notice_event.html.erbでメールに表示させる内容を記述します。
<h1>イベント通知</h1>
<p>[タイトル]</p>
<p><%= @event.title %></p>
<p>[本文]</p>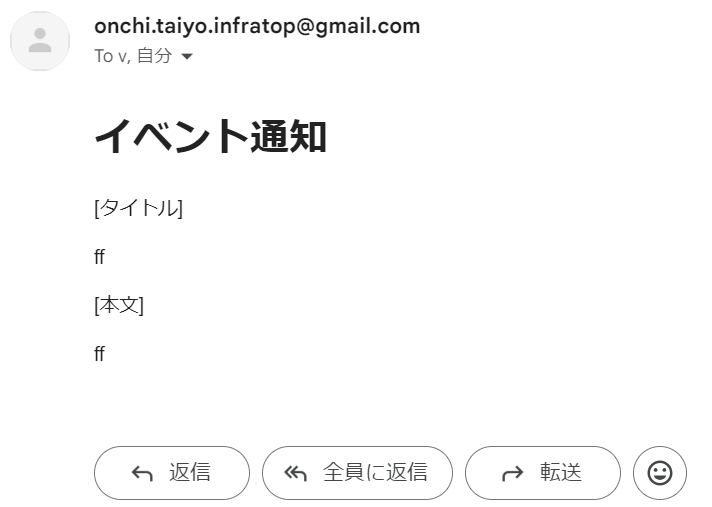
<p><%= @event.content %></p>
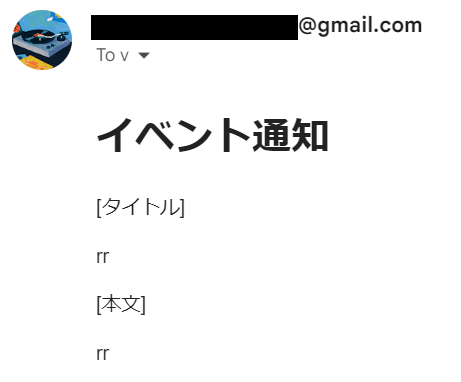
上記のようにメールが届いたら実装完了です!
最後に
最初の投稿なのでわかりにくい部分が多々あると思います🙇
呼んだ感想などをコメントしていただけるとありがたいです!