概要
C#でWindowsフォームアプリケーションを作成するときにstaticなクラスを使ってフォーム間でデータを共有してみます。(例えばログイン後にログイン情報を使いまわす)
画面と動作のイメージ
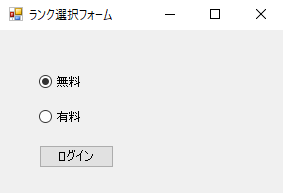
ログイン画面
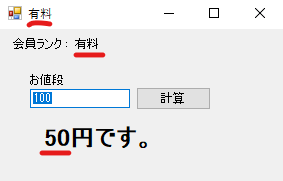
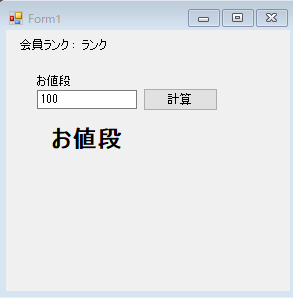
ログイン後の画面
赤線の部分が共有データを使って表示している箇所。
お値段に整数を入力して計算ボタンをクリックすると会員ランクに設定されたレートで計算結果が表示される。
手順
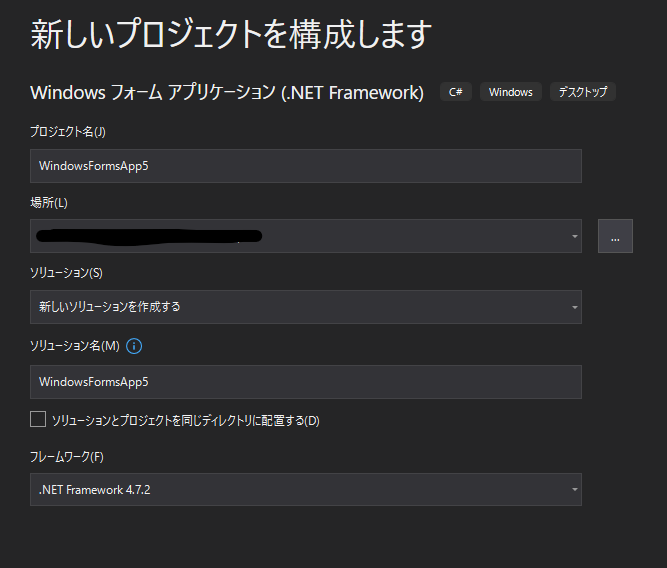
Windowsフォームアプリケーションを選択
プロジェクト名はなんでもOK
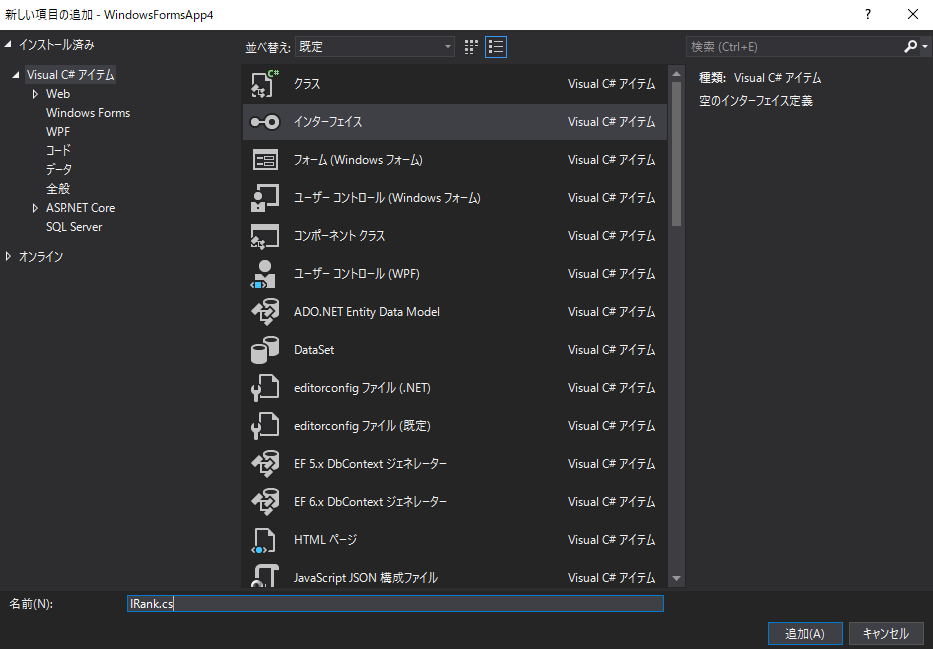
Interfaceファイルを作成
- ソリューションエクスプローラーでプロジェクトを右クリック
- 追加
- クラスをクリック
- インターフェースを選択して、名前をIRank.csで追加をクリック
IRank.csファイルのコードを編集
Interfaceを使ってランクを切り替える仕組みです。
IRank.cs
namespace WindowsFormsApp4
{
    public interface IRank
    {
        float Rate { get; }
        string GetRank();
    }

    class Free : IRank
    {
        public float Rate => 1.0f;

        public string GetRank()
        {
            return "無料";
        }
    }

    class Biz : IRank
    {
        public float Rate => 0.5f;

        public string GetRank()
        {
            return "有料";
        }
    }
}
フォーム間でデータを共有するStaticなクラスを作成
ここにログイン情報が格納されて使いまわしが可能になる
LoginInfo.cs
namespace WindowsFormsApp4
{
    public static class LoginInfo
    {
        public static IRank Rank { get; set; }
    }
}
LoginInfoへ格納するインスタンスを作成するFactoryを作成
LoginInfoFactory.cs
namespace WindowsFormsApp4
{
    static class LoginInfoFactory
    {
        public enum Rank
        {
            Free,
            Biz
        }

        internal static IRank Create(Rank rank)
        {
            if (rank == Rank.Free)
            {
                return new Free();
            }
            return new Biz();
        }
    }
}
ログイン後に表示するフォームを作成
- ソリューションエクスプローラーでプロジェクトを右クリック
- 追加
- フォーム(Windowsフォーム)をクリック
- ファイル名はPriceForm.cs
- UIはこんな感じ
PriceForm.csのコードを編集
PriceForm.cs
using System;
using System.Windows.Forms;

namespace WindowsFormsApp4
{
    public partial class PriceForm : Form
    {
        public PriceForm()
        {
            InitializeComponent();
            var rankStr = LoginInfo.Rank.GetRank();
            this.Text = rankStr;
            RankLabel.Text = rankStr;
            var IniPrice = 100;
            textBox1.Text = IniPrice.ToString();
            Result.Text = (IniPrice * LoginInfo.Rank.Rate) + "円です。";
        }

        private void button1_Click(object sender, EventArgs e)
        {
            var price = Convert.ToInt32(textBox1.Text);
            textBox1.Text = price.ToString();
            Result.Text = (price * LoginInfo.Rank.Rate) + "円です。";
        }
    }
}
デフォルトで作成されているForm1を編集
- ソリューションエクスプローラーでForm1.csの名前をLoginForm.csへ変更
- UIはこんな感じで配置

LoginForm.csのコードを編集
LoginForm.cs
using System;
using System.Windows.Forms;

namespace WindowsFormsApp4
{
    public partial class RankForm : Form
    {
        public RankForm()
        {
            InitializeComponent();
        }

        private void LoginButton_Click(object sender, EventArgs e)
        {
            if (FreeButton.Checked)
            {
                LoginInfo.Rank = LoginInfoFactory.Create(LoginInfoFactory.Rank.Free);
            }
            else
            {
                LoginInfo.Rank = LoginInfoFactory.Create(LoginInfoFactory.Rank.Biz);
            }

            using (var f = new PriceForm())
            {
                f.ShowDialog();
            }
        }
    }
}
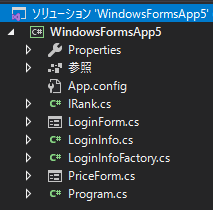
最終的なファイルの構成
おわり
さらにフォームを増やしてもLoginInfoを使えばデータを共有できます。