Gatsby.js(Reactベースの静的サイトジェネレーター)を使ってポートフォリオサイトを作って見たので、その手順などを簡単にまとめました。
コンテンツの部分はContentful。ホスティングはNetlifyです。
Gatsby.jsをインストール
yarn global add gatsby-cli

gatsby new {プロジェクト名} https://github.com/gatsbyjs/gatsby-starter-hello-world //starterを指定することが可能
Gatsby.jsには、数多くのスターターが用意されており、インストールの際に指定することができます。
下記より、スターターを確認できます。
https://www.gatsbyjs.com/starters/
開発サーバーを動かす
gatsby develop
インストールが完了したら、上記のコマンドで開発サーバーを起動できます。
pagesディレクトリでページを増やす
Gatsby.jsのpagesディレクトリにファイルを増やしていくことで、自動的にページを増やすことができます。
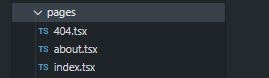
ファイル名を404とすると、自動的に404のエラー用の404ページになります。
Reactで記述
import React from 'react'

export default function Home() {
  return (
    <div>
      <h1 style={{ color: 'red' }}>helloworld</h1>
    </div>
  )
}
Gatsby.jsはReact製なので、記述はjsx(tsx)になります。
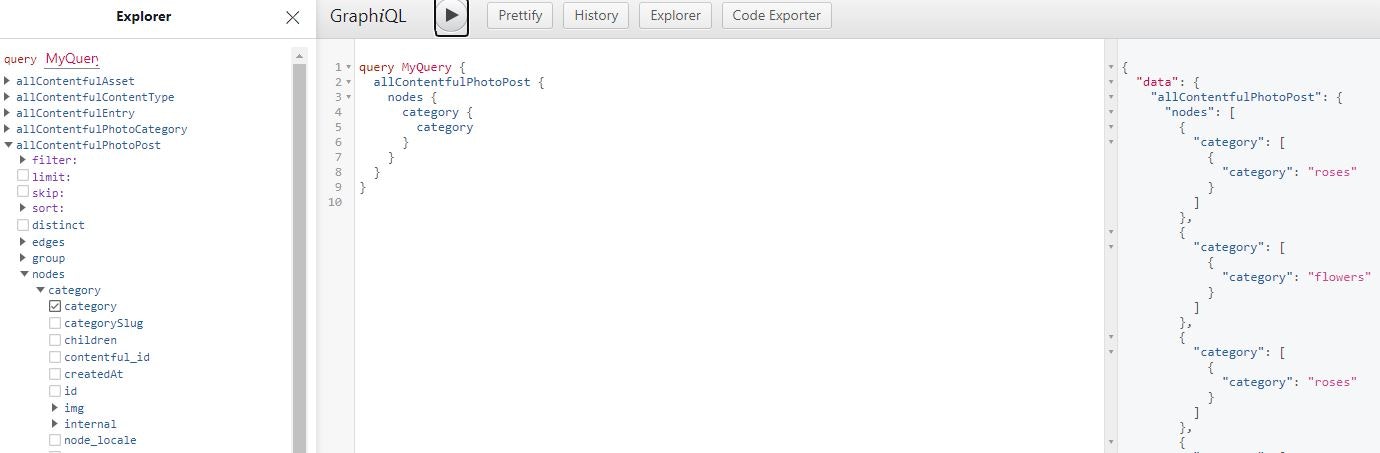
外部データやファイル名の読み込みはGrapQLでおこなう。
Gatsby.jsでは、GrapQLを使って外部データやファイル名を読み込むのが基本になります。
開発サーバーを起動すると、GrapQLも自動的に立ち上がります。
pluginをインストールする
Gatsby.jsには、数多くの便利なプラグインが用意されています。
https://www.gatsbyjs.com/plugins/
インストールすることで、簡単に機能を実装できます。
画像関係のplugin
yarn add gatsby-image
yarn add gatsby-transformer-sharp gatsby-plugin-sharp
yarn add gatsby-source-filesystem
metaタグ
yarn add gatsby-plugin-react-helmet react-helmet
Sass
yarn add node-sass gatsby-plugin-sass
pwa
yarn add gatsby-plugin-manifest
yarn add gatsby-plugin-offline
env
yarn add dotenv
contentfulとの連携
yarn add gatsby-source-contentful
gatsby-config.jsで設定やpluginを読み込む
サイト全体の設定やインストールしたpluginの読み込みは、gatsby-config.jsでおこないます。
/**
 * Configure your Gatsby site with this file.
 *
 * See: https://www.gatsbyjs.com/docs/gatsby-config/
 */

const env = process.env.NODE_ENV || 'development'
require('dotenv').config({ path: `./.env.${env}` })

module.exports = {
  /* Your site config here */
  siteMetadata: {
    title: `サイト名`,
    description: `サイトの説明`,
    lang: `ja`,
    siteUrl: process.env.ORIGIN_URL,
    locale: `ja_JP`
  },
  plugins: [
    `gatsby-plugin-sass`,
    `gatsby-plugin-sharp`,
    `gatsby-transformer-sharp`,
    `gatsby-transformer-typescript-css-modules`,
    `gatsby-plugin-react-helmet`,
    {
      resolve: `gatsby-source-filesystem`,
      options: {
        name: `images`,
        path: `${__dirname}/src/images/`
      }
    },
    {
      resolve: `gatsby-plugin-manifest`,
      options: {
        name: `demo`,
        short_name: `demo`,
        start_url: `/`,
        lang: `ja`,
        icon: `static/icon.jpg`,
        background_color: `#000000`,
        theme_color: `#212121`,
        display: `standalone`
      }
    },
    `gatsby-plugin-offline`,
    {
      resolve: `gatsby-source-contentful`,
      options: {
        spaceId: process.env.CONTENTFUL_SPACE_ID,
        accessToken: process.env.CONTENTFUL_API_KEY
      }
    }
  ]
}
動的ページの設定はgatsby-node.jsでおこなう
ブログ記事など外部のデータによってページを生成する場合は、gatsby-node.jsで設定します。
https://www.gatsbyjs.com/docs/reference/config-files/gatsby-node/
const path = require('path')
// Implement the Gatsby API “createPages”. This is called once the
// data layer is bootstrapped to let plugins create pages from data.
exports.createPages = async ({ graphql, actions, reporter }) => {
  const { createPage } = actions
  // Query for markdown nodes to use in creating pages.
  const photoPostResult = await graphql(`
    query {
      allContentfulPhotoCategory {
        edges {
          node {
            categorySlug
            id
          }
          previous {
            categorySlug
          }
          next {
            categorySlug
          }
        }
      }
    }
  `)

  // Handle errors
  if (photoPostResult.errors) {
    reporter.panicOnBuild(`Error while running GraphQL query.`)
    return
  }

  const productTemplate = path.resolve(`src/template/category-template.tsx`)
  photoPostResult.data.allContentfulPhotoCategory.edges.forEach(
    ({ node, previous, next }) => {
      createPage({
        path: `/category/${node.categorySlug}/`,
        component: productTemplate,
        context: {
          // This time the entire product is passed down as context
          category: node.categorySlug,
          previous,
          next
        }
      })
    }
  )
}
Netlifyでホスティング
NetlifyはGitHubのリポジトリで連携できるので、簡単にデプロイが可能です。
https://www.netlify.com/with/gatsby/