Next.js(Reactのフレームワーク)にPixiJSを導入して、画像にフィルターを掛けるまでの手順を解説していきます。(※TypeScriptを使用)
Next.jsのプロジェクトを作成する
まずはNext.jsのプロジェクトを作成します。
npx create-next-app@latest --ts
# OR
yarn create next-app --typescript
yarn dev等でサーバーを起動するとWelcome Pageが立ち上がります。
PixiJSをインストールする
続いてPixiJSをインストールします。
npm install pixi.js
# または
yarn add pixi.js
PixiJSを使用する
PixiJSを読み込んで使用していきます。
index.tsx
import type { NextPage } from 'next'
import * as PIXI from 'pixi.js'

const Home: NextPage = () => {
  console.log(PIXI)
  return (
    <></>
  )
}

export default Home
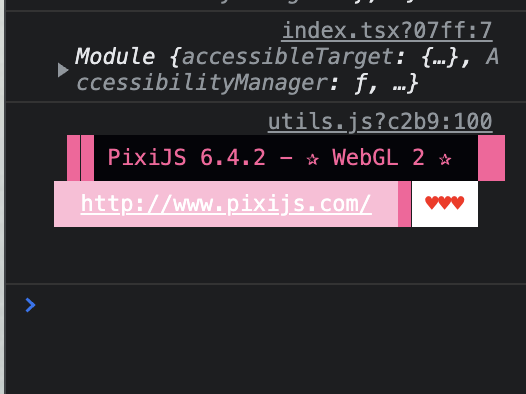
console.logでPixiJSが読み込まれているか確認します。
コンソール上にPixiJSのModuleが表示出来ていれば、読み込みは完了です。
PixiJSで画像を表示する
import type { NextPage } from 'next'
import { useEffect } from 'react'
import * as PIXI from 'pixi.js'

const Home: NextPage = () => {
  let app: PIXI.Application, container: PIXI.Container, sprite: PIXI.Sprite
  const sizes = {
    width: 0,
    height: 0
  }

  useEffect(() => {
    sizes.width = window.innerWidth
    sizes.height = window.innerHeight
    init()
    window.addEventListener('resize', resize)
  }, [])

  const init = () => {
    if (app) return
    app = new PIXI.Application({
      width: sizes.width,
      height: sizes.height,
      resizeTo: window
    })
    const main = document.getElementById('main')!
    main.appendChild(app.view)

    // コンテナの作成
    container = new PIXI.Container()
    app.stage.addChild(container)
    app.loader.add('/photo.jpg').load(spriteSetUp)
  }

  // 画像を表示
  const spriteSetUp = () => {
    sprite = PIXI.Sprite.from('/photo.jpg')
    sprite.width = sizes.width - 20
    sprite.height = 300
    sprite.anchor.x = 0.5
    sprite.anchor.y = 0.5
    sprite.position.x = sizes.width / 2
    sprite.position.y = sizes.height / 2
    container.addChild(sprite)
  }

  // リサイズ処理
  const resize = () => {
    sizes.width = window.innerWidth
    sizes.height = window.innerHeight
    sprite.position.x = sizes.width / 2
    sprite.position.y = sizes.height / 2
    app.renderer.resize(sizes.width, sizes.height)
  }
  return (
    <>
      <div
        id="main"
        style={{
          height: '100%',
          width: '100%',
          position: 'fixed',
          top: 0,
          left: 0
        }}
      ></div>
    </>
  )
}

export default Home
上記のコードで画像を表示することができます。

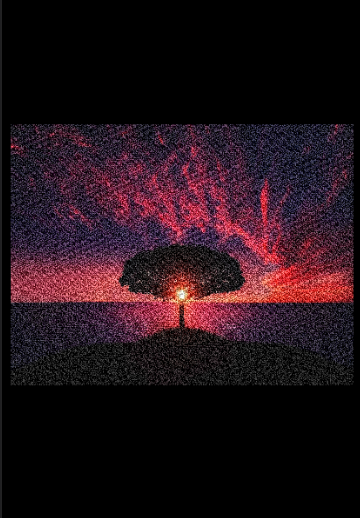
Noiseフィルターをかける
表示した画像にNoise(ノイズ)フィルターをかける例になります。
https://api.pixijs.io/@pixi/filter-noise/PIXI/filters/NoiseFilter.html
const Home: NextPage = () => {

// 省略

  const spriteSetUp = () => {
    sprite = PIXI.Sprite.from('/photo.jpg')
    sprite.width = sizes.width - 20
    sprite.height = 300
    sprite.anchor.x = 0.5
    sprite.anchor.y = 0.5
    sprite.position.x = sizes.width / 2
    sprite.position.y = sizes.height / 2
    container.addChild(sprite)
    noiseFilter()
  }

  // NoiseFilter
  const noiseFilter = () => {
    const noiseFilter = new PIXI.filters.NoiseFilter()
    noiseFilter.noise = 0.7
    noiseFilter.seed = 0.8
    sprite.filters = [noiseFilter]
  }

// 省略
}

export default Home
Noiseフィルターをアニメーションさせる例
const noiseFilter = () => {
  const noiseFilter = new PIXI.filters.NoiseFilter()
  noiseFilter.noise = 0.7
  noiseFilter.seed = 0.8
  sprite.filters = [noiseFilter]

  app.ticker.add(() => {
    noiseFilter.seed = Math.random()
  })
}
tickerを使ってアニメーションさせています。
その他のフィルター
PixiJSには他にも数々のフィルターが用意されています。
https://filters.pixijs.download/main/docs/index.html
フィルターのライブラリをインストールすることで実装できます。
例として、GlitchFilterを実装してみます。
npx install pixi-filters
# OR
yarn add pixi-filters
Glitchフィルター
import { GlitchFilter } from 'pixi-filters'

// GlitchFilter
const glitchFilter = () => {
  const glitchFilter = new GlitchFilter()
  sprite.filters = [glitchFilter]
  app.ticker.add(() => {
    glitchFilter.fillMode = 0
    glitchFilter.slices = 10
    glitchFilter.offset = Math.random() * 10
  })
}

sprite.filters = [noiseFilter, glitchFilter]
sprite.filtersに複数のフィルターを指定することで、フィルターの重ね掛けも可能です。
参考