Next.js(Reactのフレームワーク)に、Three.jsを導入してジオメトリを表示させるまでの手順を解説していきます。(※TypeScriptを使用)
Next.jsのプロジェクトを作成する
まずはNext.jsのプロジェクトを作成します。
npx create-next-app@latest --ts
# または
yarn create next-app --typescript
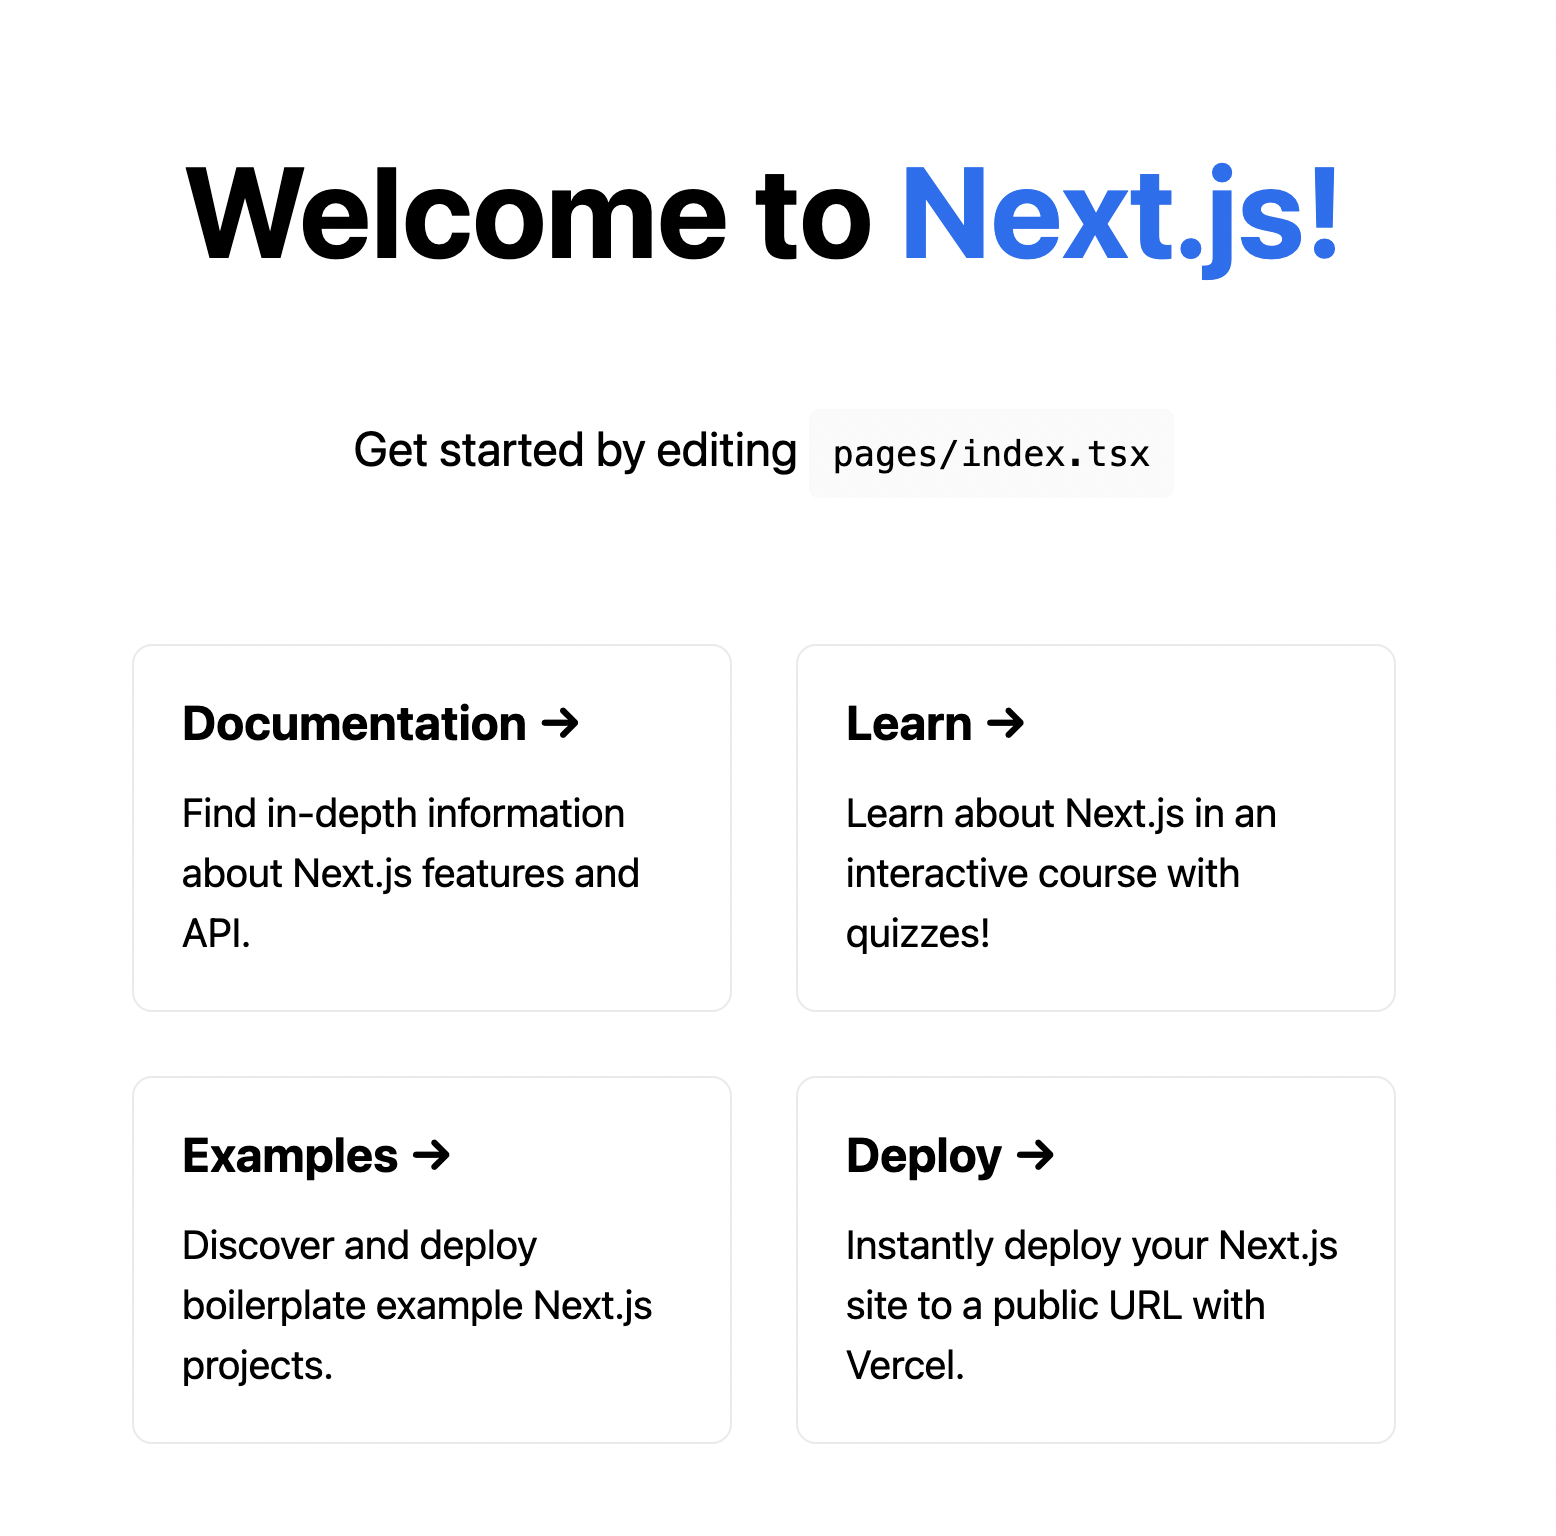
yarn dev等でサーバーを起動するとWelcome Pageが立ち上がります。
Three.jsをインストールする
続いてThree.jsをインストールします。
npm install three
# または
yarn add three
Three.jsの型定義を追加(TypeScriptの場合)
TypeScriptの場合、anyを使うかThree.jsの型定義を追加します。
npm install --save-dev @types/three
# または
yarn add --dev @types/three
Three.jsを使用する
Three.jsを読み込んで使用していきます。
index.tsx
import type { NextPage } from 'next'
import * as THREE from 'three'

const Home: NextPage = () => {
  console.log(THREE)
  return (
    <></>
  )
}

export default Home
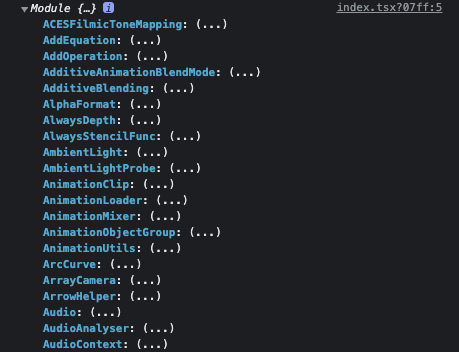
console.logでThree.jsが読み込まれているか確認します。
コンソール上にThree.jsのModuleが表示出来ていれば、読み込みは完了です。
Three.jsでボックスジオメトリを表示する
Three.jsのコードを追記していきます。
index.tsx
import type { NextPage } from 'next'
import { useEffect } from 'react'
import * as THREE from 'three'

const Home: NextPage = () => {
  let canvas: HTMLElement
  useEffect(() => {
    if (canvas) return
    // canvasを取得
    canvas = document.getElementById('canvas')!

    // シーン
    const scene = new THREE.Scene()

    // サイズ
    const sizes = {
      width: innerWidth,
      height: innerHeight
    }

    // カメラ
    const camera = new THREE.PerspectiveCamera(
      75,
      sizes.width / sizes.height,
      0.1,
      1000
    )

    // レンダラー
    const renderer = new THREE.WebGLRenderer({
      canvas: canvas || undefined,
      antialias: true,
      alpha: true
    })
    renderer.setSize(sizes.width, sizes.height)
    renderer.setPixelRatio(window.devicePixelRatio)

    // ボックスジオメトリー
    const boxGeometry = new THREE.BoxGeometry(1, 1, 1)
    const boxMaterial = new THREE.MeshLambertMaterial({
      color: '#2497f0'
    })
    const box = new THREE.Mesh(boxGeometry, boxMaterial)
    box.position.z = -5
    box.rotation.set(10, 10, 10)
    scene.add(box)

    // ライト
    const ambientLight = new THREE.AmbientLight(0xffffff, 0.7)
    scene.add(ambientLight)
    const pointLight = new THREE.PointLight(0xffffff, 0.2)
    pointLight.position.set(1, 2, 3)
    scene.add(pointLight)

    // アニメーション
    const clock = new THREE.Clock()
    const tick = () => {
      const elapsedTime = clock.getElapsedTime()
      box.rotation.x = elapsedTime
      box.rotation.y = elapsedTime
      window.requestAnimationFrame(tick)
      renderer.render(scene, camera)
    }
    tick()

    // ブラウザのリサイズ処理
    window.addEventListener('resize', () => {
      sizes.width = window.innerWidth
      sizes.height = window.innerHeight
      camera.aspect = sizes.width / sizes.height
      camera.updateProjectionMatrix()
      renderer.setSize(sizes.width, sizes.height)
      renderer.setPixelRatio(window.devicePixelRatio)
    })
  }, [])
  return (
    <>
      <canvas id="canvas"></canvas>
    </>
  )
}

export default Home
下記のようなボックスが表示されます。
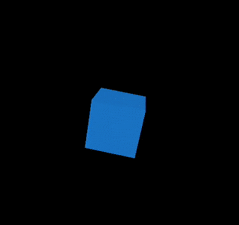
以上でNext.jsでThree.jsを導入してボックスジオメトリを表示させることができます。