はじめに
C#、WPFの勉強をしてて覚えたことの覚え書き。
データバインディングがやりたかったけど、初めはなかなか理解できなかったので、自分なりにまとめてみる。
記載しているコードは必要な部分のみの抜粋なのであしからず。
ViewModel
xaml.csファイルのクラスがViewModelだと思ってたのだが、どうやら違うらしい。
別途ViewModelクラスを作る必要がある。
class MainViewModel
{
	public String BindText { get; set; } = "てきとうな初期値";
}
publicなプロパティがXAMLから参照可能なプロパティとなる。
XAMLと連携するクラス
XAMLと連携するクラスのDataContextプロパティにViewModelのインスタンスを突っ込む。
public partial class MainWindow : Window
{
	public MainWindow()
	{
		InitializeComponent();

		this.DataContext = new MainViewModel();
	}
}
こうすると、DataContext(ViewModel)のプロパティがXAMLから参照可能になる。
XAML
XAMLにはどこに何をバインドするか書く。
DataContextを使用すれば、ViewModelに関する記述などは不要。
<Grid>
	<Label Content="{Binding BindText}" Margin="0,0,0,0"/>
</Grid>
こう書くとMainView.DataContext.BindTextとバインドされる。
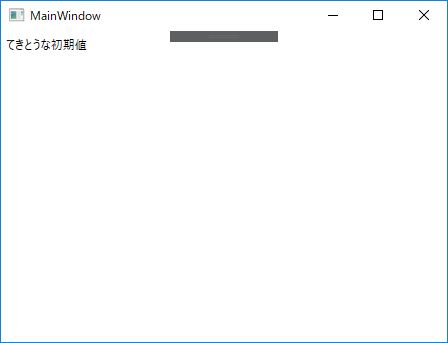
完成
MainViewModel.BindTextを動的に変更すると、それに合わせてLabelのContentプロパティにも自動的に反映される。
追記
上で書いたように、自動的に反映されるようにするにはもう少し手を加える必要があったので、別途記事を書きました。よければご参照ください。
