BitBucket Pipelinesが便利そうだったので、いろいろ遊んでた。
その中で、作ってるアプリケーションがNodeだったのでテストはNodeのDockerイメージ使いたいんだけど、デプロイはPythonが必要なのでPythonのDockerイメージ使いたい。
っていうわがままを実現するためにやってみたことをまとめておく。
(もっとまとも?な方法を知ってる方がいたら教えてください)
やりたいこと
-
node:7.4.0のイメージでテストを実行したい - テストが成功したら、
python:3.5.1のイメージでデプロイを実行したい
結論
できました。
以下のことをやります。
script/run_custom_pipelines.sh を作成
パイプラインのstepの中で、別のパイプラインをキックするためにcurlを実行するスクリプトを用意します。
# !/bin/bash
###
# set variables:
#
# $PIPELINES_REQ_USER
# $PIPELINES_REQ_PASSWORD
# $CUSTOM_PATTERN
###

curl -X POST -is -u "$PIPELINES_REQ_USER":"$PIPELINES_REQ_PASSWORD" \
  -H 'Content-Type: application/json' \
  https://api.bitbucket.org/2.0/repositories/"$BITBUCKET_REPO_OWNER"/"$BITBUCKET_REPO_SLUG"/pipelines/ \
  -d '
  {
    "target": {
      "commit": {
        "hash": "'$BITBUCKET_COMMIT'",
        "type": "commit"
      },
      "selector": {
        "type": "custom",
        "pattern": "'$CUSTOM_PATTERN'"
      },
      "type": "pipeline_commit_target"
    }
  }'
bitbucket-pipelines.yml を作成
masterブランチのパイプラインの最後で先ほどのスクリプトを実行しています。
(ここでは実際にデプロイするスクリプトではなく、pythonのバージョン出力しているだけです)
# This is a sample build configuration for Javascript.
# Check our guides at https://confluence.atlassian.com/x/VYk8Lw for more examples.
# Only use spaces to indent your .yml configuration.
# -----
# You can specify a custom docker image from Docker Hub as your build environment.
image: node:7.4.0

pipelines:
  default:
    - step:
        script: # Modify the commands below to build your repository.
          - npm install --global mocha
          - npm install
          - npm test
  branches:
    master:
      - step:
          script:
            - npm install --global mocha
            - npm install
            - npm test
            - export CUSTOM_PATTERN=deploy_to_production
            - bash script/run_custom_pipelines.sh
  custom:
    deploy_to_production:
      - step:
          image: python:3.5.1
          script:
            - python -V
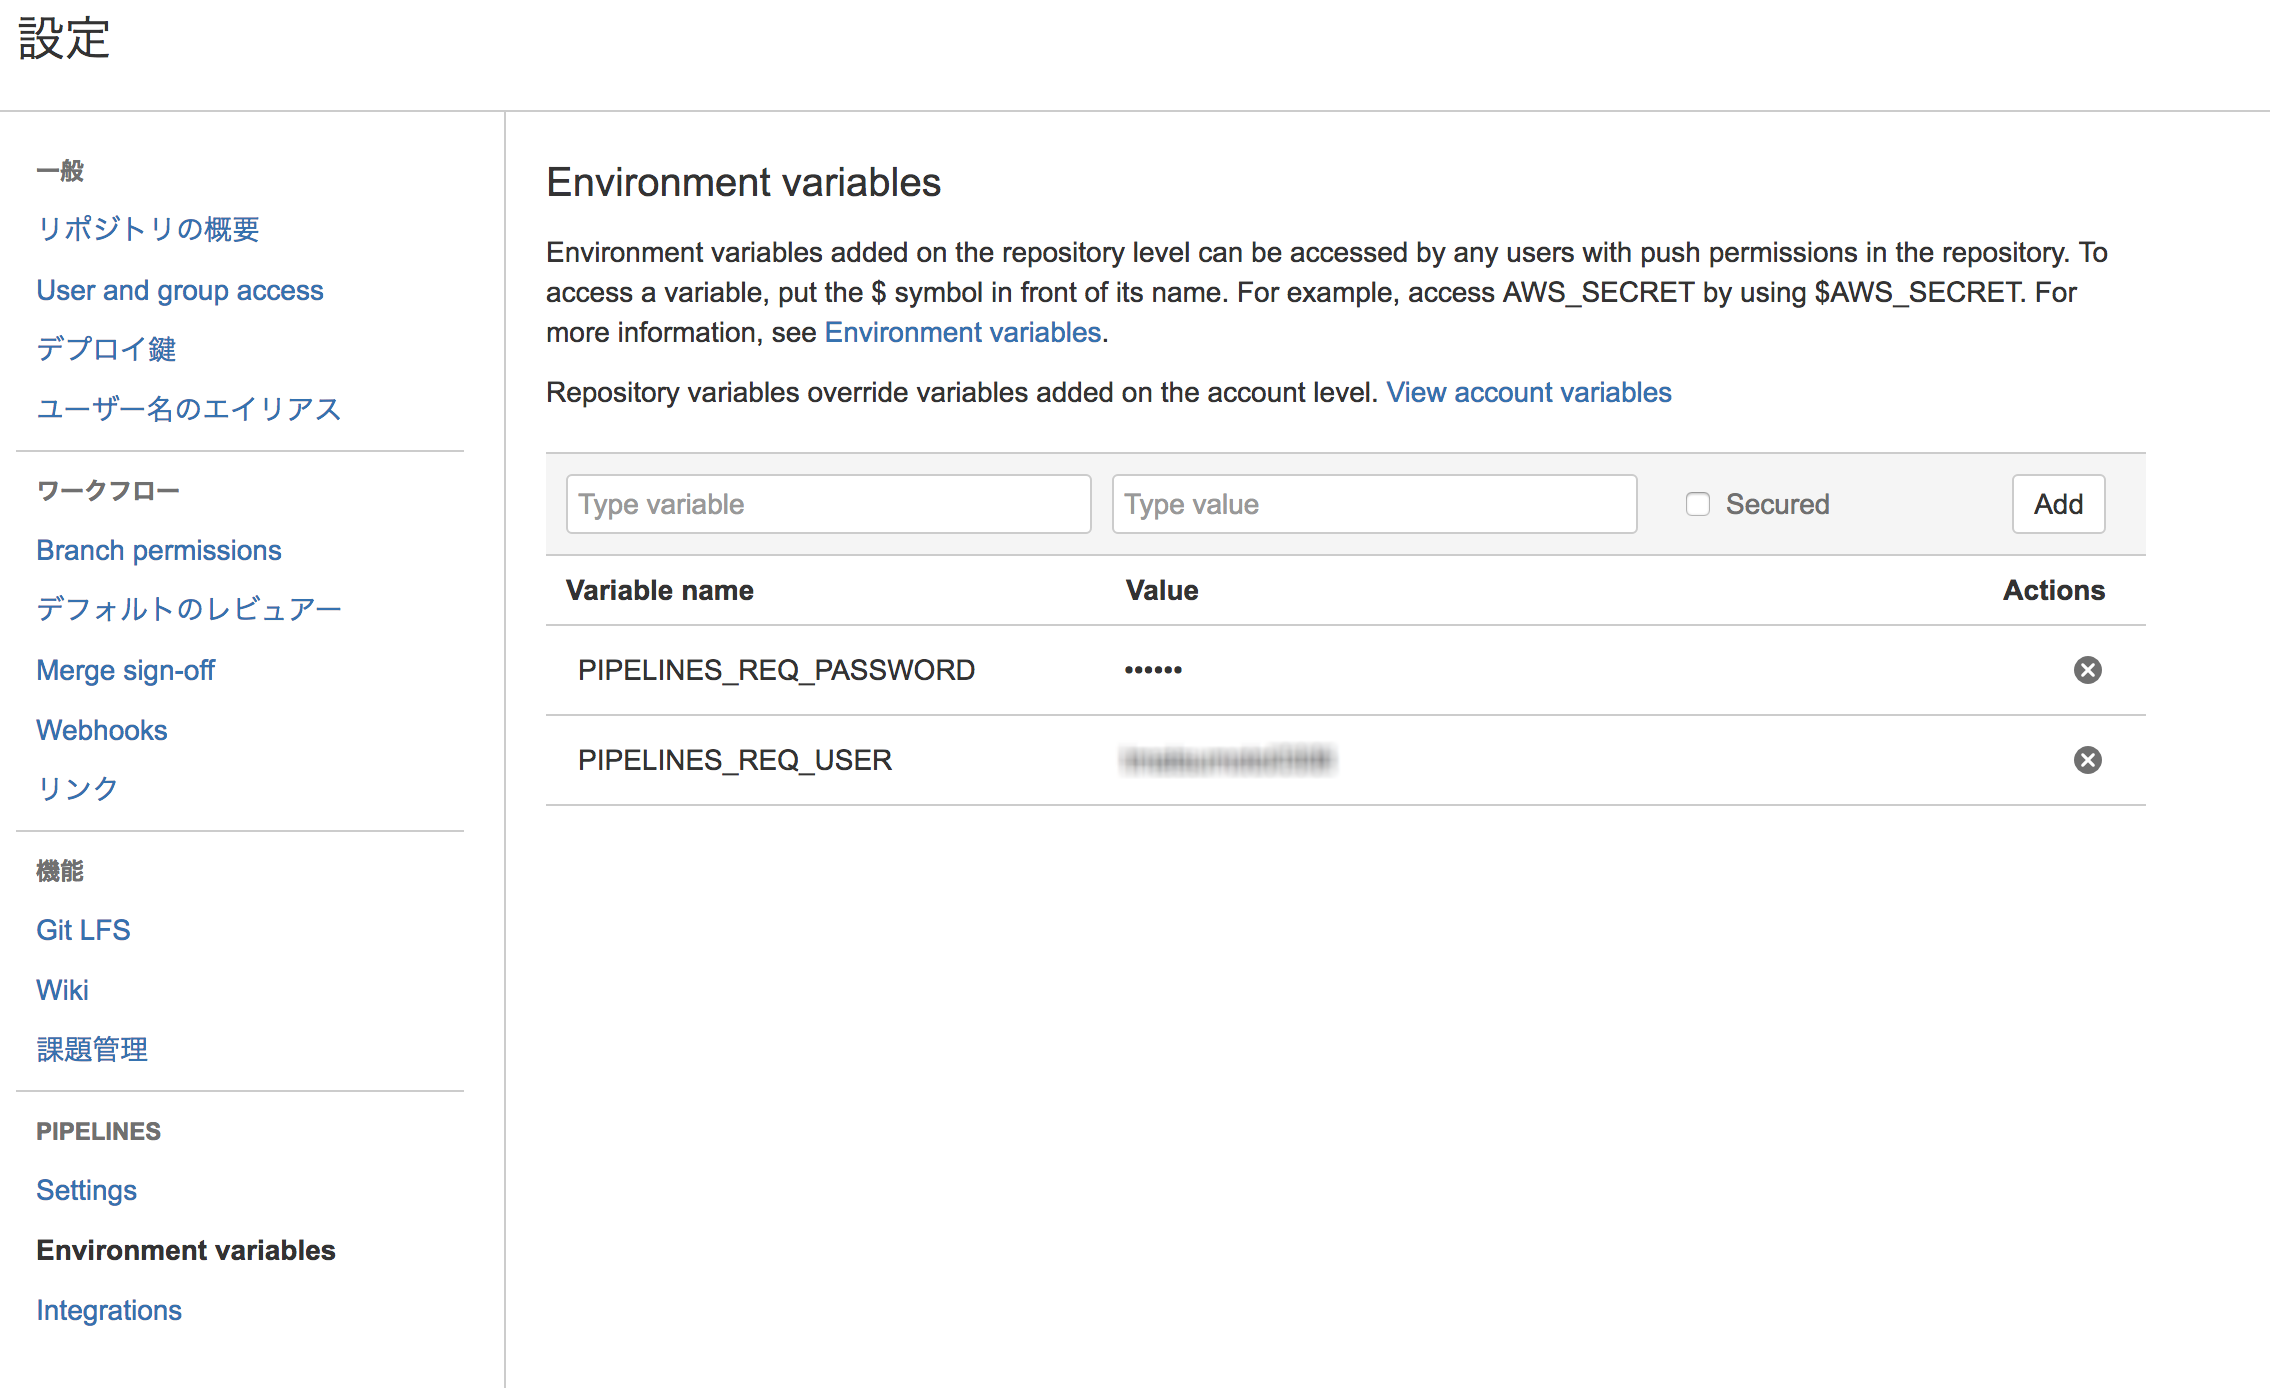
リポジトリの環境変数を設定
PIPELINES_REQ_USERとPIPELINES_REQ_PASSWORDを設定します。
curl実行時に認証情報として使用するユーザー名とパスワードです。
確認
masterブランチにpushされるとテストが走って、成功したらdeploy_to_productionも実行されます。
masterブランチ以外にpushすると、テストをするだけです。


