今回は、FirebaseAuthenticationを使ってユーザー認証~with Google編~を記しておきます。
基本的には公式ドキュメント通りです。
また、今回はiOSのみの対応で、デバッグ用のクライアントにはExpo Goは使わず、dev-clientを使用する前提です。
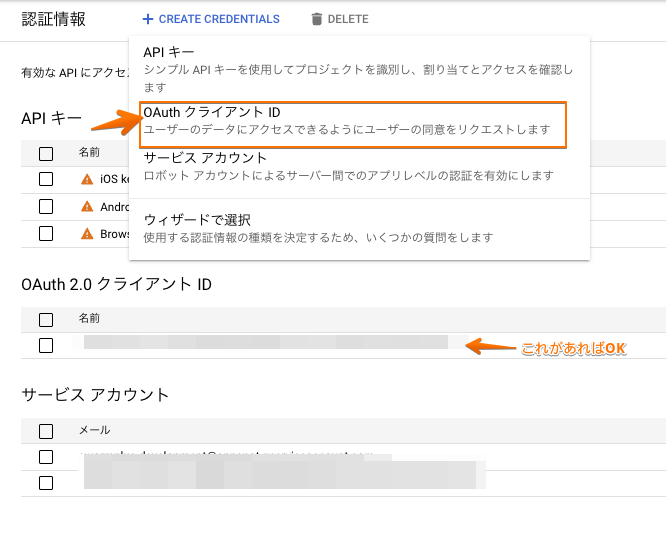
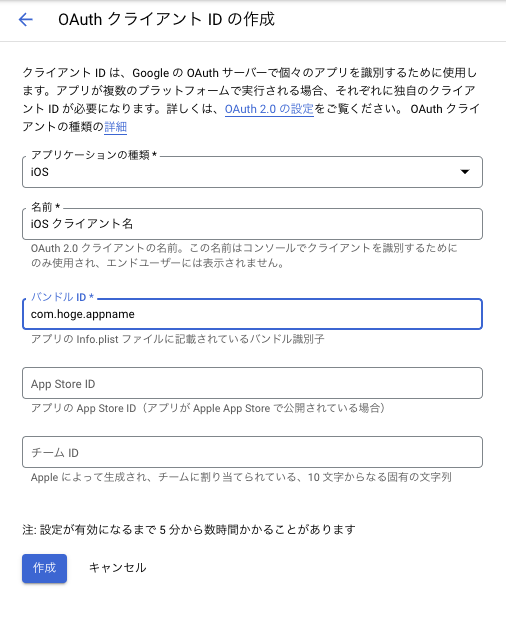
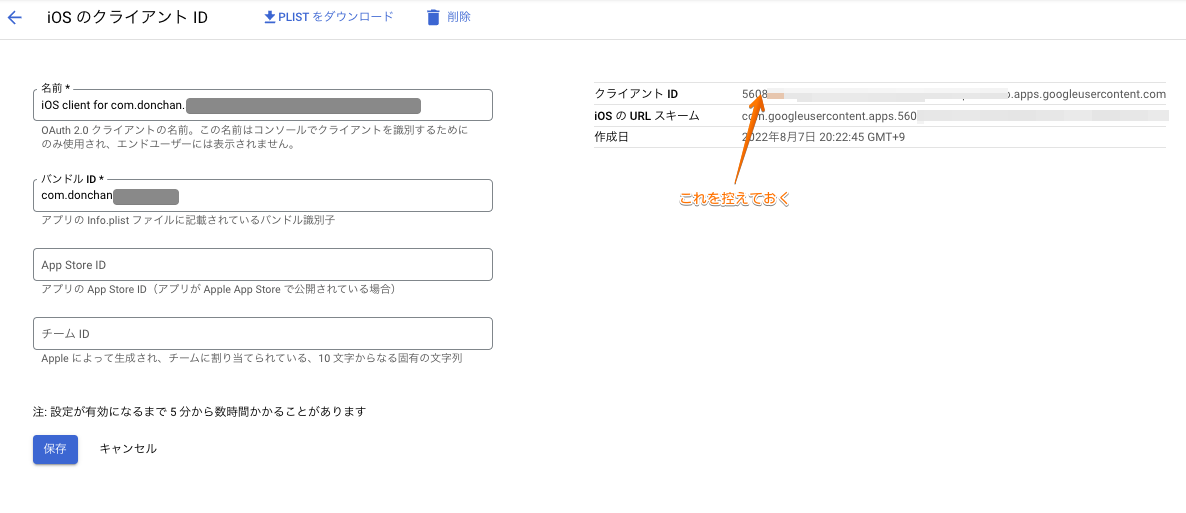
OAuth2 クライアントIDを作成する
https://console.developers.google.com/apis/credentials ここから作ります。
💡 バンドルIDは
app.jsonもしくはapp.config.tsのios.bundleIdentifierと同一である必要があります。
必要なパッケージ(依存関係)をインストール
yarn add expo-application expo-auth-session expo-random
コード例
import { GoogleAuthProvider, onAuthStateChanged, signInWithCredential } from 'firebase/auth'
import * as Google from 'expo-auth-session/providers/google'
import * as WebBrowser from 'expo-web-browser'
import { useEffect } from 'react'
import { auth } from '@/libs/firebase/firebase'
import Constants from 'expo-constants'

WebBrowser.maybeCompleteAuthSession()
const useAuth = () => {
  const [request, response, promptAsync] = Google.useIdTokenAuthRequest({
    iosClientId: `${ここに上記で控えたクライアントID}`,
  })
  onAuthStateChanged(auth, (user) => {
    if (user != null) {
      console.log('We are authenticated now!')
    }

    // Do other things
  })
  const signOut = () => {
    auth.signOut()
  }
  useEffect(() => {
    if (response?.type === 'success') {
      const { id_token } = response.params

      const getCredential = GoogleAuthProvider.credential
      const credential = getCredential(id_token)
      signInWithCredential(auth, credential)
    }
  }, [response])

  return { request, promptAsync, signOut }
}

export default useAuth
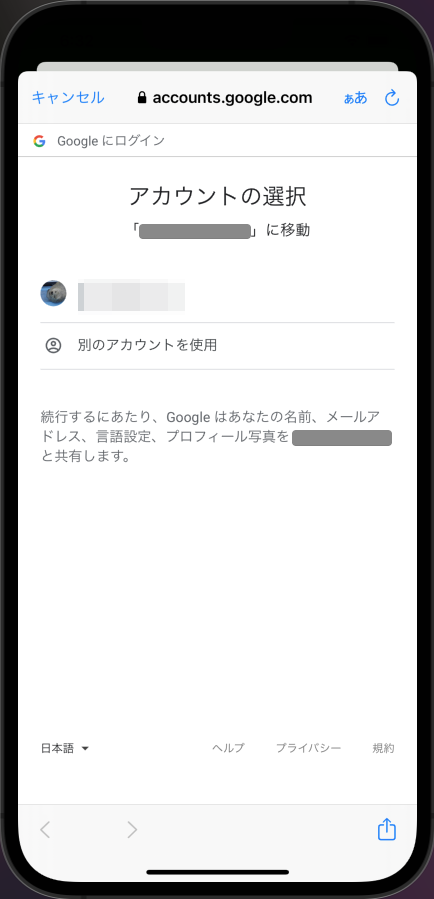
適当なコンポーネントからpromptAsyncを呼び出せば、お馴染みのGoogle認証画面に遷移し、認証が完了すると、id_tokenが取得され、FirebaseAuthでアカウントが作成されます。

FirebaseのsignInWithCredentialを呼んであげればログイン状態にできます。
あとはFirebaseAuthenticationのドキュメント通りログアウトする処理をしたり、storeにユーザー情報を保持したり、自由に扱えます。


