Glyphterとは
Fontawesomeなど代表的なアイコンフォント16種類から、自分の欲しいアイコンを選んでカスタムアイコンフォントを作成することができるwebサービスです。
自作のSVGファイルを用意して、オリジナルアイコンをフォントの中に追加することも可能です。
アイコンセットを作成
プリセットされたアイコンフォントを使用する場合
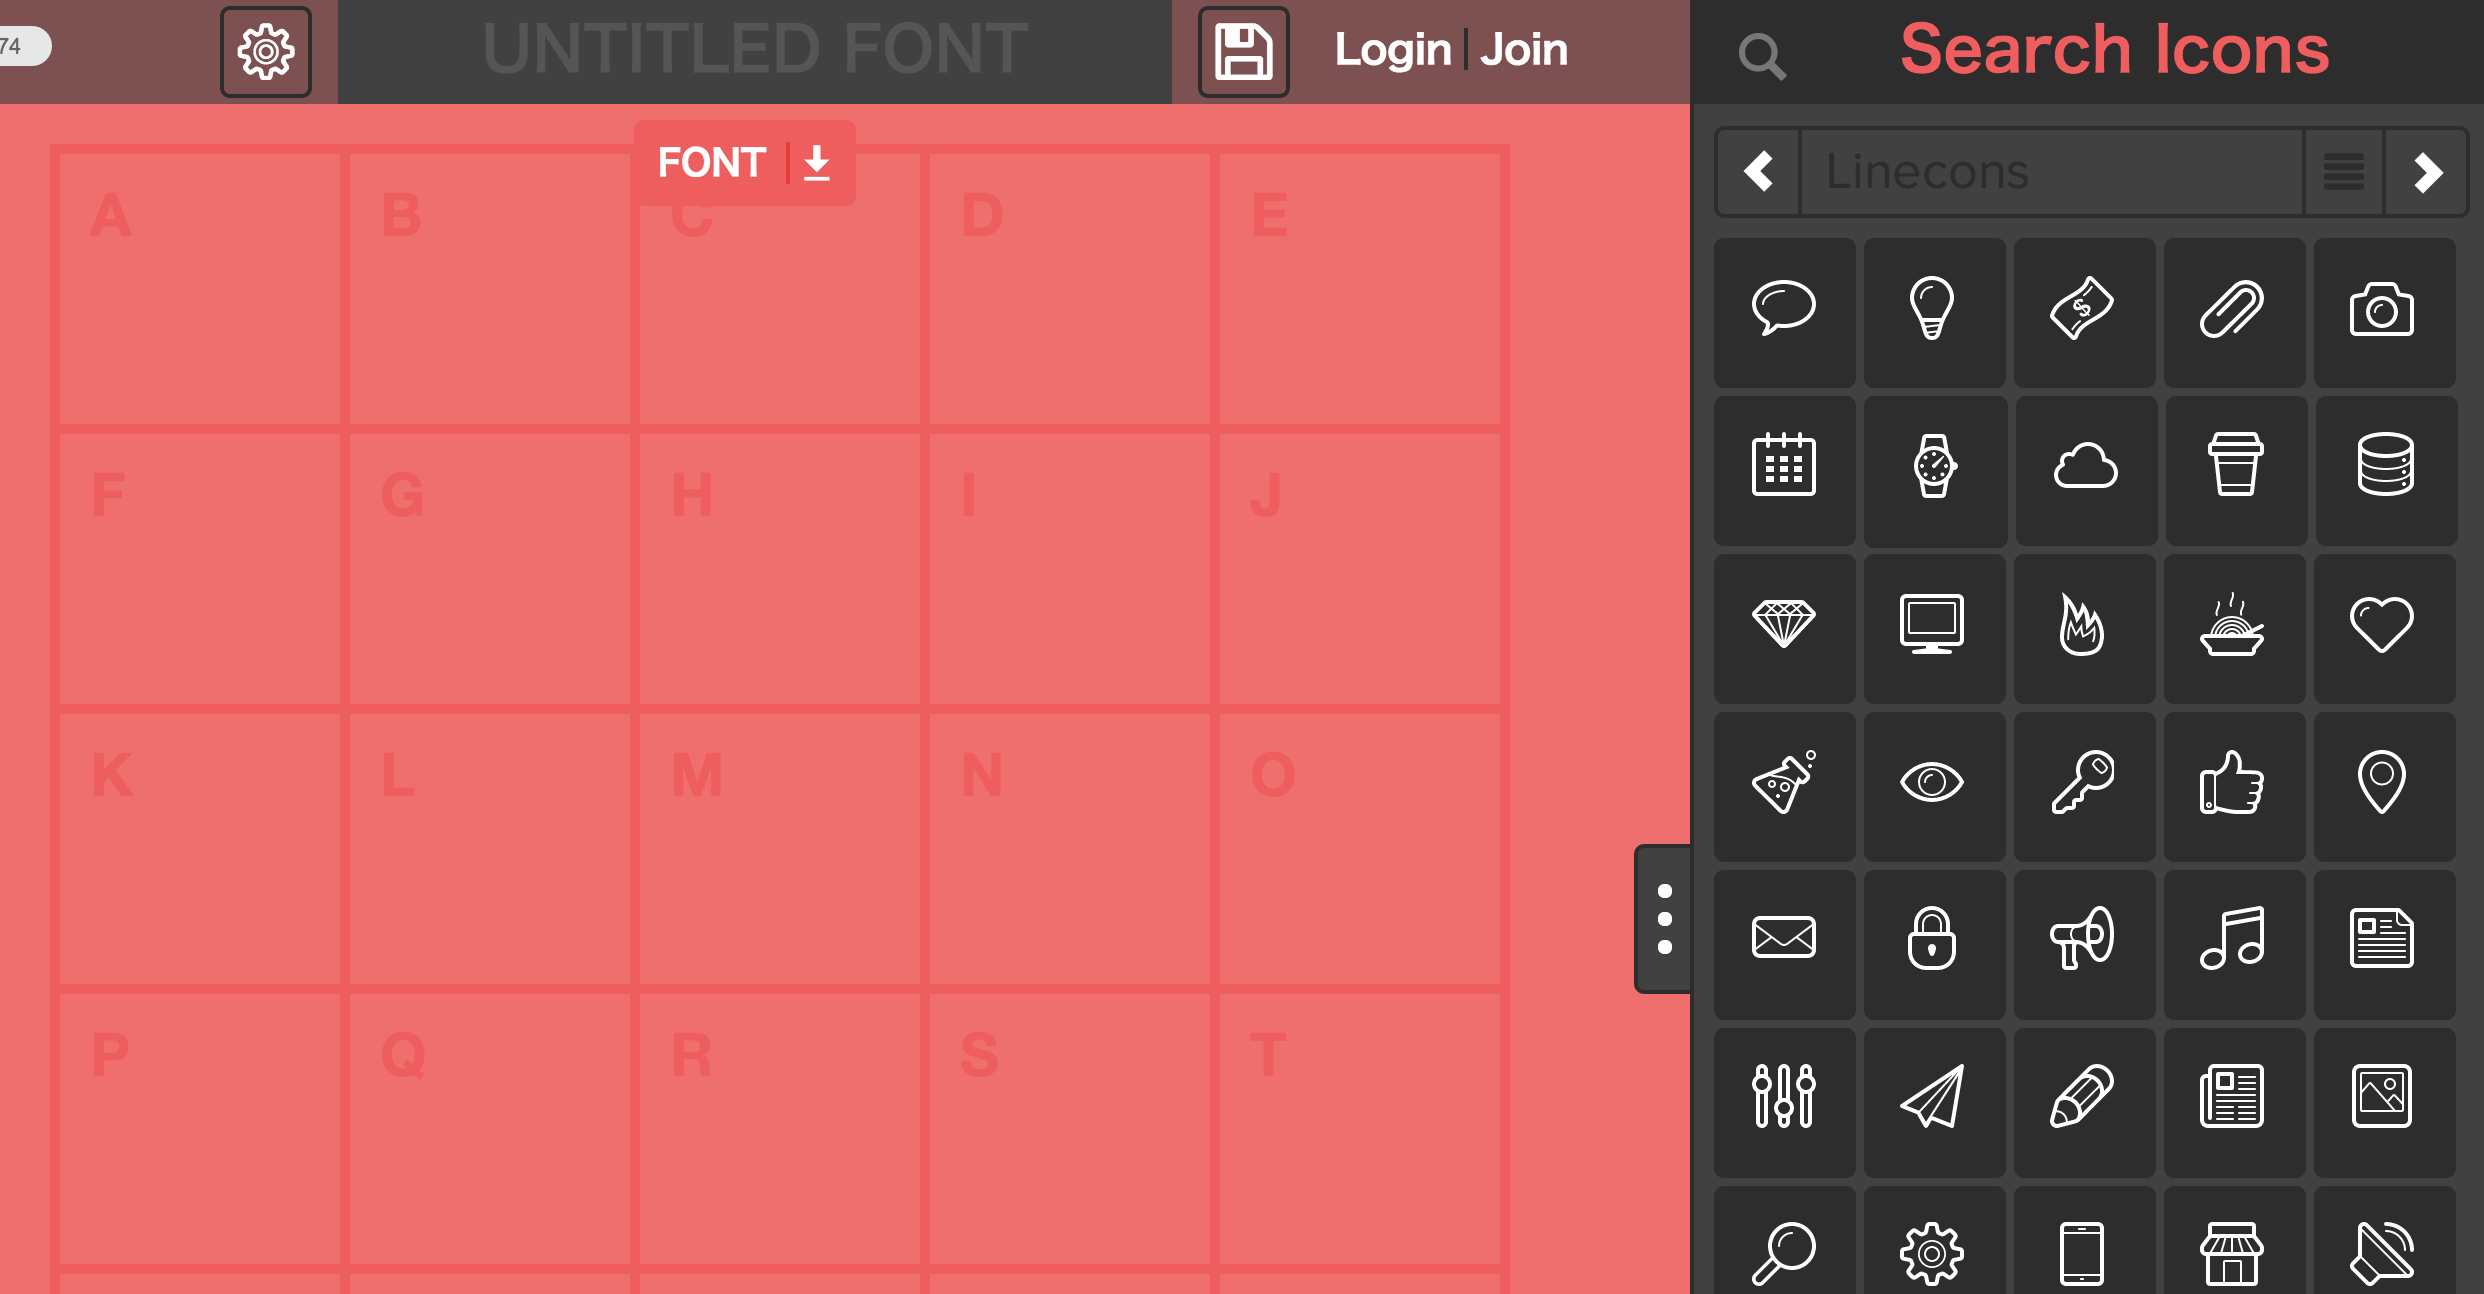
右側から使用したいアイコンを選んで、
左側のA, B, Cと表示されている所にアイコンをドラッグ&ドロップしていきます。
カスタムアイコンを使用する場合
左側のアルファベット枠の空欄をダブルクリックするとファイルダイアログが表示されるので、SVGファイルを指定しましょう。
SVGファイルはIllustratorなどで作成できます。複合パスを使用している場合は、パスのアウトライン化を必ず行ってください。
(Dのアイコンがカスタムアイコン)
アイコンフォントをダウンロード
アイコンの選択が完了したら、画面上部にあるタイトルを入力、 その右にある [FONT] ボタンをクリックしてフォントをダウンロードしましょう。
モーダルダイアログが表示されます。
[JUST DOWNLOAD] をクリックでダウンロードがはじまります。
アイコンセットのデータを保存しておきたい場合は、SIGNUPしてください。
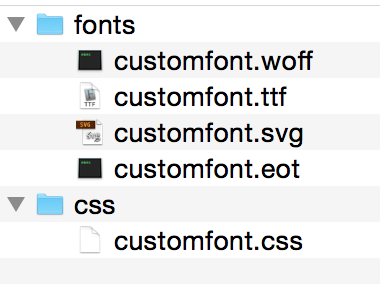
glyphter-font.zipという圧縮ファイルがダウンロードされます。適当なツールを利用して解凍してください。
アイコンフォントのCSSを定義
解凍して出来たファイルのcssフォルダにあるcssファイルを開きます。
素のCSSだと@font-faceの定義だけなので、各アイコンのスタイルを追記していきます。
/* Generated by Glyphter (http://www.glyphter.com) on  Tue Jan 20 2015*/
@font-face {
    font-family: 'customfont';
    src: url('../fonts/customfont.eot');
    src: url('../fonts/customfont?#iefix') format('embedded-opentype'),
         url('../fonts/customfont.woff') format('woff'),
         url('../fonts/customfont.ttf') format('truetype'),
         url('../fonts/customfont.svg#customfont') format('svg');
    font-weight: normal;
    font-style: normal;
}
Fontawesomeのcssを参考に要素の:beforeにアイコンが表示されるようにしました。
content: "A"; の部分はGlyphterでAに配置したアイコンと対応しています。
@font-face {
    font-family: 'customfont';
    src: url('../fonts/customfont.eot');
    src: url('../fonts/customfont?#iefix') format('embedded-opentype'),
         url('../fonts/customfont.woff') format('woff'),
         url('../fonts/customfont.ttf') format('truetype'),
         url('../fonts/customfont.svg#customfont') format('svg');
    font-weight: normal;
    font-style: normal;
}
.cf {
    display: inline-block;
    /*末尾のfontfaceの指定をカスタムフォントに*/
    font: normal normal normal 14px/1 customfont;
    font-size: inherit;
    text-rendering: auto;
    -webkit-font-smoothing: antialiased;
    -moz-osx-font-smoothing: grayscale;
}
.cf-tv:before {
    content: "A";
}
.cf-globe:before {
    content: "B";
}
.cf-apple:before {
    content: "C";
}
.cf-star:before {
    content: "D";
}
HTMLからアイコンフォントを表示する
cssファイルで定義したclassを指定するとアイコンフォントが正常に表示されます。
<!DOCTYPE html>
<html lang="ja">

<head>
    <meta charset="UTF-8">
    <title>アイコンフォントの表示テスト</title>
    <link rel="stylesheet" href="css/customfont.css">
</head>

<body>
    <div class="cf cf-tv"></div>
    <div class="cf cf-globe"></div>
    <div class="cf cf-apple"></div>
    <div class="cf cf-star"></div>
</body>

</html>
2015-01-23 追記
icomoonという類似サービスがあります。
こちらのほうがCSSを自動生成してくれて、手軽に組み込めるのでオススメです。


