概要
WindowsでGoogle Assistantを利用したいと考えた時に情報が少なかったので、調べたことをまとめておきます。
ただし、2020年8月19日現在では、利用できる機能が限られているようです。詳しくは以下でまとめておきます。
実行環境
・python == 3.6
・windows10
利用できる機能
こちらから引用しました。
https://developers.google.com/assistant/sdk/overview
| Supported architectures | All gRPC platforms |
| Supported languages | All gRPC languages |
| Hands-free activation | No |
| Audio capture and playback | Reference code is provided |
| Conversation state management | Reference code is provided |
| Timers and alarms | No |
| Playback of podcasts and news | No |
| Broadcast voice messages | No |
| Visual output (HTML5) of Assistant responses | Yes |
最新情報は、こちらのURLから確認できます。
https://developers.google.com/assistant/sdk/release-notes
環境構築
-
Pythonの環境構築はここでは省きます。
-
Google Cloud Platformを開いて、左上の**"Create Project"**をクリック。https://console.cloud.google.com/cloud-resource-manager

-
Project nameに好きな名前を入れます。(プロジェクトIDは変更も可能ですが、すべて小文字で半角数字で終わっていなければいけません。)

-
Google Assistant APIsを別タブで開きます。https://console.developers.google.com/apis/api/embeddedassistant.googleapis.com/overview
 自分の作ったプロジェクトを選択し、Openをクリック。

-
画像の通りに選択欄を埋めます。そして、**"What credentials do I need?"をクリック。その後、"SET UP CONCENT SCREAN"**をクリック。

-
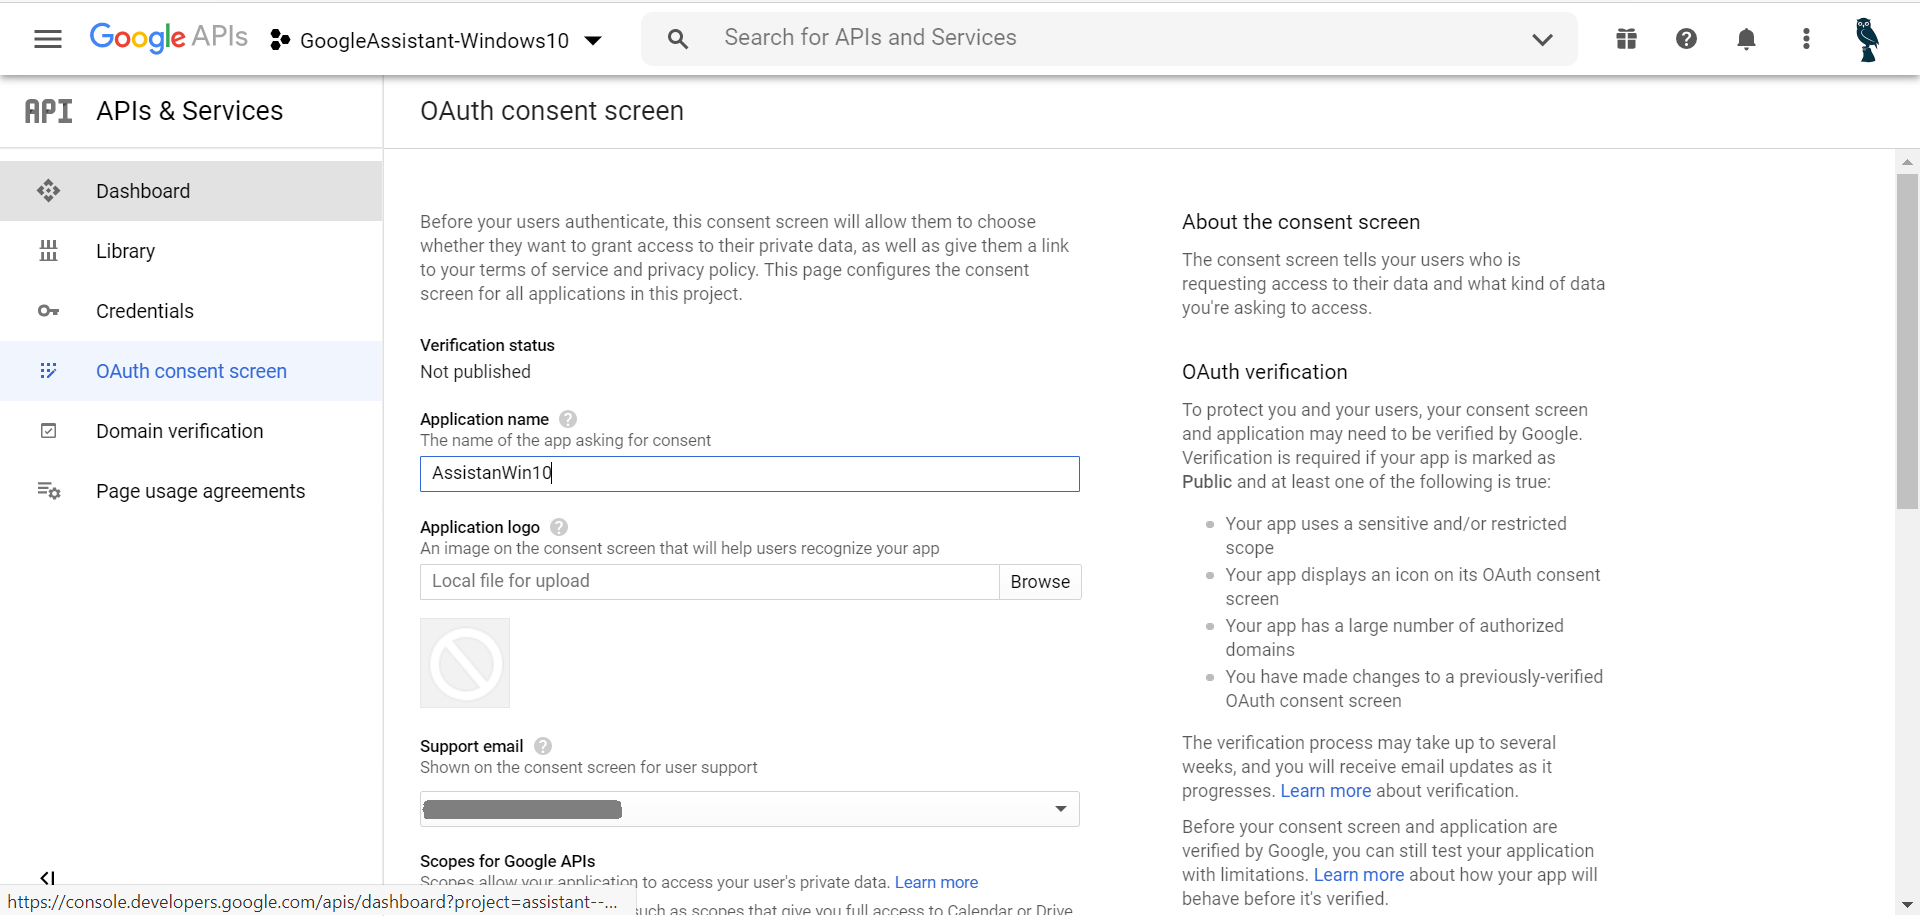
Projectnameを決めます。ただし、Googleなど有名な企業名が入っていると認められない場合があります。その後、一番下の**"SAVE"**をクリック。

-
右側のカギマークの付いた**"Credentials"に戻ります。上にある"+CREATE CREDENTIALS"から"Help me choose"**を選択。

-
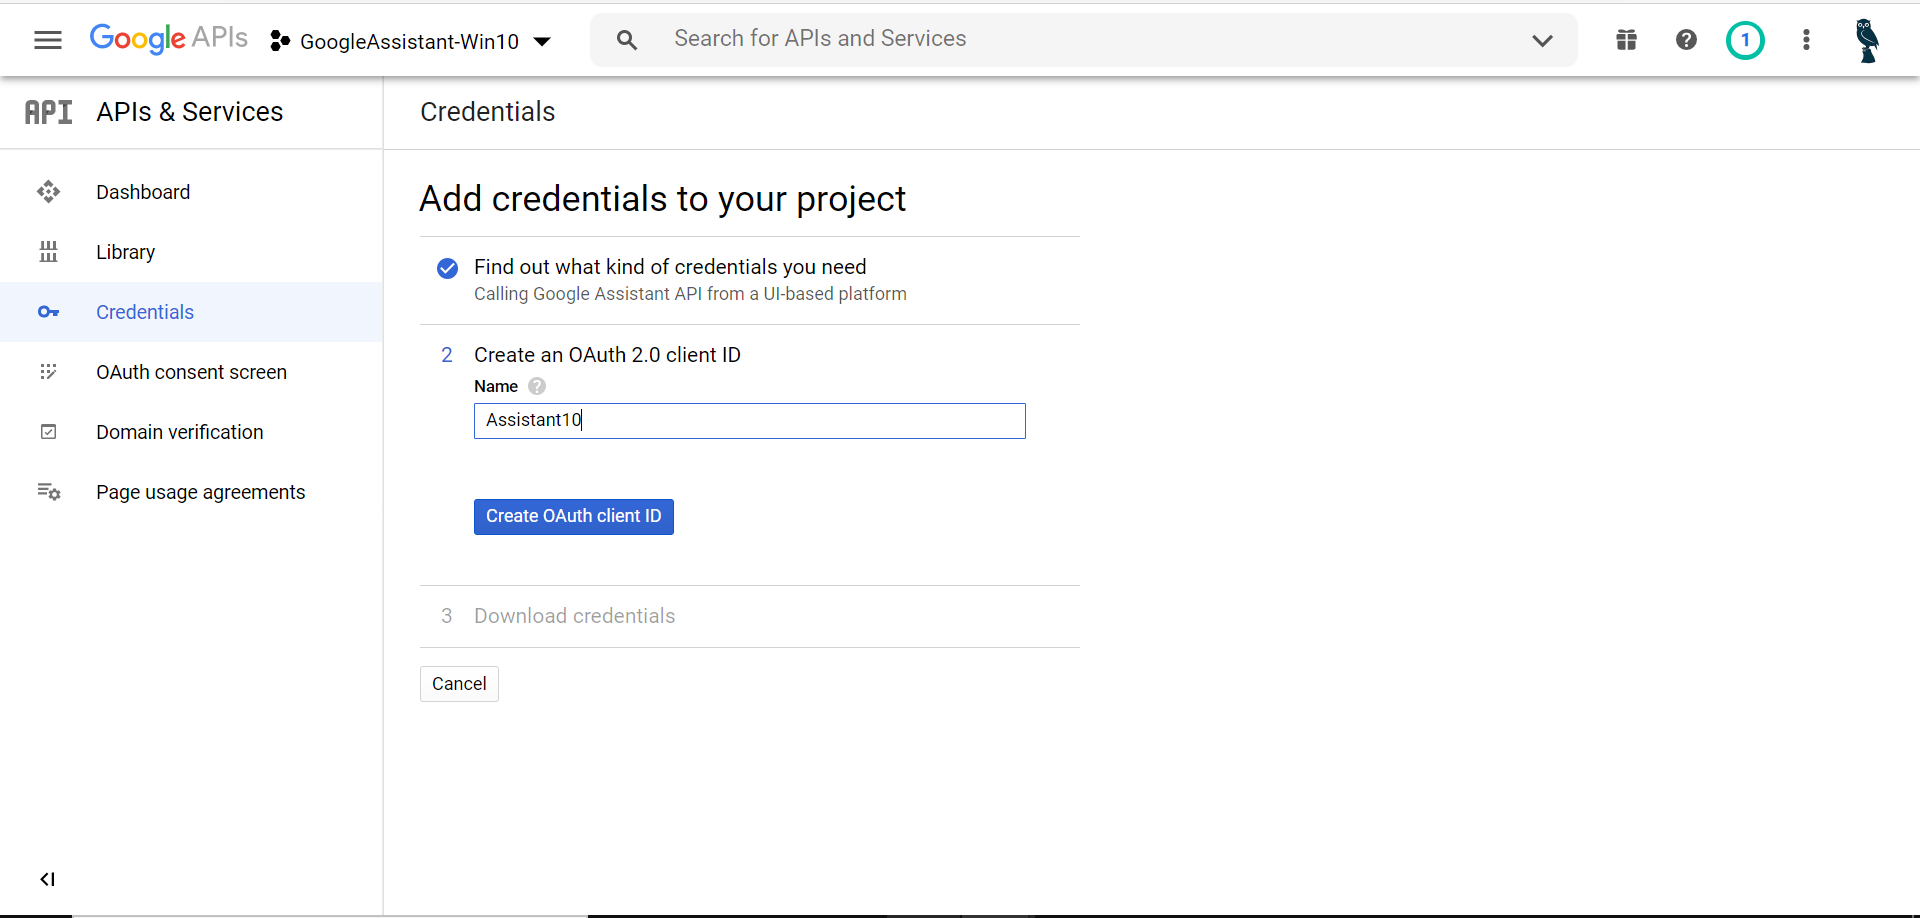
そして**"client id"の名前を決めます。そして"Create OAuth client ID"**をクリック。

-
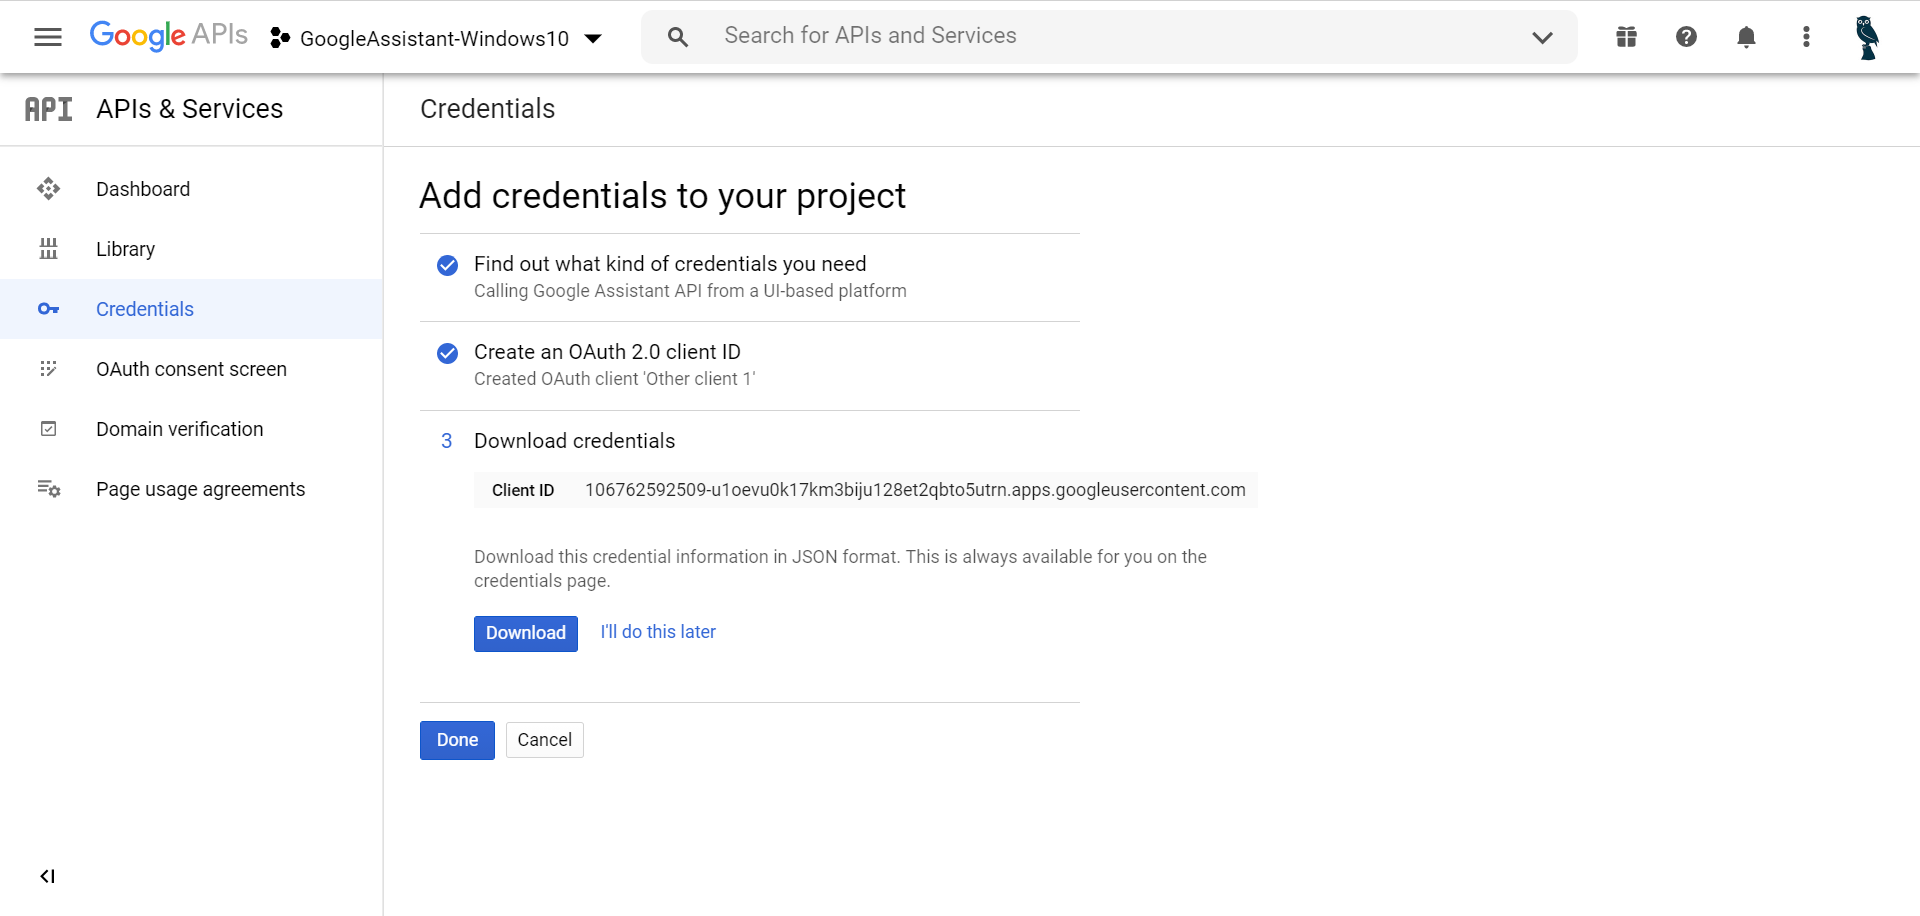
**"Create ID"を入力し、"Download"**を押します。(ここでダウンロードしたファイルは使いません。)

-
コマンドプロンプトから以下を入力し、Google Assistant SDKをインストール。
py -m pip install google-assistant-sdk[samples]
16 次に以下を入力し、インストール。
py -m pip install google-auth-oauthlib[tool]
17 以下のようにコマンドプロンプトに入力してください。
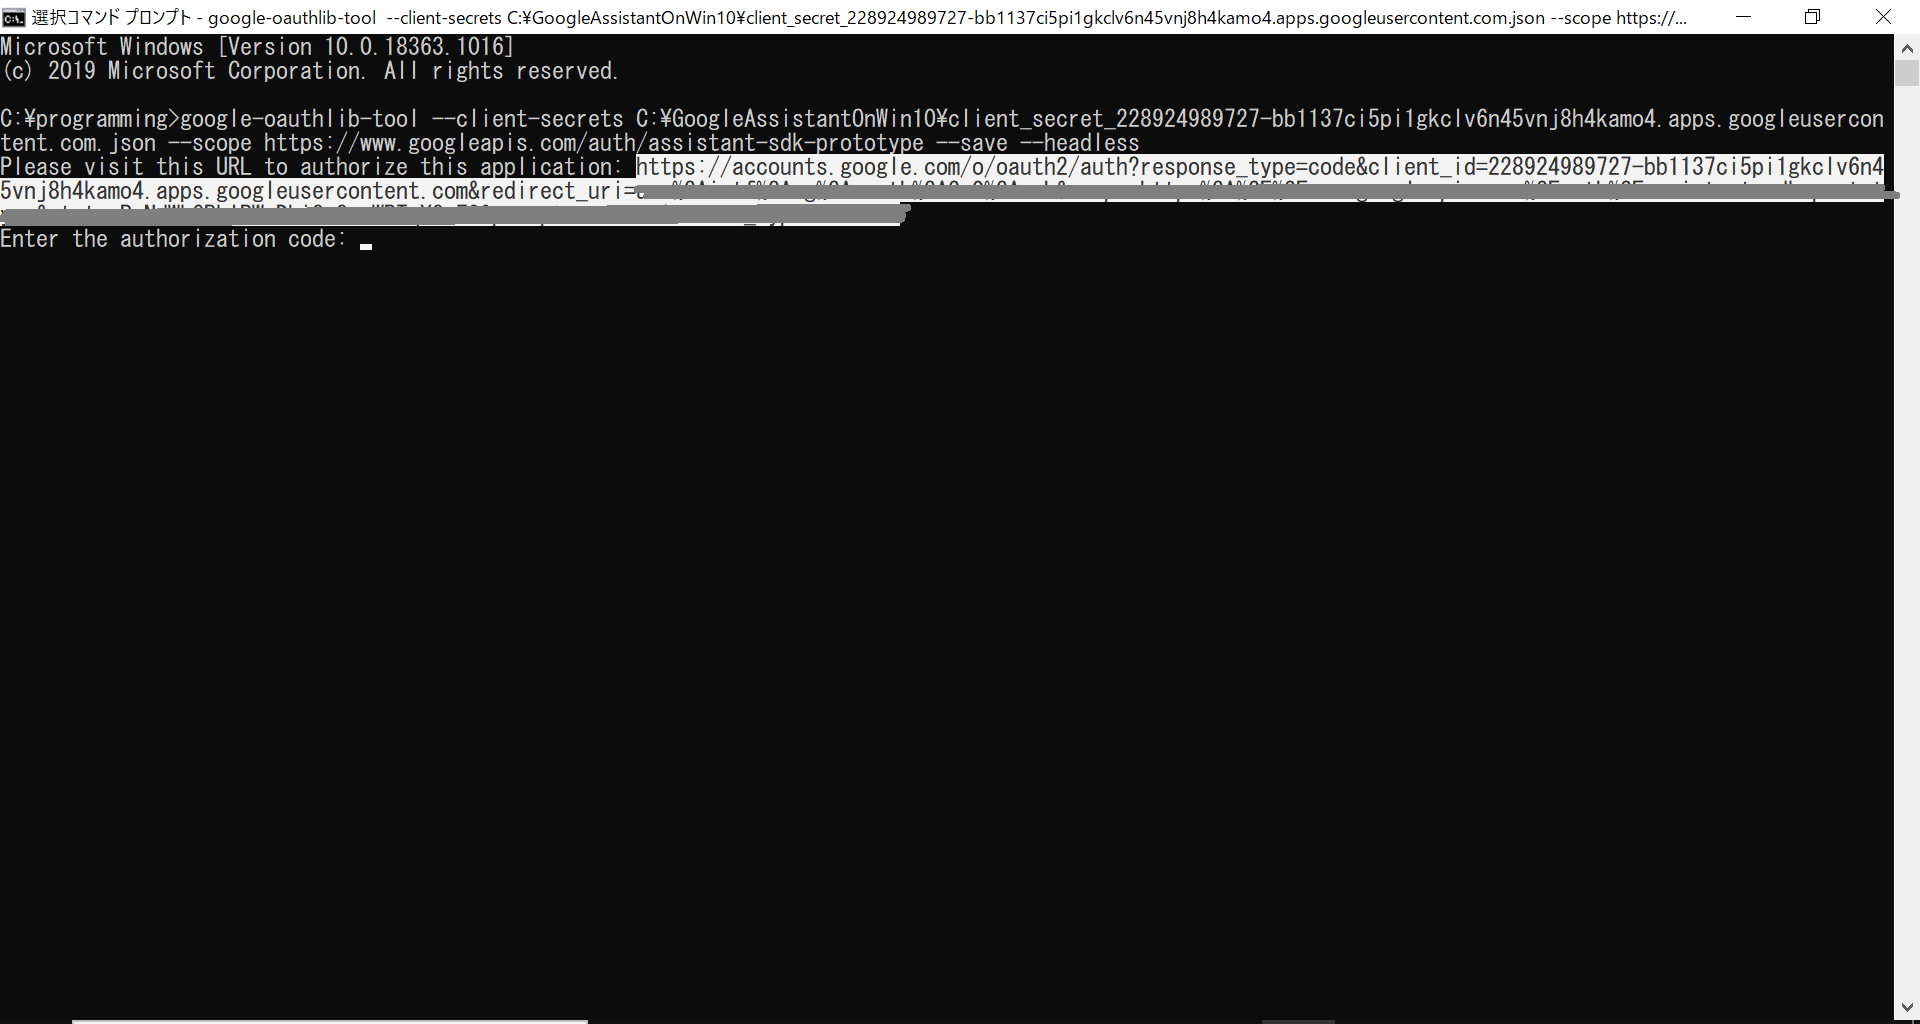
google-oauthlib-tool --client-secrets C:\先程のjsonファイルの場所\ --scope https://www.googleapis.com/auth/assistant-sdk-prototype --save --headless
18 表示されたURLをコピーして、ブラウザで検索。アカウントとの連携を認めるためにAllowを二回クリック。サインインに必よなコードが表示されるのでコピーします。


19 コマンドプロンプトに戻りコピーしたコードを貼り付けてEnterを入力。jsonファイルの情報がアカウントに保存されます。
20 以上の操作が完了していると、以下のコードで録音と再生のテストができます。
py -m googlesamples.assistant.grpc.audio_helpers
21 jsonファイルをがあるフォルダにコマンドプロンプト上で移動します。
22 そのフォルダ上で以下のコマンドを入力します。
googlesamples-assistant-devicetool --project-id 自分のプロジェクトID register-model --manufacturer “製造者名を自分で決めてください” --product-name “製品名を自分で決めてください” --type LIGHT --model “なんでもいいです。”
23 最後に以下のコマンドを入力します。
py -m googlesamples.assistant.grpc.pushtotalk --device-model-id “自分のモデルID” --project-id 自分のプロジェクトID
24 成功すれば、**"Please Enter to send a new request..."**と表示されます。Enter入力後、話しかけれると答えてくれます。(ただし、現時点では英語です。)
参考


