目的
Swift + storyboard での開発を経験したい。
UITableView の実装を経験したい。
流れ
- プロジェクト作成
- storyboard の作成
- TableView の配置
- TableView の接続
- TableViewCell の作成
- ViewController.swift の作成
- 実行・確認
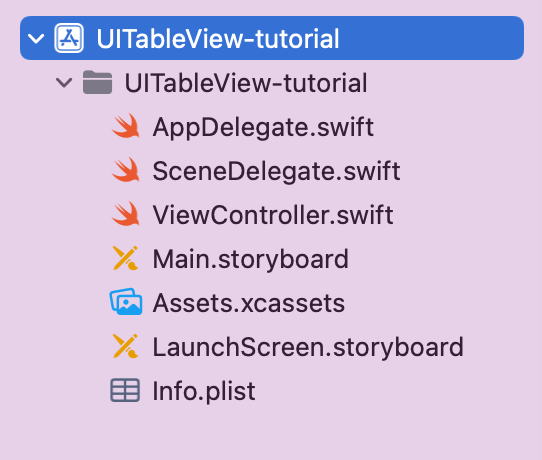
1. プロジェクト作成

2. storyboard の作成
画面左側の Main.storyboard を選択
画面右上にある 「+」 を押す

3. TableView の配置
検索タブに 「UITable」 と、打ち込む

「UITableView」 を、スマホ画面まで ドラッグ&ドロップ

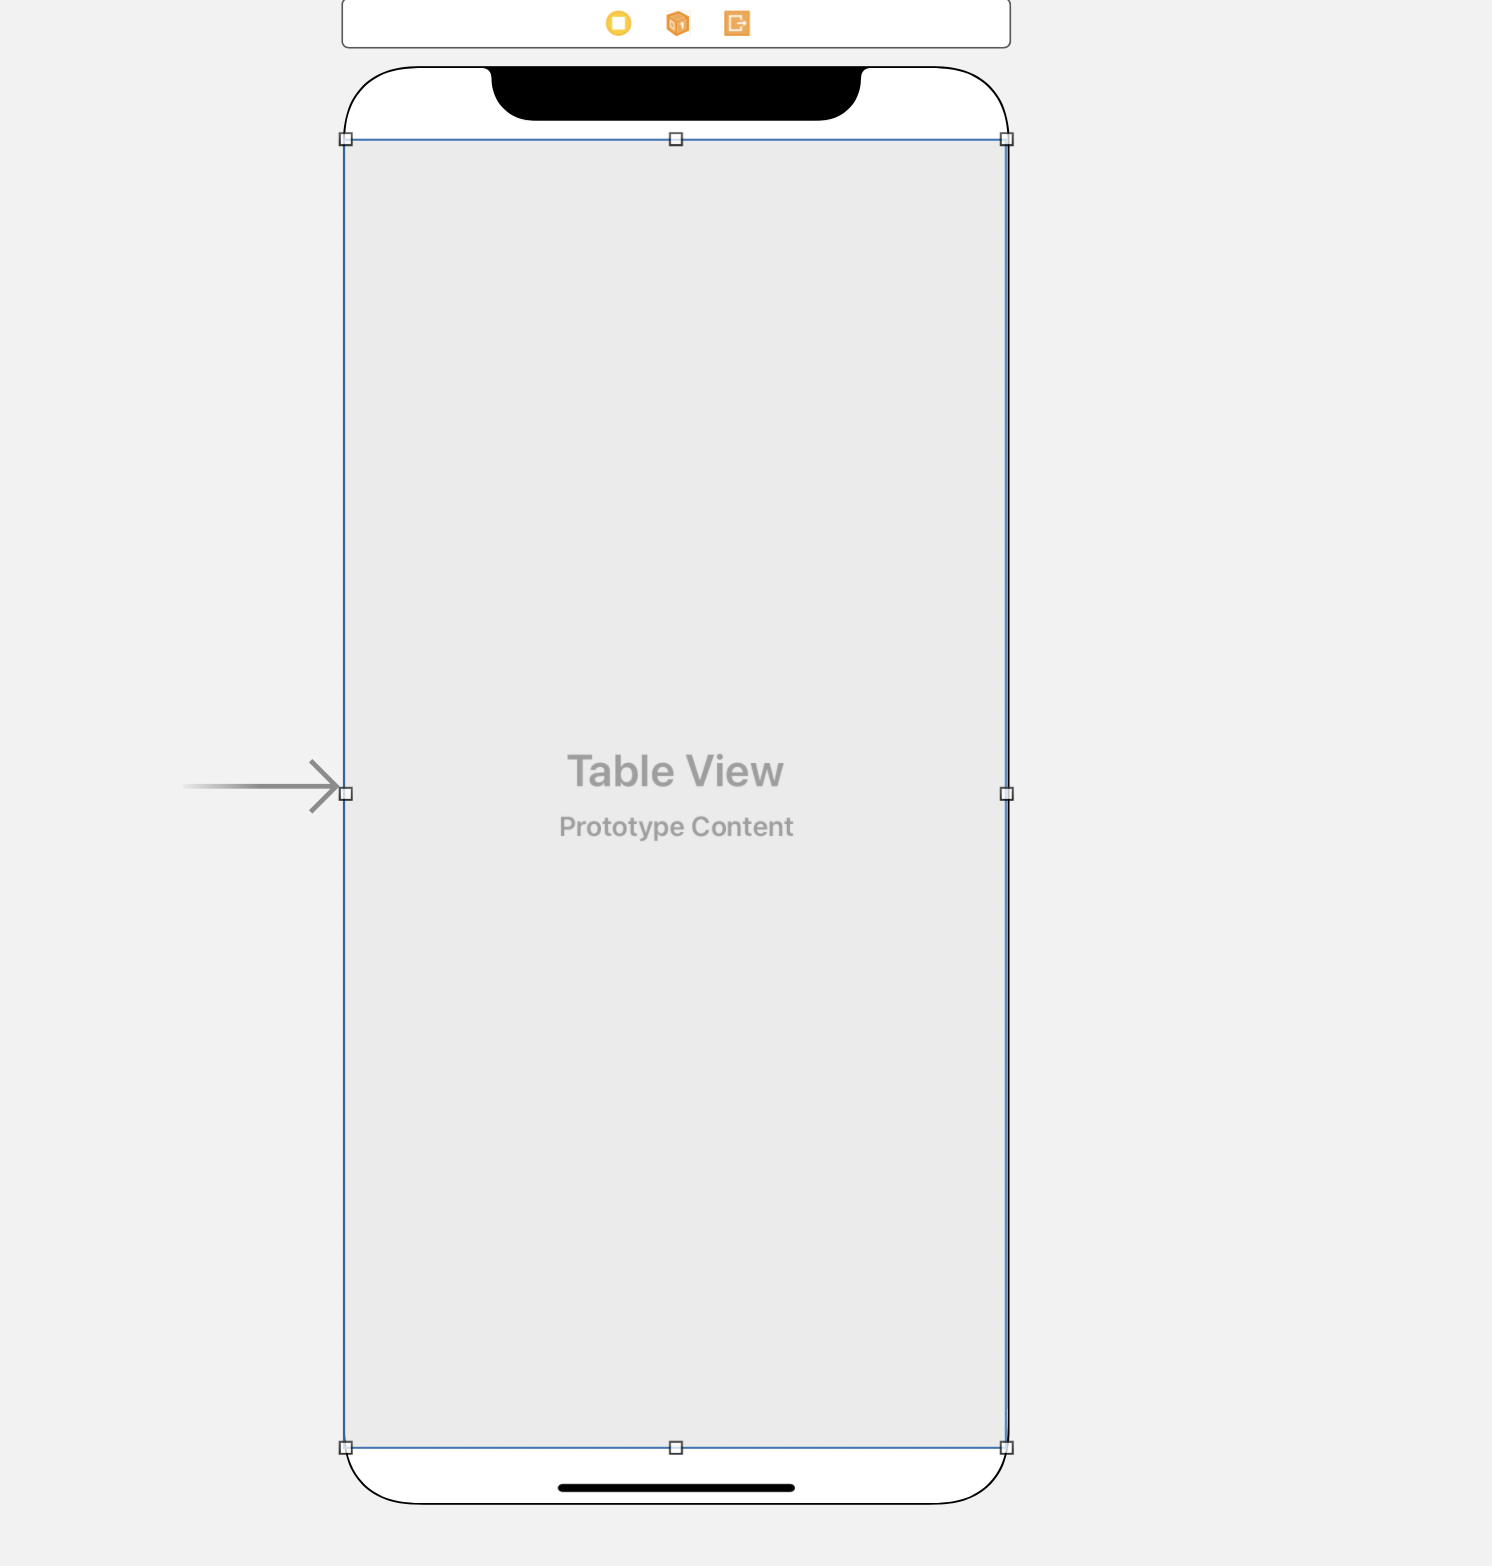
UITableView を画面いっぱいに引き伸ばす( =上下左右の余白を 0 にする → 「add Constraints」 をクリック )

下図のように、UITableView が画面いっぱいに広がっていれば、UITableViewの作成は完了
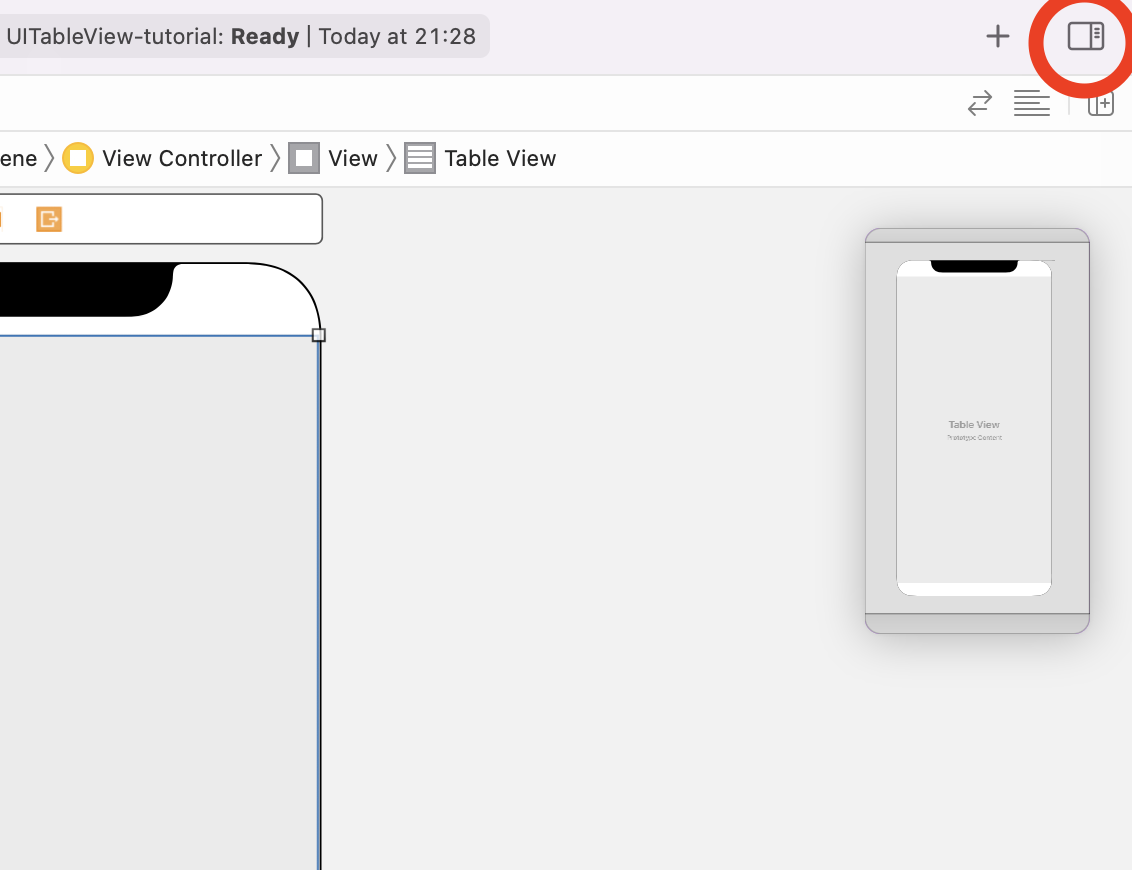
下図の赤丸部分を押す
4. TableView の接続
接続を行う。 赤矢印のように、ドラッグ&ドロップ を行う。
「data Source」 と 「View Controller」
「delegate」 と 「View Controller」

接続後、接続状況を確認

5. TableViewCell の作成
- TableView の配置 を参考に、「TableViewCell」 を下図のように配置する
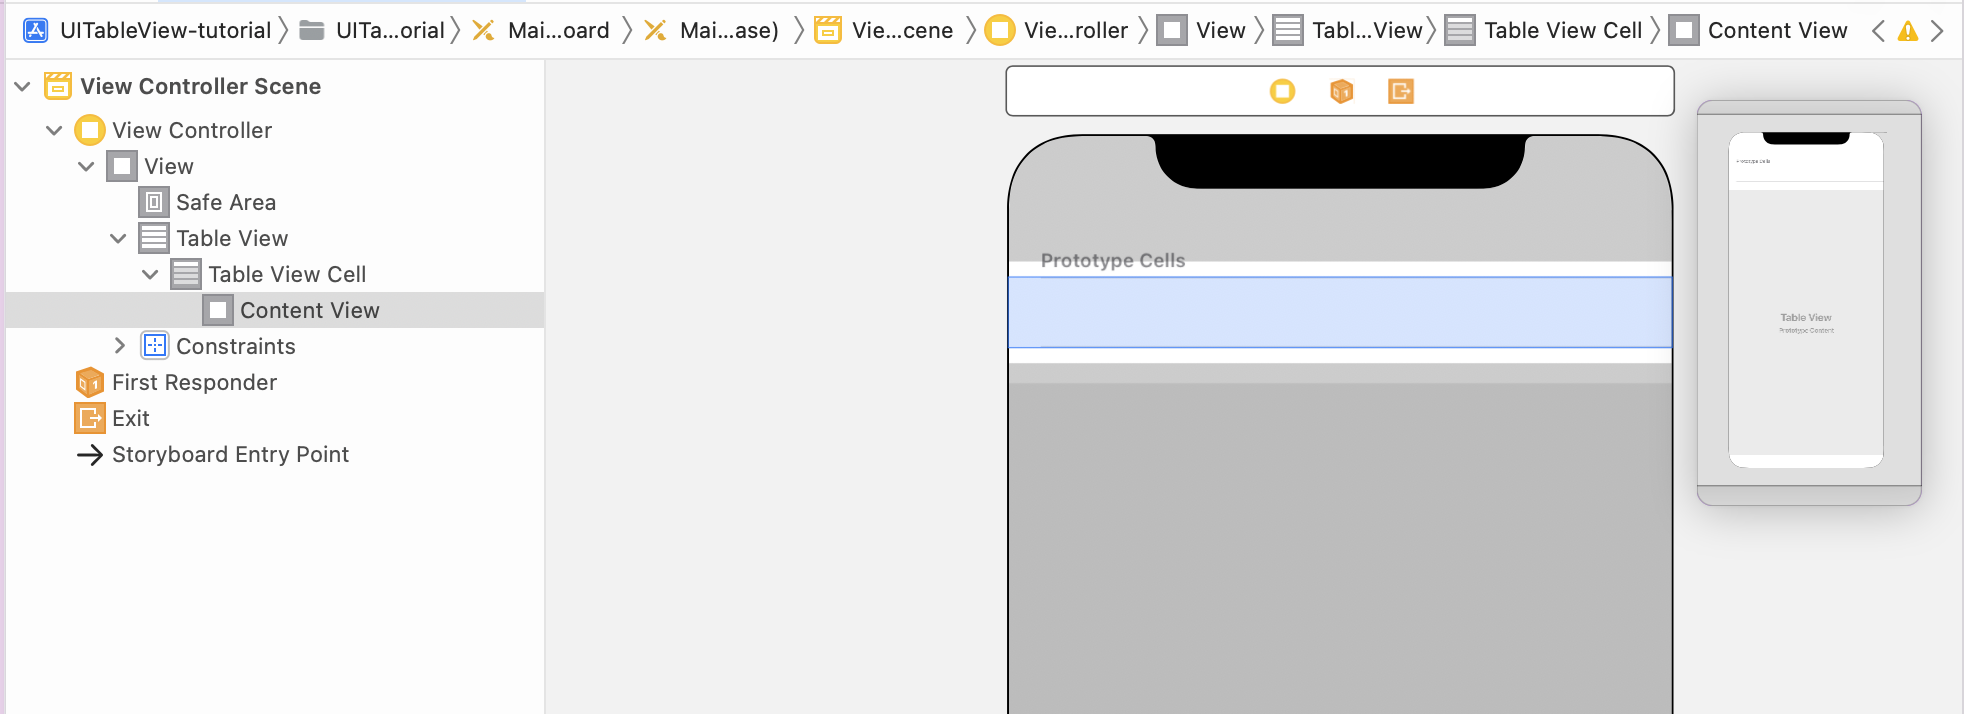
TableViewCell の 「Identifier」 を 「Cell」 にする

6. ViewController.swift の作成
ViewController.swift にプログラムを追加していく
TabView の 「dataScore」 「delegate」 を ViewContoroller に継承する
import UIKit

// UITableViewDelegate, UITableViewDataSource を追加
class ViewController: UIViewController, UITableViewDelegate, UITableViewDataSource {

    override func viewDidLoad() {
        super.viewDidLoad()
        // Do any additional setup after loading the view.
    }

}
エラーが発生する。
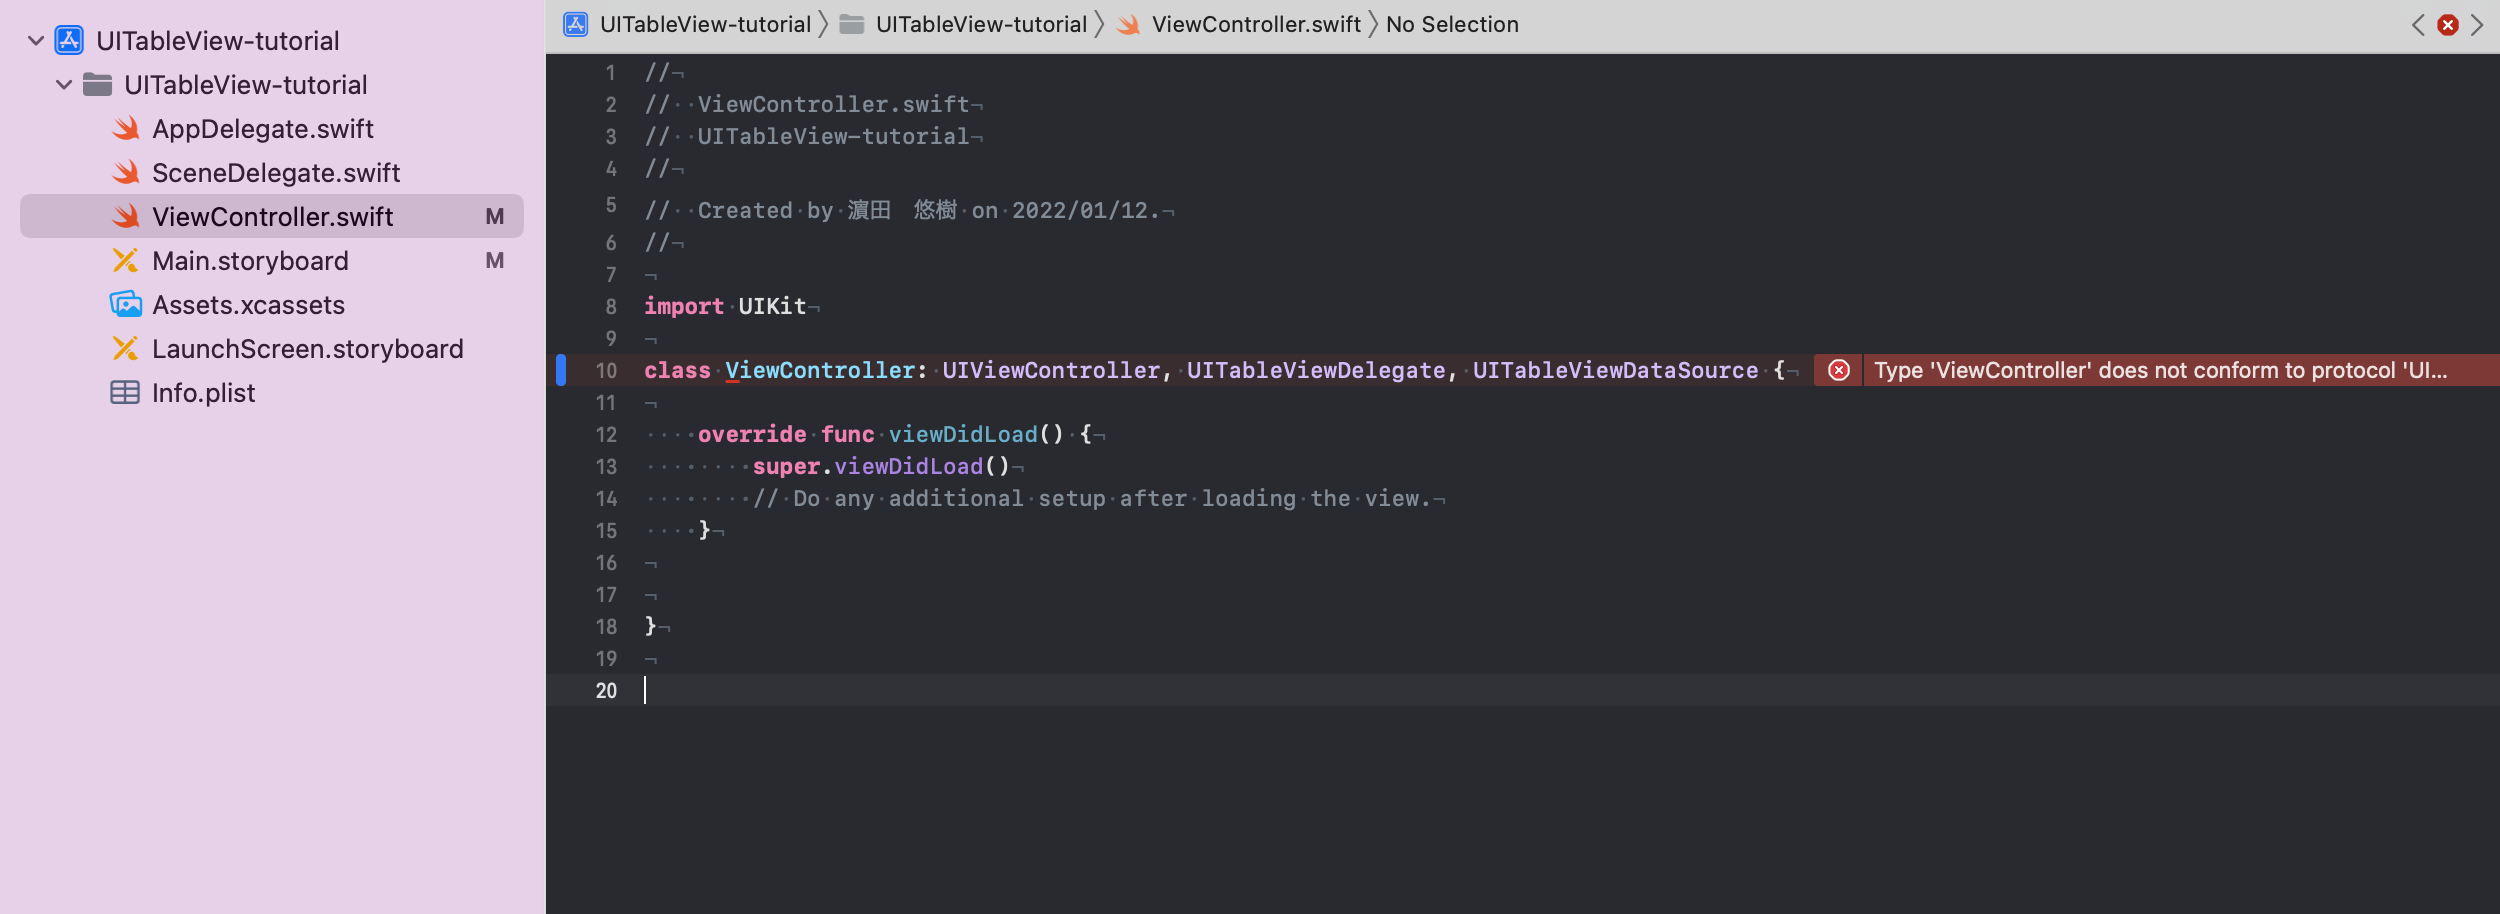
エラーの詳細を確認し、「Fix」を押す

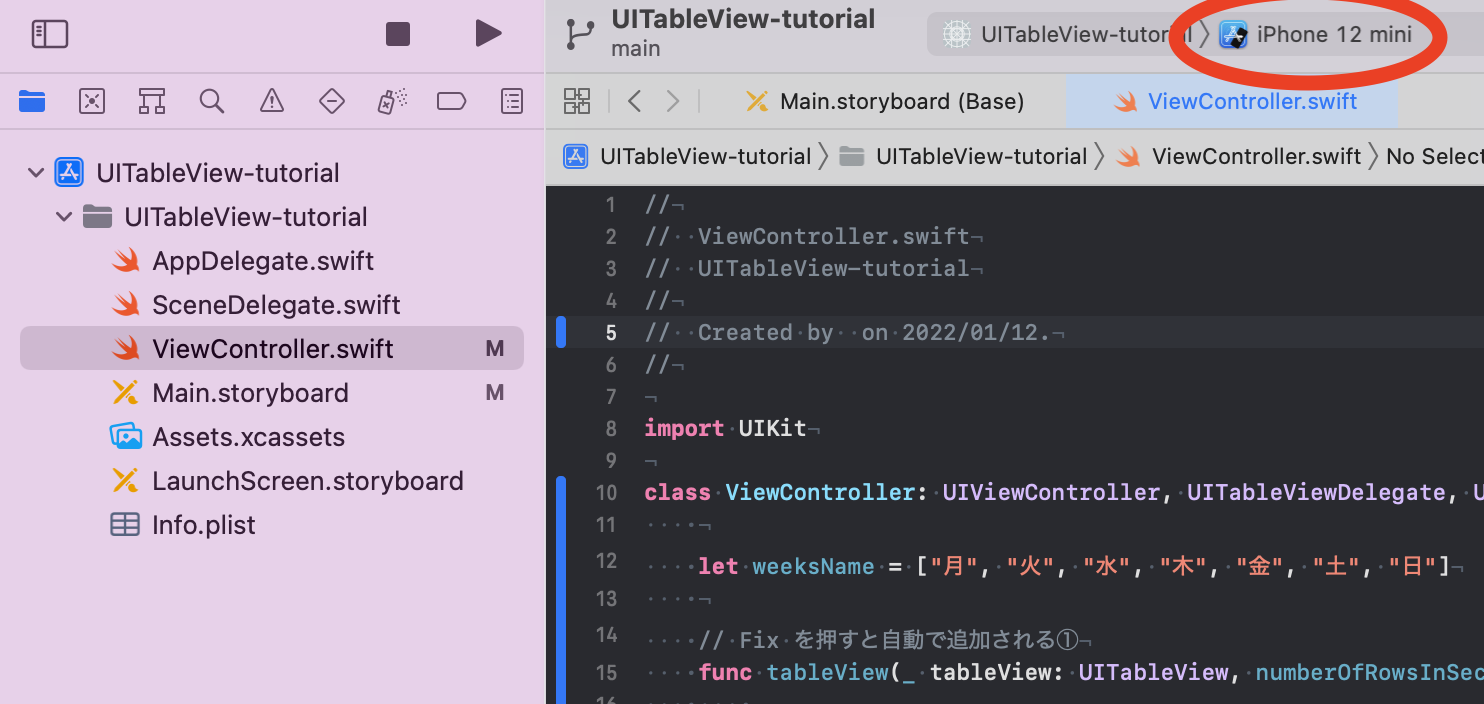
押すと、以下のように ①と② が追加される
また、 let weeksName = ["月", "火", "水", "木", "金", "土", "日"] を追加する
import UIKit

class ViewController: UIViewController, UITableViewDelegate, UITableViewDataSource {

    let weeksName = ["月", "火", "水", "木", "金", "土", "日"]

    // ①: Fix を押すと自動で追加される
    func tableView(_ tableView: UITableView, numberOfRowsInSection section: Int) -> Int {

    }
    // ②: Fix を押すと自動で追加される
    func tableView(_ tableView: UITableView, cellForRowAt indexPath: IndexPath) -> UITableViewCell {

    }


    override func viewDidLoad() {
        super.viewDidLoad()
        // Do any additional setup after loading the view.
    }

}
①,② の説明 と, プログラムの追加
// 描画するセルの数

// ①: Fix を押すと自動で追加される
func tableView(_ tableView: UITableView, numberOfRowsInSection section: Int) -> Int {

    return weeksName.count   // 7

}
// 描画するセルを生成する

// ②: Fix を押すと自動で追加される
func tableView(_ tableView: UITableView, cellForRowAt indexPath: IndexPath) -> UITableViewCell {

    // セルを作成, Identifier が "Cell" となっているセルを呼び出す
    let cell = tableView.dequeueReusableCell(withIdentifier: "Cell", for: indexPath)
    cell.textLabel?.text = weeksName[indexPath.row]   // 表示する文字列
    return cell

}
完成したプログラム
import UIKit

class ViewController: UIViewController, UITableViewDelegate, UITableViewDataSource {

    let weeksName = ["月", "火", "水", "木", "金", "土", "日"]

    // Fix を押すと自動で追加される①
    func tableView(_ tableView: UITableView, numberOfRowsInSection section: Int) -> Int {

        return weeksName.count   // 7

    }

    // Fix を押すと自動で追加される②
    func tableView(_ tableView: UITableView, cellForRowAt indexPath: IndexPath) -> UITableViewCell {

        // セルを作成, Identifier が "Cell" となっているセルを呼び出す
        let cell = tableView.dequeueReusableCell(withIdentifier: "Cell", for: indexPath)
        cell.textLabel?.text = weeksName[indexPath.row]   // 表示する文字列
        return cell

    }


    override func viewDidLoad() {
        super.viewDidLoad()
        // Do any additional setup after loading the view.
    }


}
7. 実行・確認
Main.storyboard への TableView, TableViewCell の配置
ViewController.swift へのプログラム追加
が完了したら、次は実行を行う。
実行機(iPhone) を選択する。
今回は iPhone12mini を選択。

画面左上の 「◀︎」 を押して、プログラムを実行する

実行結果を確認。
予想通りの実行結果が得られた。

参考文献