はじめに
タイトルの通り、VRT(Visual Regression Testing) をStorybookを用いて最低限の構成で試してみました。
※ 最低限の構成で試したので、プロジェクトに導入する場合はもう少し考慮が必要そうです。。
対象者
- VRT(Visual Regression Testing) に興味がある
- Storybookを用いてVRTを導入しようと思っている
- VRTどんなものか試してみたい
ゴール
環境構築や準備
各バージョンや環境
- storybook/react: 6.3.12
- storycap: 3.1.0
- node: v12.22.0
1. Docker周り
こちらを参考にDockerfileを作成していきます。後ほど使う puppeteer の為に色々入れてます。
FROM node:12.22.0-alpine

RUN apk update && \
    apk add --no-cache \
      git \
      vim \
      chromium \
      nss \
      freetype \
      harfbuzz \
      ca-certificates \
      ttf-freefont \
docker-compose.yml は以下になります。
version: '3.3'
volumes:
  modules_data:
    driver: local
  next_data:
    driver: local

services:
  vrt:
    build: .
    image: xxxx/vrt
    container_name: 'vrt'
    environment:
      - PUPPETEER_SKIP_CHROMIUM_DOWNLOAD=true
      - PUPPETEER_EXECUTABLE_PATH=/usr/bin/chromium-browser
    volumes:
      - .:/usr/src
      - modules_data:/usr/src/node_modules
      - next_data:/usr/src/.next
    command: ash -c "yarn install && yarn dev"
    ports:
      - '3000:3000'
      - '6006:6006'
    working_dir: /usr/src
puppeteerの設定用の環境変数 PUPPETEER_SKIP_CHROMIUM_DOWNLOAD と
PUPPETEER_EXECUTABLE_PATH を設定しています。
実際の手順の詳細は省きますが、
npx create-next-app@latest --typescript でnextjsのプロジェクトを作成し、起動できるまでにしときます。
(今回 Next.jsのプロジェクトの想定で実施してますが、storybookが使えれば何でも良さそうかと思います。)
2. Storybookに必要なパッケージをインストール
2-1.npx sb init でインストール
$ npx sb init
package.json に追加されたスクリプトやパッケージは以下になります。
  "scripts": {
    "storybook": "start-storybook -p 6006",
    "build-storybook": "build-storybook"
  },
  "devDependencies": {
    "@babel/core": "^7.16.0",
    "@storybook/addon-actions": "^6.3.12",
    "@storybook/addon-essentials": "^6.3.12",
    "@storybook/addon-links": "^6.3.12",
    "@storybook/react": "^6.3.12",
    "babel-loader": "^8.2.3",
  }
また、stories ディレクトリ配下にサンプルが作成されています。まずはこの stories のサンプルでVRTを試してみたいと思います。
早速 yarn storybook でstorybookを起動してみます。
起動後 http://localhost:6006/ にアクセスすると以下のような画面が表示されればOKです。

3. storycap をインストール
reg-viz/storycap: A Storybook Addon, Save the screenshot image of your stories via puppeteer.
v3.0.0 から Puppeteer を別途インストールしたものを使うようになったぽいので、
puppeteerも一緒にインストールしておきます。参考
$ yarn add -D storycap puppeteer
以下今回インストールされたパッケージのバージョンになります。
    "puppeteer": "^11.0.0",
    "storycap": "^3.1.0"
package.json の script に
"storycap": "storycap --serverCmd \"yarn storybook\" http://localhost:6006 --serverTimeout 600000"
を追加し、試しに実行してみます。
$ yarn storycap
成功すると、__screenshots__ ディレクトリに画像が保存されます。
Storycap は simple と managed の2モードがあり、上記のままだと simple モードで
今回は細かく制御したい場合は managed モードを使うようです。
4. reg-suit をインストール
reg-viz/reg-suit: Visual Regression Testing tool
$ yarn add -D reg-suit
初期設定を行います。
$ yarn reg-suit init --use-yarn

↑初回必要なPluginのインストールを選択するのですが、今回はお試しなので reg-publish-s3-plugin だけ選択しました。
後の質問は以下のように回答しました。
? Working directory of reg-suit. .reg # デフォルトの.reg
? Append ".reg" entry to your .gitignore file. Yes
? Directory contains actual images. __screenshots__ # storycapの出力先の__screenshots__を指定
? Threshold, ranges from 0 to 1. Smaller value makes the comparison more sensitive. 0
[reg-suit] info Set up reg-publish-s3-plugin:
? Create a new S3 bucket No # S3のBucketは別途用意するのでNoで名前も空にしました
? Existing bucket name
ここまでで出来上がった regconfig.json は以下になります。
{
  "core": {
    "workingDir": ".reg",
    "actualDir": "__screenshots__",
    "thresholdRate": 0,
    "addIgnore": true,
    "ximgdiff": {
      "invocationType": "client"
    }
  },
  "plugins": {
    "reg-publish-s3-plugin": {
      "bucketName": "$S3_BUCKET_NAME"
    }
  }
}
※後々作成したバケット名を外部から設定する為に $S3_BUCKET_NAME を指定しています。
また、package.json の script に "regression": "reg-suit run" を追加しました。
5. S3にreg-suit用のバケット作成
詳細は割愛しますが、今回 reg-suit-sample というバケットを作成して使います。
またreg-suit実行時にS3アクセスのアカウントを指定する為に、docker-compose.ymlにアクセスキー等を追加しました。
    environment:
      AWS_DEFAULT_REGION: ap-northeast-1
      AWS_ACCESS_KEY_ID: ${AWS_ACCESS_KEY_ID}
      AWS_SECRET_ACCESS_KEY: ${AWS_SECRET_ACCESS_KEY}
      S3_BUCKET_NAME: ${S3_BUCKET_NAME}
VRT実施
1. S3が空の状態で実行
$ yarn storycap
$ yarn regression
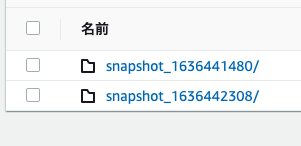
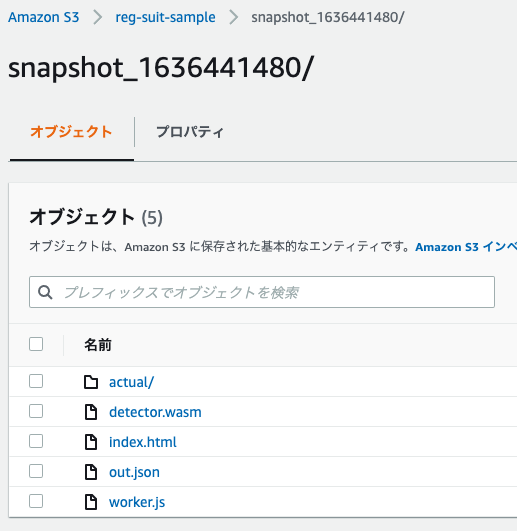
実行が完了するとS3には以下がアップロードされていました。
※後々出てきますが、この時 key generator plugin を指定していない為、snapshot_日時 で作成されています。
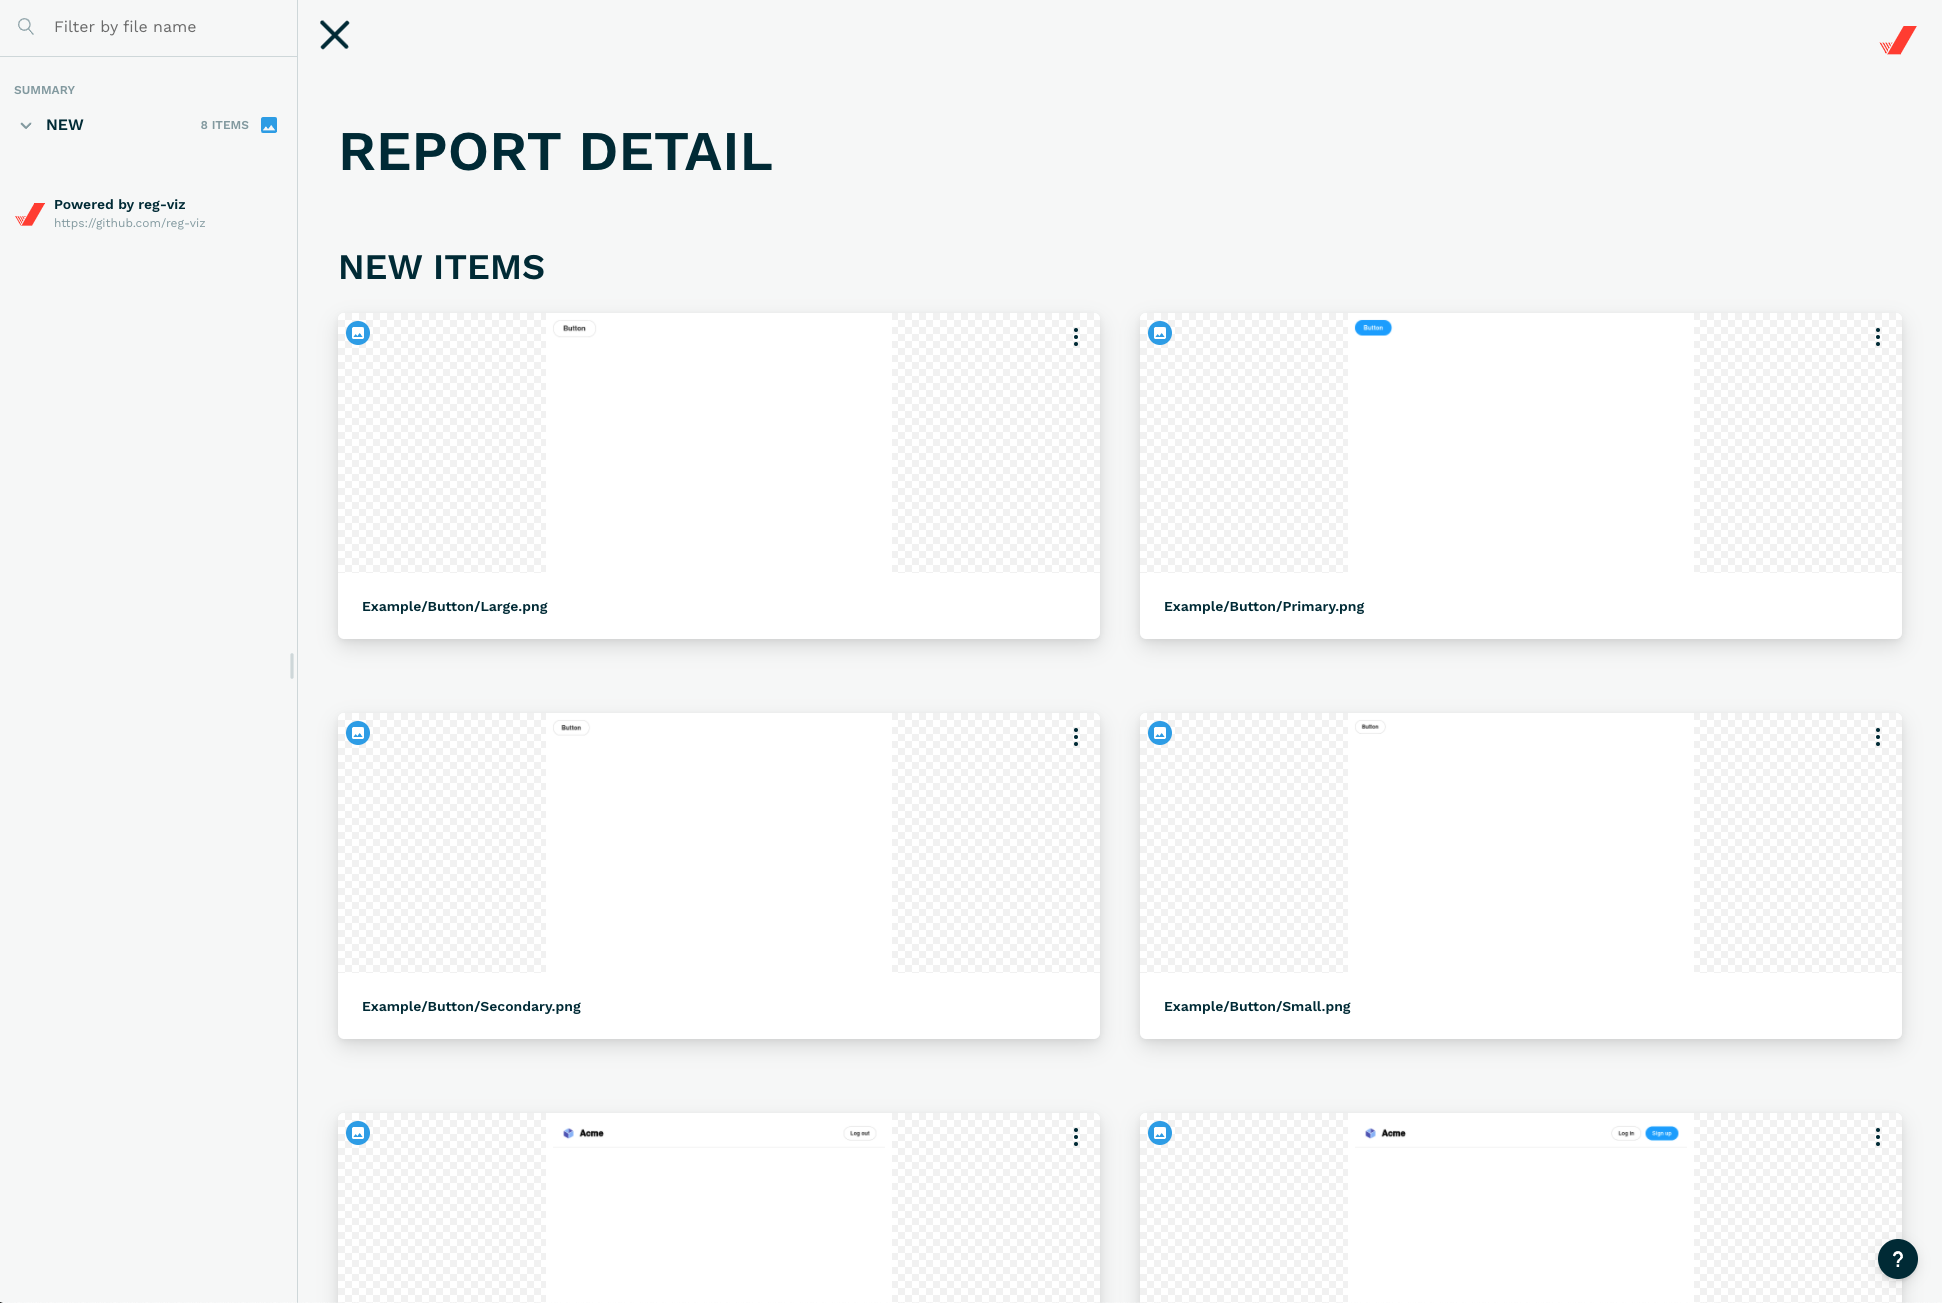
yarn regressionで生成された出力にある Report URL にアクセスしてみると以下のレポートが出力されていました。
2. 差分が発生するように変更して再度実施
ただし、レポートを見ても差分が検知されていません。。
よくよくログを見てみると、
[reg-suit] info Skipped to detect the previous snapshot key because key generator plugin is not set up.
[reg-suit] info Skipped to fetch the expected data because expected key is null.
key generator plugin がセットされていないので、比較元のデータを取ってきてくれてないようです。
改めて、reg-simple-keygen-pluginをインストールして再度実施してみたいと思います。
$ yarn add -D reg-simple-keygen-plugin
regconfig.json の plugins に↓のように追加します。
    "reg-simple-keygen-plugin": {
      "expectedKey": "hoge",
      "actualKey": "fuga"
    },
今回はお試しなので、keyは一度切りで使う前提でセットしています。
プロジェクトでちゃんと使う場合、reg-keygen-git-hash-pluginを使うか、
CIで生成したhash値を使う事になるかと思います。-> こちら
S3のデータも削除しリセットした状態で再度実行します。
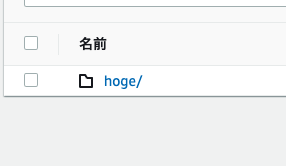
初回は actual しか無いので、actualKey を hoge に変更して実施しときます。
次は actualKey を fuga に戻して差分が出るように実施します。
出力されたレポートには以下の様に差分が表示され、比較できるようになっています ![]()

めでたしめでたし ![]()
。。。で終わりじゃなく storycap の managed モードを使って
もう少し色々試してみたいと思います。
3. コンポーネントを新規に作成して操作時のキャプチャでVRTを実施する
ただただコンポーネント表示してレイアウト崩れてないかテストする場合は、上記でも事足りそうですが、
ホバーしたり、クリックしたり、何かしら操作した際にコンポーネントが反応する場合のテストも試してみたいと思います。
3-1. ToggleButtonコンポーネントを作成

↑のようにhoverで色が変わって、クリックするとON / OFF が切り替わる誰得なコンポーネントを作成します。
ディレクトリ構成としては以下になります。
├── pages
├── components
│   └── ToggleButton
│       ├── index.css
│       ├── index.stories.tsx
│       └── index.tsx
import React, { useState } from 'react';
import './index.css';

export type ToggleButtonProps = {};

const ToggleButton: React.VFC = () => {
  const [on, setOn] = useState(false);
  return (
    <div style={{ padding: '0.5rem' }}>
      <button className="toggle-button" onClick={() => setOn(!on)}>
        {on ? 'ON' : 'OFF'}
      </button>
    </div>
  );
};

export default ToggleButton;
.toggle-button {
  background-color: aliceblue;
}

.toggle-button:hover {
  background-color: bisque;
}
3-2. Storybookの設定
.storybook/main.js と .storybook/preview.js をそれぞれ以下に修正します。
module.exports = {
  "stories": [
    "../components/**/*.stories.@(js|jsx|ts|tsx)"
  ],
  "addons": [
    "@storybook/addon-links",
    "@storybook/addon-essentials",
    "storycap"
  ]
}
import { withScreenshot } from 'storycap';

export const decorators = [
  withScreenshot,
];

export const parameters = {
  actions: { argTypesRegex: "^on[A-Z].*" },
  controls: {
    matchers: {
      color: /(background|color)$/i,
      date: /Date$/,
    },
  },
}
次に components/ToggleButton/index.stories.tsx は以下の様に設定しました。
import { Meta, Story } from '@storybook/react';
import React from 'react';
import ToggleButton, { ToggleButtonProps } from '.';

export default {
  title: 'components/ToggleButton',
  component: ToggleButton,
} as Meta;

const Template: Story<ToggleButtonProps> = (args) => <ToggleButton {...args} />;

// Basic
export const Basic: Story<ToggleButtonProps> = Template.bind({});
Basic.parameters = {
  screenshot: {
    variants: {
      hovered: {
        hover: '.toggle-button',
      },
      clicked: {
        click: '.toggle-button',
      },
    },
  },
};
Basic.args = {};
screenshotのvariantsで複数状態を指定できるので今回は hover と click した状態もキャプチャするようにしました。
この状態で一度S3にアップしときます。
次にhoverした際の色を少し変更して、VRTを実行してみます。
.toggle-button:hover {
  background-color: antiquewhite;
}
↓hover時の微妙な色の違いもちゃんと検知してくれています ![]()
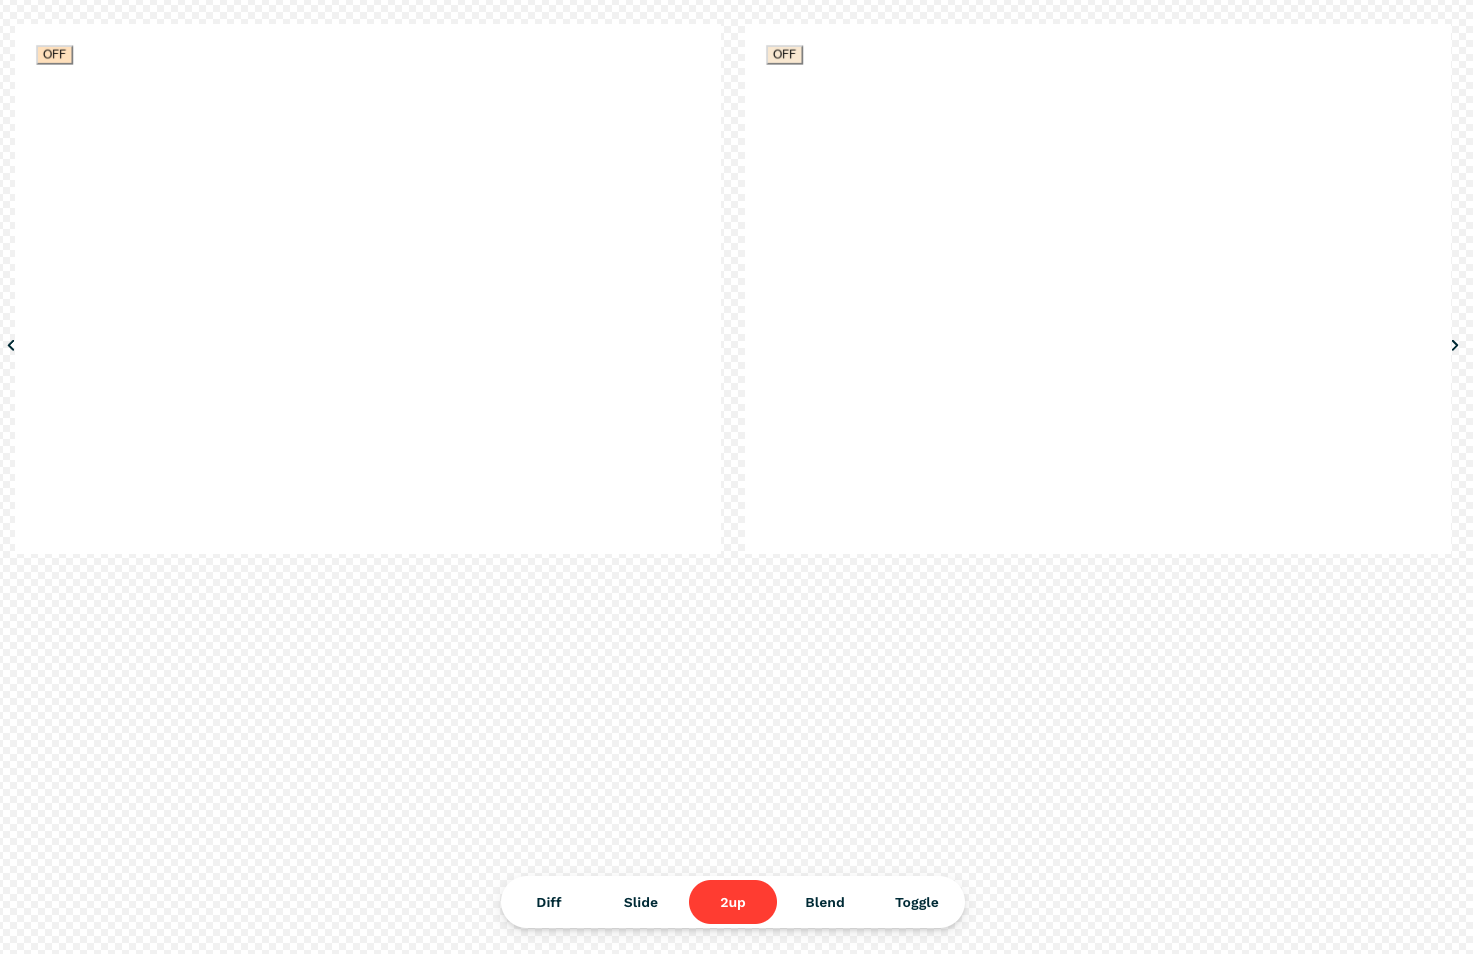
ちなみに thresholdRate を変えて試してみた所、0.002 以上だと↑の違いは検知できず、0 ~ 0.001 の間だと検知してくれました 。
まとめ
個人的には導入してしまえば、継続的にチェックができるし、導入もすごい大変というわけでも無いので
費用対効果高くて良さそうだなと思いました ![]()
今回試した分は以下のリポジトリにアップしてます。
Slowhand0309/vrt-nextjs-storybook-sample: VRT(Visual Regression Testing) project with Next.js, Storybook
