今までも何度かdockerでrailsアプリを作成したことがあるのですが、いつもどうやるんだっけと忘れてしまうため、今回こそメモを残します。
前提
Mac上に Docker と docker-compose がインストール済という前提でのメモになります。
今回の構成
リクエストをWebサーバのNginxで受け取り、アプリケーションサーバのPumaに流す構成にします。
DBは個人的に使い慣れているMySQLを使用します。
ディレクトリ構成
~/sample_app
├── containers
│   └── nginx
│       ├── Dockerfile
│       └── nginx.conf
│   └── rails
│       ├── Dockerfile
├── docker-compose.yml
├── Gemfile
└── Gemfile.lock
ファイルの内容
nginx
containers/nginx/Dockerfile
FROM nginx:1.17.5

RUN rm -f /etc/nginx/conf.d/*
ADD ./containers/nginx/nginx.conf /etc/nginx/nginx.conf
containers/nginx/nginx.conf
worker_processes  auto;
worker_rlimit_nofile 8000;

error_log  /var/log/nginx/error.log warn;
pid        /var/run/nginx.pid;

events {
  worker_connections  1024;
}

http {
  server_tokens    off;

  include       /etc/nginx/mime.types;
  default_type  application/octet-stream;

  log_format ltsv 'domain:$host\t'
                  'host:$remote_addr\t'
                  'user:$remote_user\t'
                  'time:$time_local\t'
                  'method:$request_method\t'
                  'path:$request_uri\t'
                  'protocol:$server_protocol\t'
                  'status:$status\t'
                  'size:$body_bytes_sent\t'
                  'referer:$http_referer\t'
                  'agent:$http_user_agent\t'
                  'response_time:$request_time\t'
                  'cookie:$http_cookie\t'
                  'set_cookie:$sent_http_set_cookie\t'
                  'upstream_addr:$upstream_addr\t'
                  'upstream_cache_status:$upstream_cache_status\t'
                  'upstream_response_time:$upstream_response_time';

  access_log  /var/log/nginx/access.log  ltsv;

  sendfile       on;
  tcp_nopush     on;

  keepalive_timeout  10;

  client_max_body_size 10m;

  limit_conn_zone $binary_remote_addr zone=lcz:10m;
  limit_req_zone $binary_remote_addr zone=lrz:10m rate=20r/s;

  upstream app_server {
    server app:3000; # appは docker_compose.ymlのRailsのサービス名を指定
  }

  server {
    listen 80;
    server_name localhost;

    access_log /var/log/nginx/access.log;
    error_log  /var/log/nginx/error.log;

    root /sample_app/public;

    client_max_body_size 100m;
    error_page 404             /404.html;
    error_page 505 502 503 504 /500.html;
    keepalive_timeout 5;

    location / {
      proxy_set_header X-Real-IP $remote_addr;
      proxy_set_header X-Forwarded-For $proxy_add_x_forwarded_for;
      proxy_set_header Host $host;
      proxy_pass http://app_server;
    }
  }
}
rails
containers/rails/Dockerfile
FROM ruby:2.6.5
RUN apt-get update -qq && \
    apt-get install -y apt-utils \
                       build-essential \
                       libpq-dev \
                       nodejs \
                       default-mysql-client
RUN mkdir /sample_app
ENV APP_ROOT /sample_app
WORKDIR $APP_ROOT
ADD Gemfile $APP_ROOT/Gemfile
ADD Gemfile.lock $APP_ROOT/Gemfile.lock
RUN bundle install
ADD . $APP_ROOT

CMD ["bundle", "exec", "puma", "-p", "3000", "-C", "config/puma.rb"]
Gemfile
railsだけ記載したGemfileを作成します。
source 'https://rubygems.org'
gem 'rails', '5.2.3'
Gemfile.lock
空のGemfile.lockを作成します。
$ touch Gemfile.lock
docker-compose.yml
version: '3'
services:
  app:
    build:
      context: .
      dockerfile: ./containers/rails/Dockerfile
    ports:
      - '3000:3000'
    volumes:
      - .:/sample_app
    depends_on:
      - db

  db:
    image: mysql:5.7
    environment:
      MYSQL_ALLOW_EMPTY_PASSWORD: 'yes'
    ports:
      - '3306:3306'

  nginx:
    build:
      context: .
      dockerfile: ./containers/nginx/Dockerfile
    ports:
      - '80:80'
実行
先に sample_app に移動しておきます。
$ cd sample_app
1. Railsプロジェクトを生成
$ docker-compose run app rails new . --force --database=mysql --skip-bundle

Creating network "sample_app_default" with the default driver
Pulling db (mysql:5.7)...
...省略
Successfully tagged sample_app_app:latest
WARNING: Image for service app was built because it did not already exist. To rebuild this image you must use `docker-compose build` or `docker-compose up --build`.
       exist
      create  README.md
      create  Rakefile
      create  .ruby-version
      create  config.ru
      create  .gitignore
       force  Gemfile
         run  git init from "."
Reinitialized existing Git repository in /sample_app/.git/
      create  package.json
      create  app
      ...省略
2. イメージのビルド
$ docker-compose build

db uses an image, skipping
Building app
Step 1/10 : FROM ruby:2.6.5
 ---> d98e4013532b
...省略
Step 2/3 : RUN rm -f /etc/nginx/conf.d/*
 ---> Running in d0b3c12300b7
Removing intermediate container d0b3c12300b7
 ---> 079a82dca96a
Step 3/3 : ADD ./containers/nginx/nginx.conf /etc/nginx/nginx.conf
 ---> 92dae2e2a5af
Successfully built 92dae2e2a5af
Successfully tagged sample_app_nginx:latest
3. DB設定
DBの設定を行います。
defaultの host を localhost から docker_compose.yml で設定した MySQL の サービス名(db) に修正します。
$ vi config/database.yml
# MySQL. Versions 5.1.10 and up are supported.
#
# Install the MySQL driver
#   gem install mysql2
#
# Ensure the MySQL gem is defined in your Gemfile
#   gem 'mysql2'
#
# And be sure to use new-style password hashing:
#   https://dev.mysql.com/doc/refman/5.7/en/password-hashing.html
#
default: &default
  adapter: mysql2
  encoding: utf8
  pool: <%= ENV.fetch("RAILS_MAX_THREADS") { 5 } %>
  username: root
  password:
  host: db  # docker-compose.ymlのMySQLのservice名を指定

development:
  <<: *default
  database: sample_app_development

# Warning: The database defined as "test" will be erased and
# re-generated from your development database when you run "rake".
# Do not set this db to the same as development or production.
test:
  <<: *default
  database: sample_app_test

# As with config/secrets.yml, you never want to store sensitive information,
# like your database password, in your source code. If your source code is
# ever seen by anyone, they now have access to your database.
#
# Instead, provide the password as a unix environment variable when you boot
# the app. Read http://guides.rubyonrails.org/configuring.html#configuring-a-database
# for a full rundown on how to provide these environment variables in a
# production deployment.
#
# On Heroku and other platform providers, you may have a full connection URL
# available as an environment variable. For example:
#
#   DATABASE_URL="mysql2://myuser:mypass@localhost/somedatabase"
#
# You can use this database configuration with:
#
#   production:
#     url: <%= ENV['DATABASE_URL'] %>
#
production:
  <<: *default
  database: sample_app_production
  username: sample_app
  password: <%= ENV['SAMPLE_APP_DATABASE_PASSWORD'] %>
設定が完了したら、DBを作成します。
$ docker-compose run app rails db:create

Creating network "sample_app_default" with the default driver
Pulling db (mysql:5.7)...
5.7: Pulling from library/mysql
...省略
Creating sample_app_db_1 ... done
Created database 'sample_app_development'
Created database 'sample_app_test'
4. コンテナの起動
$ docker-compose up

sample_app_db_1 is up-to-date
Creating sample_app_app_1   ... done
Creating sample_app_nginx_1 ... done
Attaching to sample_app_db_1, sample_app_nginx_1, sample_app_app_1
...省略
app_1    | Puma starting in single mode...
app_1    | * Version 3.12.1 (ruby 2.6.5-p114), codename: Llamas in Pajamas
app_1    | * Min threads: 5, max threads: 5
app_1    | * Environment: development
app_1    | * Listening on tcp://0.0.0.0:3000
app_1    | Use Ctrl-C to stop
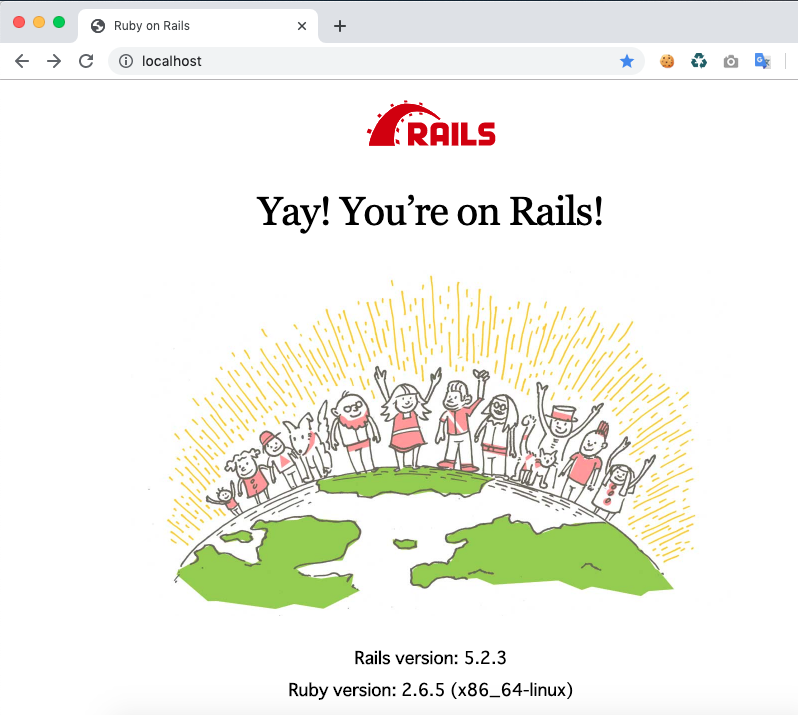
http://localhost にアクセスして Yay! You're on Rails! が
表示されればOK!