はじめに
最近Custom ElementsからイベントをDOMに伝えて処理を行うのをやったのですが、仕組みについて理解するのに時間がかかってしまったので、備忘録としてやり方をまとめます
今回は以下のリポジトリを利用してHelloボタンをクリックしたら親で検知してコンソールでHelloを表示してみます
準備
$ git clone git@github.com:jinwatanabe/react-web-component-sample.git
$ cd react-web-component-sample
$ yarn dev
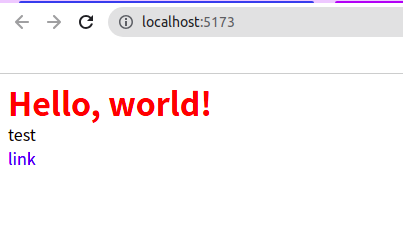
localhost:5173を開くと以下の画面が表示されます
Custom Elementsでイベント発火する
まずはCustom Elementsでイベントを発火したことを親(DOM)に伝える処理を追加していきます
ここでは、emitMessageというイベントを親に伝えます
まずはsrc/index.tsxをひらいて、SampleElementにたいしてイベント発火の関数を渡せるようにします
  connectedCallback() {
    this.root.render(
      <CacheProvider value={this.cache}>
        <SampleElement
          onEventExecution={(message: string) => {
            this.dispatchEvent(
              new CustomEvent("emitMessage", { detail: { message } })
            );
          }}
        />
      </CacheProvider>
    );
  }
dispatchEventでイベント発火が行われます
customEventでイベント名とdetailPプロパティを使用してカスタムデータを渡すことができます
この設定をすることでWebComponentsを利用している側(ここではindex.html)でイベント(emitMessage)を検知できるようになります
次に、実際に関数を呼び出す部分を実装します。
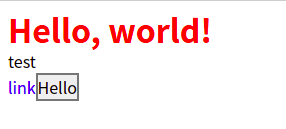
ここではHelloボタンを用意してクリックしたタイミングで先程渡したイベント発火関数を実行します
const SampleElement: FC<{
  onEventExecution: (message: string) => void;
}> = ({ onEventExecution }) => {
  const sendHello = () => {
    onEventExecution("Hello");
  };

  return (
    <>
      <h1
        css={css`
          color: red;
        `}
      >
        Hello, world!
      </h1>
      <ul>
        <li>test</li>
      </ul>
      <a href="#">link</a>
      <button onClick={() => sendHello()}>Hello</button>
    </>
  );
};
これでCustom Elementsの準備は整いました
WebComponentsを利用する側でイベントを検知できるようにする
/index.htmlを以下のように修正します
  <body>
    <script src="./src/index.tsx" type="module"></script>
    <div>
      <sample-element></sample-element>
    </div>
    <script>
      const emitMessage = (event) => {
        const message = event.detail.message;
        console.log(message);
      };
      const sampleElement = document.querySelector("sample-element");
      sampleElement.addEventListener("emitMessage", emitMessage);
    </script>
  </body>
scriptを追加しました
sample-elementに対してイベントリスナー(emitMessage)を追加しました
イベントが発火したらコンソールでmessageを表示します
これで準備ができたので、HelloボタンをクリックするとコンソールにHelloと表示されます
おわりに
Custom Elementsでの関数名とindex.htmlのイベント名を一緒にしていたので少し迷いましたが、理解するとかなりシンプルに使えるなと感じました
参考