iOS16からSwiftUIのsheetがリサイズ可能になりました。
iOS15以前はUIKitで実装したものを取り込む必要がありましたが、iOS16からは気軽に実装できるようになりました。
簡単にまとめたので書いていきます。
といっても、sheetに表示するViewに.presentationDetentsを追加するだけで簡単に実装できます。
presentationDetents
presentationDetents(:_)の定義は以下のとおりです。
func presentationDetents(_ detents: Set<PresentationDetent>) -> some View
引数のdetentsはsheetでサポートされるdetent(戻り止め)のSetです。
複数のdetentを指定すると、ユーザーはsheetをドラッグしてサイズを変更することができます。
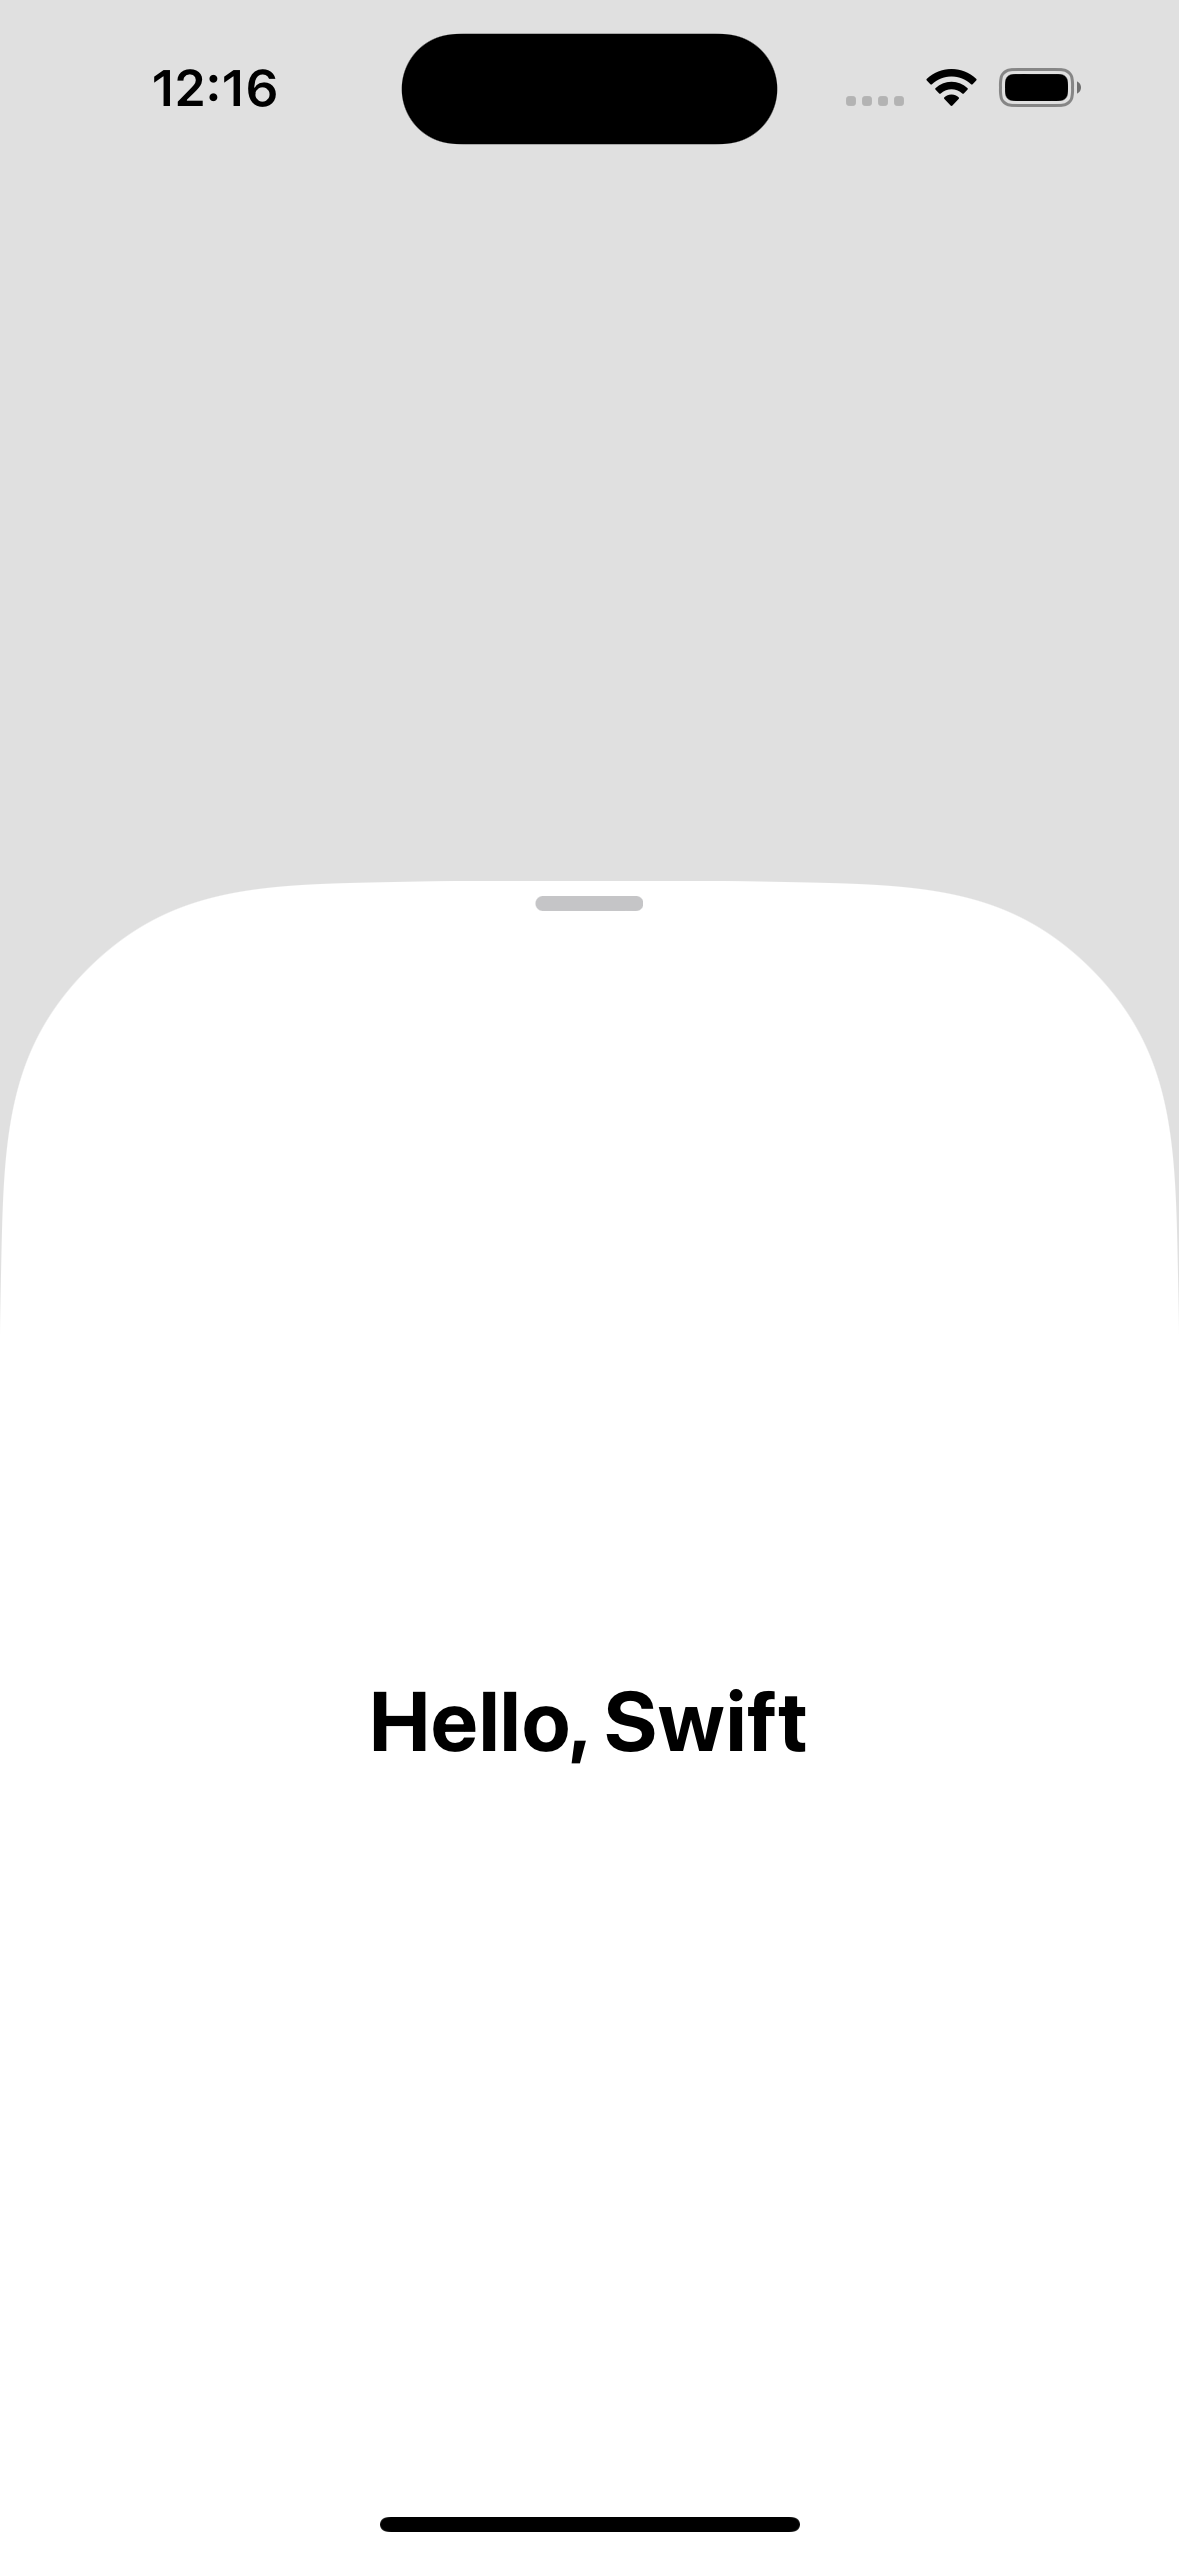
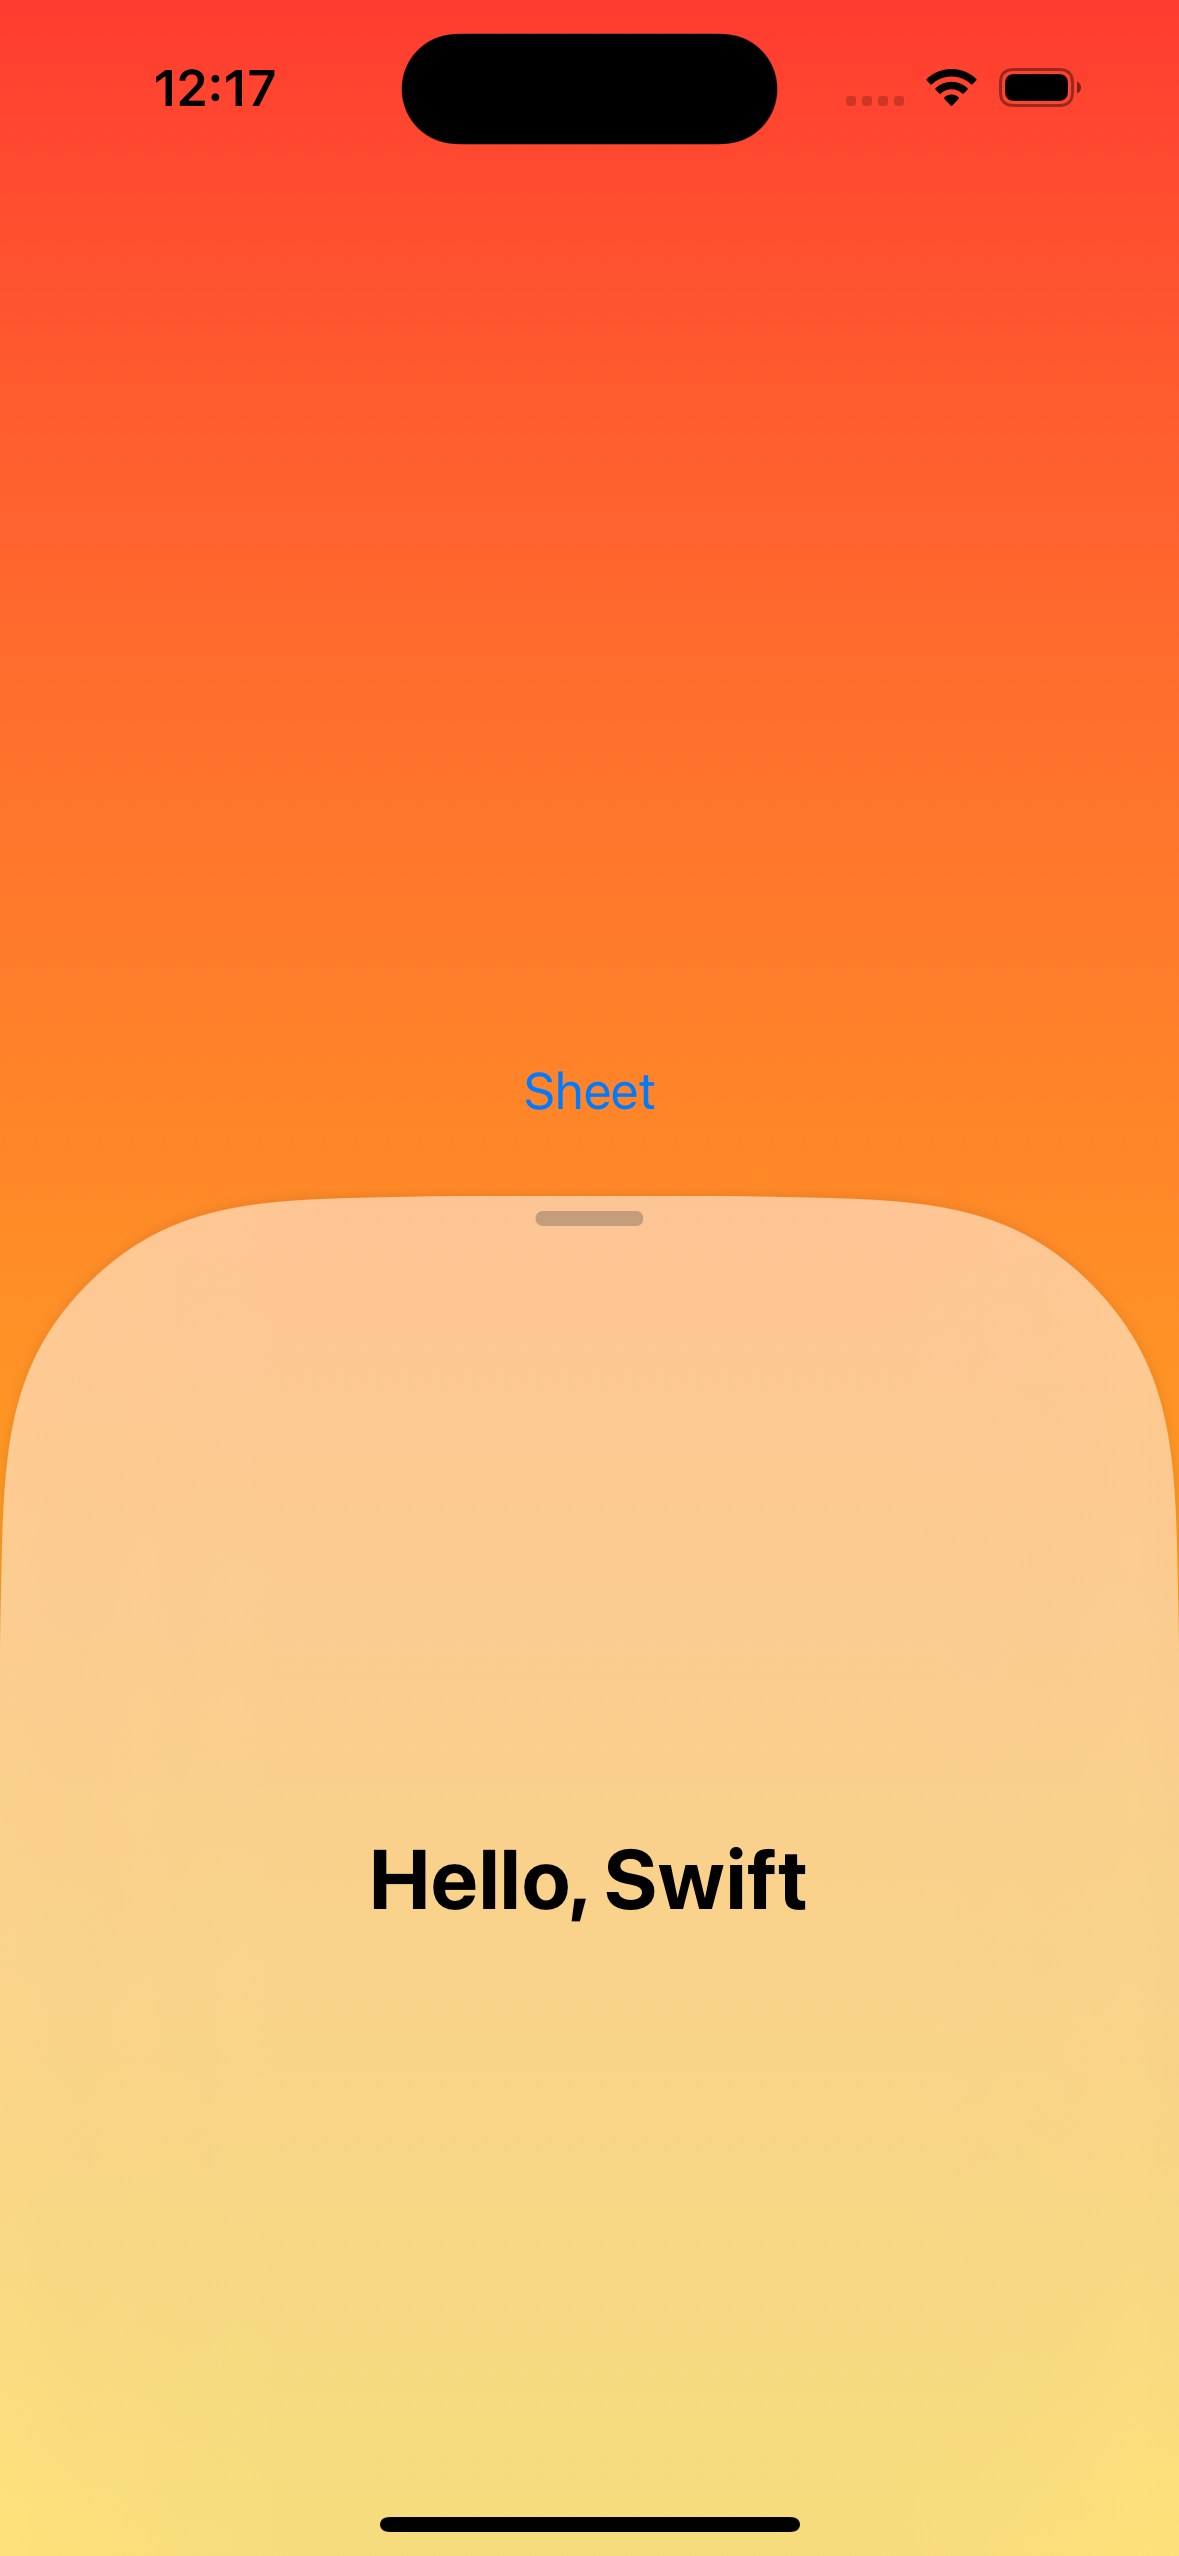
下記の例だと、.medium、.largeが指定されているので、Sheetは全画面および画面半分のサイズに可変になります。
struct ContentView: View {
  @State var showSheet = false

  var body: some View {
    NavigationView {
      Button("Sheet") {
        showSheet.toggle()
      }.sheet(isPresented: $showSheet, onDismiss: {
        print("Sheet dismissed")
      }) {
        Text("Hello, Swift")
        .ignoresSafeArea()
        .presentationDetents([.medium, .large])
      }
    }
  }
}
一方で、presentationDetents(_:selection:)を使用することで、現在選択されているディテントをプログラムで制御できます。
func presentationDetents(
    _ detents: Set<PresentationDetent>,
    selection: Binding<PresentationDetent>
) -> some View
下記はボタンをタップししてsheetの現在のdetentを変更するコードになります。
var detentButton: Button<Text> {
    if selectedDetent == .medium {
      return Button("Show more") {
        selectedDetent = .large
      }
    } else {
      return Button("Show less") {
        selectedDetent = .medium
      }
    }
  }
var body: some View {
  Button("Sheet") {
    sheet.toggle()
  }.sheet(isPresented: $sheet, onDismiss: {
    print("Sheet dismissed")
  }) {
  VStack {
    Text("Hello, Swift")
      .padding(20)

    detentButton

    Spacer()
  }
    .presentationDetents(
      [.medium, .large],
      selection: $selectedDetent
    )
  }
}
detentに指定できるものには以下が用意されています。
| タイプ | 高さ |
|---|---|
| .medium | 画面の半分 |
| .large | 画面全体 |
| .height | 高さ指定 |
| .fraction | 割合 |
| custom | 高さをカスタムできる |
.height, .fractionについてはそれぞれ以下のように指定します。
.presentationDetents([
  .height(300),
  .fraction(0.3)
])
.customは、CustomPresentationDetentプロトコルに準拠した構造体を定義し、指定します。
struct CustomDetent: CustomPresentationDetent {
  static func height(in context: Context) -> CGFloat? {
    return context.dynamicTypeSize.isAccessibilitySize ? 100 : 60
  }
}
.presentationDetents([.custom(CustomDetent.self)])
ドラッグインジケーターの表示
presentationDragIndicatorはシート上部にドラッグインジケーターを表示するかどうかを指定します。
func presentationDragIndicator(_ visibility: Visibility) -> some View

presentationDetentsで指定したdetentsが複数の場合、デフォルトでドラッグインジケーターが表示されます。
detentsを一つしか指定しなかった場合、デフォルトではドラッグインジケーターは表示されません。
iOS16.4以降
iOS16.4で以下のようなmodifierが追加されました。
シートのスワイプジェスチャーの動作設定
シートを上下にスワイプした際の動作を指定します。
presentationContentInteraction(_:)を使用します。
func presentationContentInteraction(PresentationContentInteraction) -> some View
デフォルトではシートの中がScrollViewの場合にスワイプアップするとシートの高さが変わり、シートが最大サイズに達した場合にのみScrollViewがスクロールされます。
.scrollsを指定した場合、ScrollViewのスクロールが優先されます。
シートサイズの変更はドラッグインジケーターを利用します。
.resizesを指定した場合、シートのリサイズが優先されます。指定したdetentsの中で最大サイズの場合のみViewのスクロールが可能になります。

背後にあるViewとのインタラクション
シートの背後にあるViewと対話できるかどうかの制御
presentationBackgroundInteraction(_:)を使用します。
func presentationBackgroundInteraction(_ interaction: PresentationBackgroundInteraction) -> some View
引数のinteractionは、シートの背後にあるViewとどのように対話するかを指定します。
| interaction | 概要 |
|---|---|
| .automatic | デフォルト |
| .disabled | インタラクション不可 |
| .enabled | インタラクション可能 |
| .enabled(upThrough:) | 指定した高さ以下でインタラクション可能 |
下記の例では、高さが.height(120)以下の場合にシート背後のViewとのインタラクションが可能になります。
.presentationBackgroundInteraction(.enabled(upThrough: .height(120))
インタラクティブなdismissを条件付きで防ぐ
ユーザーはジェスチャー(例えばシートを画面の一番下までスワイプダウンしたり、背面のViewをタップしたり)を使用してシートを閉じることができます。
interactiveDismissDisabled(_:)を使用して条件付きでこれを防ぐことができます。
func interactiveDismissDisabled(_ isDisabled: Bool = true) -> some View
isDisabledをtrueにすることでジェスチャーで閉じることはできなくなります。
また、isDisabledをtrueにし、presentationBackgroundInteractionの引数に.enabled(upThrough:)を指定している場合は、背面タップした時にupThroughで指定している高さまでシートが下がります。
(スワイプダウンや背面タップすると、presentationDetentsで指定したdetentの最小の高さまで下がります。それ以上は下がりません。)
シート上部の角丸
シート上部の角の半径を指定します。
presentationCornerRadius(_:)を使用します
func presentationCornerRadius(_ cornerRadius: CGFloat?) -> some View
.presentationDragIndicator(100)
上記のように指定すると表示は以下のようになります。
シートの背景
シートの背景にスタイルを適用できます。
presentationBackground(_:)もしくはpresentationBackground(alignment:content:)を使用します。
presentationBackground(_:)
func presentationBackground<S>(_ style: S) -> some View where S : ShapeStyle
下記の例では.thinMaterialを指定し、すりガラス表示にして背景を透過します。
  Button("Sheet") {
    showSheet.toggle()
  }.sheet(isPresented: $showSheet, onDismiss: {
    print("Sheet dismissed")
  }) {
    Text("Hello, Swift")
    .presentationDetents([.medium, .large])
    .presentationBackground(.thinMaterial)
  }
 |
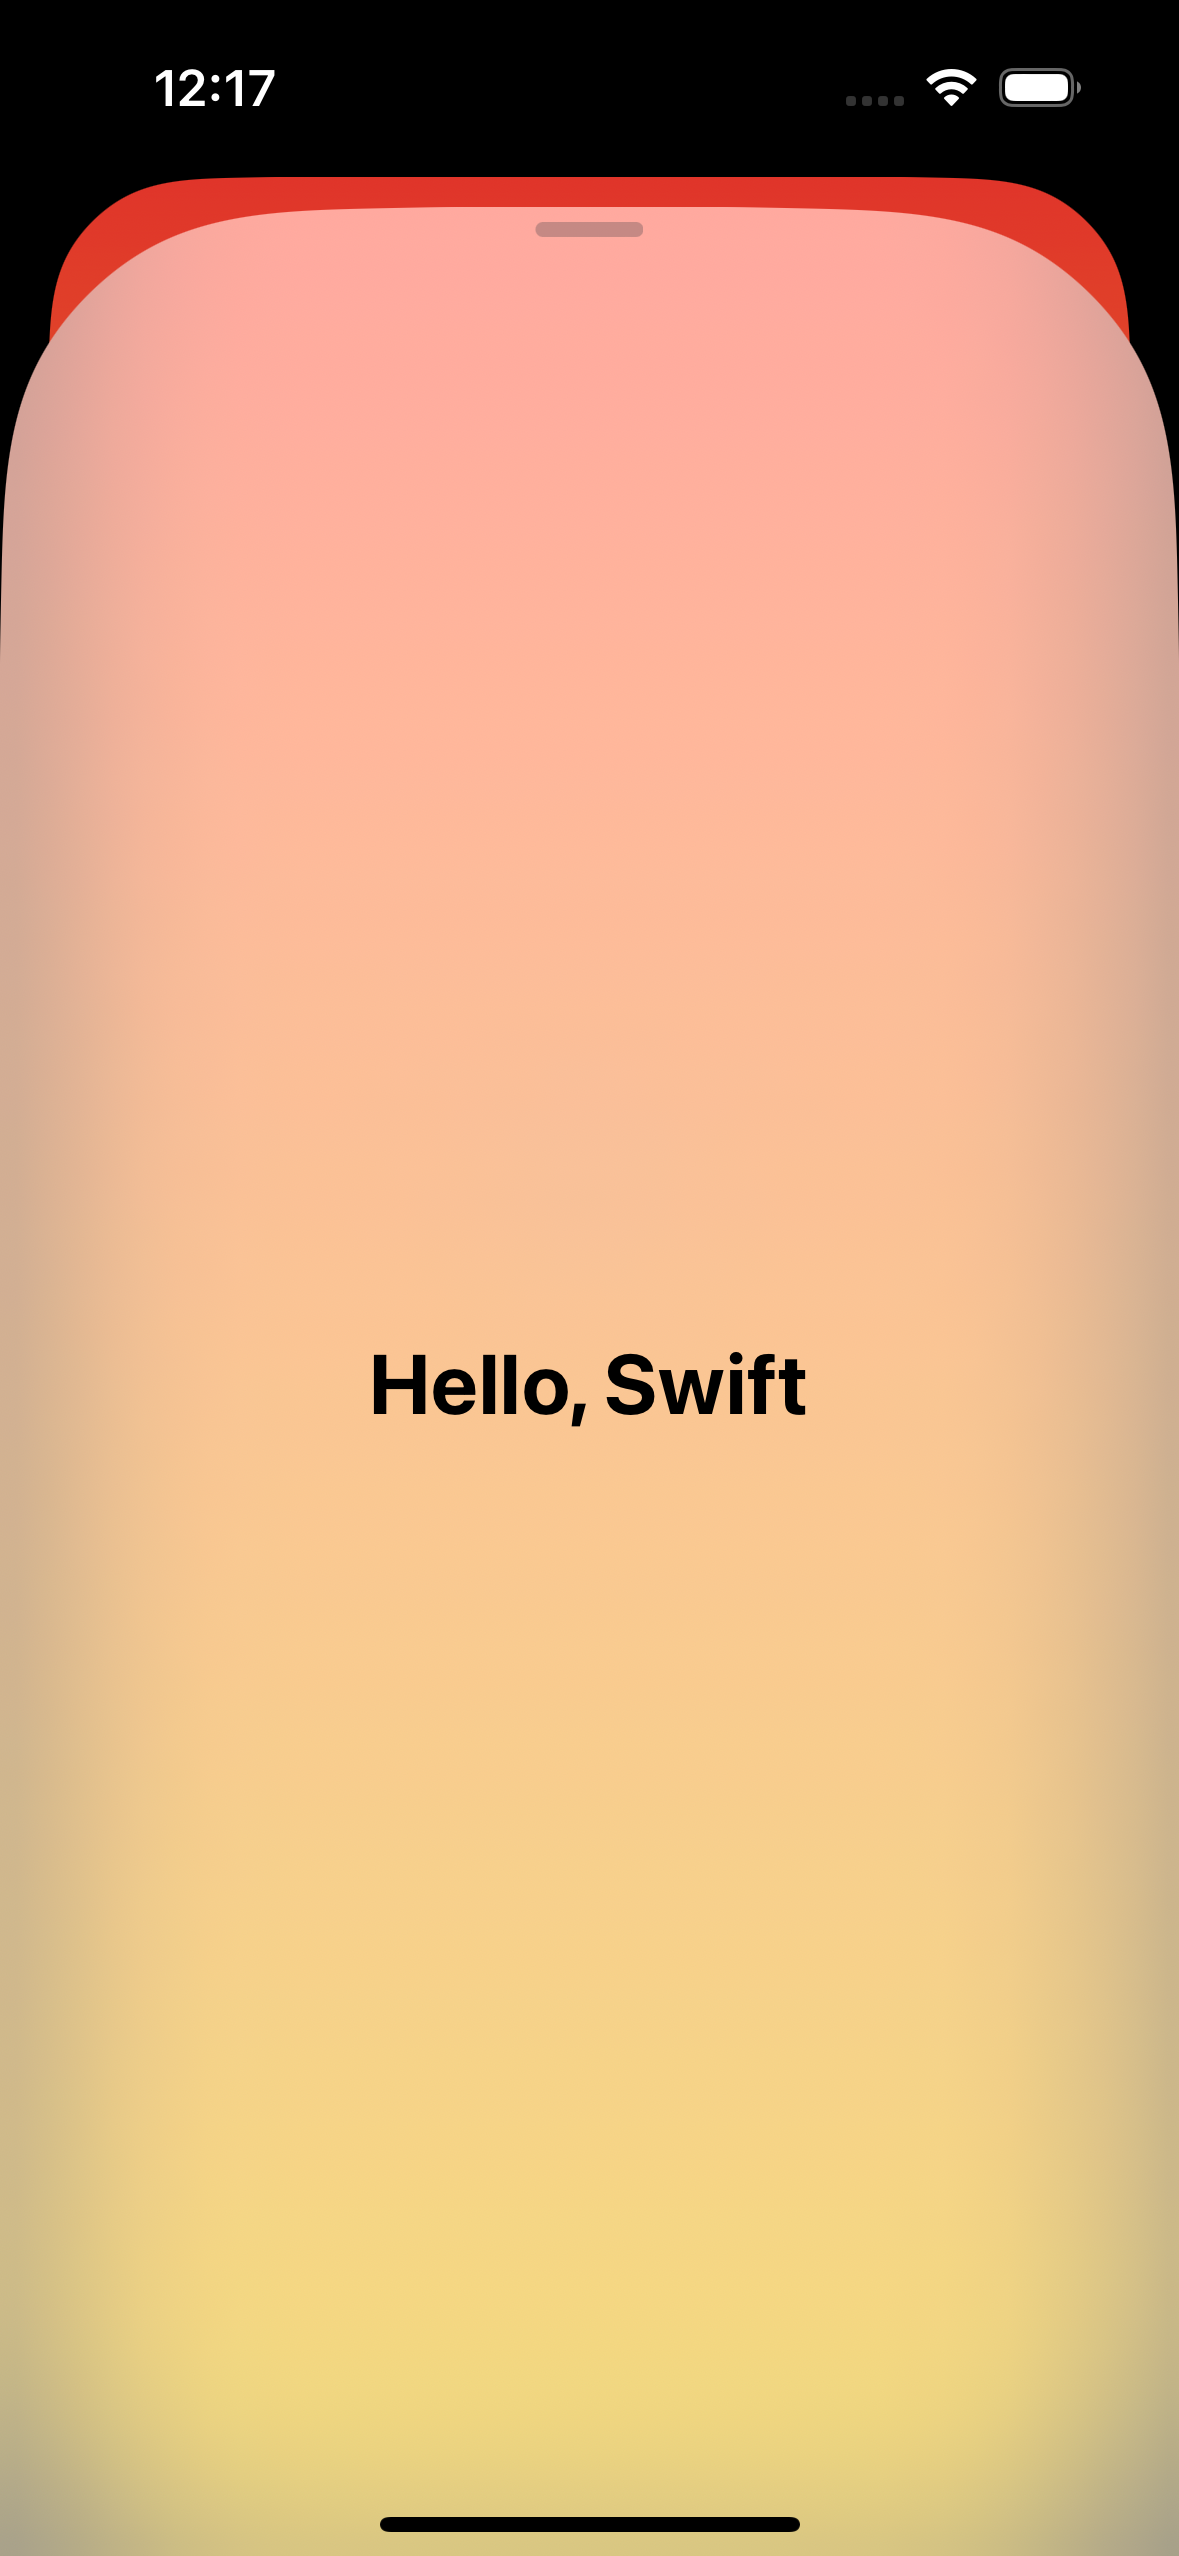 |
グラデーションも指定できます。
.presentationBackground(
  LinearGradient(
    colors: [.red, .yellow],
    startPoint: .top,
    endPoint: .bottom
  )
)

presentationBackground(alignment:content:)
func presentationBackground<V>(alignment: Alignment = .center, @ViewBuilder content: () -> V) -> some View where V : View
シート自体の背景色を変えるには以下のように指定します。
.presentationBackground { Color.yellow }

以上、雑ではありますが自分用のメモとしてまとめました。