UIを作成する
ストーリーボード上で作成し、UITableViewをViewControllerで参照できるようにします。
特に難しい操作でもないので、詳しい説明は省きます。
UITableViewにDataSourceとDelegateを設定する
以下サンプルを確認していただけるとわかります。
ソースコード
class ViewController: UIViewController {
    @IBOutlet weak var tableView: UITableView!

    let data = ["test1","test2","test3","test4","test5","test6","test7","test8","test9","test10","test11","test12","test13","test14","test15","test16","test17","test18","test19","test20","test21"]

    override func viewDidLoad() {
        super.viewDidLoad()
        initView()
    }

    override func didReceiveMemoryWarning() {
        super.didReceiveMemoryWarning()
    }
}
extension ViewController {
    private func initView() {
        tableView.delegate = self
        tableView.dataSource = self
        // 複数選択可にする
        tableView.allowsMultipleSelection = true
    }
}

extension ViewController:UITableViewDelegate {
    func tableView(_ tableView: UITableView, didSelectRowAt indexPath: IndexPath) {
        let cell = tableView.cellForRow(at: indexPath)
        cell?.accessoryType = .checkmark
    }

    func tableView(_ tableView: UITableView, didDeselectRowAt indexPath: IndexPath) {
        let cell = tableView.cellForRow(at:indexPath)
        cell?.accessoryType = .none
    }
}

extension ViewController: UITableViewDataSource {
    func tableView(_ tableView: UITableView, numberOfRowsInSection section: Int) -> Int {
        return data.count
    }

    func tableView(_ tableView: UITableView, cellForRowAt indexPath: IndexPath) -> UITableViewCell {
        let cell = tableView.dequeueReusableCell(withIdentifier: "cell")
        cell?.textLabel?.text = data[indexPath.row]
        cell?.selectionStyle = .none
        return cell!
    }
}
TableViewあるある
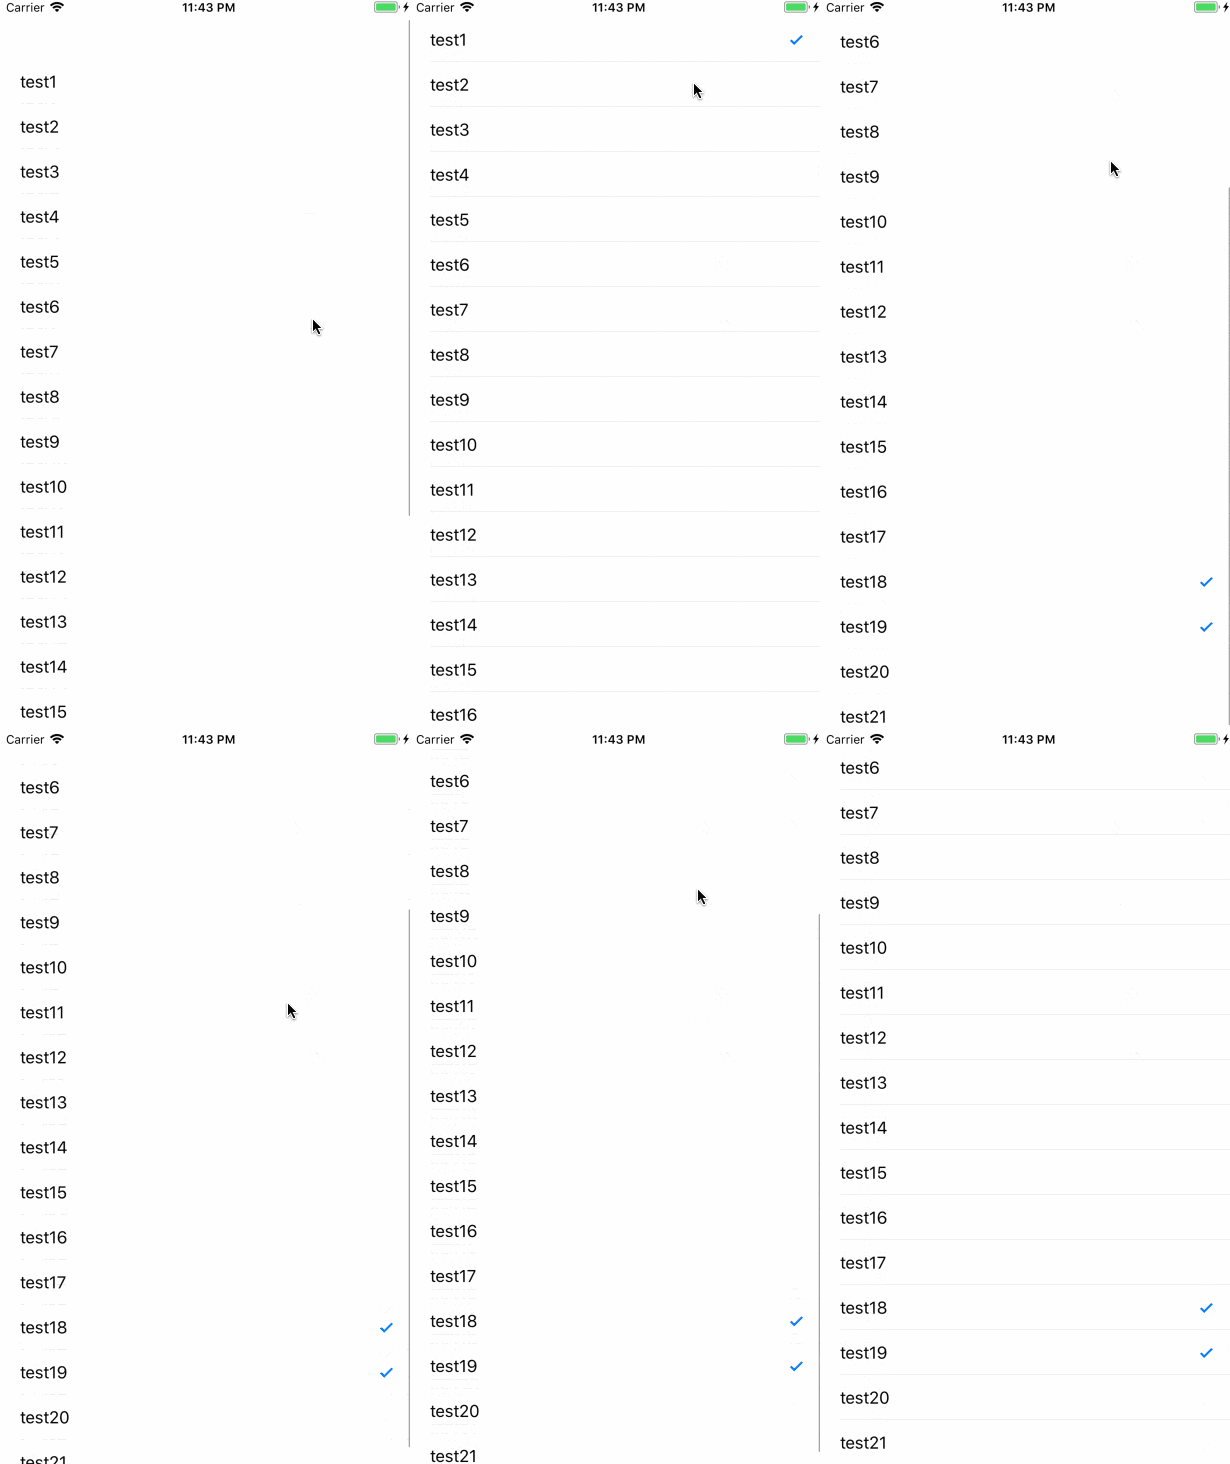
UITableViewではセルを使い回すため、チェックマークをつけてTableViewをスクロールすると、チェックマークが予期せぬセルに表示されます。
状態としては、選択状態ではないにも関わらず、表示上チェックされた状態になります。
チェックはついていても、本来チェック状態ではないため、そのセルをタップしてもdeselectは呼ばれず、チェックマークは外れません。
これを防ぐためには、セルにデータを詰める際、実際の選択状態に合わせてチェックマークの表示・非表示を切り替えます。
    func tableView(_ tableView: UITableView, cellForRowAt indexPath: IndexPath) -> UITableViewCell {
        let cell = tableView.dequeueReusableCell(withIdentifier: "cell")
        cell?.textLabel?.text = data[indexPath.row]
        cell?.selectionStyle = .none
        // セルの状態を確認しチェック状態を反映する
        let selectedIndexPaths = tableView.indexPathsForSelectedRows
        if selectedIndexPaths != nil && (selectedIndexPaths?.contains(indexPath))! {
            cell?.accessoryType = .checkmark
        } else {
            cell?.accessoryType = .none
        }
        return cell!
    }
