はじめに
私はArkというブラウザーを気に入って使っています。
ArkはなんといってもUIがとてもかっこいいです。
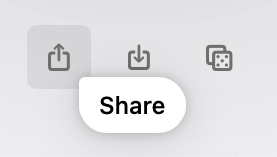
この記事では、Arkのボタンにカーソルを合わせると出てくるヒントUIを再現します(iPadOSとmacOSが対象)。
(これ👇)

Shapeを作る
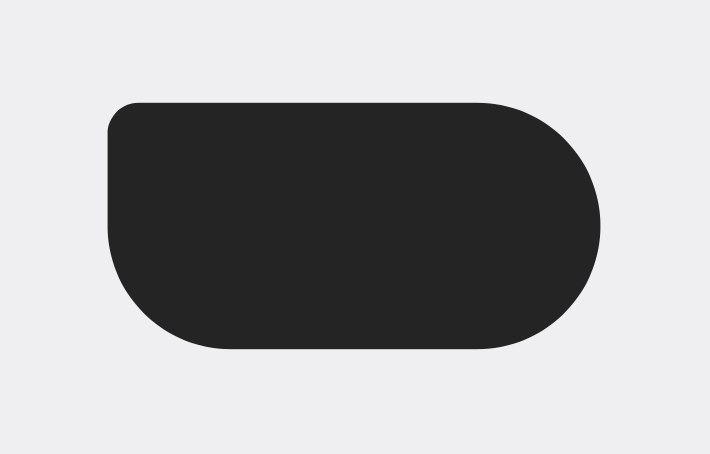
まず、ArkのヒントUIで使われている特徴的な図形を作ります。
import SwiftUI

struct ContentView: View {
    var body: some View {
        VStack {
            GeometryReader { geometryProxy in
                let height = geometryProxy.size.height

                RoundedCornerShape(
                    topLeftRadius: height / 8,
                    topRightRadius: height / 2,
                    bottomRightRadius: height / 2,
                    bottomLeftRadius: height / 2
                )
            }
            .frame(width: 64, height: 32)
        }
        .padding()
    }
}

struct RoundedCornerShape: Shape {
    let topLeftRadius: CGFloat
    let topRightRadius: CGFloat
    let bottomRightRadius: CGFloat
    let bottomLeftRadius: CGFloat

    func path(in rect: CGRect) -> Path {
        var path = Path()

        // 左上の角
        let topLeftCenter = CGPoint(x: rect.minX + topLeftRadius, y: rect.minY + topLeftRadius)
        path.move(to: CGPoint(x: rect.minX, y: rect.minY + topLeftRadius))
        path.addArc(center: topLeftCenter, radius: topLeftRadius,
                    startAngle: .radians(-Double.pi), endAngle: .radians(-Double.pi / 2), clockwise: false)

        // 右上の角
        let topRightCenter = CGPoint(x: rect.maxX - topRightRadius, y: rect.minY + topRightRadius)
        path.addArc(center: topRightCenter, radius: topRightRadius,
                    startAngle: .radians(-Double.pi / 2), endAngle: .zero, clockwise: false)

        // 右下の角
        let bottomRightCenter = CGPoint(x: rect.maxX - bottomRightRadius, y: rect.maxY - bottomRightRadius)
        path.addArc(center: bottomRightCenter, radius: bottomRightRadius,
                    startAngle: .zero, endAngle: .radians(Double.pi / 2), clockwise: false)

        // 左下の角
        let bottomLeftCenter = CGPoint(x: rect.minX + bottomLeftRadius, y: rect.maxY - bottomLeftRadius)
        path.addArc(center: bottomLeftCenter, radius: bottomLeftRadius,
                    startAngle: .radians(Double.pi / 2), endAngle: .radians(Double.pi), clockwise: false)

        return path
    }
}
いい感じです😆
ボタンの右下に表示する
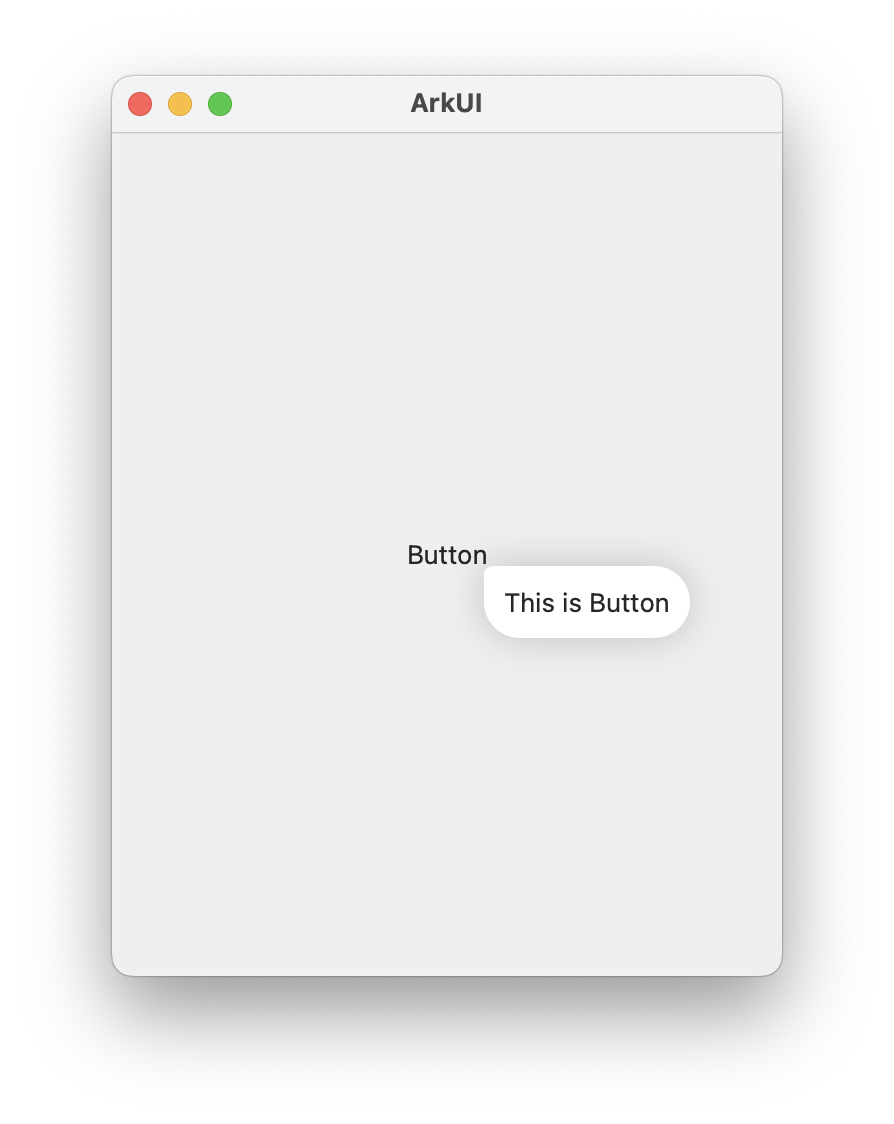
次に、ボタンの右下に表示できるようにします。
-
GeometryReaderでボタンのサイズを取得し、ヘルプUIをボタンの高さと横幅分より少しボタンに近い位置にずらします。 -
fixedSizeを使って、与えられたサイズに収まらないテキストが省略されてしまうことを防ぎます。
struct ContentView: View {
    var body: some View {
        VStack {
            Button("Button") {}
                .buttonStyle(.plain)
                .overlay {
                    helpMenu()
                }
        }
        .padding()
    }
}

extension ContentView {
    private func helpMenu() -> some View {
        GeometryReader { geometryProxy in
            let buttonWidth = geometryProxy.size.width
            let buttonHeight = geometryProxy.size.height

            Text("This is Button")

                // 2
                .fixedSize(horizontal: true, vertical: false)
                .padding(10)
                .background {
                    GeometryReader { geometryProxy in
                        let width = geometryProxy.size.width
                        let height = geometryProxy.size.height

                        RoundedCornerShape(
                            topLeftRadius: height / 8,
                            topRightRadius: height / 2,
                            bottomRightRadius: height / 2,
                            bottomLeftRadius: height / 2
                        )
                        .fill(.background)
                        .shadow(
                            color: .black.opacity(0.2),
                            radius: 10
                        )
                    }
                }

                // 1
                .offset(
                    x: buttonWidth - 2,
                    y: buttonHeight - 2
                )
        }
    }
}
ここまでくればほぼ完成です。
マウスオーバーしたときにヘルプUIを表示する
-
onHoverでマウスオーバーしているかどうかを取得できます。 - マウスオーバーした時は少し遅延させてヘルプUIを表示し、カーソルを外した時はすぐにヘルプUIを非表示にします。
import SwiftUI

struct ContentView: View {
    @State private var showHelpPopup = false

    var body: some View {
        VStack {
            Button("Button") {}
                .buttonStyle(.plain)

                // 1
                .onHover { hover in

                    // 2
                    let delay: Double = hover ? 0.5 : 0

                    DispatchQueue.main.asyncAfter(deadline: .now() + delay) {
                        showHelpPopup = hover
                    }
                }
                .overlay {
                    if showHelpPopup {
                        helpPopup()
                    }
                }
        }
        .padding()
    }
}

extension ContentView {
    private func helpPopup() -> some View {
        GeometryReader { geometryProxy in
            let buttonWidth = geometryProxy.size.width
            let buttonHeight = geometryProxy.size.height

            Text("This is Button")

                // 2
                .fixedSize(horizontal: true, vertical: false)
                .padding(10)
                .background {
                    GeometryReader { geometryProxy in
                        let height = geometryProxy.size.height

                        RoundedCornerShape(
                            topLeftRadius: height / 8,
                            topRightRadius: height / 2,
                            bottomRightRadius: height / 2,
                            bottomLeftRadius: height / 2
                        )
                        .fill(.background)
                        .shadow(
                            color: .black.opacity(0.2),
                            radius: 10
                        )
                    }
                }

                // 1
                .offset(
                    x: buttonWidth - 2,
                    y: buttonHeight - 2
                )
        }
    }
}
おわりに
mac標準のヘルプUIは少し地味なので、今後自分のアプリに取り入れていきたいです。この記事が参考になったという方は、いいねとフォローしていただけると嬉しいです☺️

