はじめに
・Qiitaの記事を検索し、結果を表示するシンプルなアプリです。
・APIを叩いて結果を表示するものの中でも、簡単にできる方法の紹介です。
・一つの機能だけなのでViewControllerにベタ書きしてます。
・比較的初心者向けの記事になります。
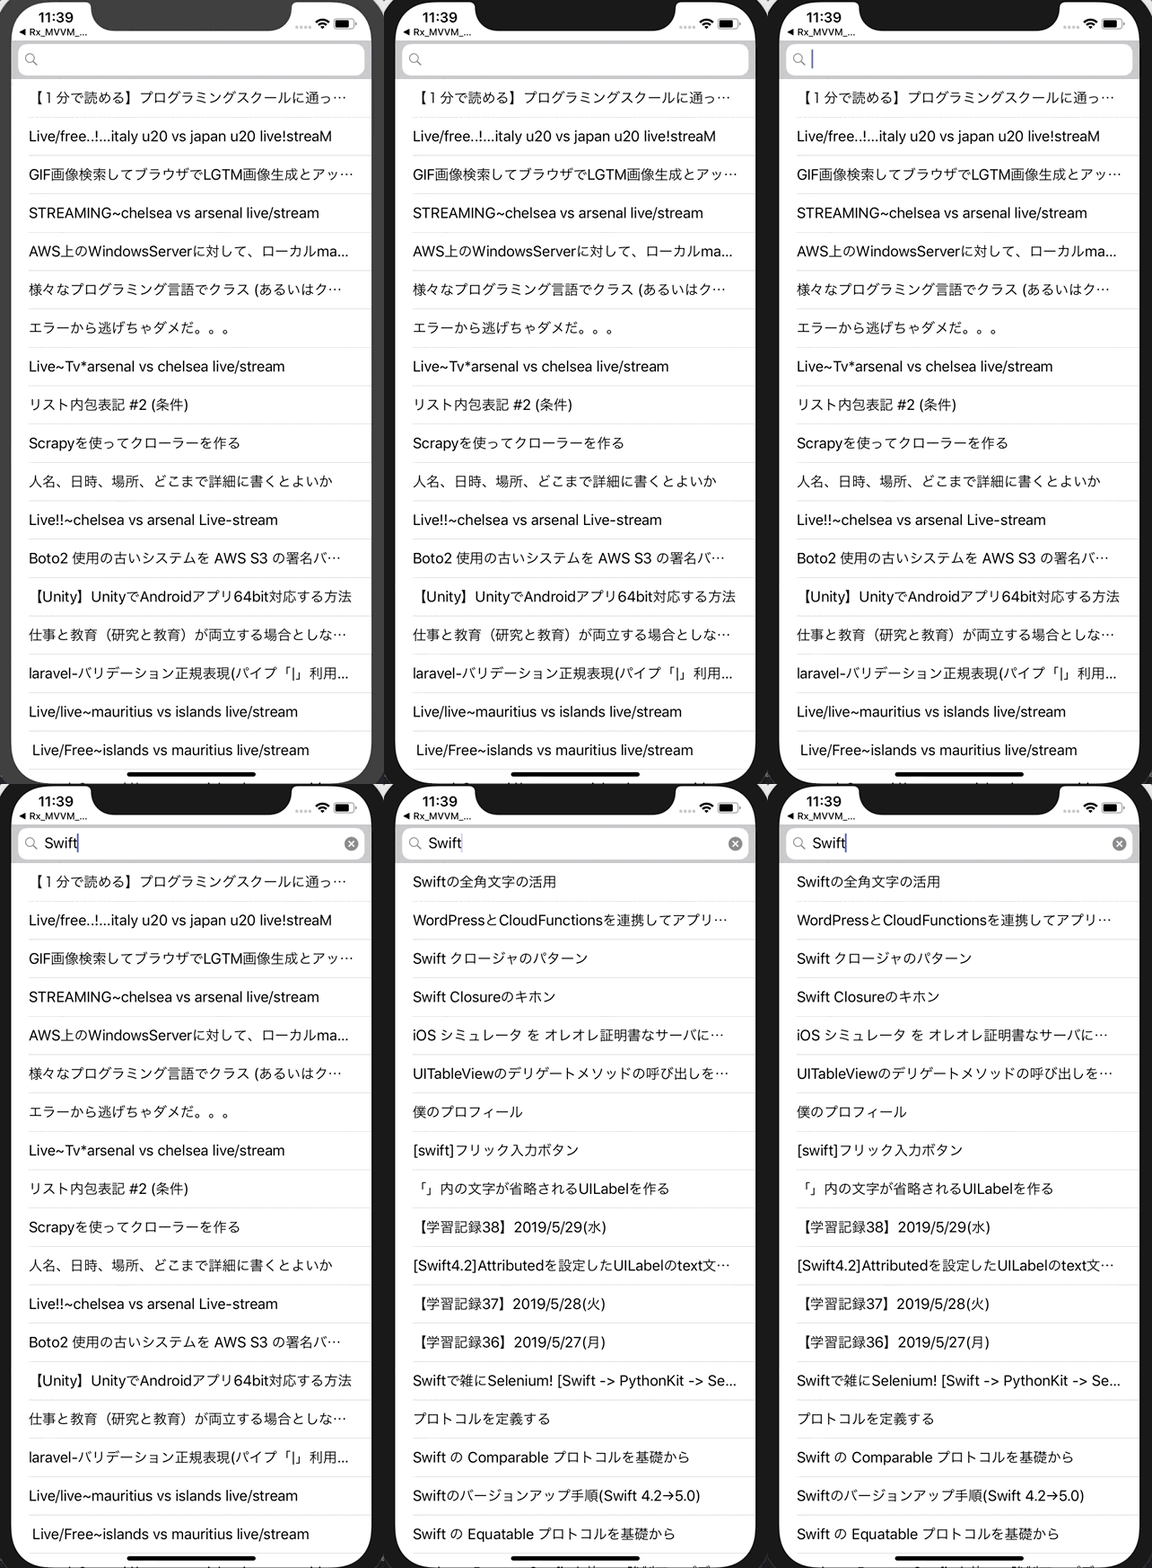
完成品
こんな感じでタグで検索をし、それに紐づくQiitaの記事のタイトルを表示します。
ライブラリのインストール
今回インストールするのはAlamofireとSwiftyJSONになります。
ライブラリの導入方法がわからない方はこちらがわかりやすいかと思います。
StoryBoard
デフォルトで置いてあるViewControllerを消して、TableViewControllerとその上にSearchBarを置きます。
cellのIdentifierの設定を忘れないようにして置きましょう。(今回は"Cell"にしました)

ViewController
import UIKit
import SwiftyJSON
import Alamofire


class TableViewController:UITableViewController,UISearchBarDelegate {

    @IBOutlet weak var searchBar: UISearchBar!

    var articles = [[String: AnyObject]]()
    let baseURL = "https://qiita.com/api/v2/items"


//    Get JSON
    func getArticleData(url: String) {

        Alamofire.request(url, method: .get)
            .responseJSON { response in
                if response.result.isSuccess {

                    print("Success! Got the data")
                    let articles : JSON = JSON(response.result.value!)
                        if let article = articles.arrayObject {
                            self.articles = article as! [[String: AnyObject]]
                            print(articles)
                    }
                } else {
                    print("Error: \(String(describing: response.result.error))")
                }

                if self.articles.count > 0 {
                    self.tableView?.reloadData()
                }
        }
    }
まず初めに今回使うライブラリのimportを忘れないように行います。
// Get JSONのところで、Alamofireを使ってQiitaのAPIからデータを取得しています。
//    Search function
    func searchBarSearchButtonClicked(_ searchBar: UISearchBar) {

       getArticleData(url: baseURL + "?page=1&query=tag%3A" + searchBar.text!)
       tableView.reloadData()
    }

    override func viewDidLoad() {
        super.viewDidLoad()
        getArticleData(url: baseURL)

}

}
今回はQiitaのタグで検索をかけるようにするため、
getArticleData(url: baseURL + "?page=1&query=tag%3A" + searchBar.text!)
という風にURLに付け加え、新たにJSONを取得するといった風にしています。
// Table cell settings

    extension TableViewController {
        override func tableView(_ tableView: UITableView, numberOfRowsInSection section: Int) -> Int {
                return articles.count
        }

        override func tableView(_ tableView: UITableView, cellForRowAt indexPath: IndexPath) -> UITableViewCell {
            let cell = tableView.dequeueReusableCell(withIdentifier: "Cell", for: indexPath)
            let articlePath = articles[indexPath.row]
            cell.textLabel?.text = articlePath["title"] as? String
            return cell
        }

    }
こちらおなじみのTable Cellの設定です。
以上です。
これだけでQiitaの検索が実装できます!
最後に
最後まで読んでくださりありがとうございました。
もしどなたかの為になれれば、幸いです!!
