Unity5でライティングをいじったときにどうなるのか調べてみました。
こちらの素晴らしいサイトに書いてあることを一通りやってみます。
http://indie-du.com/entry/2015/06/04/205556
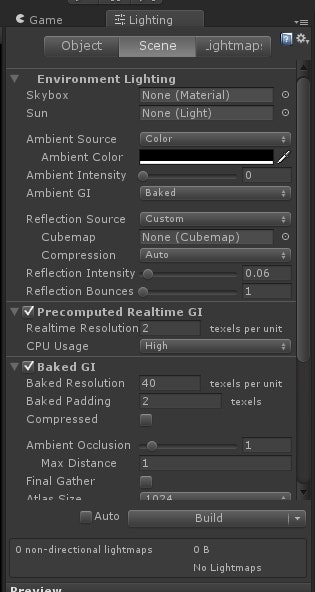
下準備
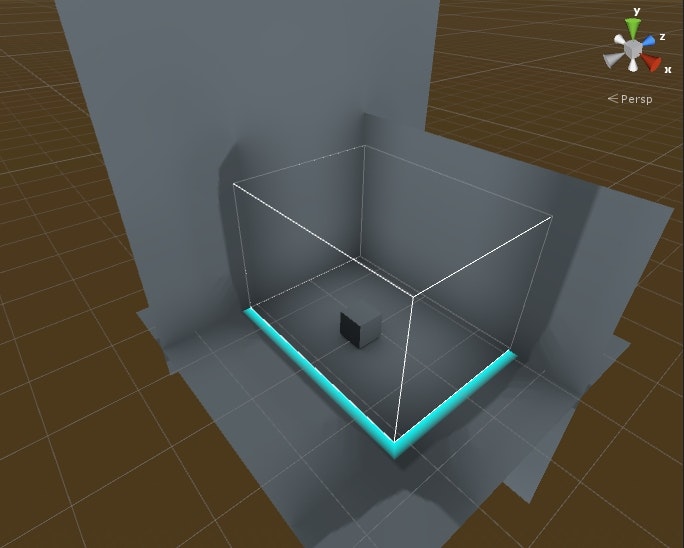
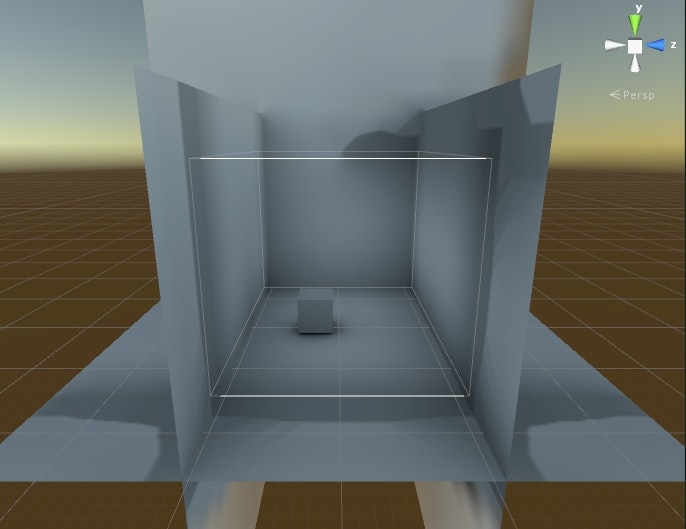
Planeでコーネルボックス(密室)を作り、部屋を真っ暗にする。(PlaneはStaticに!)
Directional Lightも削除しておく。
Ambient Sourceについて
ライトを照らす前のベースとなる明るさとのこと
Skybox、Gradient、Colorから選べる。
GradientはGrade(グレード)とほぼ同じ意味らしい・・・?
Skyboxを試す
Ambient SourceをSkyboxにしてAmbient Intensity(環境光の明るさ)を0にしてビルド
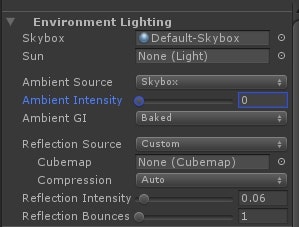
真っ暗しか映らない。

ライトマップのサイズは0MB=焼かれていない。
(ライトがないから)
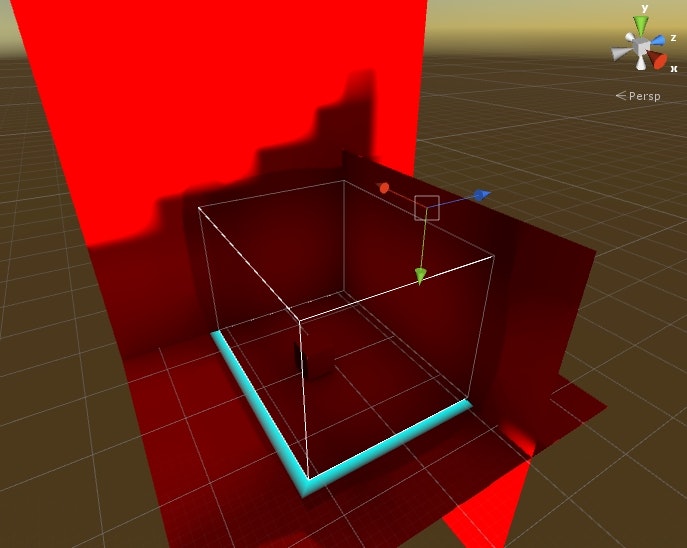
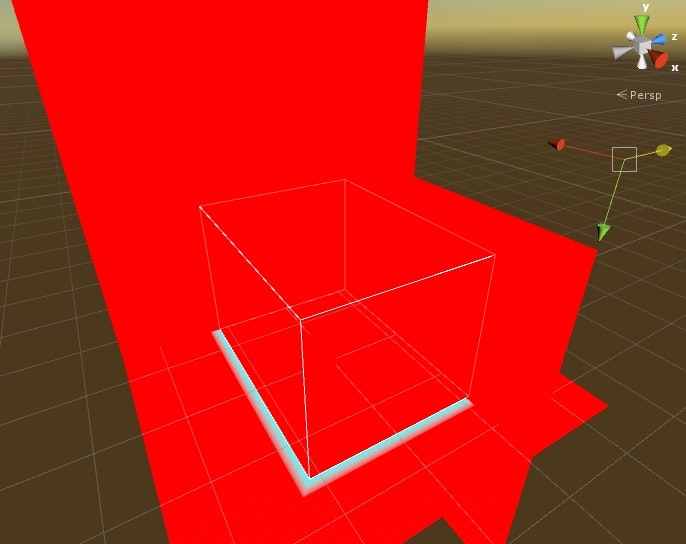
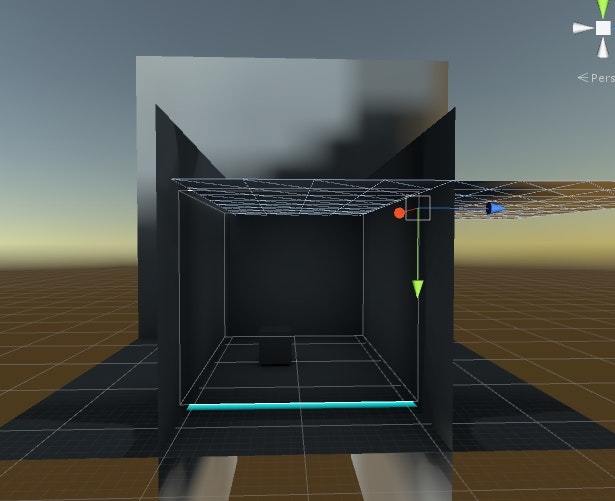
Ambient Intensityを4にしてみるとSceneViewで見ると一部明るくなっているが、密室の中は光が入っていない。
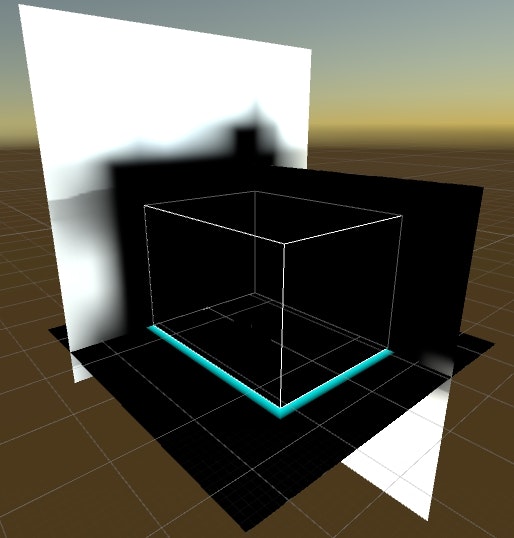
Skyboxの光は密室でも入ってくると思ったけど違うのか・・・
Directional Lightは密室でも光が入ってくる
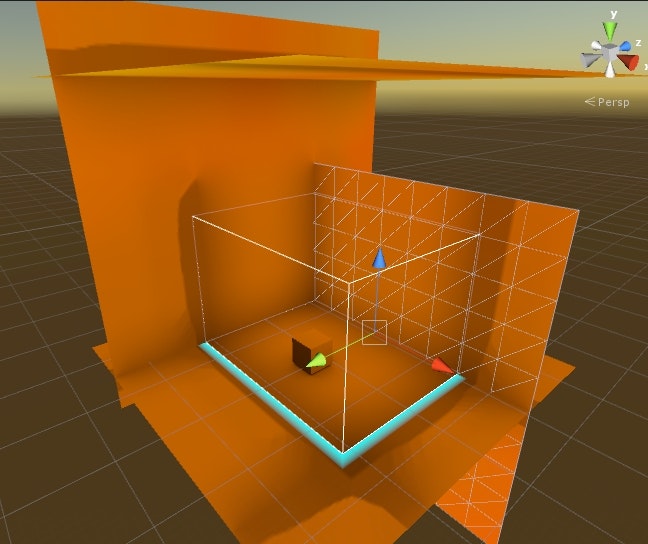
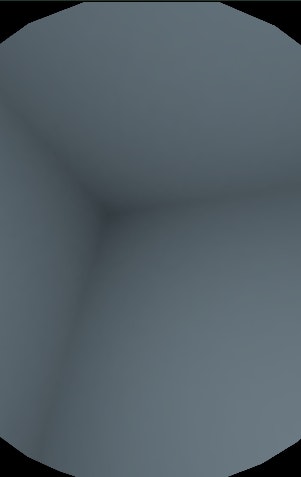
Colorを選択してAmbient Colorを真っ黒にすると次のようになる。

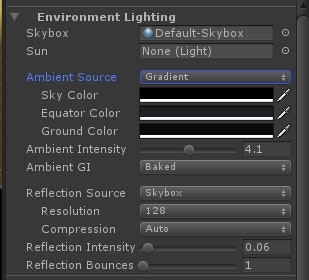
Gradientを試す
こちらによると
http://tsubakit1.hateblo.jp/entry/2015/08/30/234529
Unity5では標準設定では環境光(Ambient Light)はSkyboxから取得します。 もちろんAmbient SourceをColorに設定すれば過去の単色Ambient Lightが復活しますし、Gradientを設定すれば「空・中間・照り返し光」の3段階表現も設定できます。
なるほど、Gradientは空・中間・照り返し光を設定できるのね。
この状態でベイクしてみると、やっぱり真っ暗(そもそもSkyboxの光が室内に届いていない)

せっかくなので屋根をはがしてベイクしてみた。
割と丁寧に焼かれている感じがする。陰影もしっかりついてる。
Color値を変更してベイクしてみる
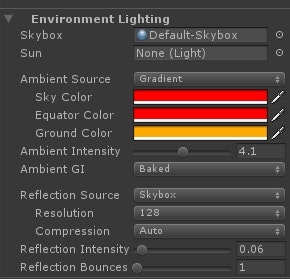
Grand Colorの影響が強いことがわかった。
今回はコーネルボックスを使ってライティングを確認したいので屋根はもとに戻しておく。
Colorを試す
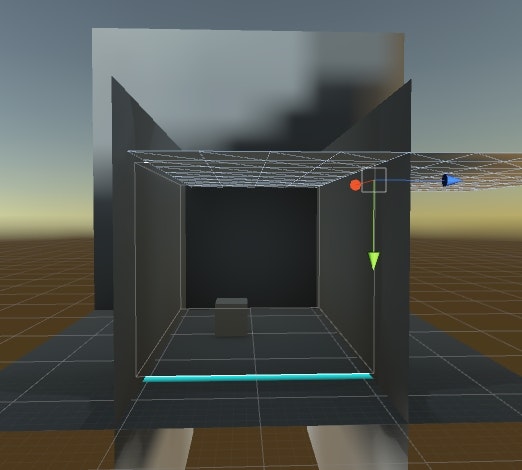
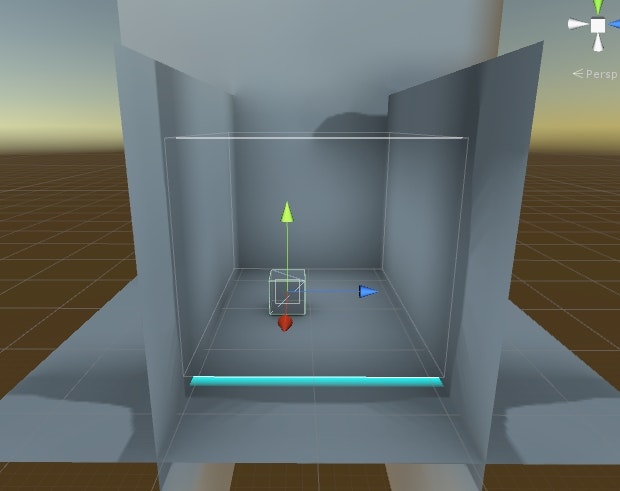
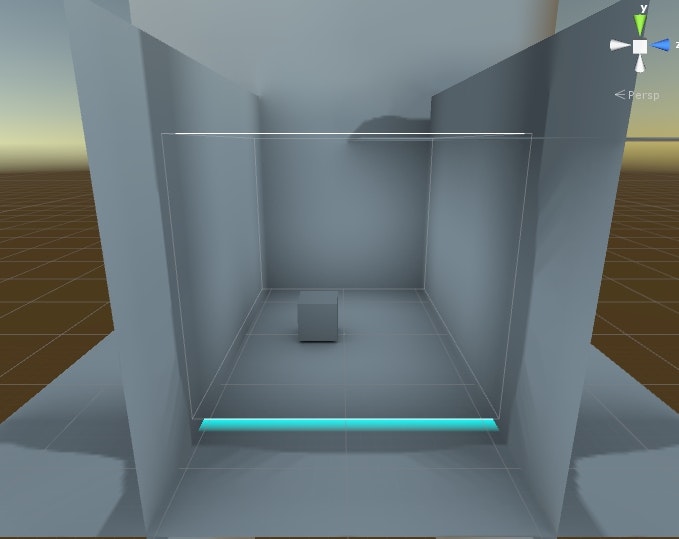
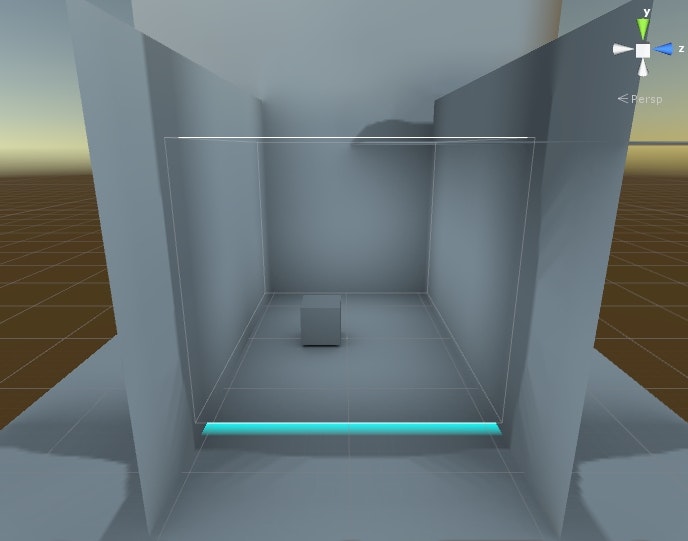
ColorもSkyboxと同じだった。密室だと光は届かず、少しでも隙間があると光が入ってくる。
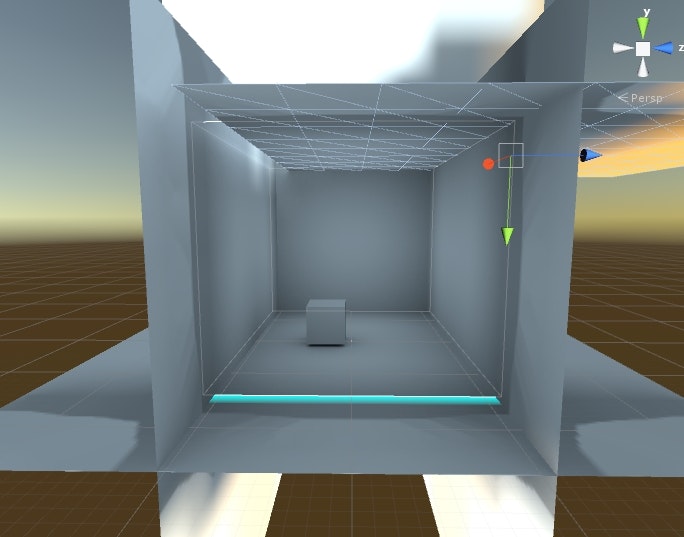
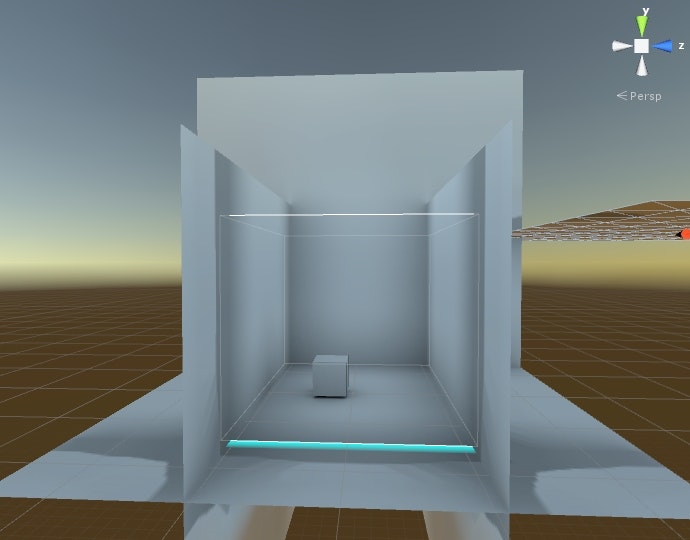
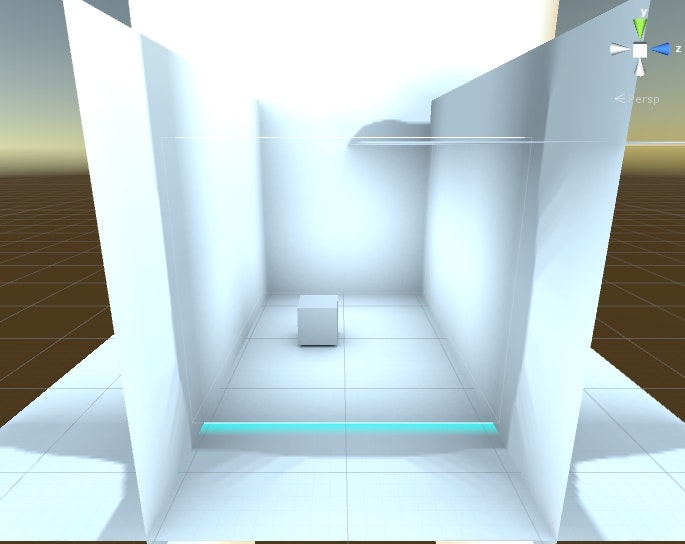
面白いと思ったのは、少しだけ隙間があるときと、全開の時でライティングの結果がかわることだ。
ちょっとしか隙間がないと、
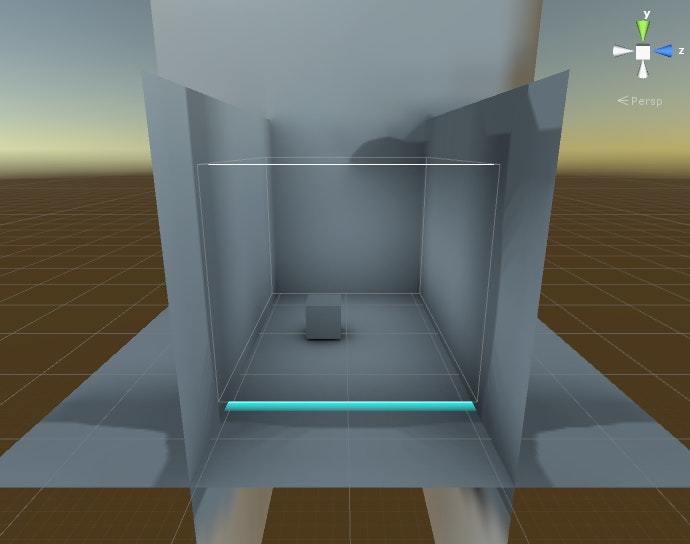
がっつり空いていると
こんなに変わるものなのか・・・
Skyboxでも同じ挙動だった。
ちょっとだけ隙間があると
がっつり空いていると
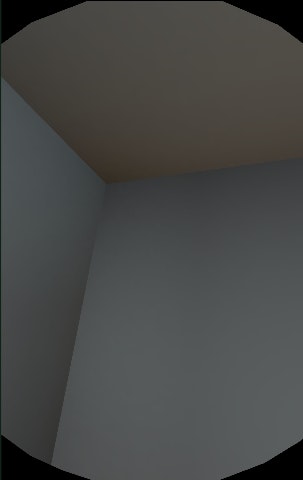
隙間がないと
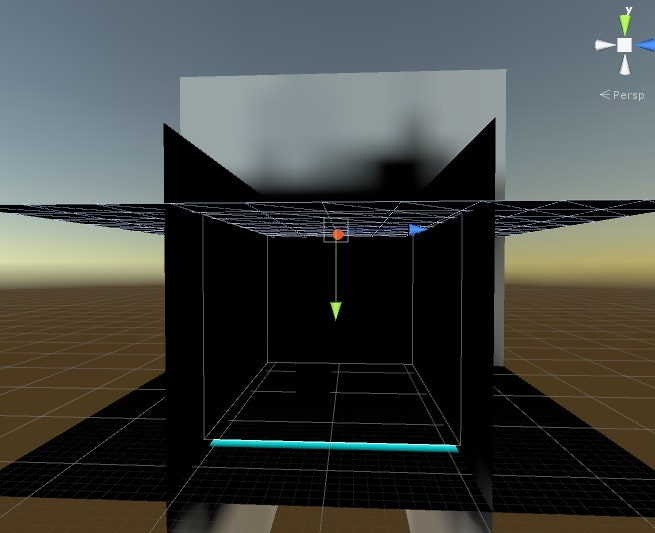
ちょっとずつ挙動が分かってきて楽しい :)
Reflection Sourceについて
反射で映り込むモノを指定できるとのこと
SkyboxかCubemapを選択できる
Skybox試してみる
Skyboxを選択すると、Resolution(解像度)とCompression(圧縮の有無)を設定するパラメータが出てくる。
やってみようと思ったけど、うまく反射を表現するオブジェクトが見つからず断念・・・。
もうちょい学習が進んだらやってみよっと
Custom試してみる
Customを選択すると、CubemapとCompressionを設定するパラメータが出てくる。
そもそもCubemapって何だろう。
ここによると
http://docs.unity3d.com/ja/current/Manual/class-Cubemap.html
キューブマップ(Cubemap)は、周囲の環境を反射して表す正方形テクスチャが六つ一組になったものです。 六つの正方形のそれぞれが、オブジェクトを囲む架空の立方体のそれぞれの面になります。 それぞれの面が、ワールド軸の各方向 (上・下・左・右・前・後)の景観を現します。
とのこと。
あれか、Skyboxに設定する6枚1セットのやつか。
Cubemapを持ってないので学習が進んだら続きをやってみるとしよう。
Reflection Intensity とReflection Bounces
Reflection Intensity(反射光の強さ)
Reflection Bounces(何回反射するか)
とのこと。
Reflection Intensityが初期値0.06
Reflection Bouncesが初期値1のとき
コーネルボックスに隙間を開けるとこうなる
Reflection Intensityが1
Reflection Bouncesが5のとき
コーネルボックスに隙間を開けるとこうなる
値が大きいと白っぽくなってる。
General GIについて
影のベイクに関する設定ができるとのこと。
Directional Mode(影の品質)
Indirect Intensity(高くすると影が薄くなる=より反射するようになる?初期値は1)
Bounce Boost(高くすると陰影が付きにくくなる?初期値は1)
ここ見るとわかるかも
http://www.slideshare.net/nyaakobayashi/unity08
初期値のままベイクしてみる
Indirect Intensity5
Bounce Boostを1
にしてベイク
なんか神々しくなったな
Indirect Intensity0
Bounce Boostを1
にしてベイク

Indirect Intensityが0だと真っ暗=反射が全くされず、すべてが影になる
のか
Indirect Intensity0.1
Bounce Boostを1
にしてベイク

Indirect Intensityを1
Bounce Boostを5
でベイク
Bounce Boost1の時とあまり変わらない・・・?
Indirect Intensityを1
Bounce Boostを10
でベイク
うーん、この構図だとBounce Boostの値を変えても違いがわからない。
もっとオブジェクトが密集しているとわかるのかも
Default Parameters試す
ライトマップデータを設定できるとのこと。
ライトマップデータは自作もできるし、プリセットを使うこともできる。
ライトマップデータはライトマップに関する細かいパラメータの集まり。
Default-VeryLowResolutionだとこれ
Default-HightResolutionだとこれ
LowとHighだと全然ちがう・・・
Lowだとパキっとしてて安っぽい感じ
Highはなめらかだ。
Precomputed Realtime GI
Precomputed・・・事前計算した結果を
Realtime・・・リアルタイムに
反映させるってことらしい