今回したこと
PyAVを使用して動画を1フレームずつ読み込み処理し,動画として保存します.以下のPyAVの公式サイトを参考に作成しました.
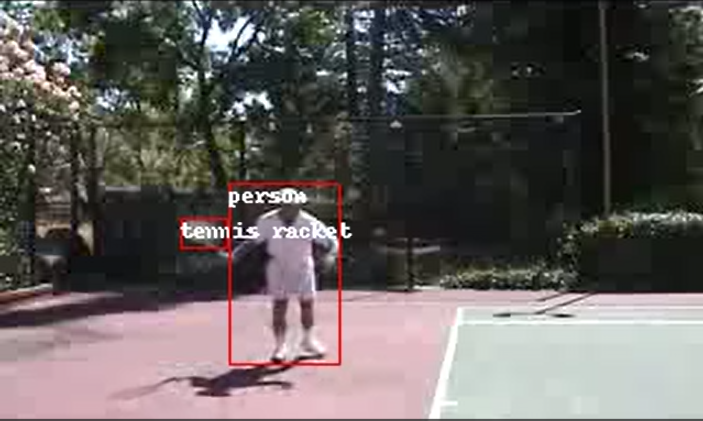
今回は動画データセットを1フレームごとに物体検出し,その結果を動画として可視化しました.
流れ
- 動画フォーマットの指定
- streamの指定
- 1フレームごとの処理
- 動画へ出力
必要なライブラリのインポート
import av
import numpy as np
streamの指定と作成動画のフォーマットの指定
読み込む動画と作成する動画のコンテナを作成します.
filename_out = './out.mp4'  # 作成するファイルのパス
filename_read = './read.mp4'  # 読み込むファイルのパス
container_out = av.open(filename_out, mode="w")
container_read = av.open(filename_read)
アクセスするstreamを指定します.streamにはvideoとaudioなどがあります.
videoでは大抵一つしかないため,0番目のstreamであるvideo[0]を使用します.
stream_read = container_read.streams.video[0]
次に作成する動画のフォーマットを指定します.
-
stream_read.codec_context.で読み込む動画のfpsとwidthとheightを取得し,stream_outの変数に代入します. -
stream_out.pix_fmtでピクセルのフォーマットを指定します.
fps = stream_read.codec_context.rate
stream_out = container_out.add_stream("mpeg4", rate=fps)
stream_out.width = stream_read.codec_context.width
stream_out.height = stream_read.codec_context.height
stream_out.pix_fmt = "yuv420p"
1フレームごとの処理と動画化
    for frame in container_read.decode(video=0):

        # PILへ変換
        img = frame.to_image()
        # detection
        detected_image = detection(img, processor, model)
        # 検出の進捗ログ出力
        print("%d/%d" % (frame.index + 1, stream.frames))

        # 動画化
        detected_image = np.array(detected_image)
        detected_image = av.VideoFrame.from_ndarray(detected_image, format="rgb24")
        for packet in stream_out.encode(detected_image):
            container_out.mux(packet)

    # Flush stream
    for packet in stream_out.encode():
        container_out.mux(packet)

    # Close the file
    container_read.close()
    container_out.close()
まずcontainer_read.decode(video=0)で1フレームごとに読み込みます.
以下のコードで1フレームごとの処理を行います.今回はPIL形式の画像と,読み込んだhuggingfaceのmodelとprocessorを引数にとり,物体検出してbounding boxを描写した画像detected_imageを返す自作の関数detectionを使用しました.
# PILへ変換
img = frame.to_image()
# detection
detected_image = detection(img, processor, model)
#検出の進度のログの出力
print("%d/%d" % (frame.index + 1, stream.frames))
av.VideoFrame.from_ndarray()で画像をビデオ用フレームに変換します.この関数に画像を渡す前に,画像をndarray形式に変換してください.
# ndarray形式の画像に変換
detected_image = np.array(detected_image)
# 画像をビデオ用のフレームに変換
detected_image = av.VideoFrame.from_ndarray(detected_image, format="rgb24")
 # 出力ストリームにまとめて出力
for packet in stream_out.encode(detected_image):
    container_out.mux(packet)
残ったフレームを出力します.
    # Flush stream
    for packet in stream_out.encode():
        container_out.mux(packet)
コンテナをクローズします.
container_read.close()
container_out.close()
