ConoHaにGitのレポジトリを作って、ローカルのPCからアクセスし、レポジトリにpushしたらWEBサイトの領域に反映させるという仕組みを構築します。
Git用アカウントの作成
gitのレポジトリにアクセスする為のアカウントを作り、SSHの設定をします。
# adduser -g apache git
# su git
\$ cd /home/git
\$ ssh-keygen
Generating public/private rsa key pair.
Enter file in which to save the key (/home/git/.ssh/id_rsa):
Created directory '/home/git/.ssh'.
Enter passphrase (empty for no passphrase):
Enter same passphrase again:
Your identification has been saved in /home/git/.ssh/id_rsa.
Your public key has been saved in /home/git/.ssh/id_rsa.pub.
The key fingerprint is:
The key's randomart image is:\$ cd .ssh
\$ mv id_rsa.pub authorized_keys
\$ chmod 600 authorized_keys
レポジトリを作成
gitのレポジトリを作成します。
\$ exit
# mkdir /var/repo.git
# cd /var/repo.git
# git --bare init --shared
# chown -R git.apache .
gitアカウントのSSHを有効にする
# vi /etc/ssh/sshd_config
#RSAAuthentication yes
#PubkeyAuthentication yes

# The default is to check both .ssh/authorized_keys and .ssh/authorized_keys2
# but this is overridden so installations will only check .ssh/authorized_keys
AuthorizedKeysFile      .ssh/authorized_keys
を
RSAAuthentication yes
PubkeyAuthentication yes

# The default is to check both .ssh/authorized_keys and .ssh/authorized_keys2
# but this is overridden so installations will only check .ssh/authorized_keys
AuthorizedKeysFile      .ssh/authorized_keys
に変更
# /usr/sbin/sshd -t
# service sshd restart
privateキーをダウンロード
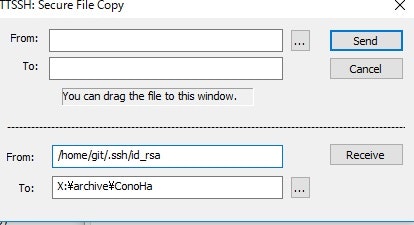
tera termのファイルメニューからSSC SCPを選択
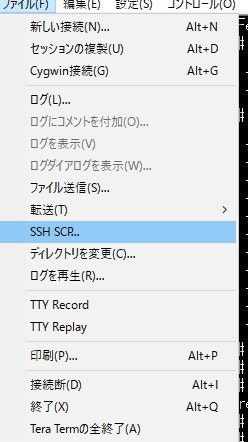
/home/git/.ssh/id_rsaをダウンロードします。
ダウンロードしたファイルをPC上で、puttyGenの形式に変換します。
puttyGenを起動し、「load」ボタンを押します。
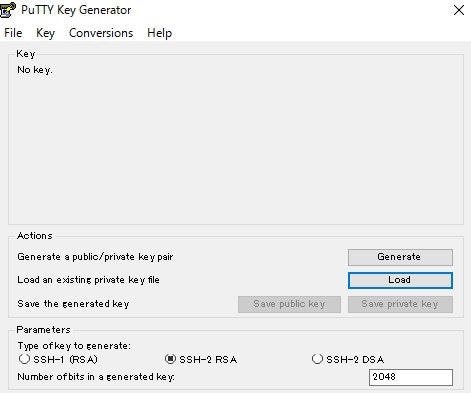
「save private key」ボタンをおしてプライベートキーファイルを保存します。
今回はid_rsa_hgit.ppkというファイルにしました。
キーを生成する時に指定したパスワードを入力します。

TotoiseGitでレポジトリにアクセスしてみる
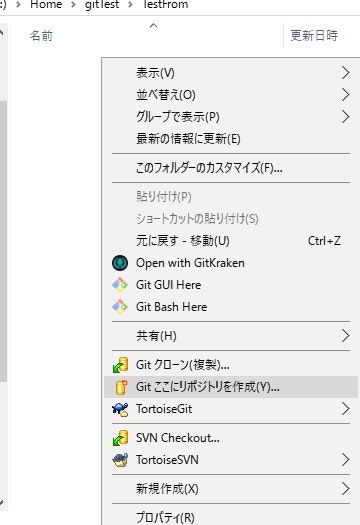
試してみるために、Windows PC上TestFromとTestToというフォルダを作成します

TestFromにレポジトリを作成します
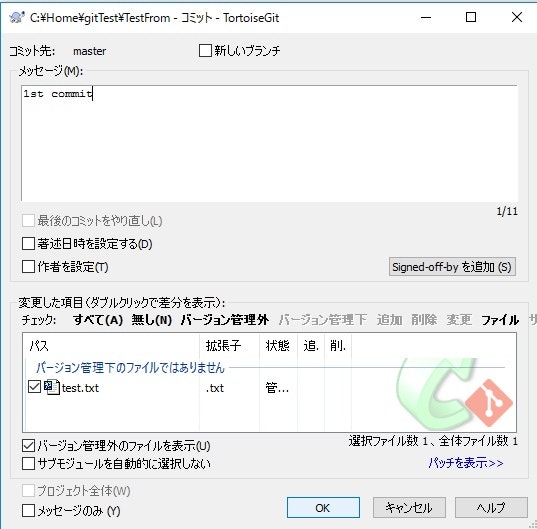
TestFromにテスト用のファイルを置き、コミットします。
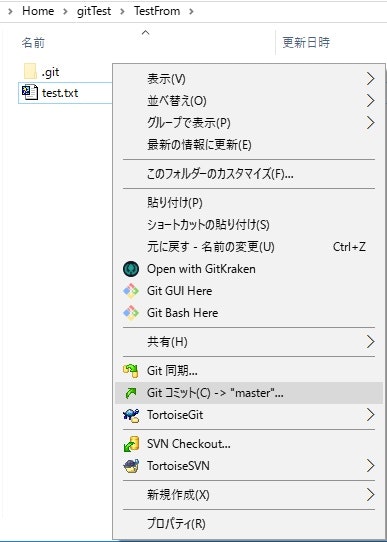
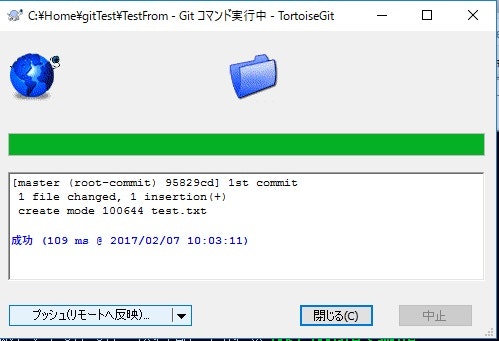
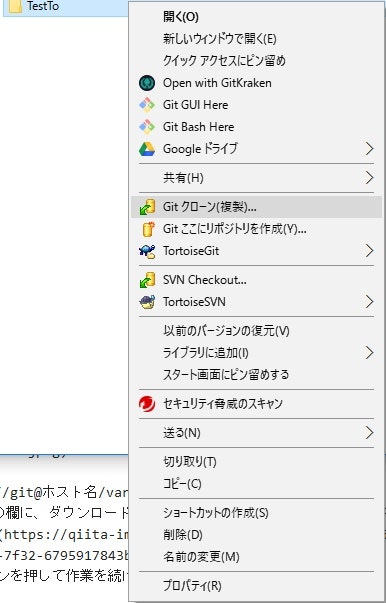
そのまま「プッシュ(リモートへ反映)」を選びホストへプッシュします。
「管理」ボタンを押します

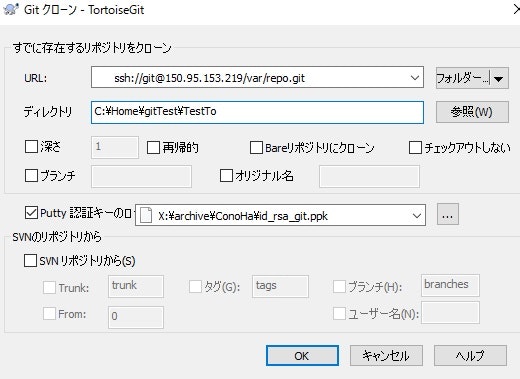
URLにssh://git@ホスト名/var/repo.gitを指定し、
Putty認証の欄に、ダウンロードして変換したプライベートキーファイルを指定します。
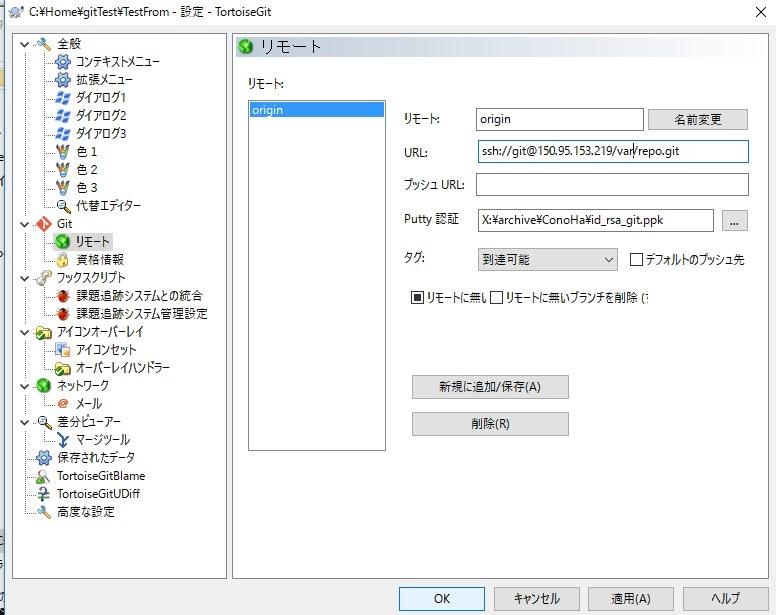
「OK」ボタンを押して作業を続けます。
パスフレーズを聞かれるので、キーを生成したときに指定したパスフレーズを入力します。
あとはプッシュされるので、正常に終わったら「閉じる」を押します。
正常にプッシュされたかどうかを確認するために、TestToフォルダーにクローンを作ります。
URLとディレクトリとPutty認証キーを指定します。
「OK」ボタンを押しTestFromのファイルを同じファイルが出来ていれば完了です。
(プッシュした時にpagentの警告が出たら、windowsの右下の隠れているインジケータからpagentを見つけてadd keyでキーを登録します
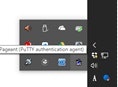
)
WEB用のディレクトリと連携させる
テストを始めるために、まずPC上にテスト用のデータを作成します
先程用意したTestFromフォルダにtestフォルダーを作り、下記の内容でindex.htmlファイルを作成します。
html:testFrom\test\index.html

<html>

<head>

<title>Hello world !</title>

</head>

<body>

Hello world !

</body>

</html>
このファイルをコミットしホストのレポジトリにプッシュしておきます。
ホストにアクセスします。
/var/www/htmlは、最初の状態では、所有権はrootになっているので、これをapacheに変更します。
また、apacheのグループで作成したgitアカウントのためにグループで書き込みが出来るようにします。
# cd /var/www/html
# chown -R apache:apache .
# chmod -R g+w .
アカウントをgitにかえて、ここにレポジトリのクローンを作ります
# su git
\$ git clone /var/repo.git .
/var/www/htmlの下にtest/index.htmlのファイルがある事を確認します。
また、ブラウザから
http://<ホスト名>/test
でアクセスし"hello world"が表示されている事を確認します。
確認出来たら、連携の作業を行います
\$ vi /var/repo.git/hooks/post-receive
#!/bin/sh
cd /var/www
git --git-dir=.git pull
\$ chmod +x /var/repo.git/hooks/post-receive
これで設定は完了。
PCでファイルを更新し、http://<ホスト名>/testにアクセスして、変更されたメッセージが表示出来ていたら完了です