この記事は,ご覧のモジュールの利用でお送りします.
import numpy as np
import nidaqmx as ni
from nidaqmx import constants
***
DAQから波形を出力したい.
それも,ちょっとした波形ではなく,1時間や2時間にもわたる,高サンプリングレートの波形だ.
fs = 800000        # サンプルレート 800 kHz
dur = 3600         # 波形の時間長さ 3600 sec
n_samp = fs * dur  # 波形のサンプル数

def get_wav():
    t = np.linspace(0, dur, n_samp)  # 高サンプリングレート の
    wav = np.sin(2 * np.pi * t)      #  1 Hz sin波
    return wav
上記の波形をどう出力するか.
パッと思いつくのは,数時間分の波形をそのままtask.write()に渡すことである.
"""
ダメな例
"""

wf = get_wav()  # 高サンプリングレート 1Hz sin波 1時間分

with ni.Task() as task:
    task.ao_channels.add_ao_voltage_chan("Dev1/ao0")  # タスクにoutputチャンネル追加
    task.timing.cfg_samp_clk_timing(
        rate = fs,               # サンプリングレート
        samps_per_chan = n_samp  # サンプル数
    )
    task.write(get_wav(), auto_start=True) # 波形出力
    task.wait_until_done()                 # 待機
    task.stop()                            # 終了
しかし,なぜ気づかなかったのだろう.
高サンプリングレートの波形を数時間分もメモリに詰め込むと,メモリがパンクしてしまうのだ.
おかげでPCがフリーズしてしまった.
次に思いつくのは,波形をチャンクごとに生成しながら出力することである.
"""
get_wav()を,波形の一部(チャンク)を生成する関数 get_wav_chunk() に変更
"""

  fs = 800000        # サンプルレート 800 kHz
  dur = 3600         # 波形の時間長さ 3600 sec
  n_samp = fs * dur  # 波形のサンプル数

+ chunk_dur = 1                       # 波形を何秒で区切るか 1 sec
+ chunk_size = fs * chunk_dur         # チャンクサイズ
+ n_chunk = int(n_samp / chunk_size)  # チャンク数

- def get_wav():
-     t = np.linspace(0, dur, n_samp)  # 高サンプリングレート の
+ def get_wav_chunk(i: int):
+     start = i * chunk_dur
+     end = start + chunk_dur
+     t = np.arange(start, end, 1/fs)  # 1チャンク分の
      wav = np.sin(2 * np.pi * t)      #  1 Hz sin波
      return wav
task.write()をfor文で回せば,チャンクごとに波形が出力されるに違いない…!
"""
微妙な例
"""
- wf = get_wav()  # 高サンプリングレート 1Hz sin波
-
  with ni.Task() as task:
      task.ao_channels.add_ao_voltage_chan("Dev1/ao0")  # タスクにoutputチャンネル追加
      task.timing.cfg_samp_clk_timing(
          rate = fs,              # サンプリングレート
-         samps_per_chan = n_samp # サンプル数
+         samps_per_chan = chunk_size # 1チャンクのサンプル数
      )
-     task.write(get_wav(), auto_start=True)    # 波形出力
-     task.wait_unitl_done()                    # 待機
-     task.stop()                               # 終了
+     for i_chunk in range(n_chunk):
+         chunk = get_wav_chunk(i_chunk)
+         chunk *= 1 + i_chunk % 2            # 偶数チャンクは振幅を2Vに
+         task.write(chunk, auto_start=True)  # 波形出力
+         task.wait_until_done()              # 待機
+         task.stop()                         # 終了
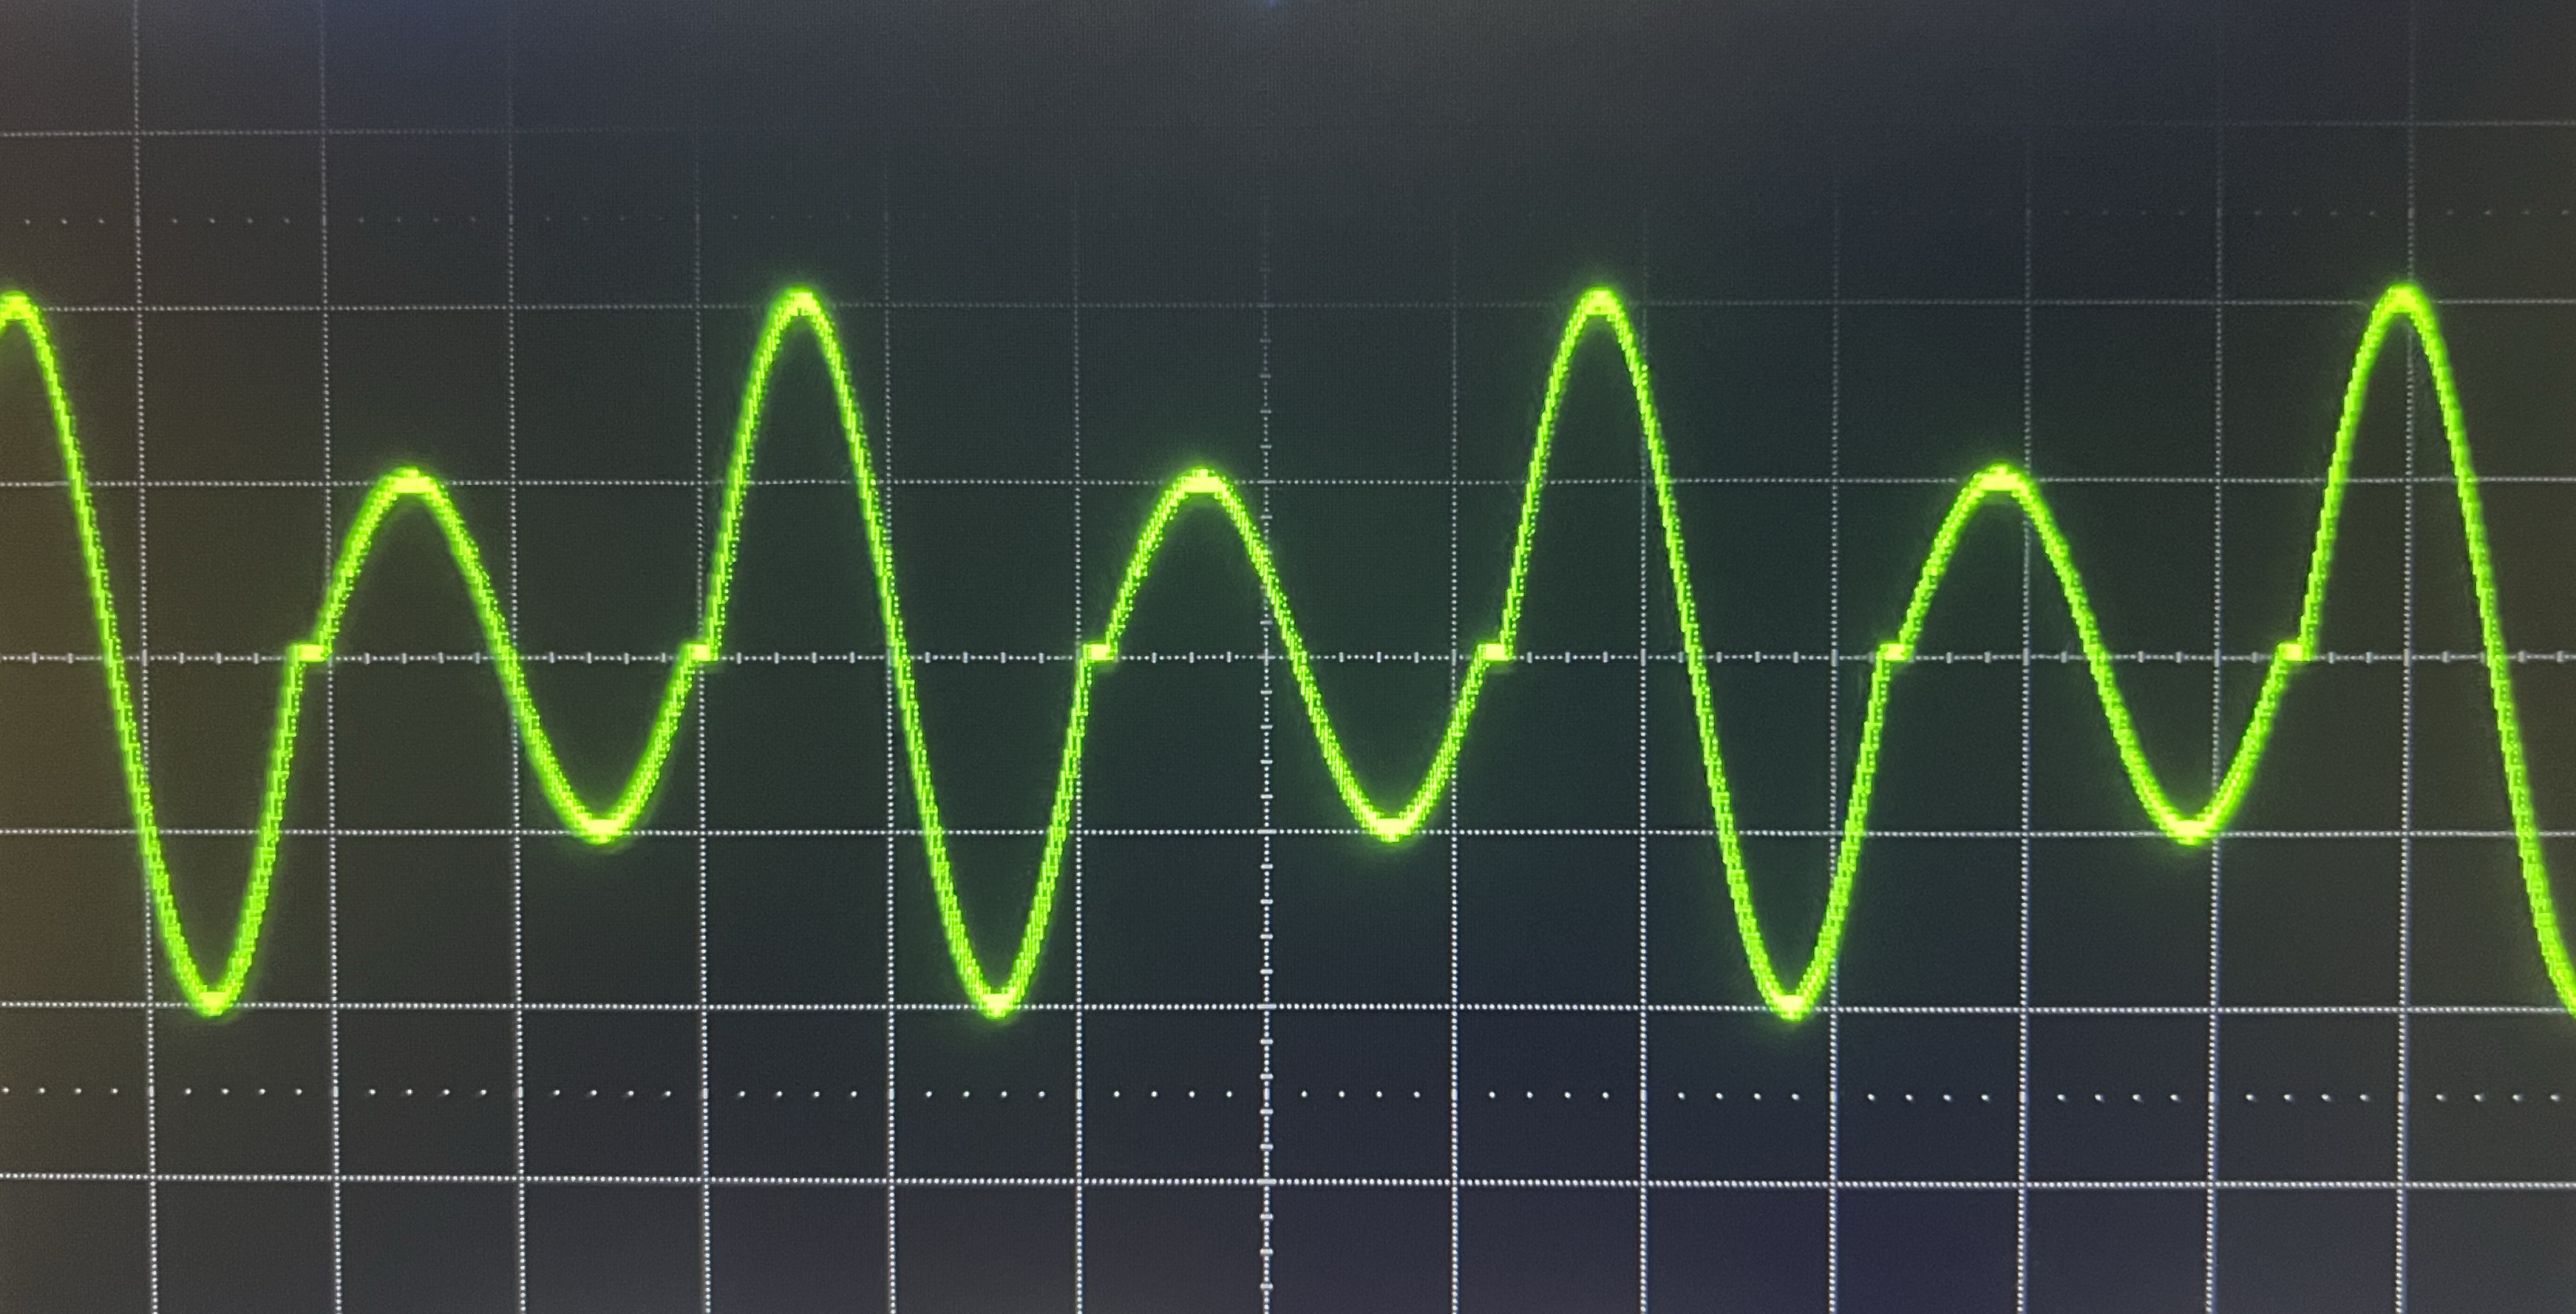
これはきた…と思いきや,波形は途切れ途切れになってしまった.

どうやら,タスクを繰り返しstartしたりstopしたりしているのが原因らしい.
ならば,バッファをうまく使えば…
  with ni.Task() as task:
      task.ao_channels.add_ao_voltage_chan("Dev1/ao0")  # タスクにoutputチャンネル追加
      task.timing.cfg_samp_clk_timing(
          rate = fs,              # サンプリングレート
-         samps_per_chan = chunk_size # 1チャンクのサンプル数
+         samps_per_chan = n_samp # 全体のサンプル数
      )
+     task.out_stream.output_buf_size = chunk_size * 2  # バッファサイズをチャンク数の2倍に
+     task.out_stream.regen_mode = constants.RegenerationMode.DONT_ALLOW_REGENERATION  # 波形の再生成を禁止
      for i_chunk in range(n_chunk):
          chunk = get_wav_chunk(i_chunk)
          chunk *= 1 + i_chunk % 2            # 偶数チャンクは振幅を2Vに
          task.write(chunk, auto_start=True)  # 波形出力
-         task.wait_until_done()              # 待機
-         task.stop()                         # 終了
+     task.wait_until_done()  # 待機
+     task.stop()             # 終了
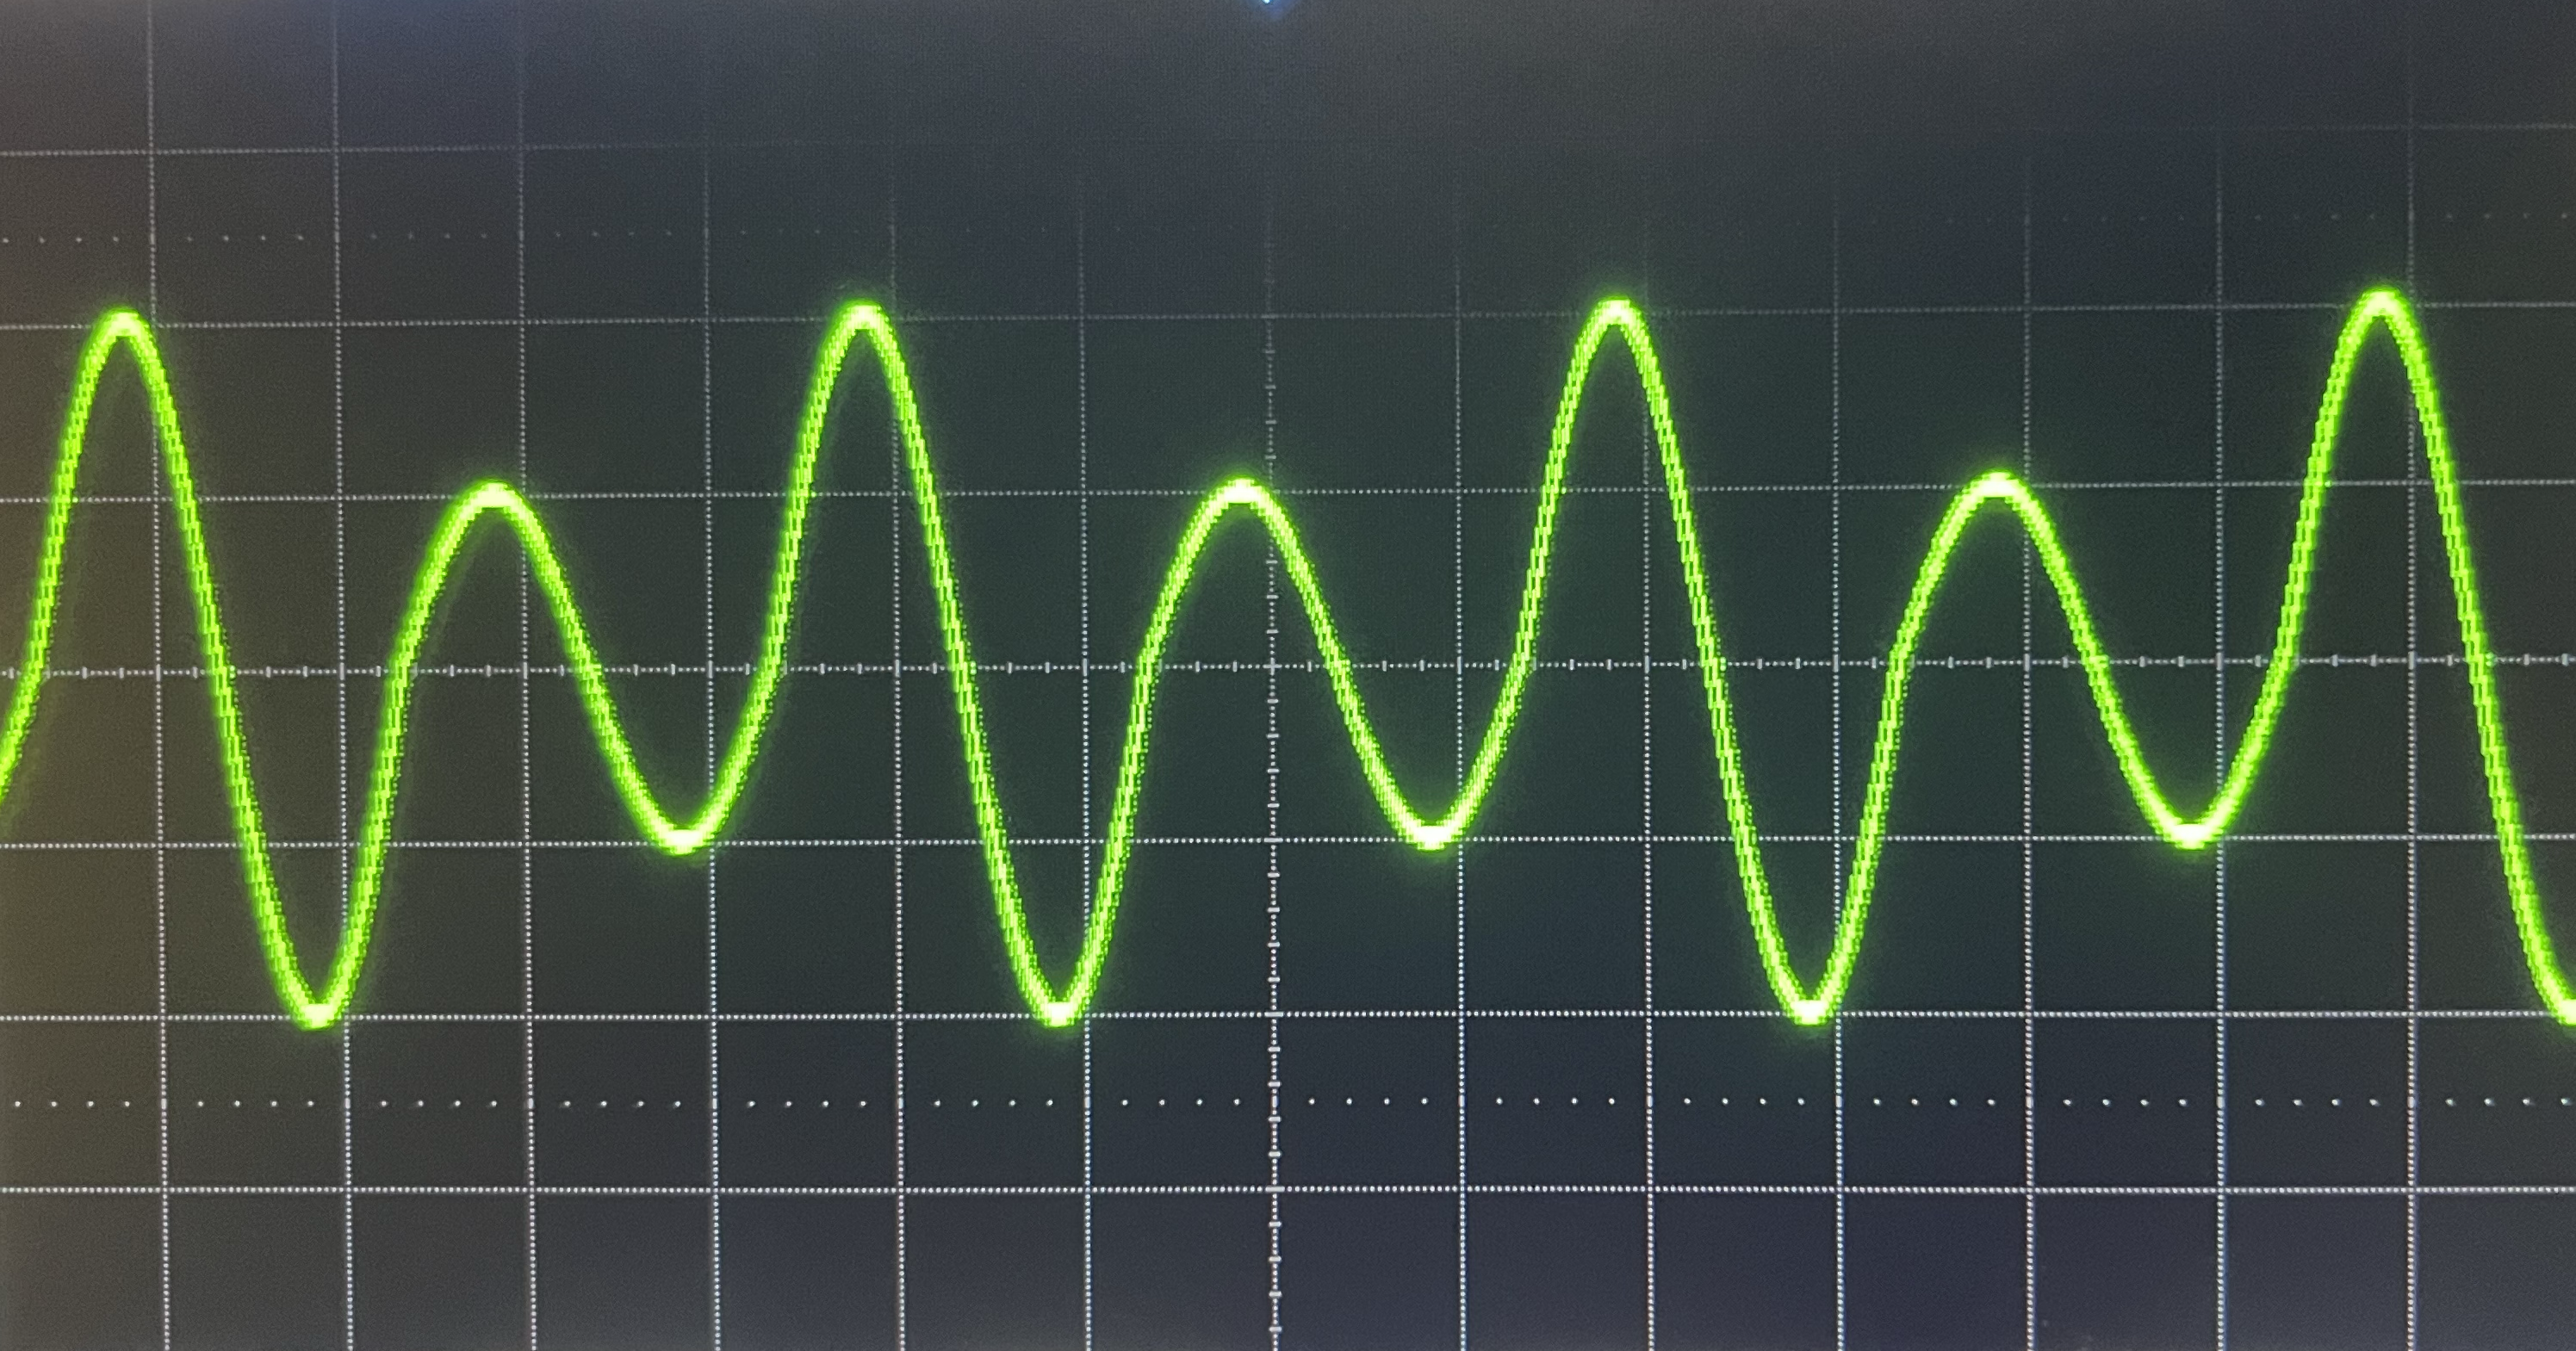
こうすれば,波形を生成している間に,バッファの空きスペースに次のチャンクの波形を書き込める.
ご覧の通り,滑らかな波形を生成できた.

美しい!
***
この記事は,ご覧のコードの提供でお送りしました.
import numpy as np
import nidaqmx as ni
from nidaqmx import constants

fs = 800000          # サンプルレート 800 kHz
dur = 3600           # 波形の時間長さ 3600 sec
n_samp = fs * dur    # 波形のサンプル数

chunk_dur = 1                       # 波形を何秒で区切るか 2 sec
chunk_size = fs * chunk_dur        # チャンクサイズ
n_chunk = int(n_samp / chunk_size)  # チャンク数

def get_wav_chunk(i: int):
    start = i * chunk_dur
    end = start + chunk_dur
    t = np.arange(start, end, 1/fs)  # 1チャンク分の
    wav = np.sin(2 * np.pi * t)      #  1 Hz sin波
    return wav

with ni.Task() as task:
    task.ao_channels.add_ao_voltage_chan("Dev1/ao0")  # タスクにoutputチャンネル追加
    task.timing.cfg_samp_clk_timing(
        rate = fs,              # サンプリングレート
        samps_per_chan = n_samp # 全体のサンプル数
    )
    task.out_stream.output_buf_size = chunk_size * 2 # バッファサイズをチャンク数の2倍に
    task.out_stream.regen_mode = constants.RegenerationMode.DONT_ALLOW_REGENERATION # 波形の再生成を禁止
    for i_chunk in range(n_chunk):
        chunk = get_wav_chunk(i_chunk)
        chunk *= 1 + i_chunk % 2            # 偶数チャンクは振幅を2Vに
        task.write(chunk, auto_start=True)  # 波形出力
    task.wait_until_done()              # 待機
    task.stop()                         # 終了
終
制作・著作
━━━━━
SHijiMi