目次
- 前提確認
- 音源再生の処理
- 音源を繰り返し再生する処理
- 最終的なコード
- まとめ
前提確認
MacOS Catalina 10.15.4
Xcode 12.1
Swift version 5
お急きの方はサンプルコードをどうぞ。
音源再生の処理
とりあえず音源をただ再生するだけのコードを書いてみましょう。
音源を再生するにはAVAudioPlayerクラスのインスタンスに、再生するファイルのURL(ファイルがどこにあるか)を初期値として渡す必要があります。
URLと言っても、ファイル名と拡張子(mp3とか)をBundle.main.urlに渡せば勝手に特定してくれます。
ちなみに、Bundleとは色んなリソース(音源とか画像とか)を保存している領域のことです。
最後にインスタンメソッドのplay()を実行すれば、音源ファイルが再生されます。
一つ一つ見ていきましょう。
まずはAVFoundationをimportします。
AVFoundationとは音声や画像、動画を制御するためのフレームワークです。
import AVFoundation
次にAVAudioPlayerクラスのインスタンスを宣言します。
import AVFoundation

class SoundPlayer {
    var audioPlayer: AVAudioPlayer! //AVAudioPlayerクラスのインスタンス、この時点では初期化しない
}
次にメソッドを用意し、Bundle.main.urlに音源のファイル名と拡張子を与えてURLを特定させます。
import AVFoundation

class SoundPlayer {
    var audioPlayer: AVAudioPlayer!

    func playSound(fileName: String, extentionName: String) {

        let soundURL = Bundle.main.url(forResource: fileName, withExtension: extentionName) //引数としてファイル名と拡張子与えて、Bundle内でURLを特定

     }

 }
最初に宣言したAVAudioPlayerクラスのインスタンスにURLを渡し、play()メソッドを実行します。
ただし、URLを渡す処理はErrorが発生し得るとため、実行するにはdo構文を使う必要があります。(do構文についてはこちらの記事を参照)
import AVFoundation

class SoundPlayer {
    var audioPlayer: AVAudioPlayer!

    func playSound(fileName: String, extentionName: String) {

        let soundURL = Bundle.main.url(forResource: fileName, withExtension: extentionName)

        do {
            audioPlayer = try AVAudioPlayer(contentsOf: soundURL!) //URLを渡す
            audioPlayer?.play()
        } catch {
            print("error")
        }
    }
}
さて、これで音源を再生する処理は書けました。
とりあえずViewController内でこの処理を実行しましょう。
今回はルーレットの音源を再生することにします。
import UIKit
import AVFoundation

class ViewController: UIViewController {

    private var soundPlayer = SoundPlayer()

    @IBAction func playOneTime(_ sender: Any) {
        soundPlayer.playSound(fileName: "roulette", extentionName: "mp3")
     }
}

class SoundPlayer {
    var audioPlayer: AVAudioPlayer!

    func playSound(fileName: String, extentionName: String) {

        let soundURL = Bundle.main.url(forResource: fileName, withExtension: extentionName)

        do {
            audioPlayer = try AVAudioPlayer(contentsOf: soundURL!)
            audioPlayer?.play()
        } catch {
            print("error")
        }
    }
}
良ければ何か音声ファイルを用意して、ここまで上手くできたか確認してみてください。
上手くできていれば、本題の繰り返し再生の処理をを見てみましょう。
音源を繰り返し再生する処理
繰り返し再生する方法は、非常に簡単です。
実はAVAudioFoundationクラスにnumberOfLoopsというInt型のプロパティがあります。
このプロパティが正の数ならその回数分繰り返し、0なら繰り返さず、負の数なら繰り返し再生することができます。
ということで、負の数にしてあげればいいですね。
import AVFoundation

class SoundPlayer {
    var audioPlayer: AVAudioPlayer!

    func playSound(fileName: String, extentionName: String, isRepeat: Bool) { //isRepeatで繰り返すかどうか判断
        let soundURL = Bundle.main.url(forResource: fileName, withExtension: extentionName)

        do {
            audioPlayer = try AVAudioPlayer(contentsOf: soundURL!)
            if isRepeat { //isRepeatがtrueなら
                audioPlayer.numberOfLoops = -1 //numberOfLoopsを負の数にして繰り返し再生
                print("Sound is repeated")
            } else { //それ以外なら
                audioPlayer.numberOfLoops = 0 //numberOfLoopsを0にして繰り返さない
                print("Sound is played one time")
            }
            audioPlayer?.play()
        } catch {
            print("error")
        }
    }
}
最後におまけとして、繰り返し再生される音源をstop()で止める処理も追加します。
func stopSound() {
        audioPlayer.stop()
        print("Sound is stopped")
 }
最終的なコード
それではコードをまとめてみましょう。
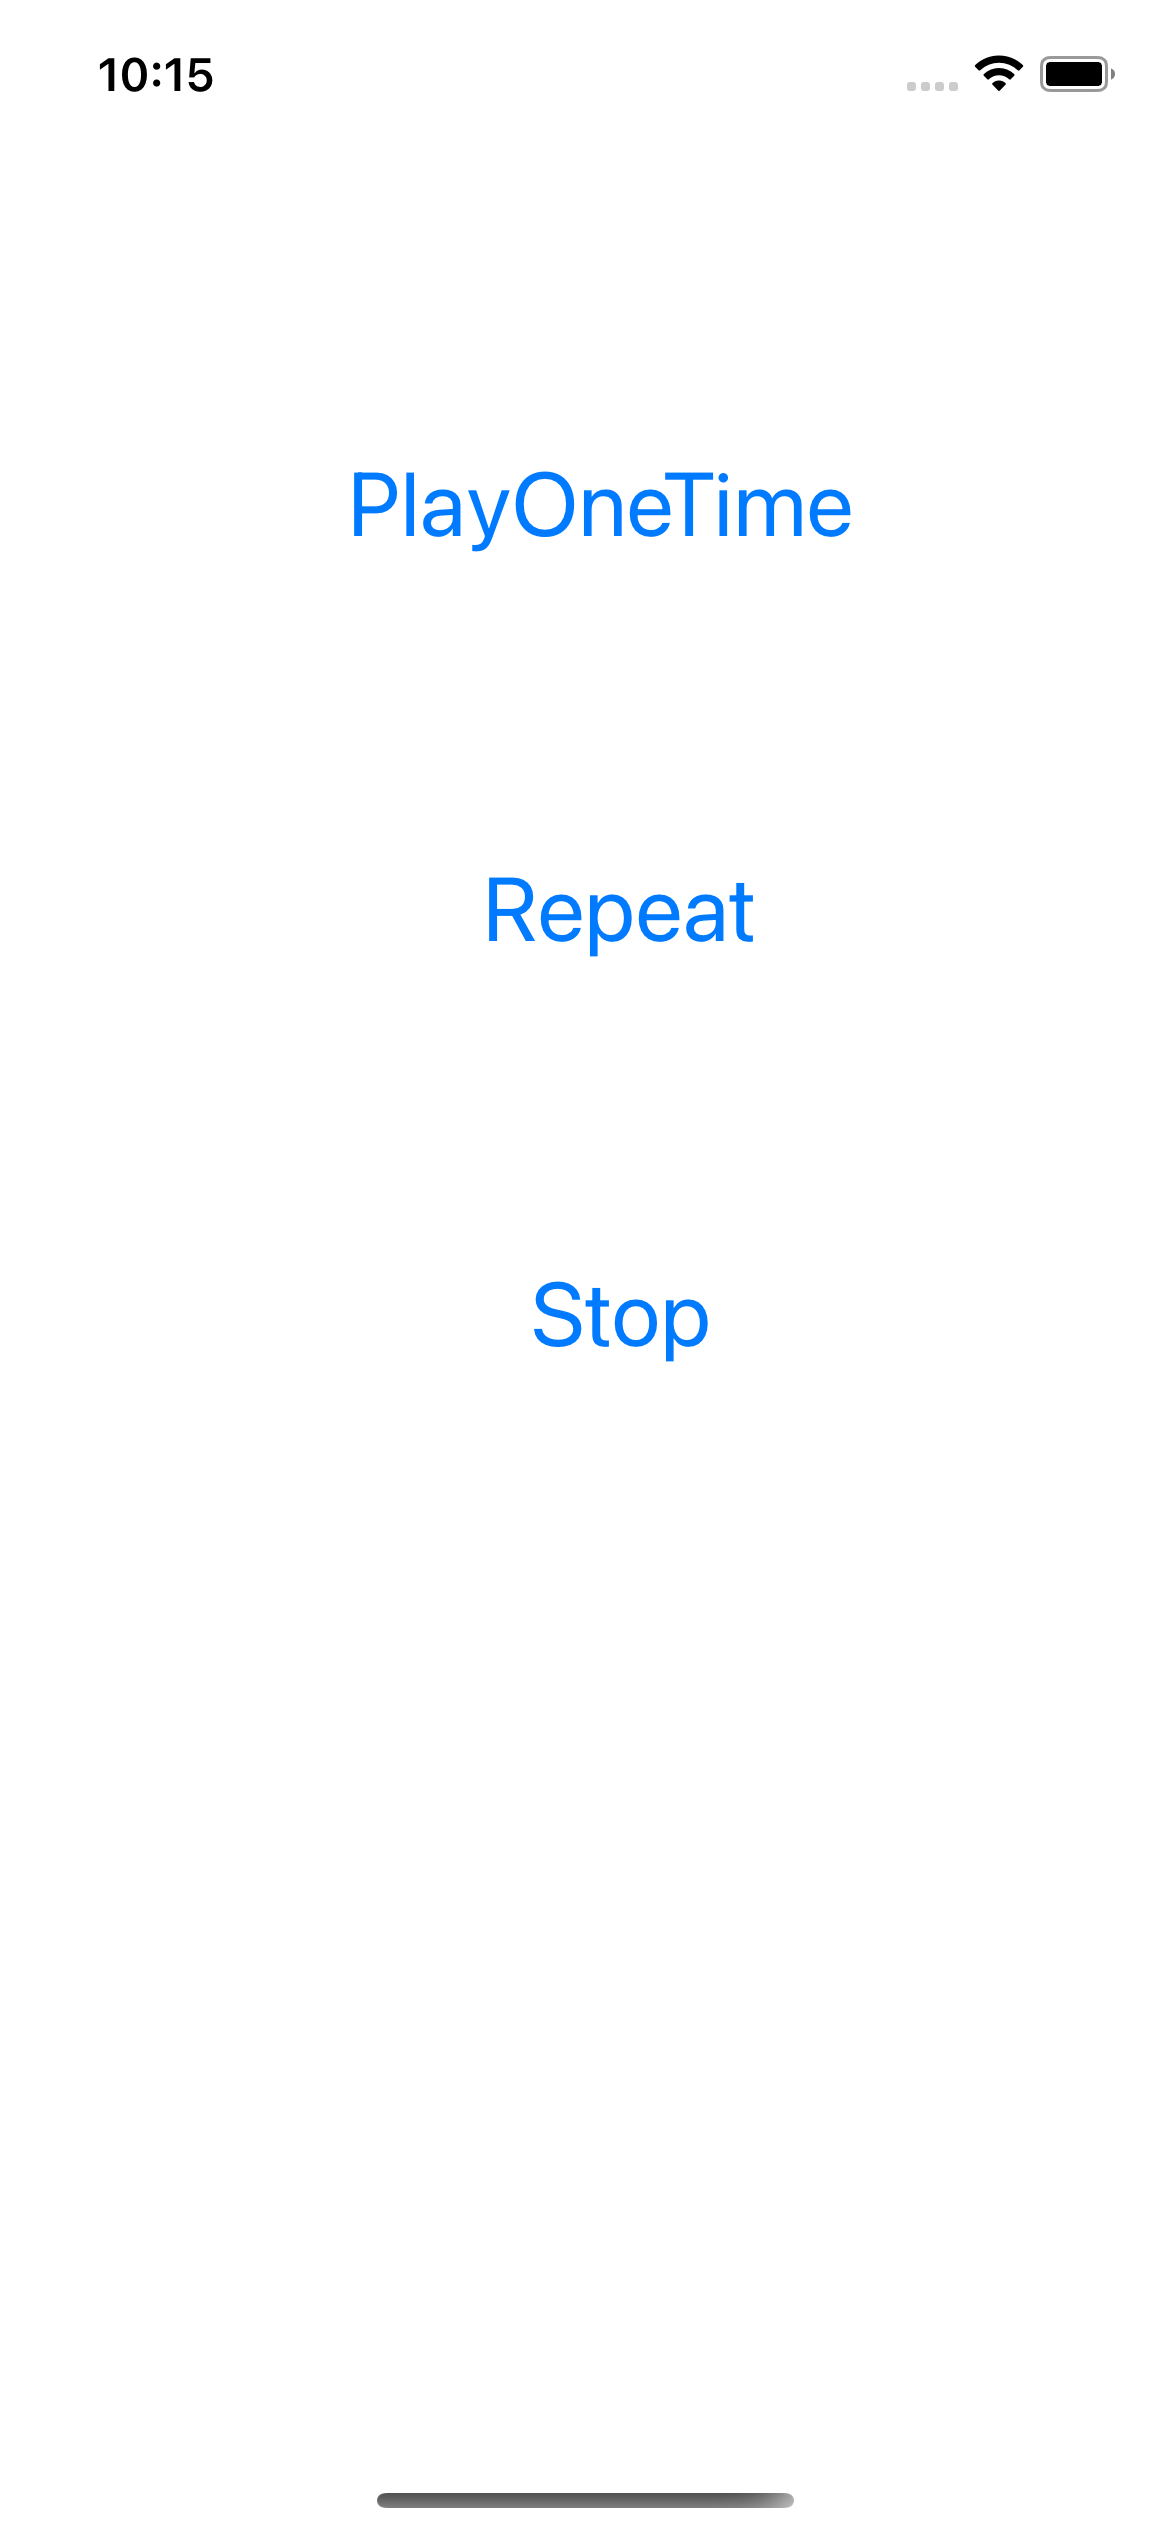
1度だけ再生する処理と繰り返し再生する処理、再生を停止する処理を実行するボタンを用意しました。
import UIKit
import AVFoundation

class ViewController: UIViewController {

    private var soundPlayer = SoundPlayer()

    @IBAction func playOneTime(_ sender: Any) {
        soundPlayer.playSound(fileName: "roulette", extentionName: "mp3", isRepeat: false) //1度だけ再生
        }

    @IBAction func repeatSound(_ sender: Any) {
        soundPlayer.playSound(fileName: "roulette", extentionName: "mp3", isRepeat: true) //繰り返し再生
    }

    @IBAction func stopSound(_ sender: Any) {
        soundPlayer.stopSound() //再生を停止
    }

}


class SoundPlayer {
    var audioPlayer: AVAudioPlayer!

    func playSound(fileName: String, extentionName: String, isRepeat: Bool) {
        let soundURL = Bundle.main.url(forResource: fileName, withExtension: extentionName)

        do {
            audioPlayer = try AVAudioPlayer(contentsOf: soundURL!)
            if isRepeat {
                audioPlayer.numberOfLoops = -1
                print("Sound is repeated")
            } else {
                audioPlayer.numberOfLoops = 0
                print("Sound is played one time")
            }
            audioPlayer?.play()
        } catch {
            print("error")
        }
    }

    func stopSound() {
        audioPlayer.stop()
        print("Sound is stopped")
    }
}
まとめ
いかがでしたでしょうか。意外とシンプルだったかと思います。
AVAudioPlayerについてのReferenceを読めば他にも色々できそうです。
是非音源に関する処理も使えるようになって、にぎやかなアプリを作ってみてください!