「Astro」について触れてみる
Astroについての記載が全くなかったので、自分なりに公式のページを見ての内容をまとめる。
今後も何か触れる機会があれば記述していきたい。
詳細については公式ページへ
※あくまでもベータ版とのこと
Astroとは
●特徴
- Javascriptのフレームワークを組み合わせることやHTML+Javascriptを組み合わせることができる
- ビルドしたページはhtmlに変換されるためJavascriptを使用しない
- オンデマンドコンポーネントのため、Javascriptが必要なページについてもアクセス時に読み込まれる
- TypescriptやCSS,CSS Modules,Sassなどのnpmパッケージをサポートしている
- SEO対応によりシンジケーションの手間が省ける
●個人的にいいなぁと思った点
- ReactやVueにも対応しているため、フレームワークからフレームワークへの技術移行が容易になる
- ポートフォリオを作成する際にReactもVueもかけますというアピールが一つのプロジェクトで行える
- HTMLのみになるため初期読み込みが高速になるよう(どれぐらい早いのかは不明)
- 様々なJavascriptに対応しているとプロジェクトへの入り口が広くなる
- コンポーネントは技術上位者が作成し、初心者はHTMLのみでページを作成するなど役割分担がしやすい
- snowpackを使用したモジュールバンドル
実際に触ってみる
●動作環境
- Macbook:Big Sur version11.4
- Node.js:v14.17.0
- npm:6.14.13
●構築
まずは公式ページに記載されている通りに実行する
今回は「qiitaAstro」のプロジェクト名で進めていく。
# create your project
>> mkdir SampleAstro
>> cd SampleAstro
>> npm init astro
npx: installed 11 in 2.21s

Welcome to Astro! (create-astro v0.5.0)
If you encounter a problem, visit https://github.com/snowpackjs/astro/issues to search or file a new issue.

> Prepare for liftoff.
> Gathering mission details...
? Which app template would you like to use? › - Use arrow-keys. Return to submit.
❯   Starter Kit (Generic)
    Blog
    Documentation
    Portfolio
[Starter Kit]を選択していく
? Which frameworks would you like to use? ›
Instructions:
    ↑/↓: Highlight option
    ←/→/[space]: Toggle selection
    a: Toggle all
    enter/return: Complete answer
◉   Preact
◉   React
◉   Svelte
◉   Vue
使うフレームワークは全てを選択するため、全て選択してEnterを押下
✔ Which frameworks would you like to use? › Preact, React, Svelte, Vue
> Copying project files...
✔ Done!

Next steps:
  1: npm install (or pnpm install, yarn, etc)
  2: git init && git add -A && git commit -m "Initial commit" (optional step)
  3: npm start (or pnpm, yarn, etc)

To close the dev server, hit Ctrl-C

Stuck? Visit us at https://astro.build/chat
必要なファイルが用意されたら[Next steps]に記載されている通りにコマンドを実行するのもよし。
今回はドキュメント通りに以下のコマンドを実行していく。
# install your dependencies
>> npm install
# start the dev server and open your browser
>> npm start
・・・(省略)・・・
[HH:MM:SS] [snowpack] Ready!
[dev server] Server started in 16197ms.
[dev server] Local: http://127.0.0.1:3000/
[HH:MM:SS] [snowpack] watching for file changes...
上記の指示通りにhttp://localhost:3000を開くと実行画面が表示される。
●フォルダ構成
上記で構築した場合のフォルダ構成になります。
├── node_modules
├── public
│   ├── assets
│   │   └── logo.svg
│   ├── favicon.svg
│   ├── robots.txt
│   └── style
│       ├── global.css
│       └── home.css
├── src
│   ├── components
│   │   ├── PreactCounter.jsx
│   │   ├── ReactCounter.jsx
│   │   ├── SvelteCounter.svelte
│   │   ├── Tour.astro
│   │   └── VueCounter.vue
│   └── pages
│       └── index.astro
├── .gitignore
├── .npmrc
├── astro.config.mjs
├── package-lock.json
├── package.json
└── README.md
●各コンポーネント
プロジェクトの準備時点で各フレームワークでのコンポーネントでのカウントアップが作成されているので見ていく
import { h } from 'preact';
import { useState } from 'preact/hooks';

export default function PreactCounter({ children }) {
  const [count, setCount] = useState(0);
  const add = () => setCount((i) => i + 1);
  const subtract = () => setCount((i) => i - 1);

  return (
    <div id="preact" class="counter">
      <button onClick={subtract}>-</button>
      <pre>{count}</pre>
      <button onClick={add}>+</button>
    </div>
  );
}
import React, { useState } from 'react';

export default function ReactCounter({ children }) {
  const [count, setCount] = useState(0);
  const add = () => setCount((i) => i + 1);
  const subtract = () => setCount((i) => i - 1);

  return (
    <div id="react" className="counter">
      <button onClick={subtract}>-</button>
      <pre>{count}</pre>
      <button onClick={add}>+</button>
    </div>
  );
}
<script>
  let count = 0;

  function add() {
    count += 1;
  }

  function subtract() {
    count -= 1;
  }
</script>

<div id="svelte" class="counter">
  <button on:click={subtract}>-</button>
  <pre>{ count }</pre>
  <button on:click={add}>+</button>
</div>
<template>
  <div id="vue" class="counter">
      <button @click="subtract()">-</button>
      <pre>{{ count }}</pre>
      <button @click="add()">+</button>
  </div>
</template>

<script>
import { ref } from 'vue';
export default {
  setup() {
    const count = ref(0)
    const add = () => count.value = count.value + 1;
    const subtract = () => count.value = count.value - 1;

    return {
      count,
      add,
      subtract
    }
  }
}
</script>
---
import { Markdown } from 'astro/components';
---
<article>
<div class="banner">
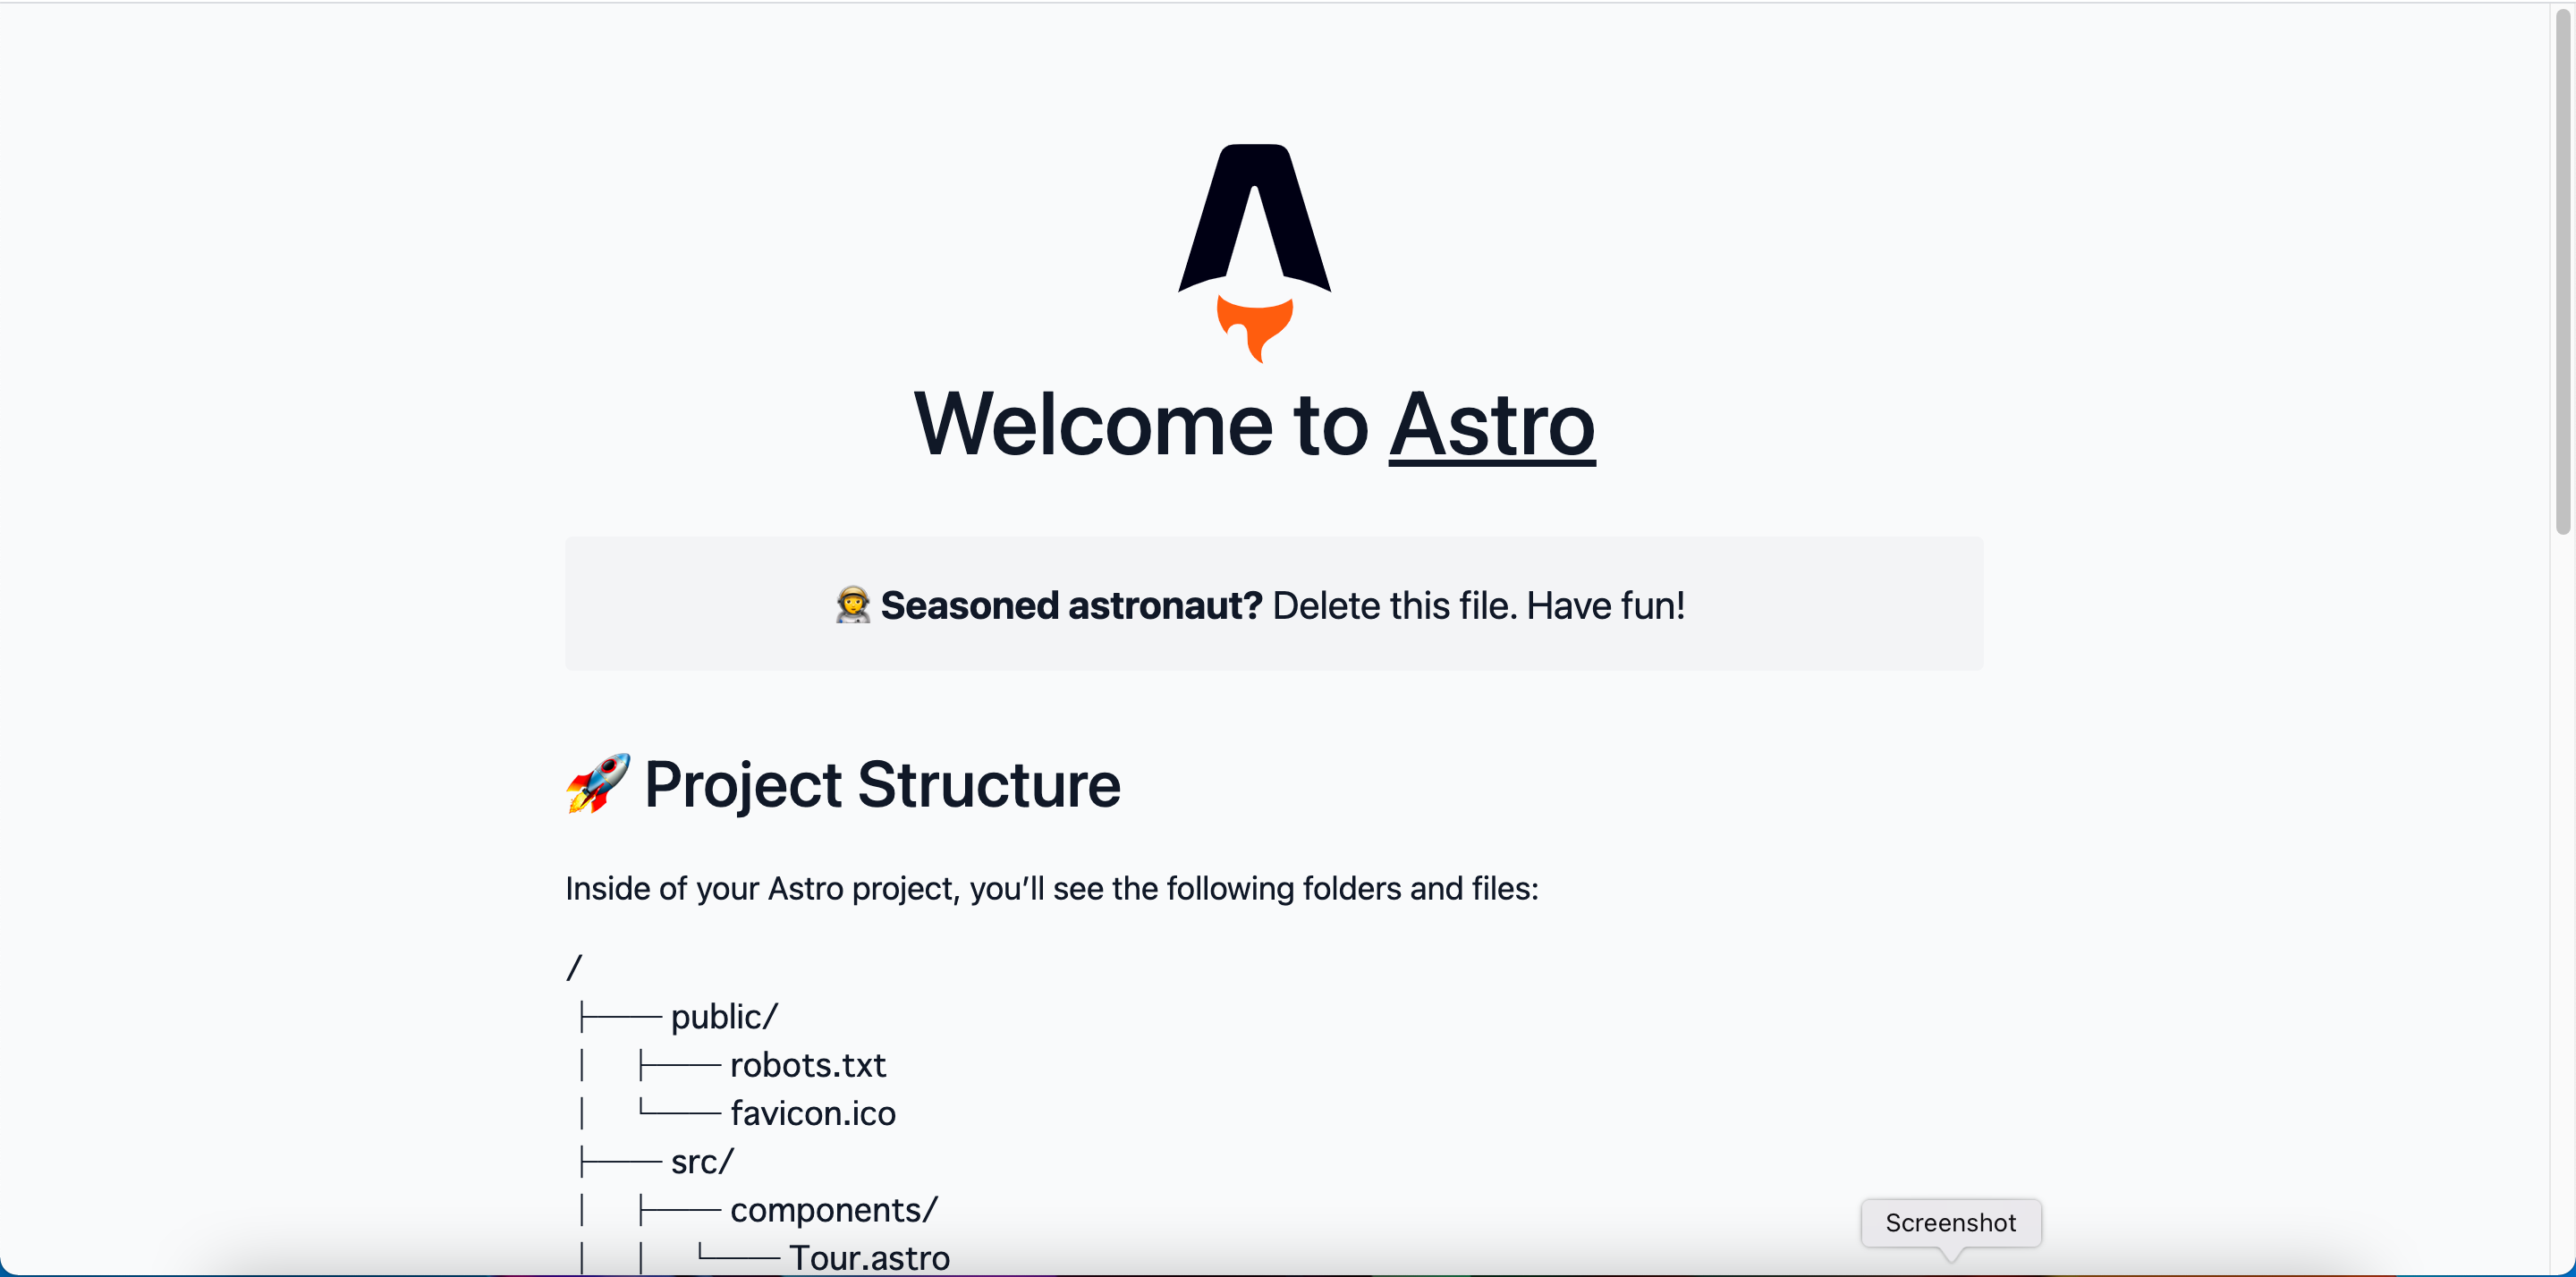
<p><strong>🧑🚀 Seasoned astronaut?</strong> Delete this file. Have fun!</p>
</div>
<section>
<Markdown>
## 🚀 Project Structure
Inside of your Astro project, you'll see the following folders and files:
```
/
├── public/
│ ├── robots.txt
│ └── favicon.ico
├── src/
│ ├── components/
│ │ └── Tour.astro
│ └── pages/
│ └── index.astro
└── package.json
```
Astro looks for `.astro` or `.md` files in the `src/pages/` directory.
Each page is exposed as a route based on its file name.
There's nothing special about `src/components/`, but that's where we like to put any Astro/React/Vue/Svelte/Preact components.
Any static assets, like images, can be placed in the `public/` directory.
</Markdown>
</section>
<section>
<h2>👀 Want to learn more?</h2>
<p>Feel free to check <a href="https://github.com/snowpackjs/astro">our documentation</a> or jump into our <a href="https://astro.build/chat">Discord server</a>.</p>
</section>
</article>
<style>
article {
padding-top: 2em;
line-height: 1.5;
}
section {
margin-top: 2em;
display: flex;
flex-direction: column;
gap: 1em;
max-width: 70ch;
}
.banner {
text-align: center;
font-size: 1.2rem;
background: var(--color-light);
padding: 1em 1.5em;
padding-left: 0.75em;
border-radius: 4px;
}
pre,
code {
font-family: var(--font-mono);
background: var(--color-light);
border-radius: 4px;
}
pre {
padding: 1em 1.5em;
}
.tree {
line-height: 1.2;
}
code:not(.tree) {
padding: 0.125em;
margin: 0 -0.125em;
}
</style>
●コンポーネントを使用したページについて
以下のファイルにてそれぞれのコンポーネントをインポートしてページを作成している
---
// Component Imports
import Tour from '../components/Tour.astro';
// You can import components from any supported Framework here!
import PreactCounter from '../components/PreactCounter.jsx';
import ReactCounter from '../components/ReactCounter.jsx';
import SvelteCounter from '../components/SvelteCounter.svelte';
import VueCounter from '../components/VueCounter.vue';

// Component Script:
// You can write any JavaScript/TypeScript that you'd like here.
// It will run during the build, but never in the browser.
// All variables are available to use in the HTML template below.
let title = 'My Astro Site';

// Full Astro Component Syntax:
// https://docs.astro.build/core-concepts/astro-components/
---
<html lang="en">
<head>
    <meta charset="UTF-8">
    <meta name="viewport" content="width=device-width, initial-scale=1">
    <title>{title}</title>
    <link rel="icon" type="image/svg+xml" href="/favicon.svg">
    <link rel="stylesheet" href="/style/global.css">
    <link rel="stylesheet" href="/style/home.css">

    <style>
        header {
            display: flex;
            flex-direction: column;
            gap: 1em;
            max-width: min(100%, 68ch);
        }
    </style>
</head>
<body>
    <main>
        <header>
            <div>
                <img width="60" height="80" src="/assets/logo.svg" alt="Astro logo">
                <h1>Welcome to <a href="https://astro.build/">Astro</a></h1>
            </div>
        </header>

        <Tour />

        <!--
           - You can also use imported framework components directly in your markup!
           -
           - Note: by default, these components are NOT interactive on the client.
           - The `:visible` directive tells Astro to make it interactive.
           -
           - See https://docs.astro.build/core-concepts/component-hydration/
           -->
        <PreactCounter client:visible />
        <ReactCounter client:visible />
        <SvelteCounter client:visible />
        <VueCounter client:visible />
    </main>
</body>
</html>
●レンダーする設定
以下のファイルにてAstroプロジェクトについての設定を保持している
下記の[renderes]に記載されているフレームワークについてレンダリングされるようです。
export default {
  // projectRoot: '.',     // Where to resolve all URLs relative to. Useful if you have a monorepo project.
  // pages: './src/pages', // Path to Astro components, pages, and data
  // dist: './dist',       // When running `astro build`, path to final static output
  // public: './public',   // A folder of static files Astro will copy to the root. Useful for favicons, images, and other files that don’t need processing.
  buildOptions: {
    // site: 'http://example.com',           // Your public domain, e.g.: https://my-site.dev/. Used to generate sitemaps and canonical URLs.
    sitemap: true,         // Generate sitemap (set to "false" to disable)
  },
  devOptions: {
    // port: 3000,         // The port to run the dev server on.
    // tailwindConfig: '', // Path to tailwind.config.js if used, e.g. './tailwind.config.js'
  },
  renderers: [
    "@astrojs/renderer-preact",
    "@astrojs/renderer-react",
    "@astrojs/renderer-svelte",
    "@astrojs/renderer-vue"
  ],
};
感想について
個人開発ではとても良いかと思いました。
ポートフォリオを作る上でもReactが人気ですが、Vueの方がとっつきやすさはあると思うので、最初のうちはVueでいくつか作った後にReactにも挑戦をしたポートフォリオを作成することもできますし、snowpackの恩恵で開発時の待ち時間も減らせることでしょう。
まだまだ、ベータ版であり正式リリースについてはまだ先のようですが、これからの個人開発にはastroをしばらく使用しながら腕を磨いていきたいと思います。
そろそろ何かサービスを作って運用してみたいとも思っていますので、astroで作ったプロジェクトでもチャレンジしてみたいと思います。