 画面の色を変える画面効果を、出来るだけシンプルなカスタムRendererFeatureで実装してみました。
ColorOverlayRendererFeature.cs
using UnityEngine;
using UnityEngine.Rendering;
using UnityEngine.Rendering.Universal;

namespace ScreenPocket
{
    /// <summary>
    /// 色をかぶせるRendererFeature
    /// </summary>
    public sealed class ColorOverlayRendererFeature : ScriptableRendererFeature
    {
        /// <summary>
        /// 描画パス
        /// </summary>
        private sealed class Pass : ScriptableRenderPass
        {
            private const string ProfilerTag = "ColorOverlay Pass";
            private static readonly ProfilingSampler ProfilingSampler = new(ProfilerTag);

            private Material _material;
            private Color _color;
            private int _propertyIdColor;

            public Pass(RenderPassEvent evt)
            {
                profilingSampler = new ProfilingSampler(nameof(Pass));
                renderPassEvent = evt;
                _propertyIdColor = Shader.PropertyToID("_Color");
            }

            public void Setup(Material material, Color color)
            {
                _material = material;
                _color = color;
            }

            public override void Execute(
                ScriptableRenderContext context,
                ref RenderingData renderingData)
            {
                var cmd = CommandBufferPool.Get();
                using (new ProfilingScope(cmd, ProfilingSampler))
                {
                    _material.SetColor(_propertyIdColor, _color);
                    cmd.SetViewProjectionMatrices(Matrix4x4.identity, Matrix4x4.identity);
                    cmd.DrawMesh(RenderingUtils.fullscreenMesh, Matrix4x4.identity, _material);
                    cmd.SetViewProjectionMatrices(renderingData.cameraData.camera.worldToCameraMatrix, renderingData.cameraData.camera.projectionMatrix);
                }

                context.ExecuteCommandBuffer(cmd);
                CommandBufferPool.Release(cmd);
            }
        }

        /// <summary>
        /// かぶせる色
        /// </summary>
        [SerializeField]
        private Color _color;

        /// <summary>
        /// 塗りつぶし用Material
        /// </summary>
        private Material _material;

        /// <summary>
        /// 描画パス本体
        /// </summary>
        private Pass _pass;

        public override void Create()
        {
            _material = CoreUtils.CreateEngineMaterial(Shader.Find("Sprites/Default"));
            _pass = new Pass(RenderPassEvent.AfterRenderingPostProcessing);
        }

        public override void AddRenderPasses(ScriptableRenderer renderer, ref RenderingData renderingData)
        {
            _pass.Setup(_material, _color);
            renderer.EnqueuePass(_pass);
        }

        protected override void Dispose(bool disposing)
        {
            CoreUtils.Destroy(_material);
            base.Dispose(disposing);
        }
    }
}
ポイントは
- 前半は描画パス本体、後半はRendererFeature本体
- 描画パス本体は渡されたMaterial,Colorを使って、CommandBufferでRenderingUtils.fullscreenMeshを用いて画面を塗りつぶしています。
- RendererFeatureはSprites/Defaultシェーダを持ったマテリアルを作り、パスに渡し、Disposeで解放処理を行っています
- シェーダは何を使うかを迷いましたが、簡単にColorをブレンドできそうなのでSprites/Defaultを使いました。
- もしかするともっと相応しいシェーダがあるかもしれません
- いっそ自分で書いた方が良いかもしれません
- 私は結局ブレンド処理を選択できるシェーダを自作しました
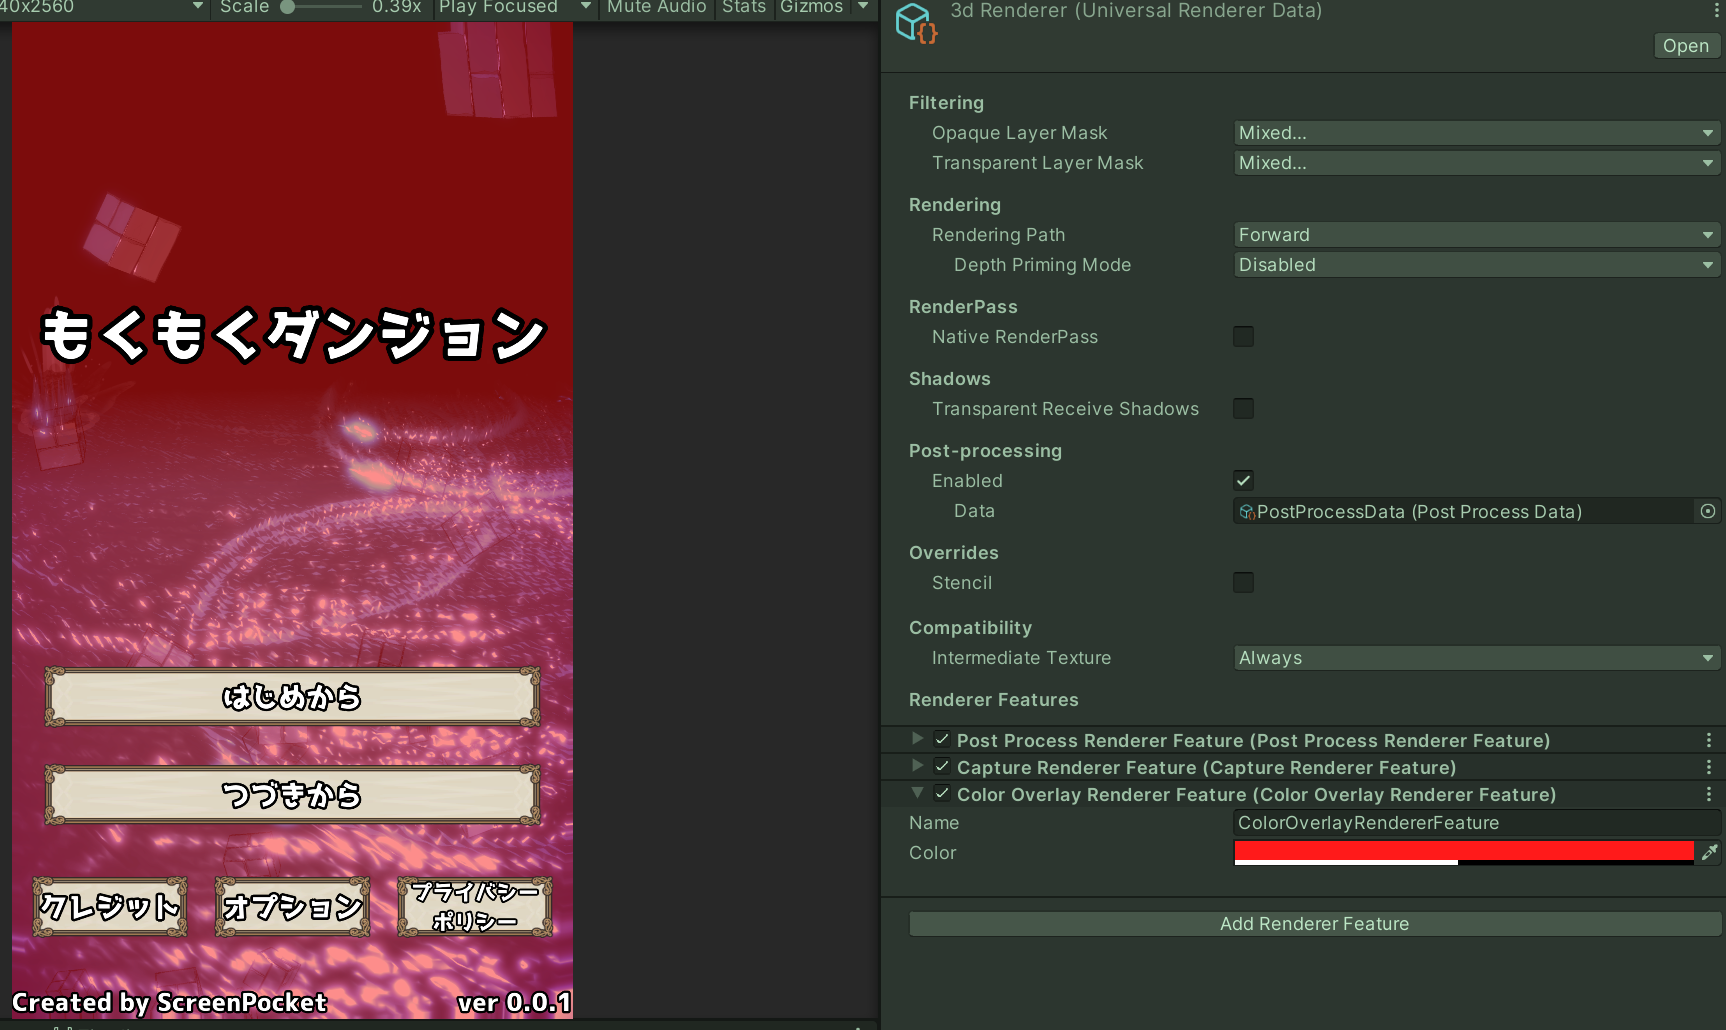
- RenderPassEvent.AfterRenderingPostProcessingタイミングを指定しているので、カメラ毎に色を重ねることが出来ます
- なので冒頭のスクショではCameraStackに積んでいるUI側では色の重ね合わせがされていない事が確認できます
- UIにもかぶせたい場合はRenderPassEvent.AfterRenderingに変更すればいける…はず(未確認)
- ただ、複数カメラに指定すると色は共有されてしまうかも(未確認)
でしょうか
ちょっと画面を色付けしたり、動的に値を変えられるようにすればフェード処理などで使えそうです。
何かオリジナル効果を作る際の叩き台としてご利用ください。