本日は
- アドベントカレンダー,Julia関連の記事とこのChainerの記事めて3つ記事を書いています(^^;.
- ChainerCV のサンプルコードをgistで書いてたのでそのまとめを書いておこうと思います.
この記事で書くこと
- ChainerCV は Python 深層学習フレームワーク Chainer の姉妹パッケージの一つです.
https://github.com/chainer/chainercv
ChainerCV is a collection of tools to train and run neural networks for computer vision tasks using Chainer.
- 画像タスクをChainerで実装するユーティリティーがありますのでそれの紹介をします.具体的には
import chainercv
chainercv.utils...
chainercv.transforms...
chainercv.visualizations...
または
from chainercv.utils import ...
from chainercv.transforms import ...
from chainercv.visualizations import ...
として使うことができるAPIの話です.なんかSSD使ったよ,YOLOを動かしてみたよ的な記事はちらほら見かけるんですが,学習のコードをスクラッチで書く時にツカエルゾ機能の紹介が目に入らないので(イテテテ・・・ではない)書いてみます.
画像を読み込む/保存する
from chainercv.utils import read_image
img = read_image("somefile.png")
- ここで注意したいのが
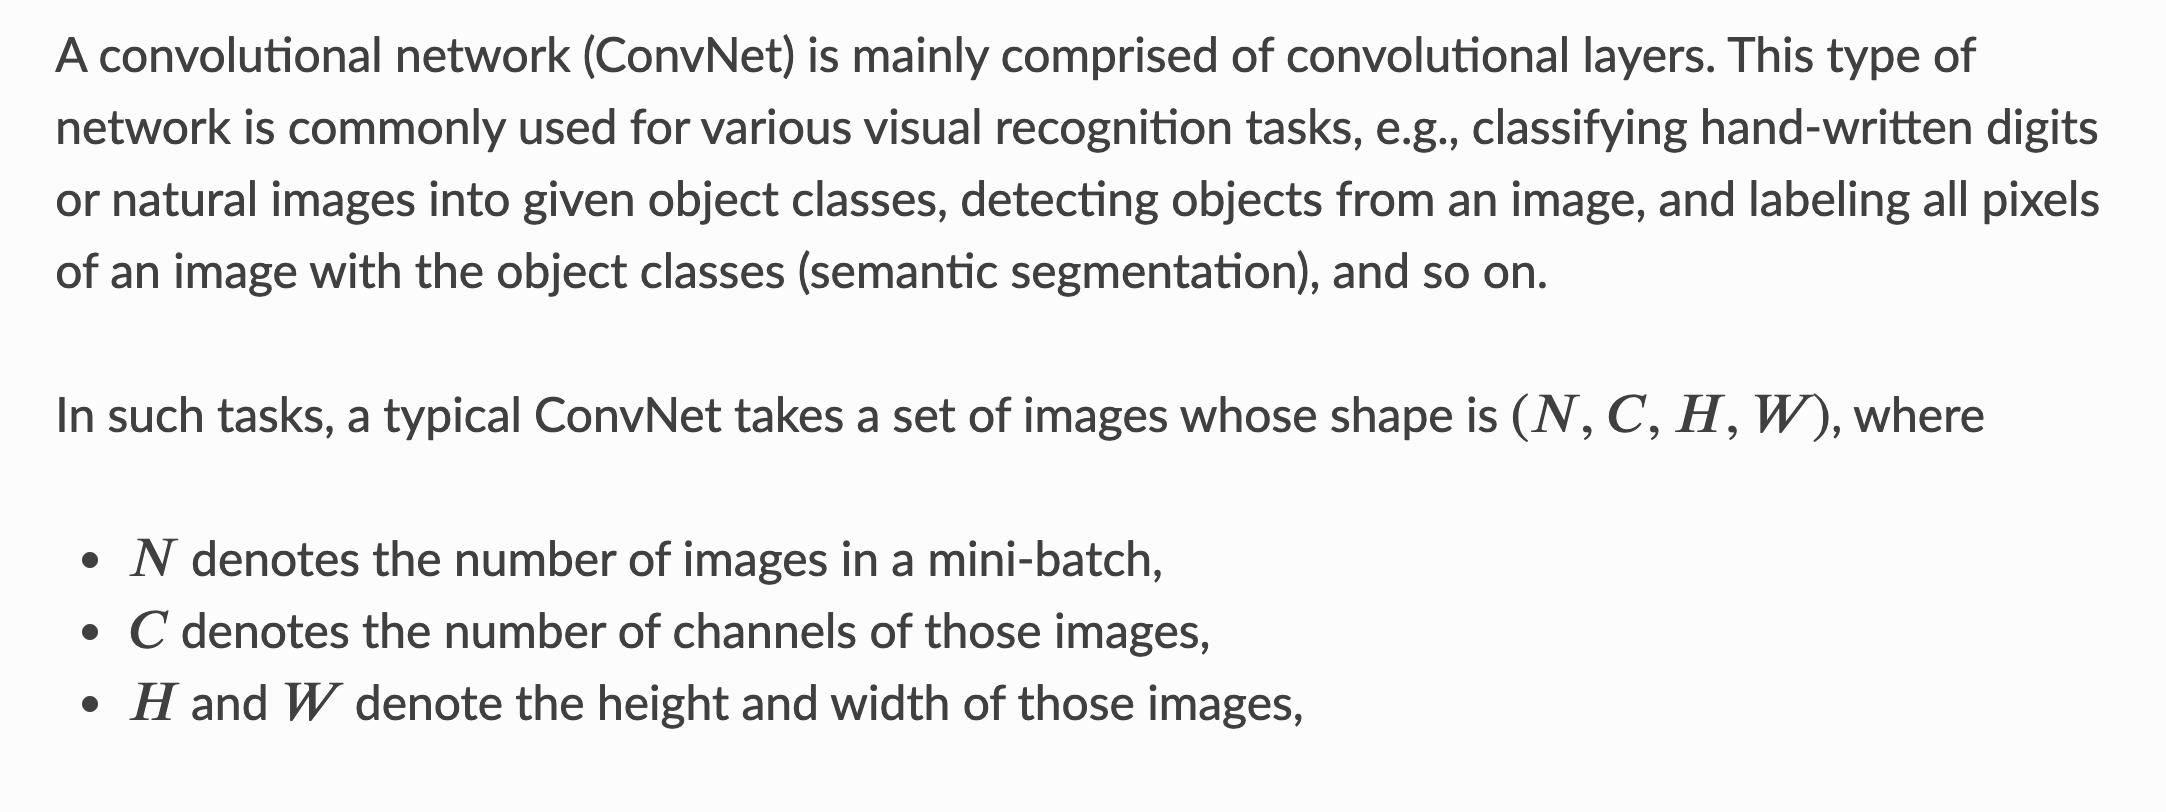
imgのメモリーレイアウトはCHWになります c.f. (Data Conventions).ここで C はチャンネル(カラー画像だと RGB の成分を表す,Hは空間方向の画像の高さ, Wは画像の幅です.)これは Chainer 畳み込みレイヤーに入力するデータレイアウトがNCHW(Nはミニバッチサイズを指す)と相性よくしているんだと思います.
import cv2
img=cv2.imread("somefile.png")
# BGR -> RGB
img=cv2.cvtColor(img, cv2.COLOR_RGB2RGB)
# HWC -> CHW
img=img.transpose(2,0,1)
みたいなコードをチマチマ書くことを避けてくれます.
terasakisatoshi/image-format-converter.ipynb
- 参考: Chainer の公式ドキュメント https://docs.chainer.org/en/stable/examples/cnn.html から引用します:
- chainercv.utils.write_image で保存もできます.
画像を表示する
- ChainerCVで読み込んだ画像を可視化したい!は人類に共通する欲求ですが,もちろんそこら辺も整えてあります.一番簡単な方法は
import chainercv
img = chainercv.utils.read_image("file.png")
chainercv.visualizations.vis_image(img)
です.画像を読み込んでそれをそのまま表示.描画は matplotlib 依存ですので Jupyter Notebook を使って試す場合は matplotlib をインポートしてください.
- ユーザーが定義した matplotlib の figure や axis オブジェクトと連携することができます.使い方は
vis_imageの 第二引数に axis オブジェクトを入れることで使えます:
vis_image(img,ax)
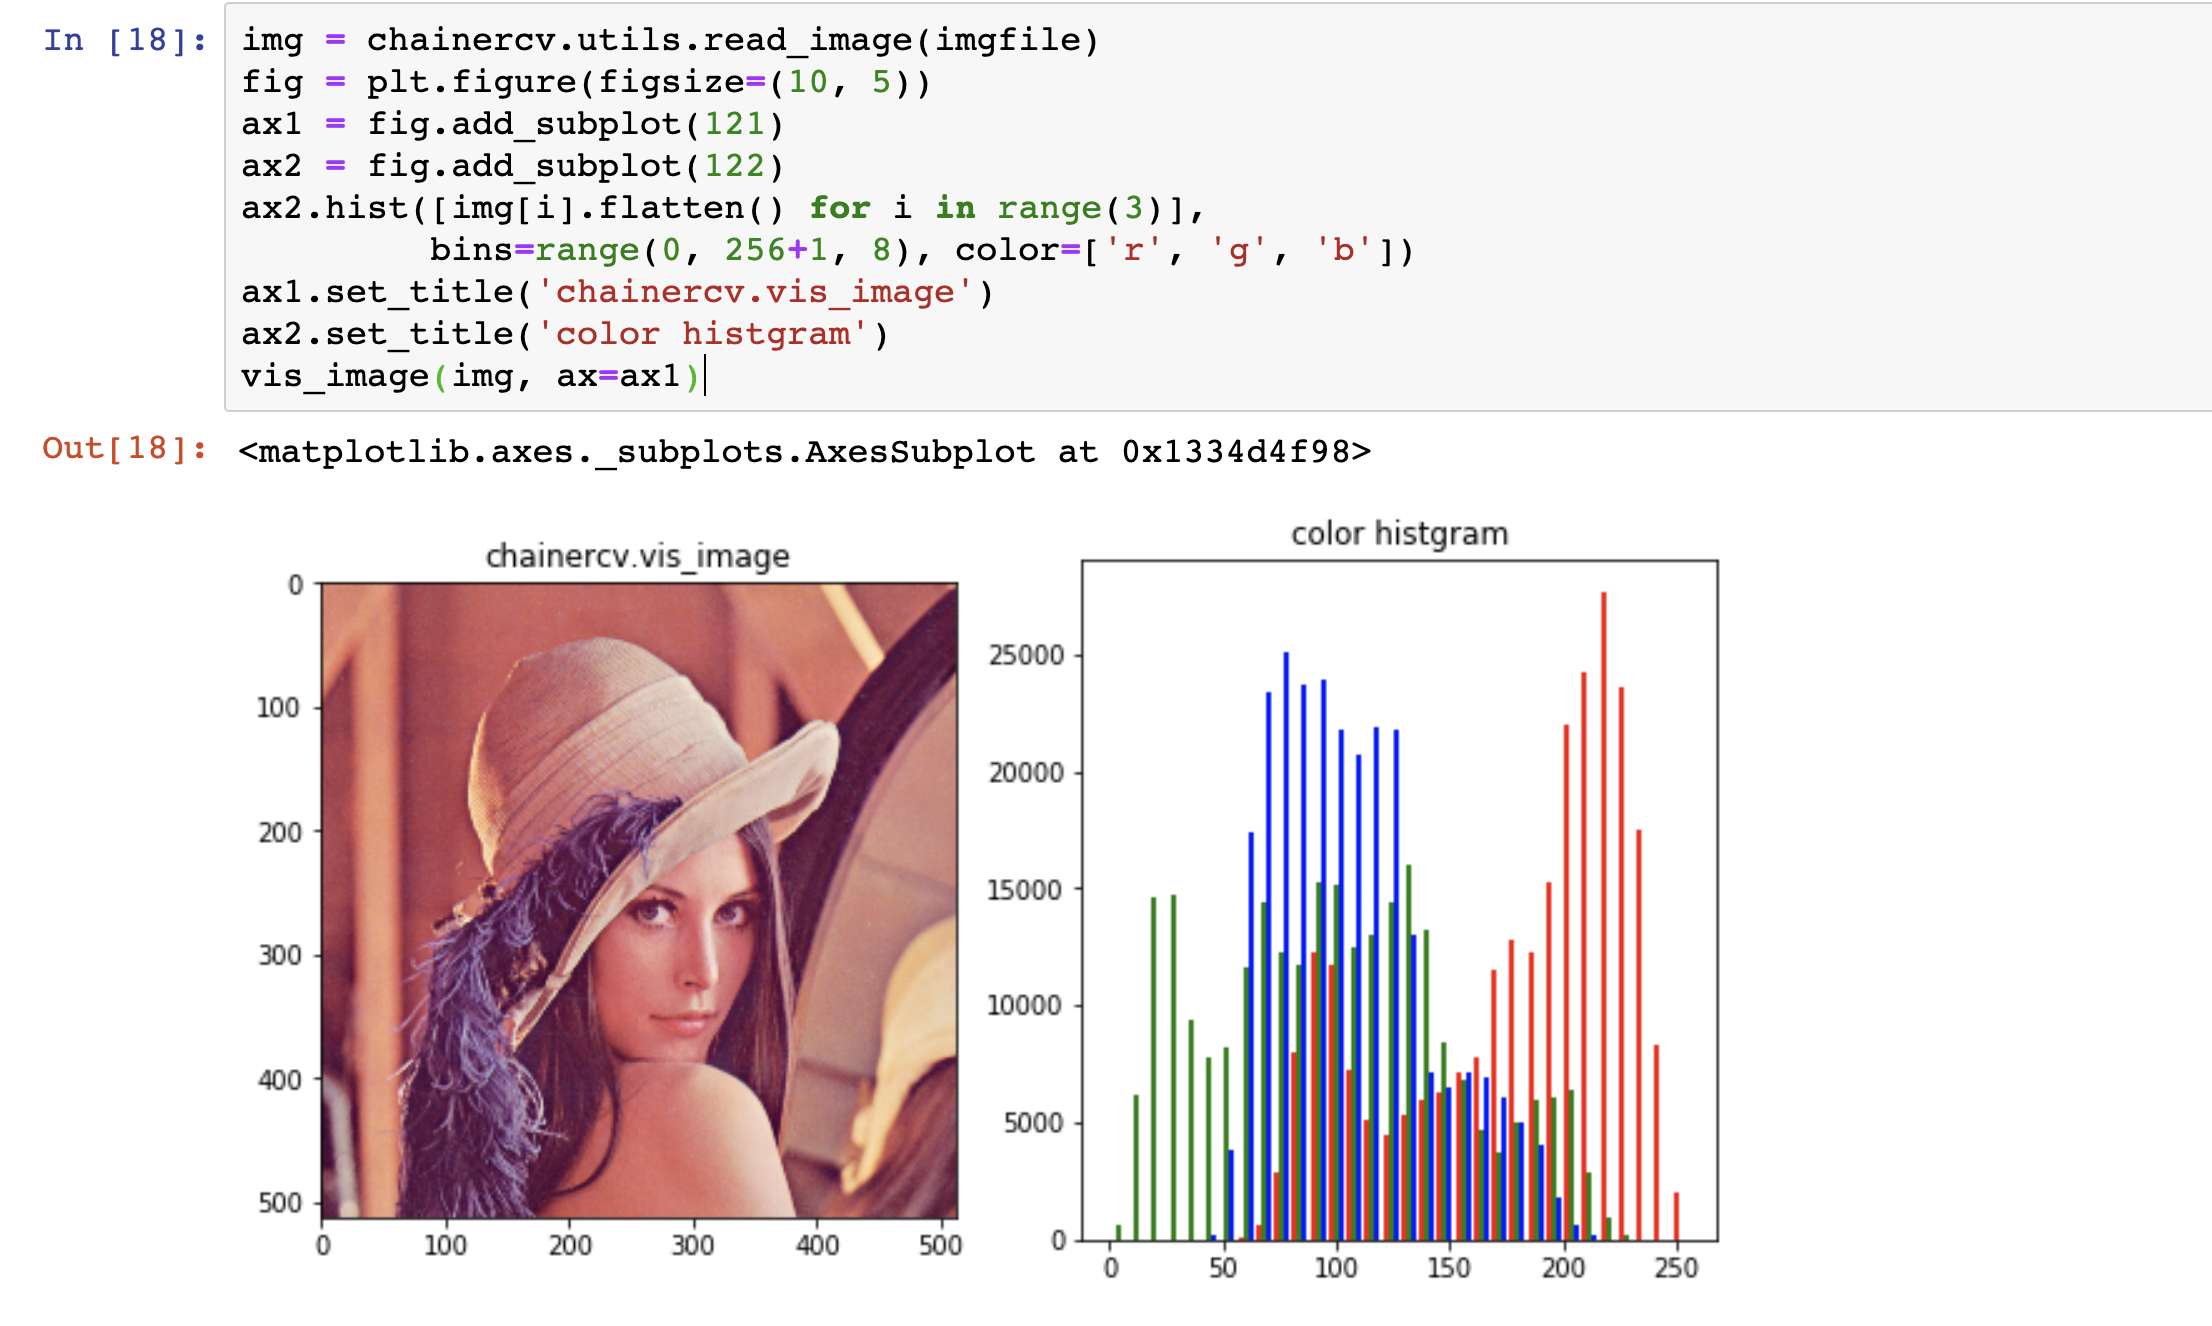
例を見た方がいいと思うので例えば下記のコードと実行結果を紹介します:\
# Jupyter Notebook 上で実行
!wget "https://upload.wikimedia.org/wikipedia/en/7/7d/Lenna_%28test_image%29.png" -O lena.png
imgfile='lena.png'
img = chainercv.utils.read_image(imgfile)
fig = plt.figure(figsize=(10, 5))
ax1 = fig.add_subplot(121)
ax2 = fig.add_subplot(122)
ax2.hist([img[i].flatten() for i in range(3)],
         bins=range(0, 256+1, 8), color=['r', 'g', 'b'])
ax1.set_title('chainercv.vis_image')
ax2.set_title('color histgram')
vis_image(img, ax=ax1)
これで画像を表示するだけでなくその画像と関連する情報を合わせて表示できることがわかりましたね.ChainerのメモリレイアウトがHWCだっけ?CHWだっけとかを意識せず描画のためのコードを書くことができます.
Bounding Box を重ねてみたい
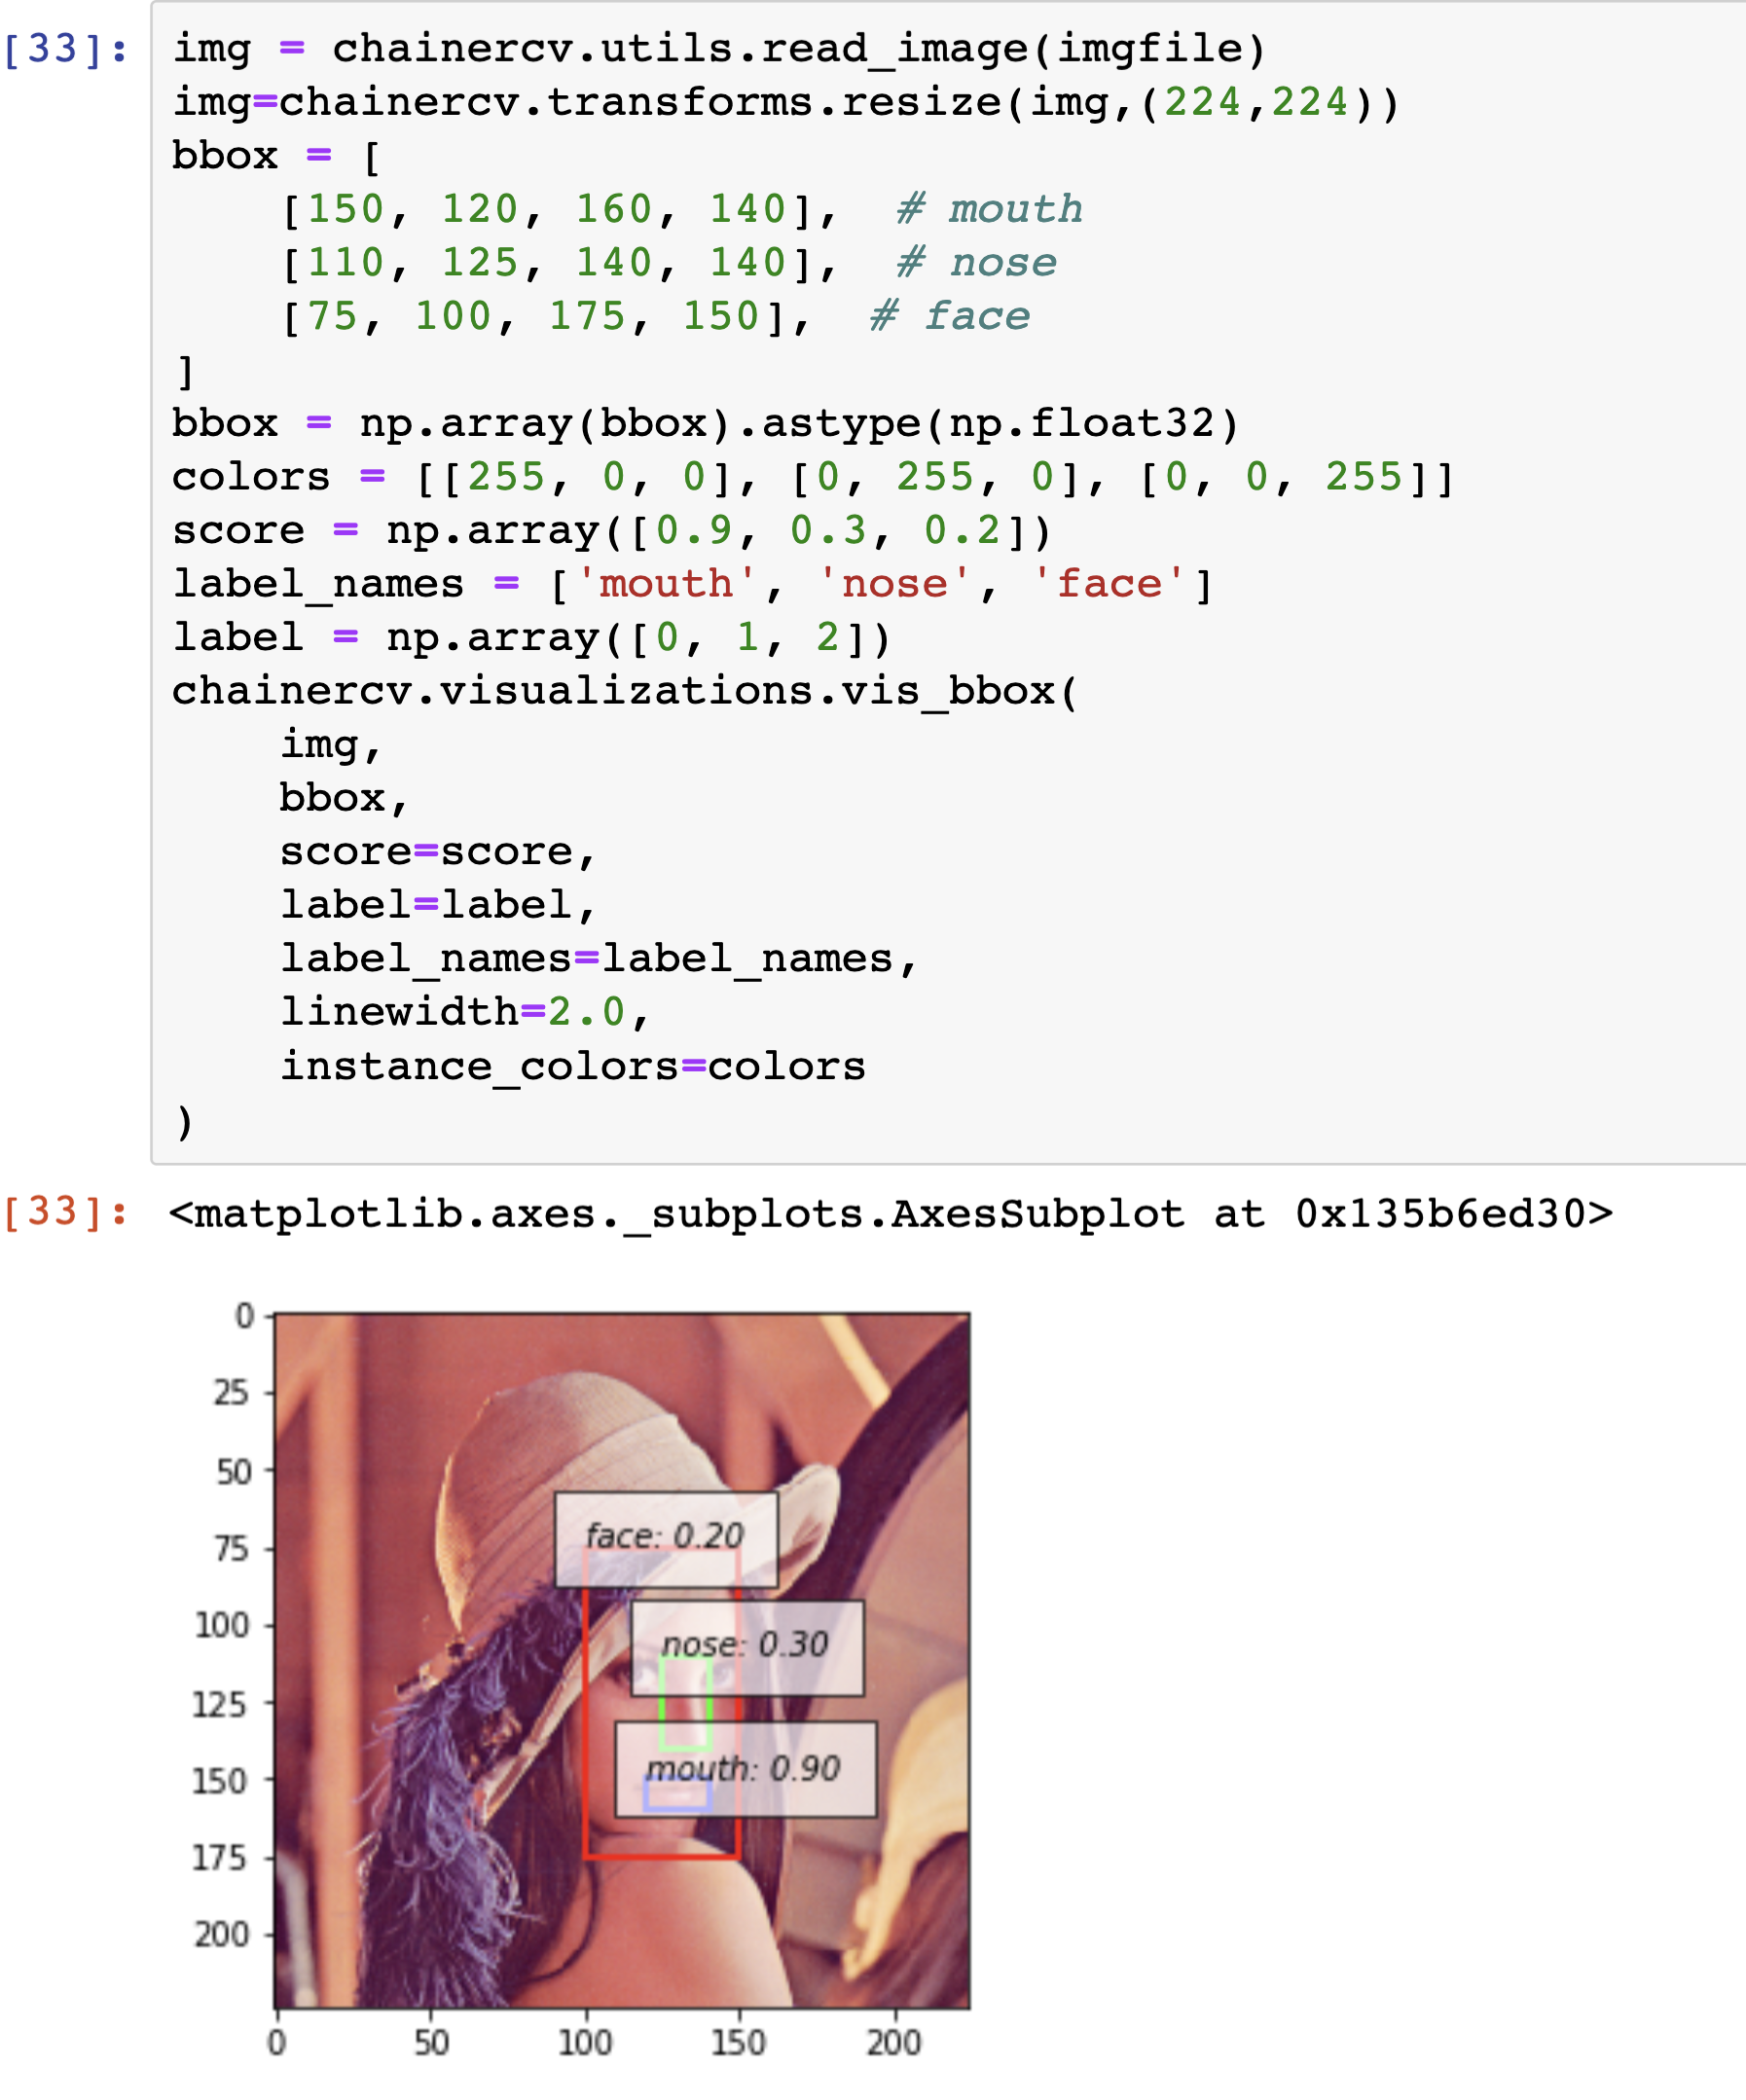
chainercv.visualizations.vis_bbox を使います.実用に近い形で書くと次のようなコードと実行結果を得ます.
# Jupyter Notebook 上で実行
!wget "https://upload.wikimedia.org/wikipedia/en/7/7d/Lenna_%28test_image%29.png" -O lena.png
imgfile='lena.png'
img = chainercv.utils.read_image(imgfile)
img=chainercv.transforms.resize(img,(224,224))
bbox = [
    [150, 120, 160, 140],  # mouth
    [110, 125, 140, 140],  # nose
    [75, 100, 175, 150],  # face
]
bbox = np.array(bbox).astype(np.float32)
colors = [[255, 0, 0], [0, 255, 0], [0, 0, 255]]
score = np.array([0.9, 0.3, 0.2])
label_names = ['mouth', 'nose', 'face']
label = np.array([0, 1, 2])
chainercv.visualizations.vis_bbox(
    img,
    bbox,
    score=score,
    label=label,
    label_names=label_names,
    linewidth=2.0,
    instance_colors=colors
)
-
bboxの座標系は矩形の左上の角と右下の角のyxを順に並べたものです.(ymin,xmin,ymax,xmax)というイメージです.これはChainerCVの Data Convention でも説明されています.座標がyxになってるのはぱっと見て気持ち悪い印象を持ちますがそもそもピクセルのアクセスがimg[:,y,x]だったり,img.shape=(C,H,W)だったりするのでyxの座標系は画像のタスク・NumPyとの相性を考慮して採用されてるのだと思います(主観).
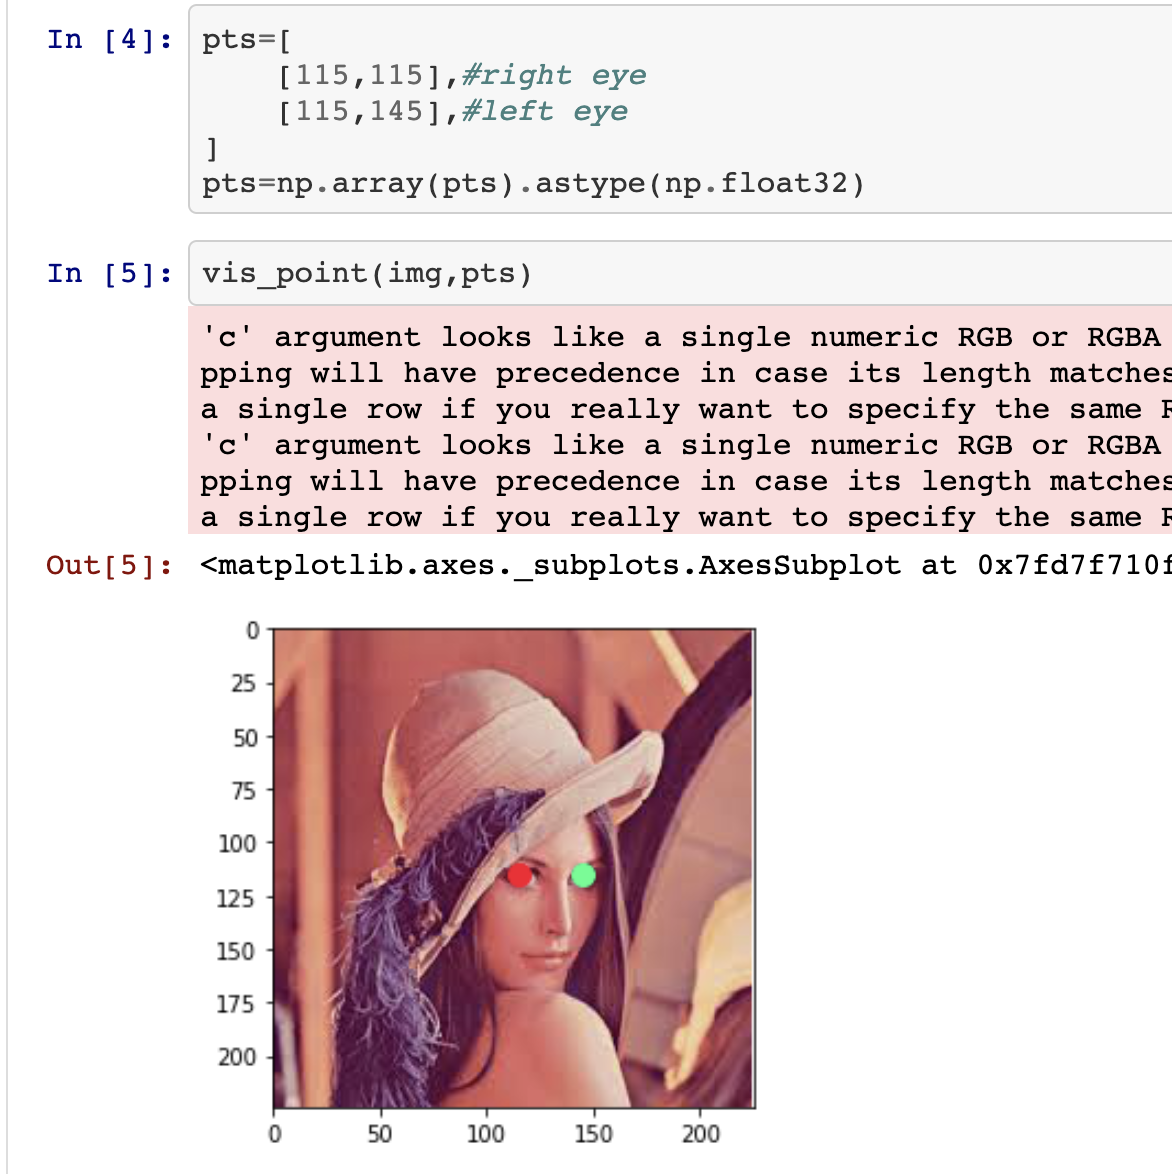
vis_bbox 同様に キーポイントを描画する vis_point もあります.機能が足りない場合はこれらをベースに各々のタスクに合わせたvisualizations を実装することになります.
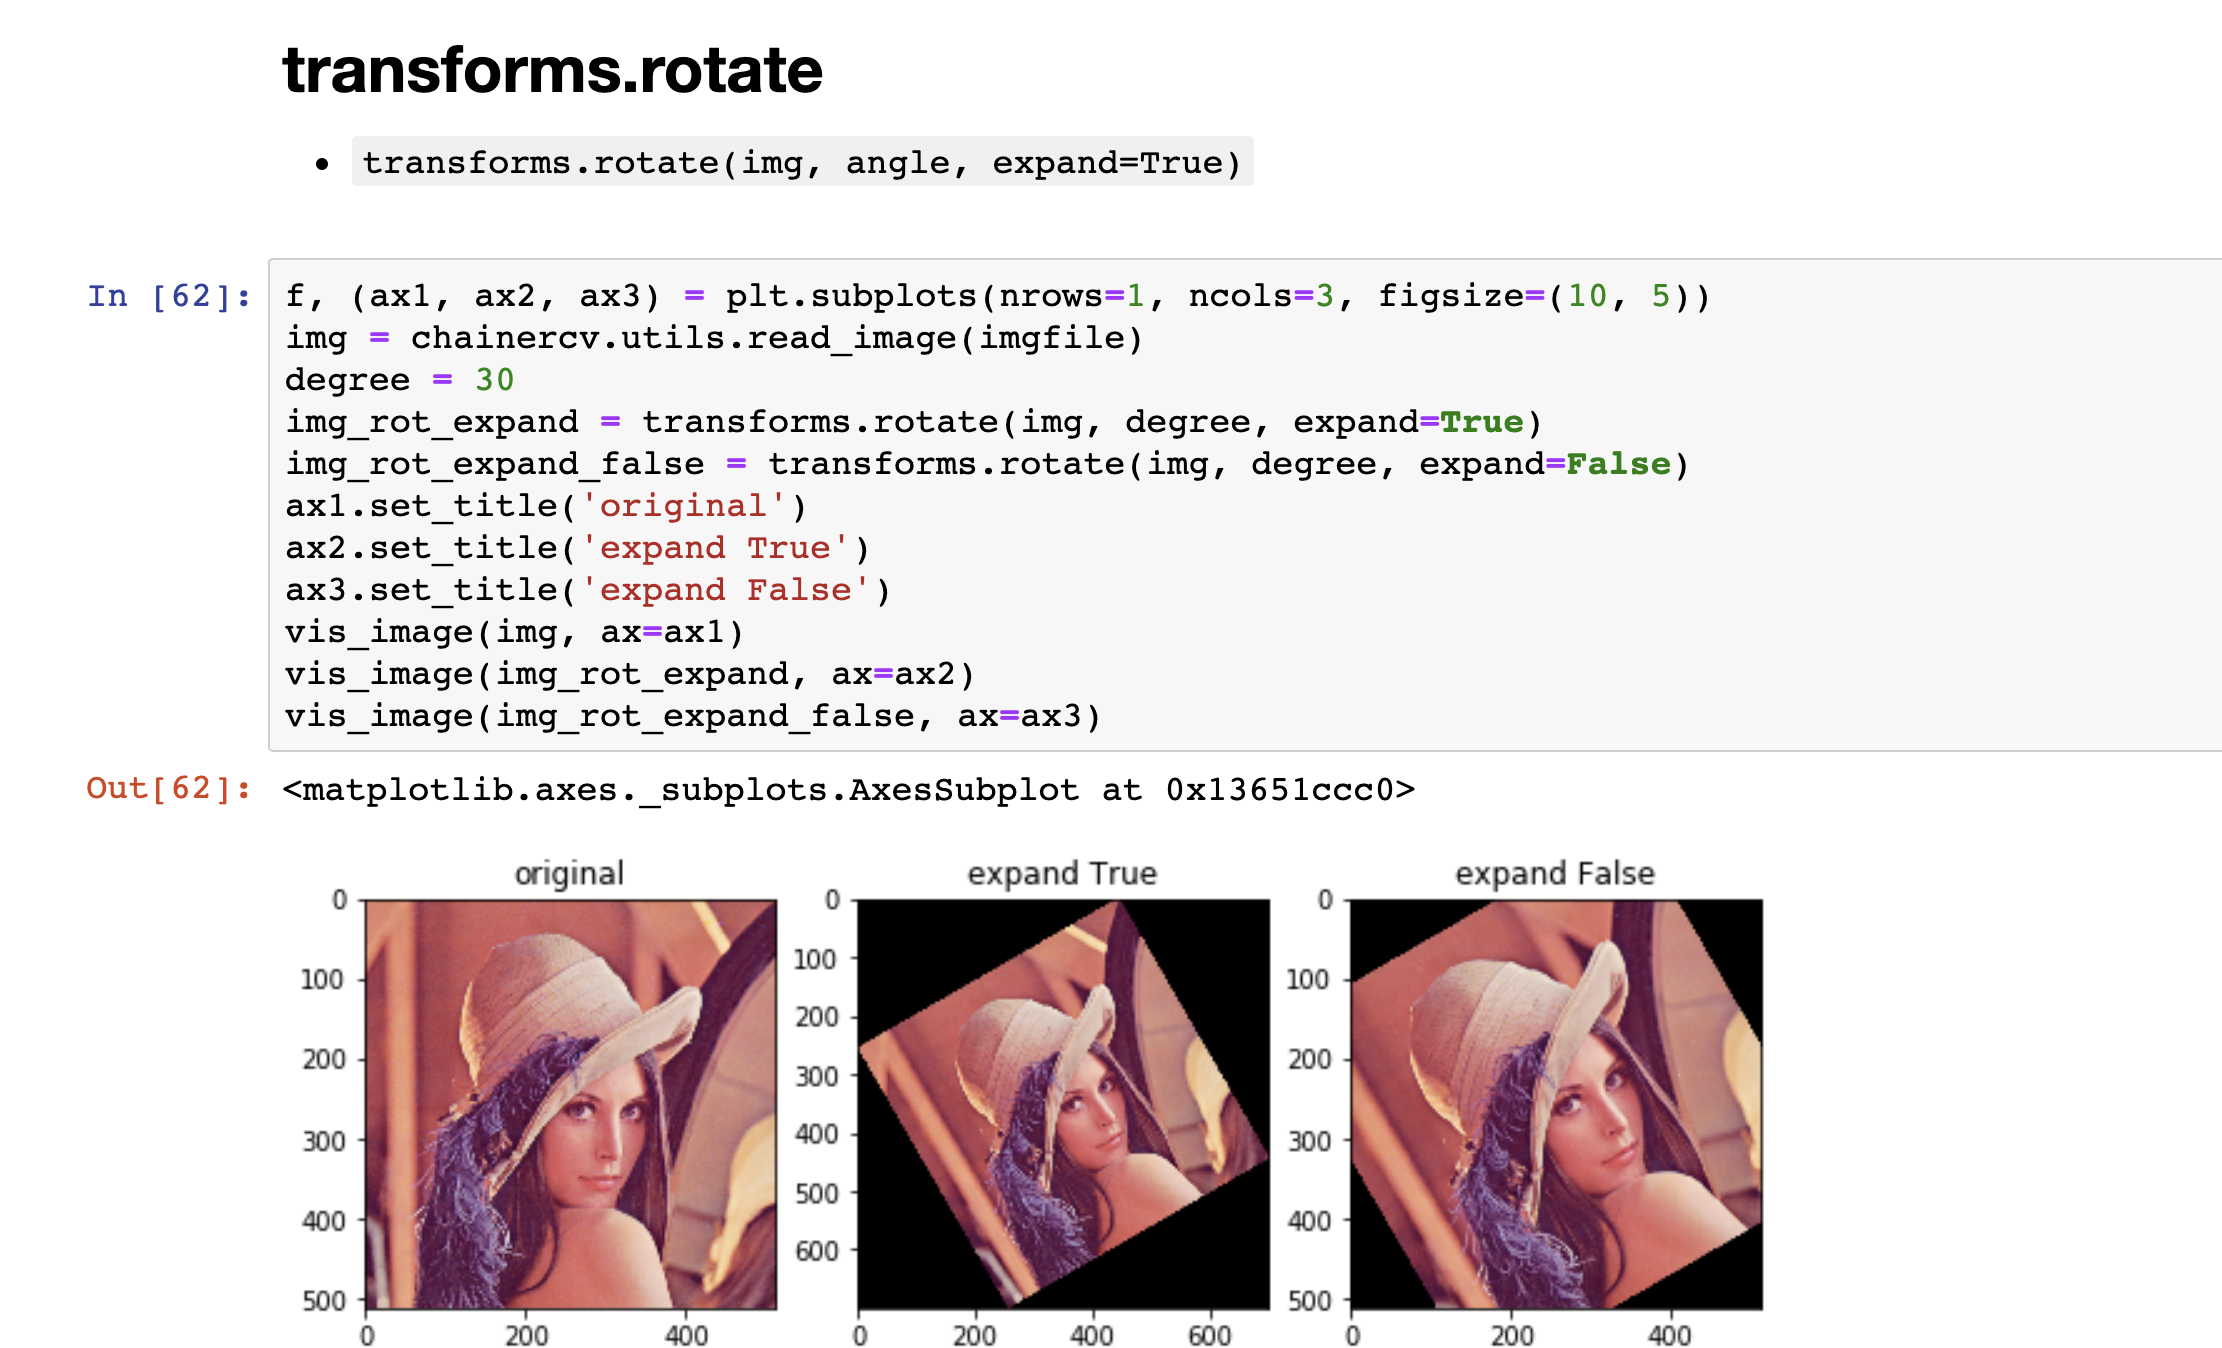
画像をリサイズ,切り取り,スケール,反転,回転をさせたい...
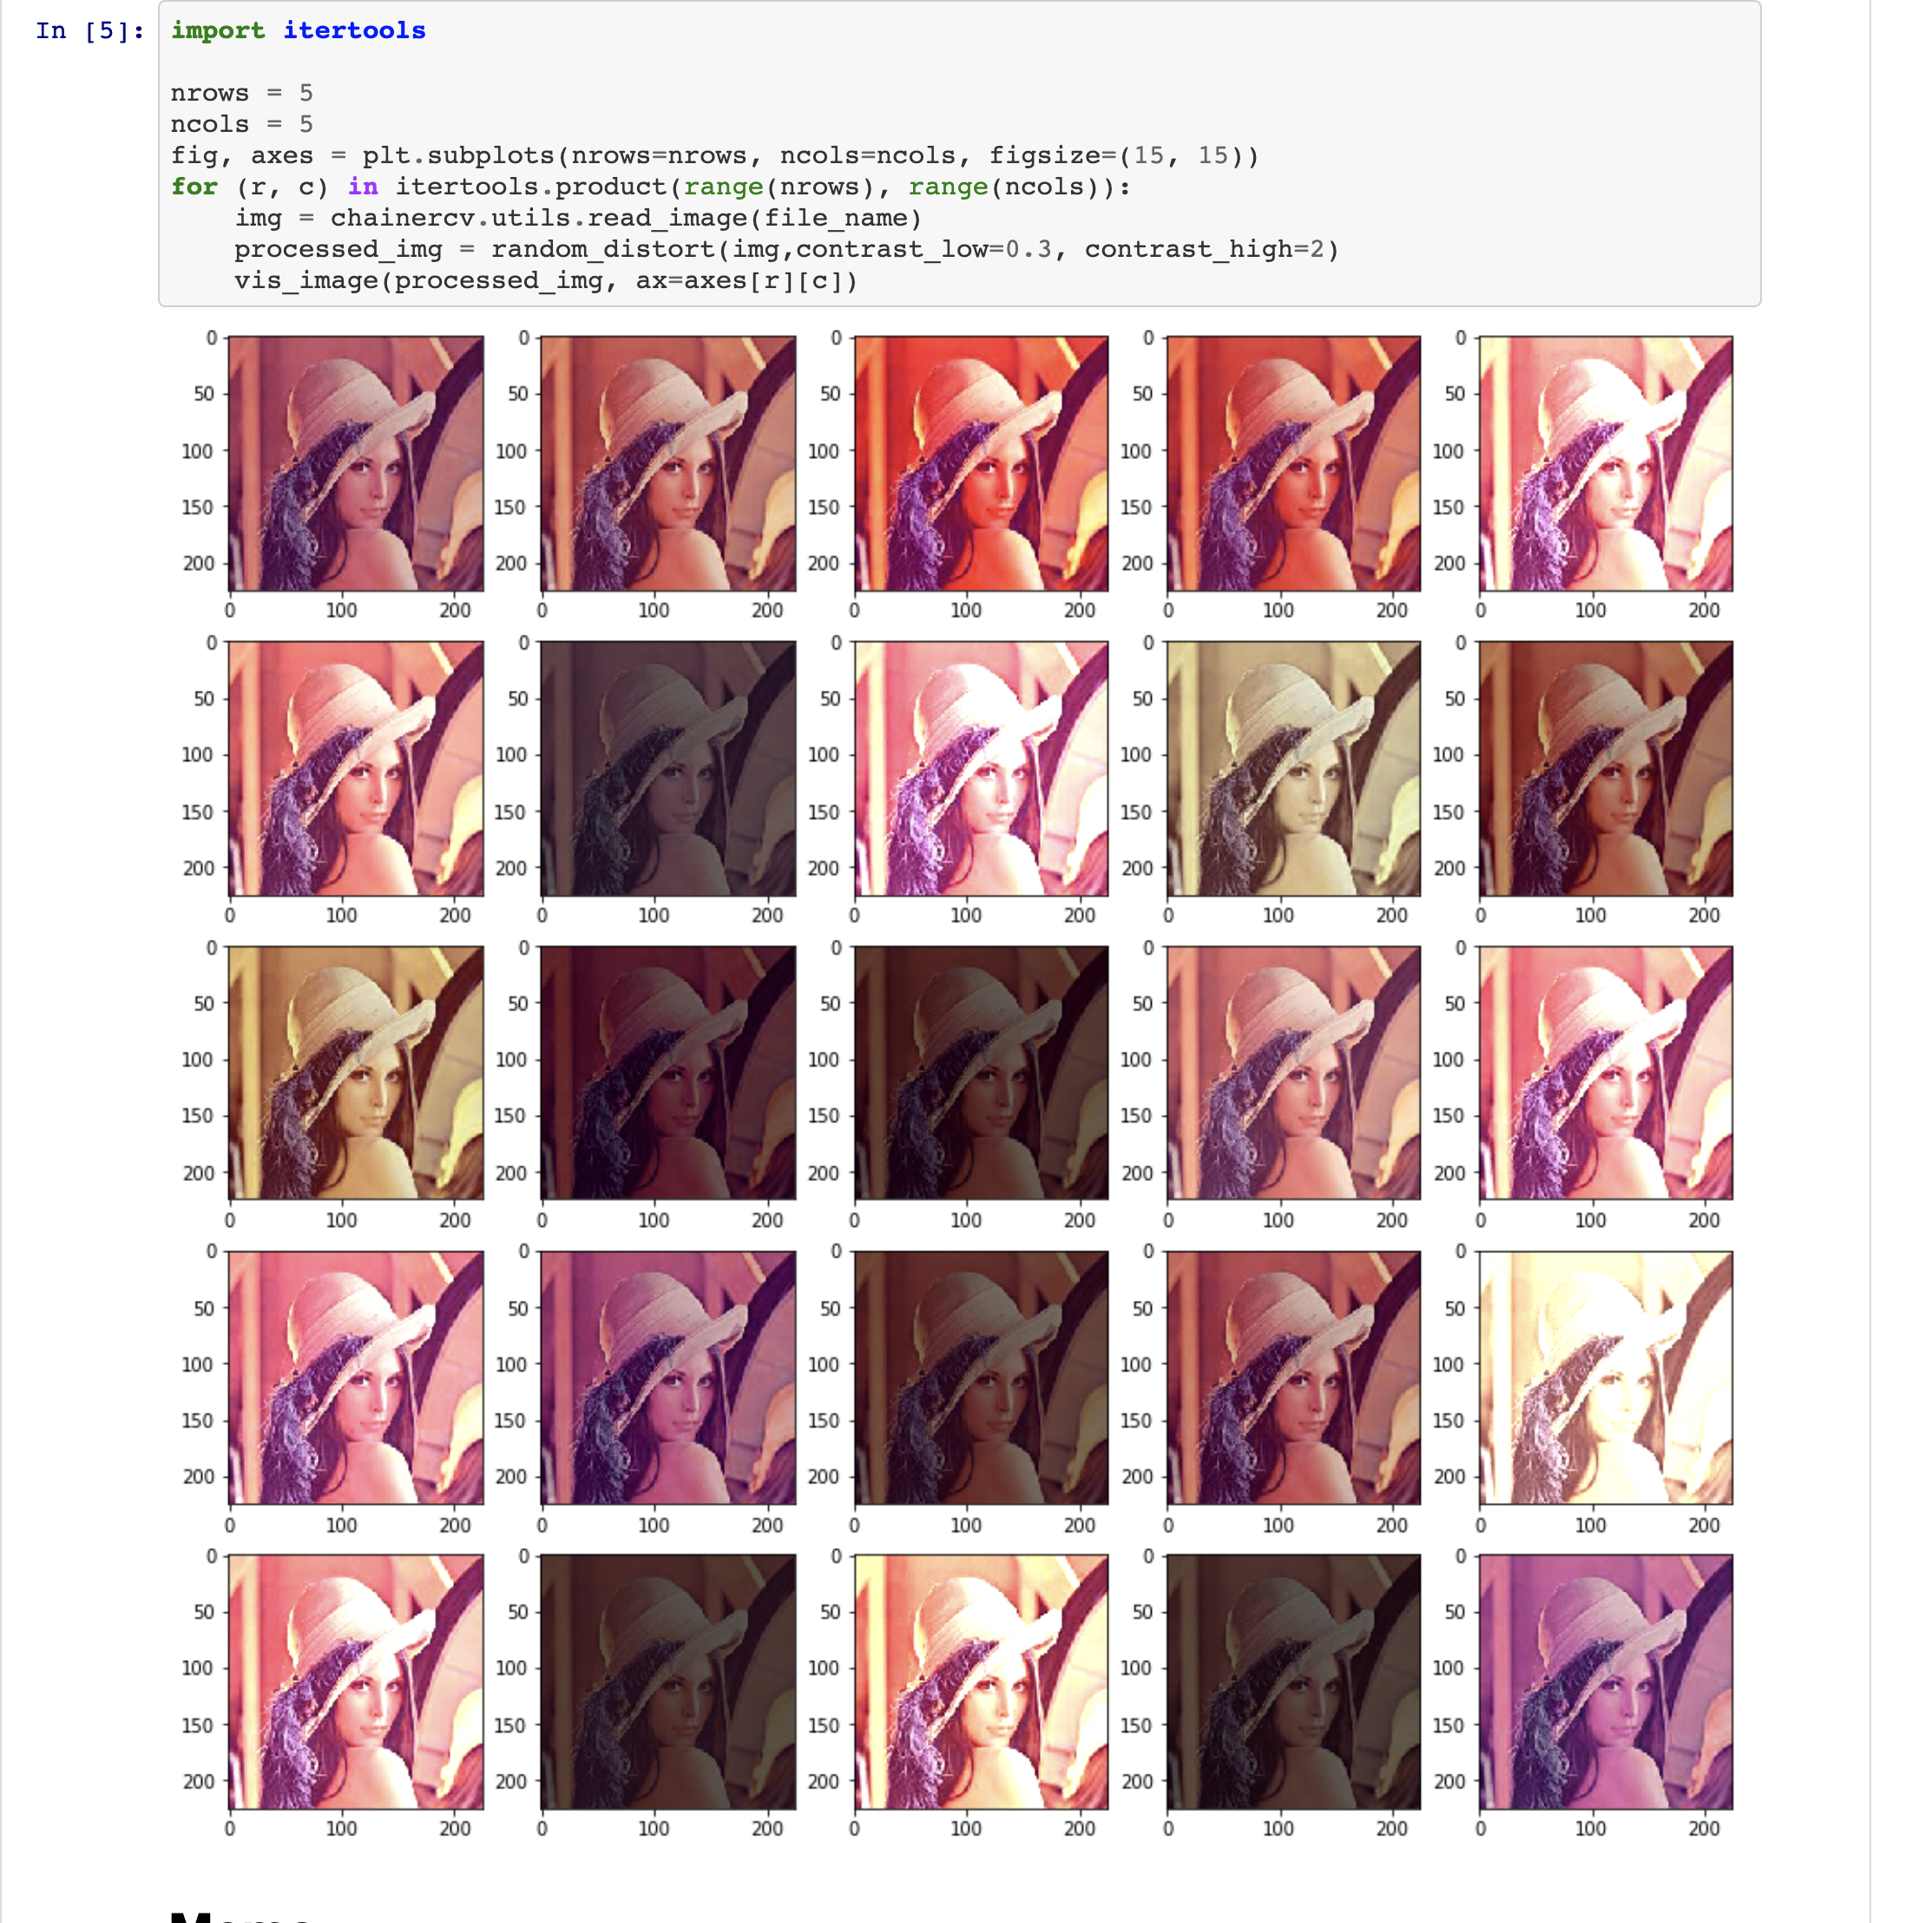
- モデルの汎化性能を高めるために Data Augmentation をするための操作も揃っています.多くは
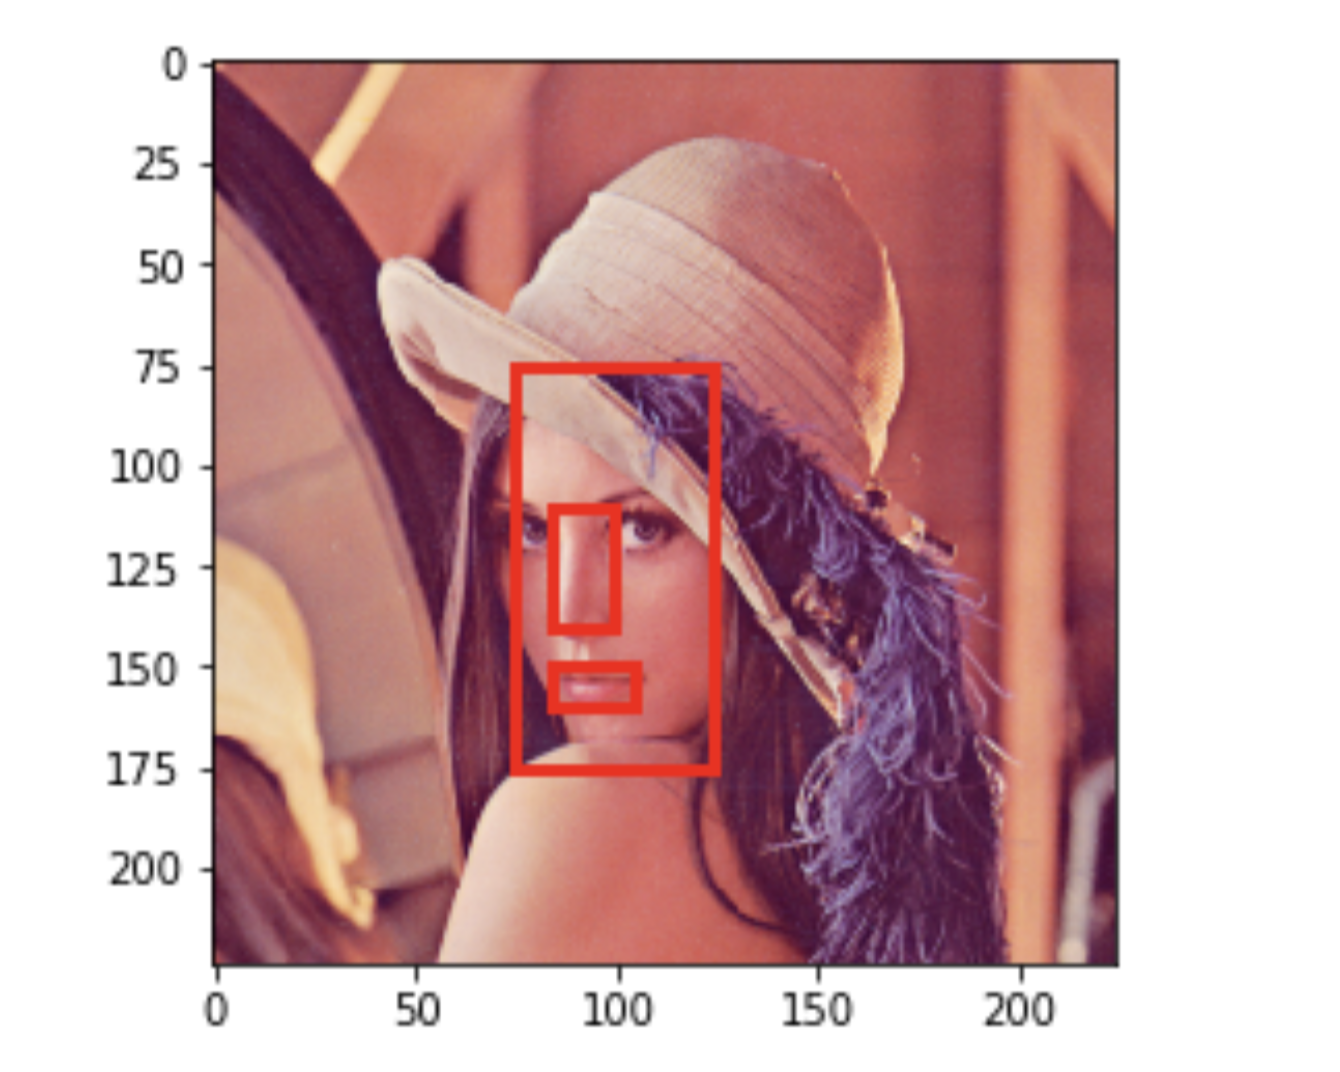
chainercv.transforms以下で定義されています. - 例えば画像を反転させたに正解BBoxも反転させないといけません.この場合は次のようにして実装ができます.
# 上の続き
img = chainercv.utils.read_image(imgfile)
img = chainercv.transforms.resize(img, (224, 224))
H, W = img.shape[1:]
img_x_flip = chainercv.transforms.flip(img, x_flip=True)
chainercv.visualizations.vis_bbox(
    img_x_flip,
    chainercv.transforms.flip_bbox(
        bbox, (H, W), x_flip=True
    )
)
反転操作が画像とBBoxのデータで同期されていることがわかります.
References
- もっと豊富な例は下記の私のgistを見てください:
- terasakisatoshi/chainercv-bbox-transform-exer.ipynb
- terasakisatoshi/chainercv-ssd-color-augmentation.ipynb
まとめ
- ChainerCV で実装されている画像の読み込み,描画,変換のアノテーションの連携/同期の方法を紹介しました.
- gist やや古めなので必要に応じて修正してください.
