本日は
- Jupyter notebook 便利ですよね.コードを手軽に書けますし.
- Pythonのmatplotlib 便利ですよね.可視化ツールとして.
- gistって便利ですよね.簡単にコードを共有できますし.
- gif って便利ですよね.動く可視化のツールとして.
便利そうですよね.上記が統合されると.
本日は上記の統合をやってみました.というお話です.
どういうことができるか.
が Jupyter notebook 上で閲覧ができます.そしてgistにて共有できます.例えば下記のリンクをクリックするとみられます.
環境構築
よくあるAnimationを作るサンプルを動かすときにoutput.gifではなくoutput.htmlのように変換を強要されるのが謎だったのですが,そもそもImageMagickを導入していなかったみたいなのでそこから始めます.
Windows
ImageMagick ([3], [4]) の導入をします.
- http://www.imagemagick.org/script/download.php からバイナリーをインストールします.
- [4] の方法に従ってmatplotlibrc に
matplotlib.matplotlib_fname()の出力結果を付け加えます.例えば
animation.convert_path: C:\Program Files\ImageMagick-7.0.1-Q16\magick.exe
Mac
こちらは簡単
$ brew install imagemagick
でOKでした.
実装例
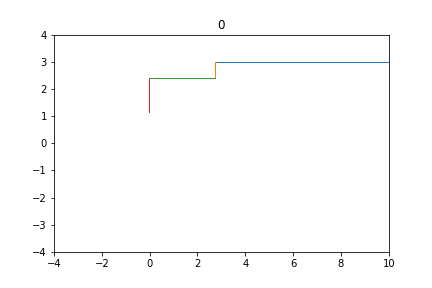
とりあえず下記のようなコードを例にします.
fig,ax=plt.subplots()
ax.set_xlim(-4,10)
ax.set_ylim(-4,4)

b=0.8
x=10.0
y=3.0
times=200

def update(data,*fargs):
    fig,ax=fargs
    global x,y
    u1 = rand()
    u2 = rand()
    x_old=x
    x = sqrt(-2*log(u1))*cos(2*pi*u2) + b*y
    ax.plot([x_old, x], [y, y], lw=1)
    y_old = y
    y = sqrt(-2*log(u1))*sin(2*pi*u2) + b*x
    ax.plot([x, x], [y_old, y], lw=1)
    ax.set_title("{}".format(data))

ani=animation.FuncAnimation(fig,update,interval=100,fargs=(fig,ax))

outputfile="images/output.gif"

if not os.path.exists(os.path.dirname(outputfile)):
    os.mkdir(os.path.dirname(outputfile))

ani.save(outputfile, writer="imagemagick")
plt.close(ani._fig)
これでoutputfileのPath上にoutput.gifが生成されます.
これをNotebook上で表示させるようにするために生成したgifをHTMLタグに埋め込みます.
import base64
from IPython.display import HTML

GIF_TAG = """<img src="data:image/gif;base64,{0}" alt="some_text">"""

def get_giftag(outputfile):
    with open(outputfile, "rb") as imagefile:
        encoded_string = base64.b64encode(imagefile.read())
        tag = GIF_TAG.format(encoded_string.decode("utf-8"))
    return tag


HTML(get_giftag(outputfile))
最終的な実装は
gibbs-animate.ipynb
をご覧ください.
Julia 版
Julia移植版として作っていただきました[2] ありがとうございます.