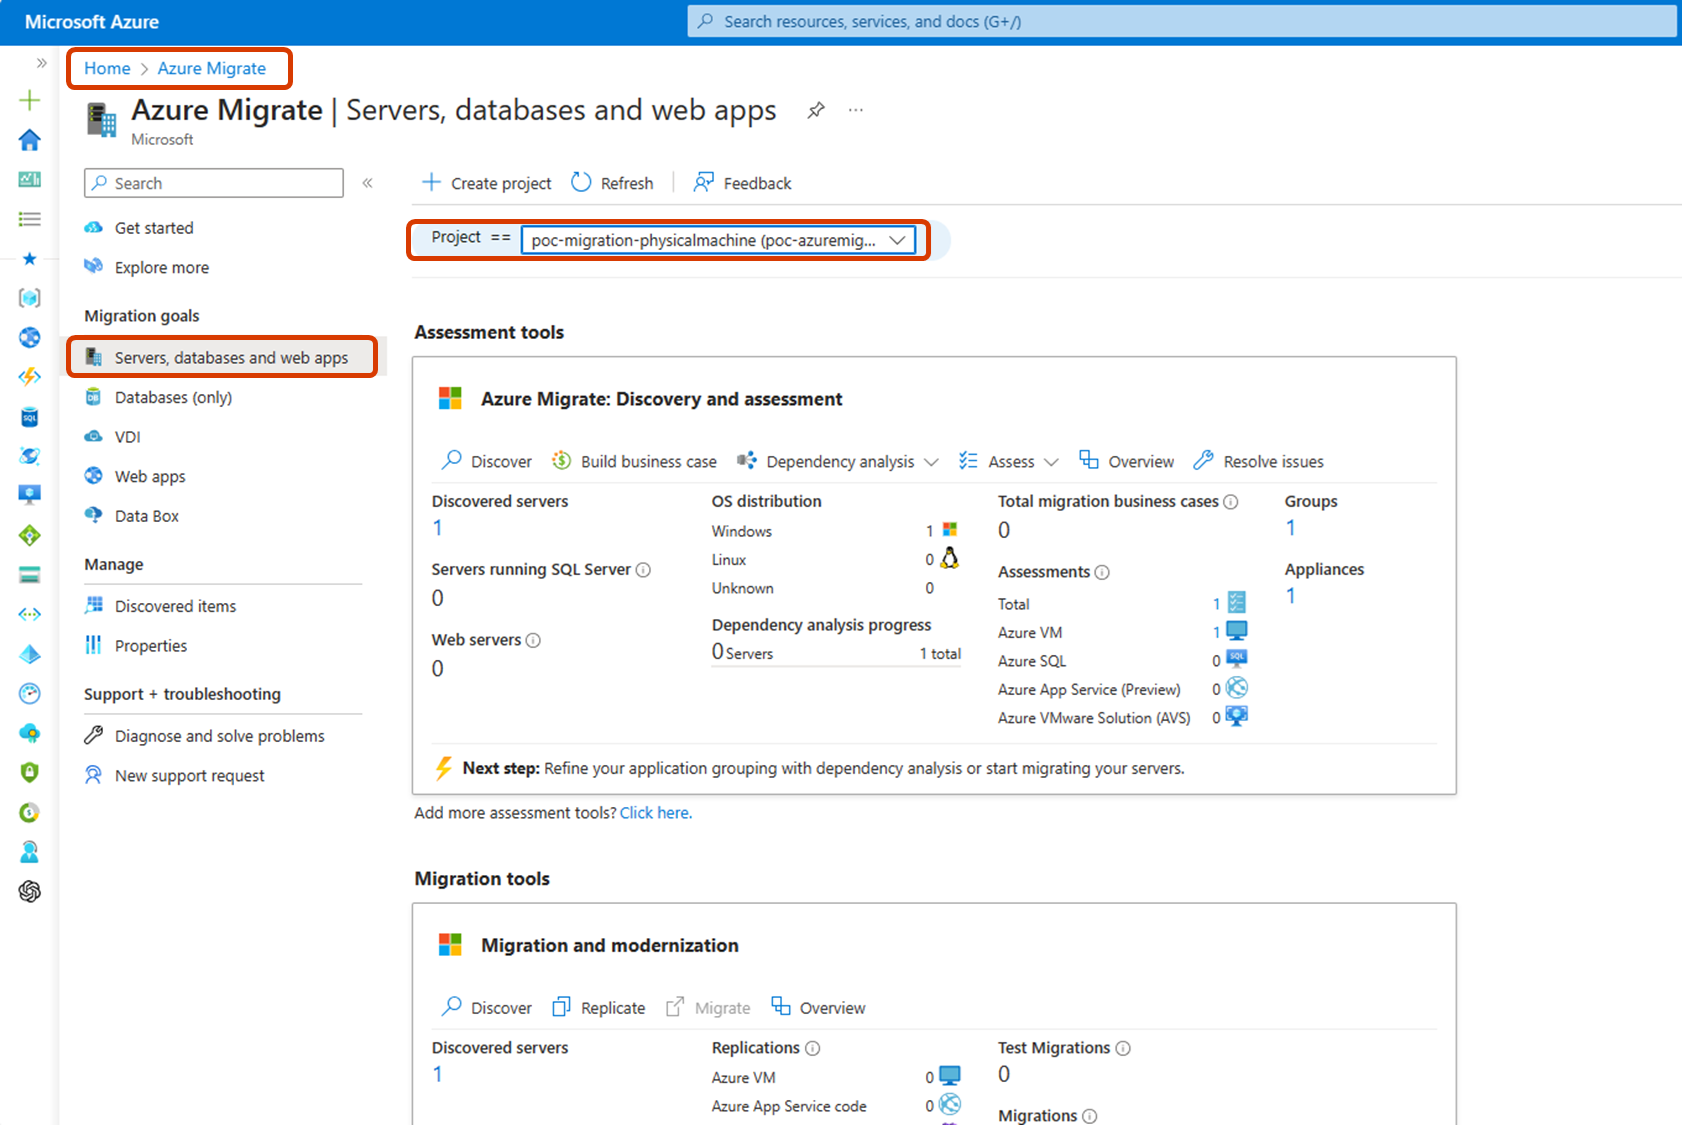
Hi, This is the second article about using Azure Migration to migrate PCs. I will introduce how to deploy a 【Replication Appliance】 on a physical machine. Then I will write another article about the steps of replication and migration using the Replication Appliance I built in this article. After that, we need to delete apps of Replication Appliance from the physical machine.
So, we will eventually have four articles about Azure Migrate.
- Azure Migration 1/4: Using Azure Migrate discovery and assessment function (Published)
- Azure Migration 2/4: Deploying a Replication Appliance on a physical Windows server (this article)
- Azure Migration 3/4: Replicating and migrating a physical PC to Azure VM
- Azure Migration 4/4: Clean up about replication appliance-relevant apps and Azure Migrate Project Resources
OK, now let us get started.
■ Agentless migration and Agent-based migration
We can use Azure Migration to migrate VMs on VMware or VM on Hyper-V and physical machines to Azure VM. Even VMs from other public clouds (like AWS and GCP) are also supported by Azure Migration.
Below, you can find further details in the accompanying documents
Azure Migration provides two migration types that depend on the target PCs' environment. One is Agentless migration, and the other is Agent-based migration.
VMs on VMware can use Agentless migration, meaning Replication Appliance is unnecessary, and the migration process is more straightforward than Agent-based migration. Still, the VMs and VMware environment must meet some pre-requirements.
※Hyper-V doesn't need Replication Appliance, eith. But its migration is different from VMs on VMware.
If the requirements can not be met or the targets are physical machines, then we can only use the Agent-based migration, which means a Replication Appliance installation is needed.
■ Replication Appliance
In this article, we plan to migrate a physical PC to Azure VM, so we need a Replication Appliance to provide mediation between Target PCs and Azure Migrate.
Here is the document about Replication Appliance↓
※including requirements, access information, and images.
 |
|---|
 |
|---|
■Network Diagram
Here is the network diagram. Azure migration resources on Azure were deployed when I wrote the first article about Azure Migration. My home network and PCs are used as the on-premises environment, and it connects with Azure through an S2S VPN connection.
Replication Appliance-relevant apps will be installed on a PC running Windows Server 2016 (highlighted in red) on the on-premises side.
Please remember that Replication Appliance (RA) needs internet access to communicate with Azure Migrate Cloud, even if you are about to use Private Link.
 |
|---|
■ Procedure
Below is the main procedure for deploying a RA.
※Most of the operations occur on the Windows Server.
1. Register a RA on Azure Migration and download the installer of RA
2. Install RA on a PC running Windows Server
3. Finish the registration of RA on Azure Migration
Some of the detailed operations of Azure Portal will be skipped. If you have any problem with the procedures, please refer to my 1st article of Azure Migration → here
Part 1. Register a RA on Azure Migration
Recommend directly operating the steps below on the RA Windows Server because an installer that is approximately 500MB needs to be downloaded and installed on it.
-
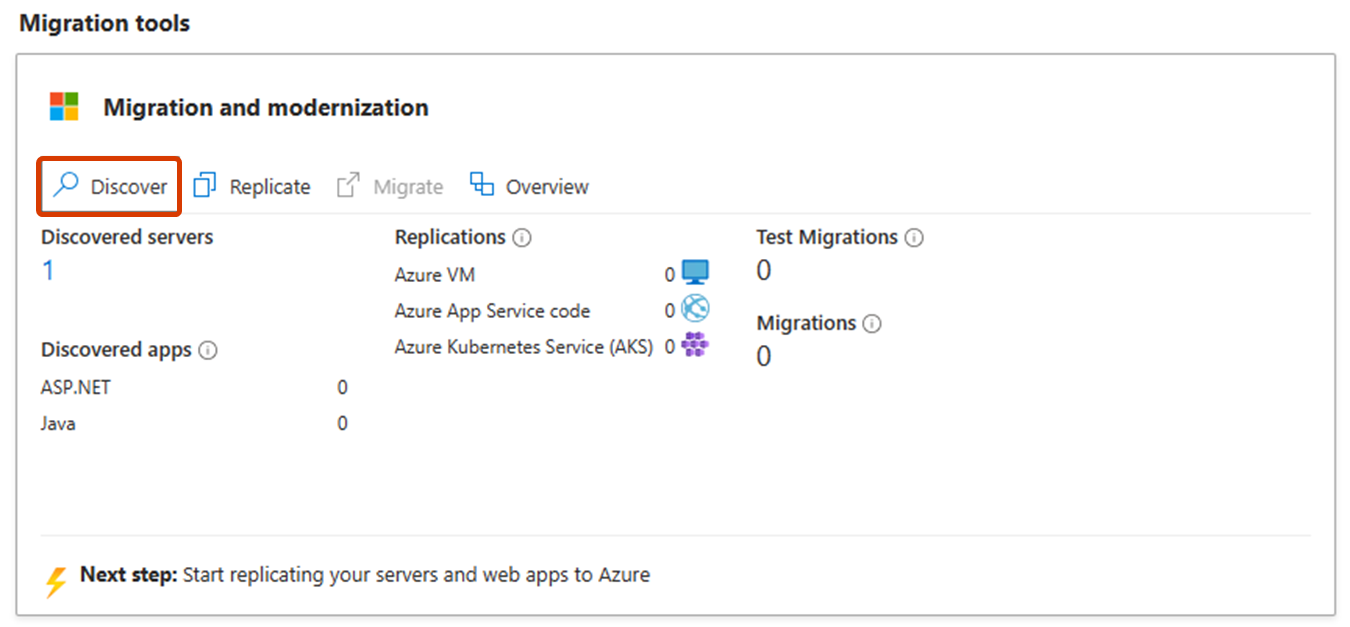
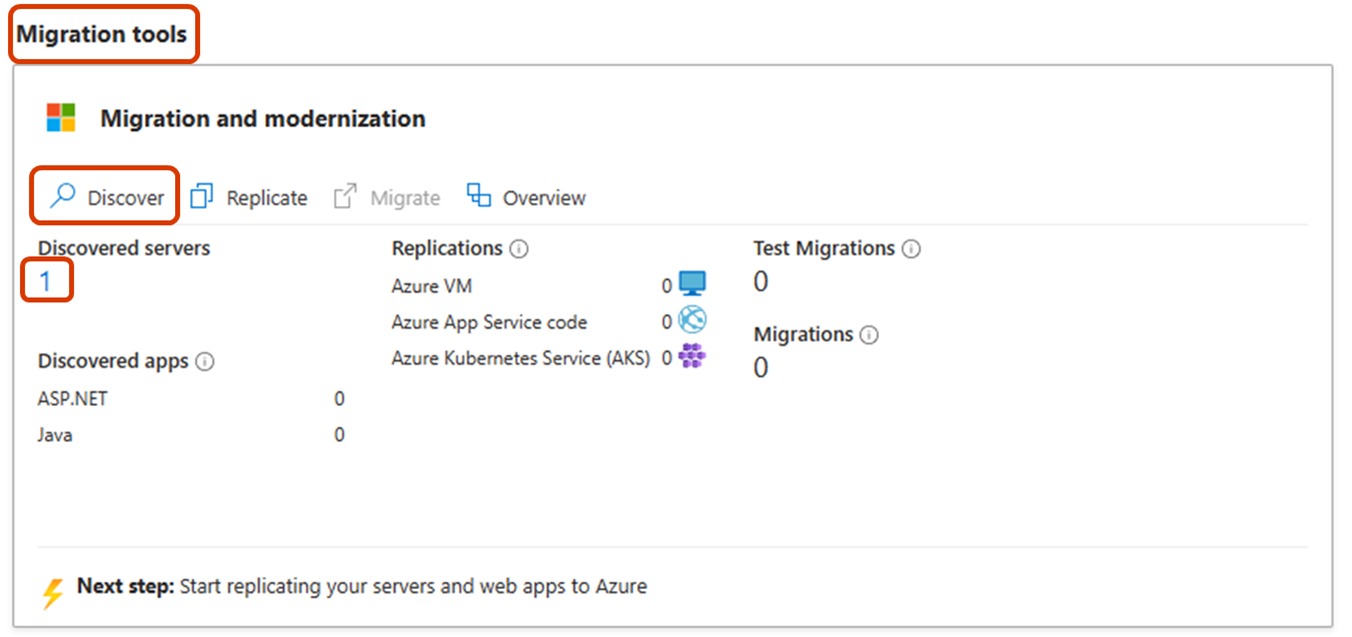
Move to [Migration Tools] and click [Discover]
If Azure Migration Assessment's discovery has been made once or more, the number of discovered PCs could be displayed in the [Discovered servers] in both Assessment tools and Migration tools.
-
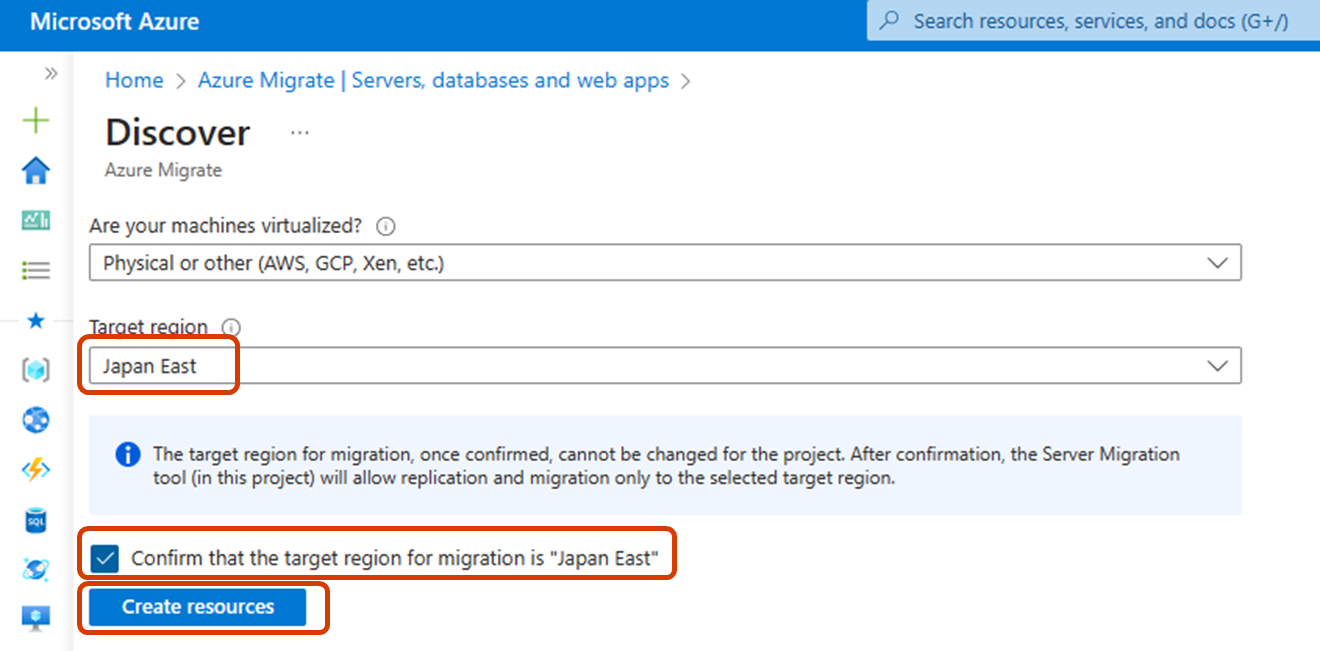
Choose the target region where the migrated Azure VMs will be located, then don't forget to check the checkbox and click [Create resources]
Attention!
Once the target region is fixed, it can not be changed later. So choose it carefully.
-
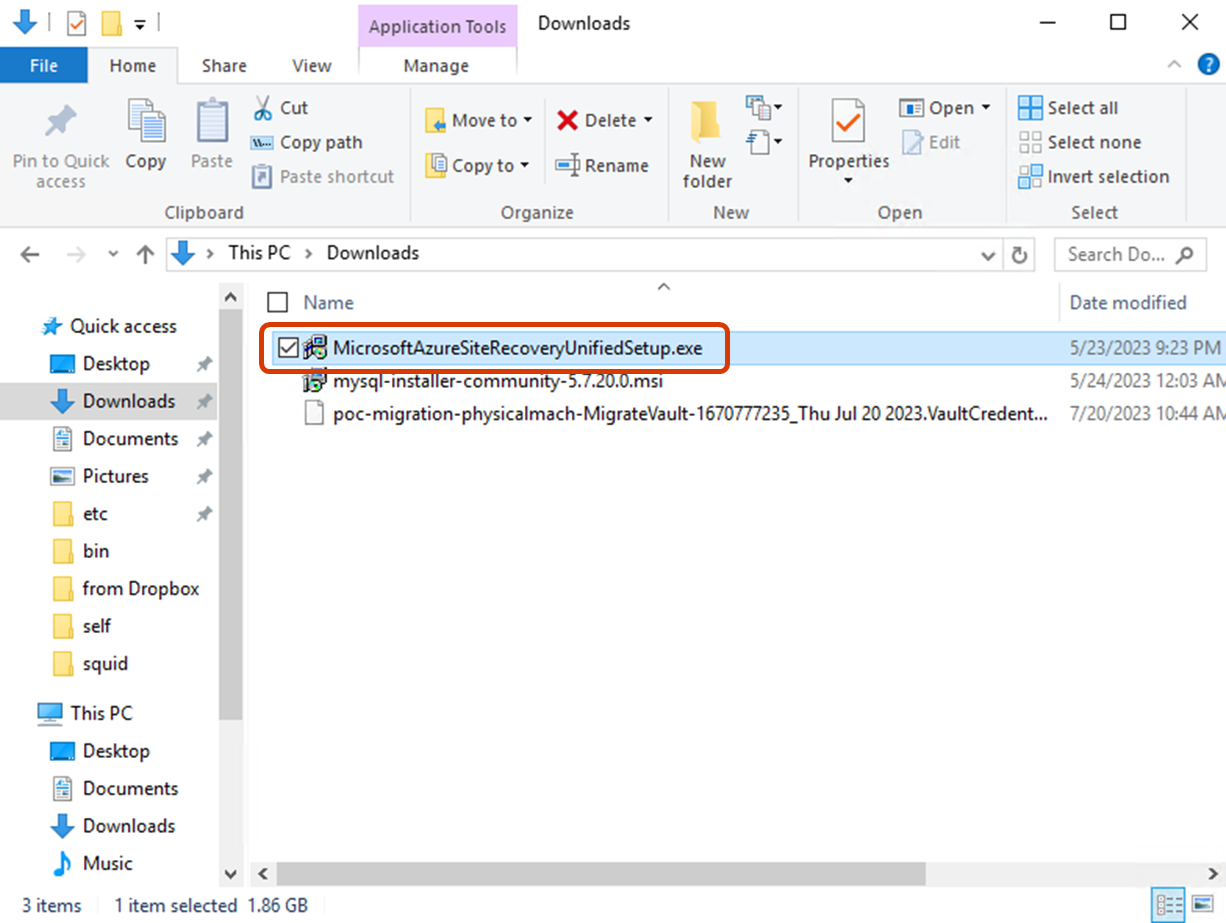
Choose "Install a replication appliance" and click "Download" in Step.1 to download the installer in the local folder. (Not the Step.2's Download button)

-
Click the Download button in Step 2 to download the registration key, which is necessary while installing the RA.

Registering a RA on Azure Migration is over here, and we will talk about how to install a RA in the following procedure.
Part 2. Install RA on a PC running Windows Server
The operations below should be done on a PC running Windows Server.
Further details about the requirements of RA can be found in the document below.
Attention!
The locale of the Windows Server must be English. Installing the English language package on other locale OS doesn't work.
Referring to the requirement mentioned below, the version of Windows Server should be 2022 or 2018 R2, which looks wired. I tried it on Windows Server 2016, and it does work. And 2019 will work well, either.
-
Choose "Install the configuration server and process server" and click [Next]

-
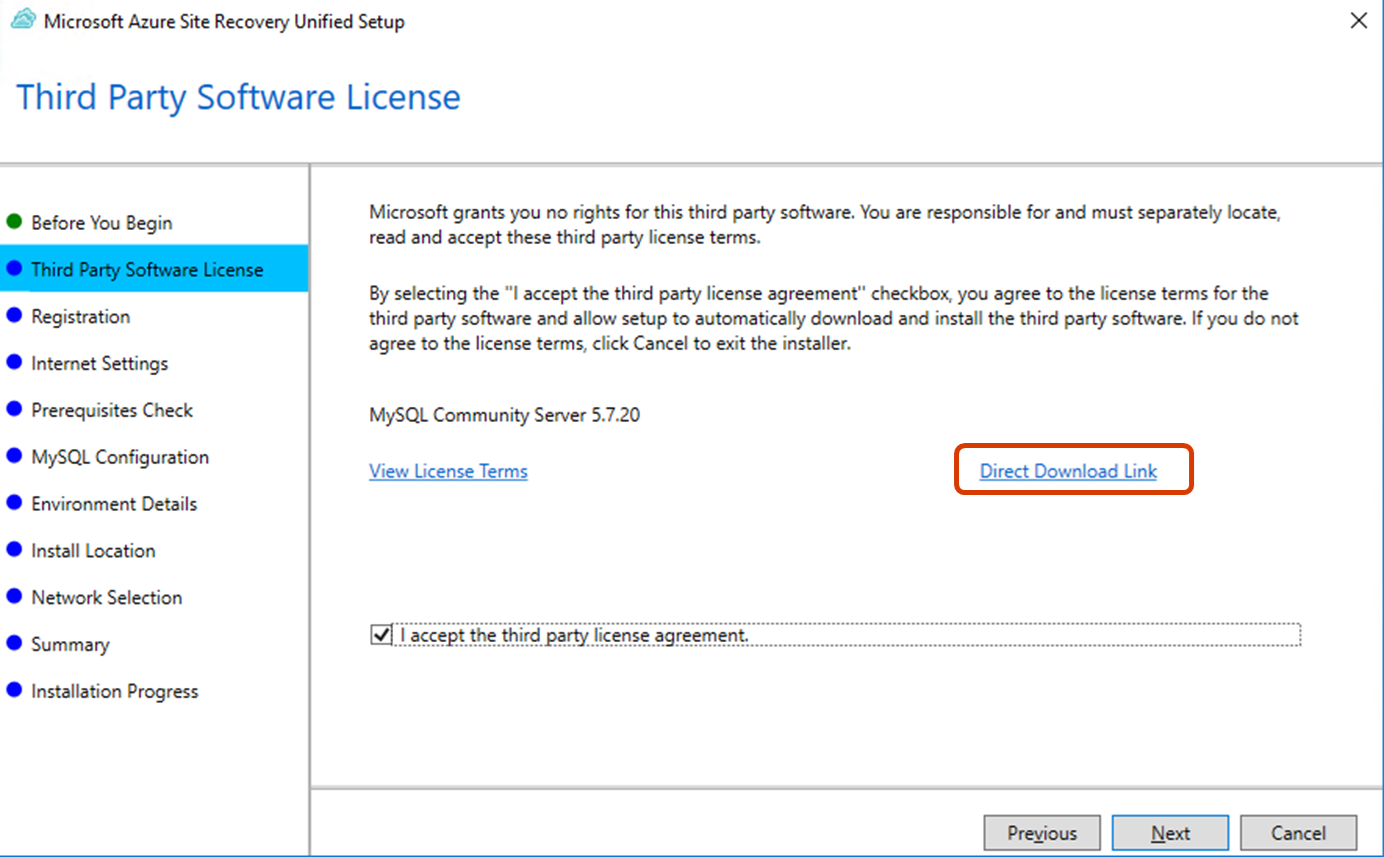
Installer needs to install MySQL. If MySQL has been installed on the PC, check "I accept the third party license agreement" and click "Next".

#3-1: If you want to install MySQL, follow the steps below.
I. Click "Direct Download Link" to download MySQL's installer.
II. Move the installer to C:\temp\ASRSetup\ (Create the folders if they don't exist)

III. Do Step 3, and the RA installer will install MySQL automatically.
=========
4. Locate the registration key(a .VaultCredentials file) that is downloaded in Part 1-Step 6.

5. To connect to Azure Site Recovery(ASR) through a proxy server, choose the second option and provide the server's information. Here I will connect to ASR directly, so I choose the upper option and click [Next].

6. The installer will verify the connection to ASR.

7. Then, the installer will check pre-requirements automatically. If there is no failure in the result, click [Next] to move on.
※Having a warning on the three items below doesn't mean failure. It just means that the performance on this PC may be lower than on PCs that meet all the pre-requirements.

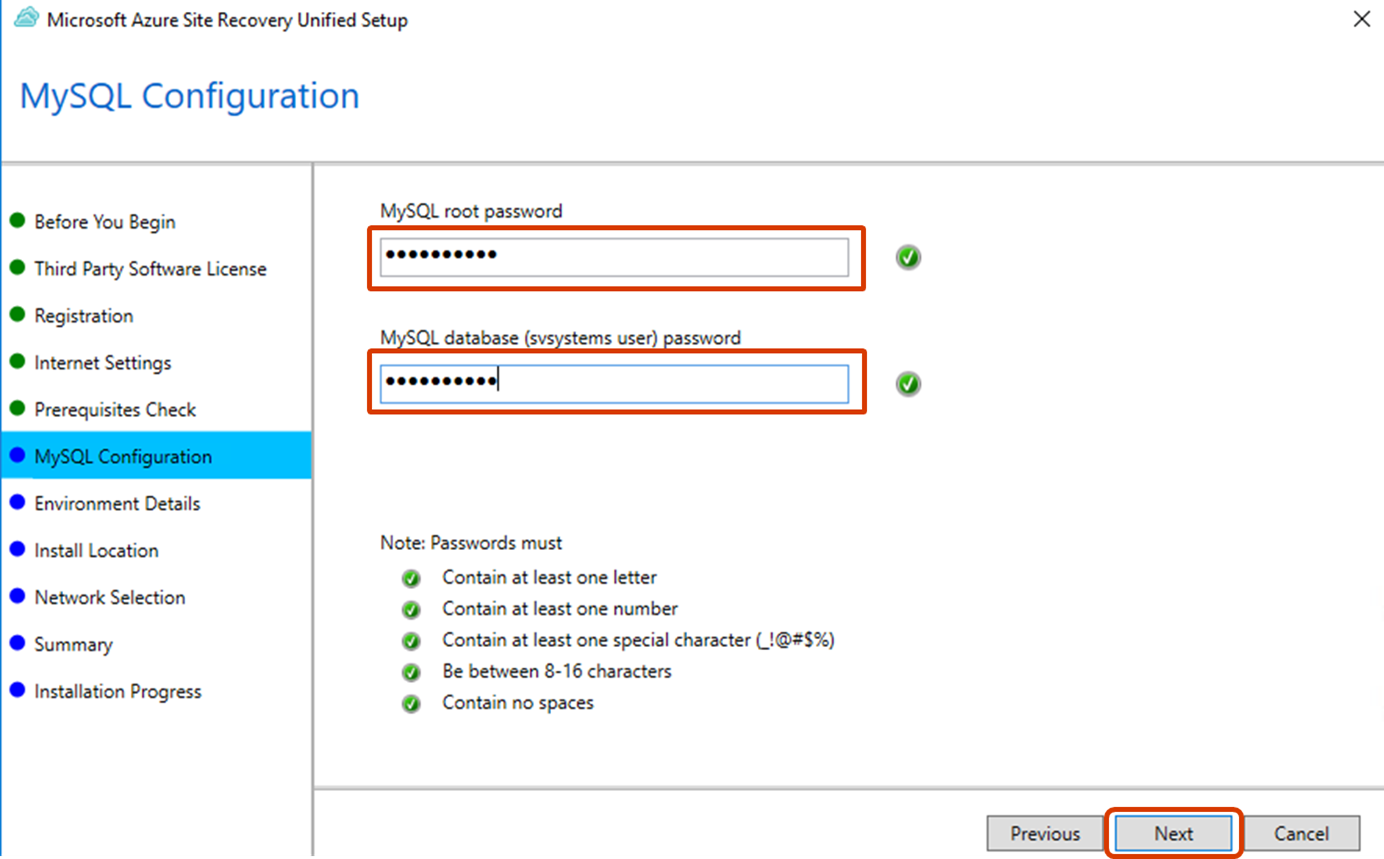
8. Set MySQL root user's password and click [Next].
9. Considering choose "Yes" when migrating a VM on VMware to Azure VM. I chose "No" this time because the source is a physical PC.

10. Set the install location and click [Next].
It still works even if the destination disk's free space is lower than 600GB, which the installer recommends, but the performance as a RA may be lower than normal.

11. Set the NIC(Network Interface Card) for each purpose. Selecting the same NIC works.

12. Click [Install]

13. It takes a few minutes(approximately over 20 minutes) to finish installing all components.
※Perhaps, it is because the PC's CPU and Memory do not meet the requirements, so it takes more time.

14. After installation is finished, click [Finish].
※Double-clicking each component's status can confirm its logs.

15. Click [Yes] to copy the Configuration Server Connection Passphrase to the clipboard.
※This Passphrase is necessary to register target PCs to Azure Migrate through this RA.

16. Create a new text file and save the passphrase.

17. After the installer is closed, the Azure Site Recovery Configuration Server's configure window will be opened automatically. The same window can be opened by double-clicking the icon named "hostconfigwxcommon."
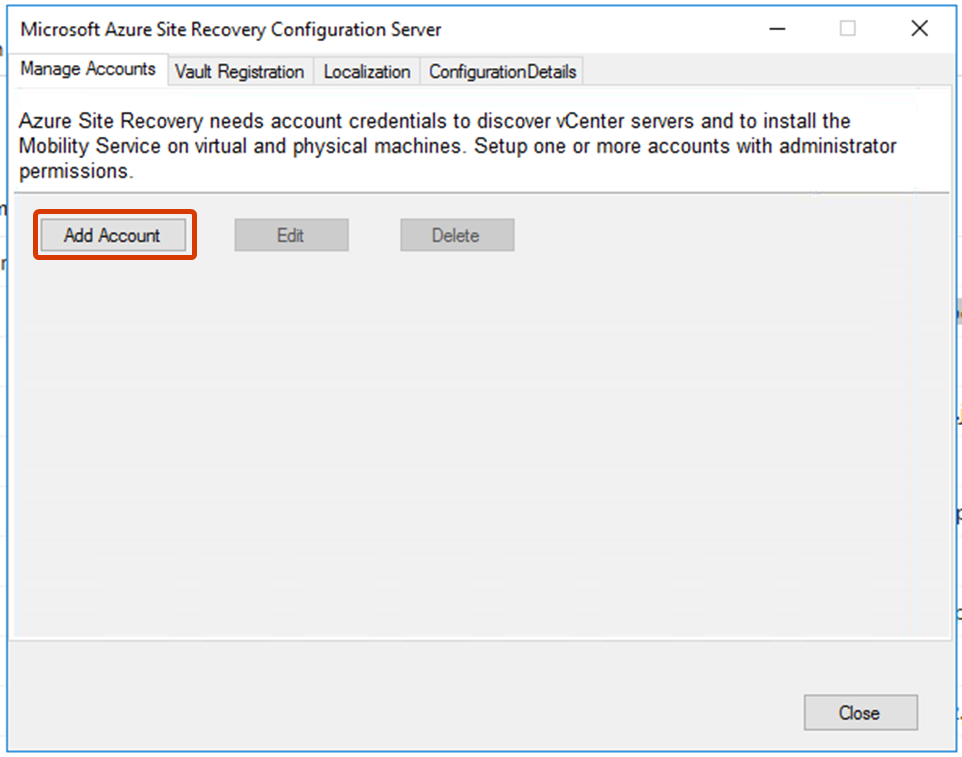
18. Create accounts (one or more) with administrator permission that can access the target PCs. (This time, I created an account)
※These accounts are necessary when replicating and migrating target PCs, and I will talk about them in the next article.

19. Click [Close] when finishing registering accounts.

It's all about installing a RA on a Windows Server PC. It is a long trip, and there will be some trouble during the installation. Azure Migrate provides troubleshooting for each part of the migration, and the solution can be found here in most cases. I will explain how to access the troubleshooting links at the end of this article.
Part 3. Check the RA status on Azure Migration
After finishing the installation of RA on the Windows Server PC, finally, we need to register the RA on Azure Migrate to complete the work.
Let's move back to Azure Migrate on Azure Portal.
-
Choose the same options in the first two boxes, as I have explained in Part 1. Then, the name of the RA(Windows Server PC) should be listed in the last box if the installation finished successfully in Part 2.
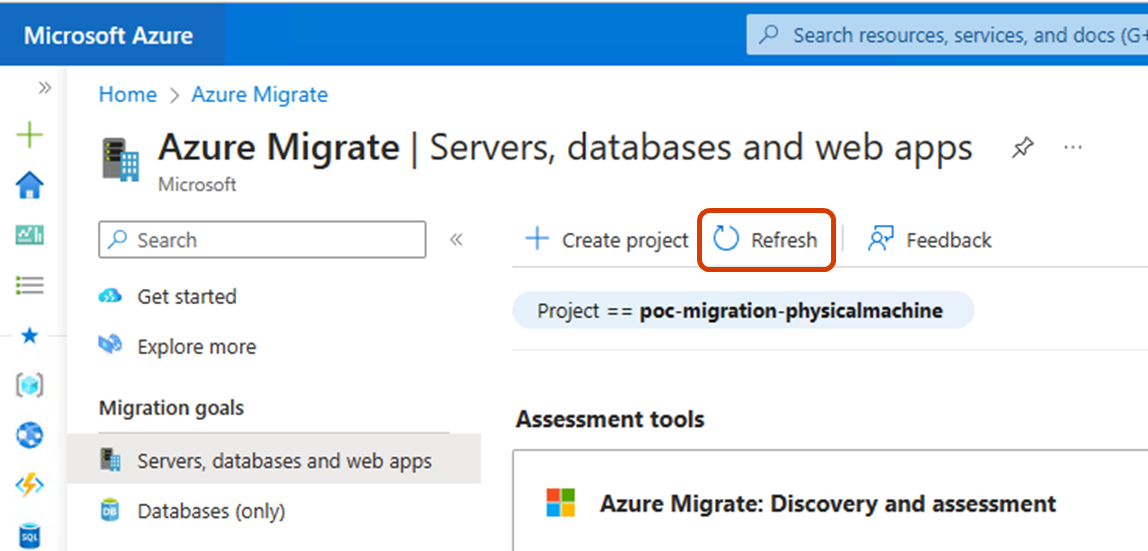
※If the name doesn't exist in the list, restart the RA(Windows Server PC), wait for about 5 minutes, and then click the [Refresh] on Azure Migrate to try again.

<Refresh icon>
3. Choose the RA(Windows Server PC)'s name and click [Finalize registration].

4. A message will be displayed next to the box if the registration is finished successfully.

All operations have been finished now. The Windows Server PC with the Replication Appliance has been appropriately connected to Azure Migration and recognized by Azure Migrate.
The next article is about how to replicate and migrate a physical PC to Azure VM through the Replication Appliance I deployed in this article.
See you next time!
Part: Troubleshooting links
Troubleshooting tips about each part of Azure Migration can be found in the links below.
