はじめに
看板を射影変換して、平面にして、そこにテキスト描いて、戻す
開発環境
- Windows 10 PC
- Python 3.9
実行
main.py
import cv2
import numpy as np
import math

ratio = 1.1
filename = "AdobeStock_344789310.jpeg"

p1 = np.array([1777, 532])
p2 = np.array([3497, 1179])
p3 = np.array([1763, 1916])
p4 = np.array([3539, 2447])

image = cv2.imread(filename)
height, width = image.shape[:2]

width2 = np.linalg.norm(p2 - p1)
width2 = math.floor(width2 * ratio)

height2 = np.linalg.norm(p3 - p1)
height2 = math.floor(height2)

src = np.float32([p1, p2, p3, p4])
dst = np.float32([[0, 0],[width2, 0],[0, height2],[width2, height2]])
M = cv2.getPerspectiveTransform(src, dst)

result = cv2.warpPerspective(image, M,(width2, height2))
cv2.putText(result,text='gachi',org=(500, 500),fontFace=cv2.FONT_HERSHEY_SIMPLEX,fontScale=10.0,color=(0, 255, 0),thickness=10,lineType=cv2.LINE_4)
# cv2.rectangle(result,(0,0),(o_width,o_height),(0,255,0),10,cv2.LINE_8)
cv2.imwrite("warped.jpg", result)

dst = np.float32([[0, 0],[width2, 0],[0, height2],[width2, height2]])
src = np.float32([p1, p2, p3, p4])
M = cv2.getPerspectiveTransform(dst, src)

image2 = cv2.warpPerspective(result, M,(width, height))
pts = np.array((p1,p2,p4,p3))
cv2.fillPoly(image, [pts], (0,0,0), lineType=cv2.LINE_8)
result = image + image2

cv2.imwrite("result.jpg", result)
| origin | result | warped |
|---|---|---|
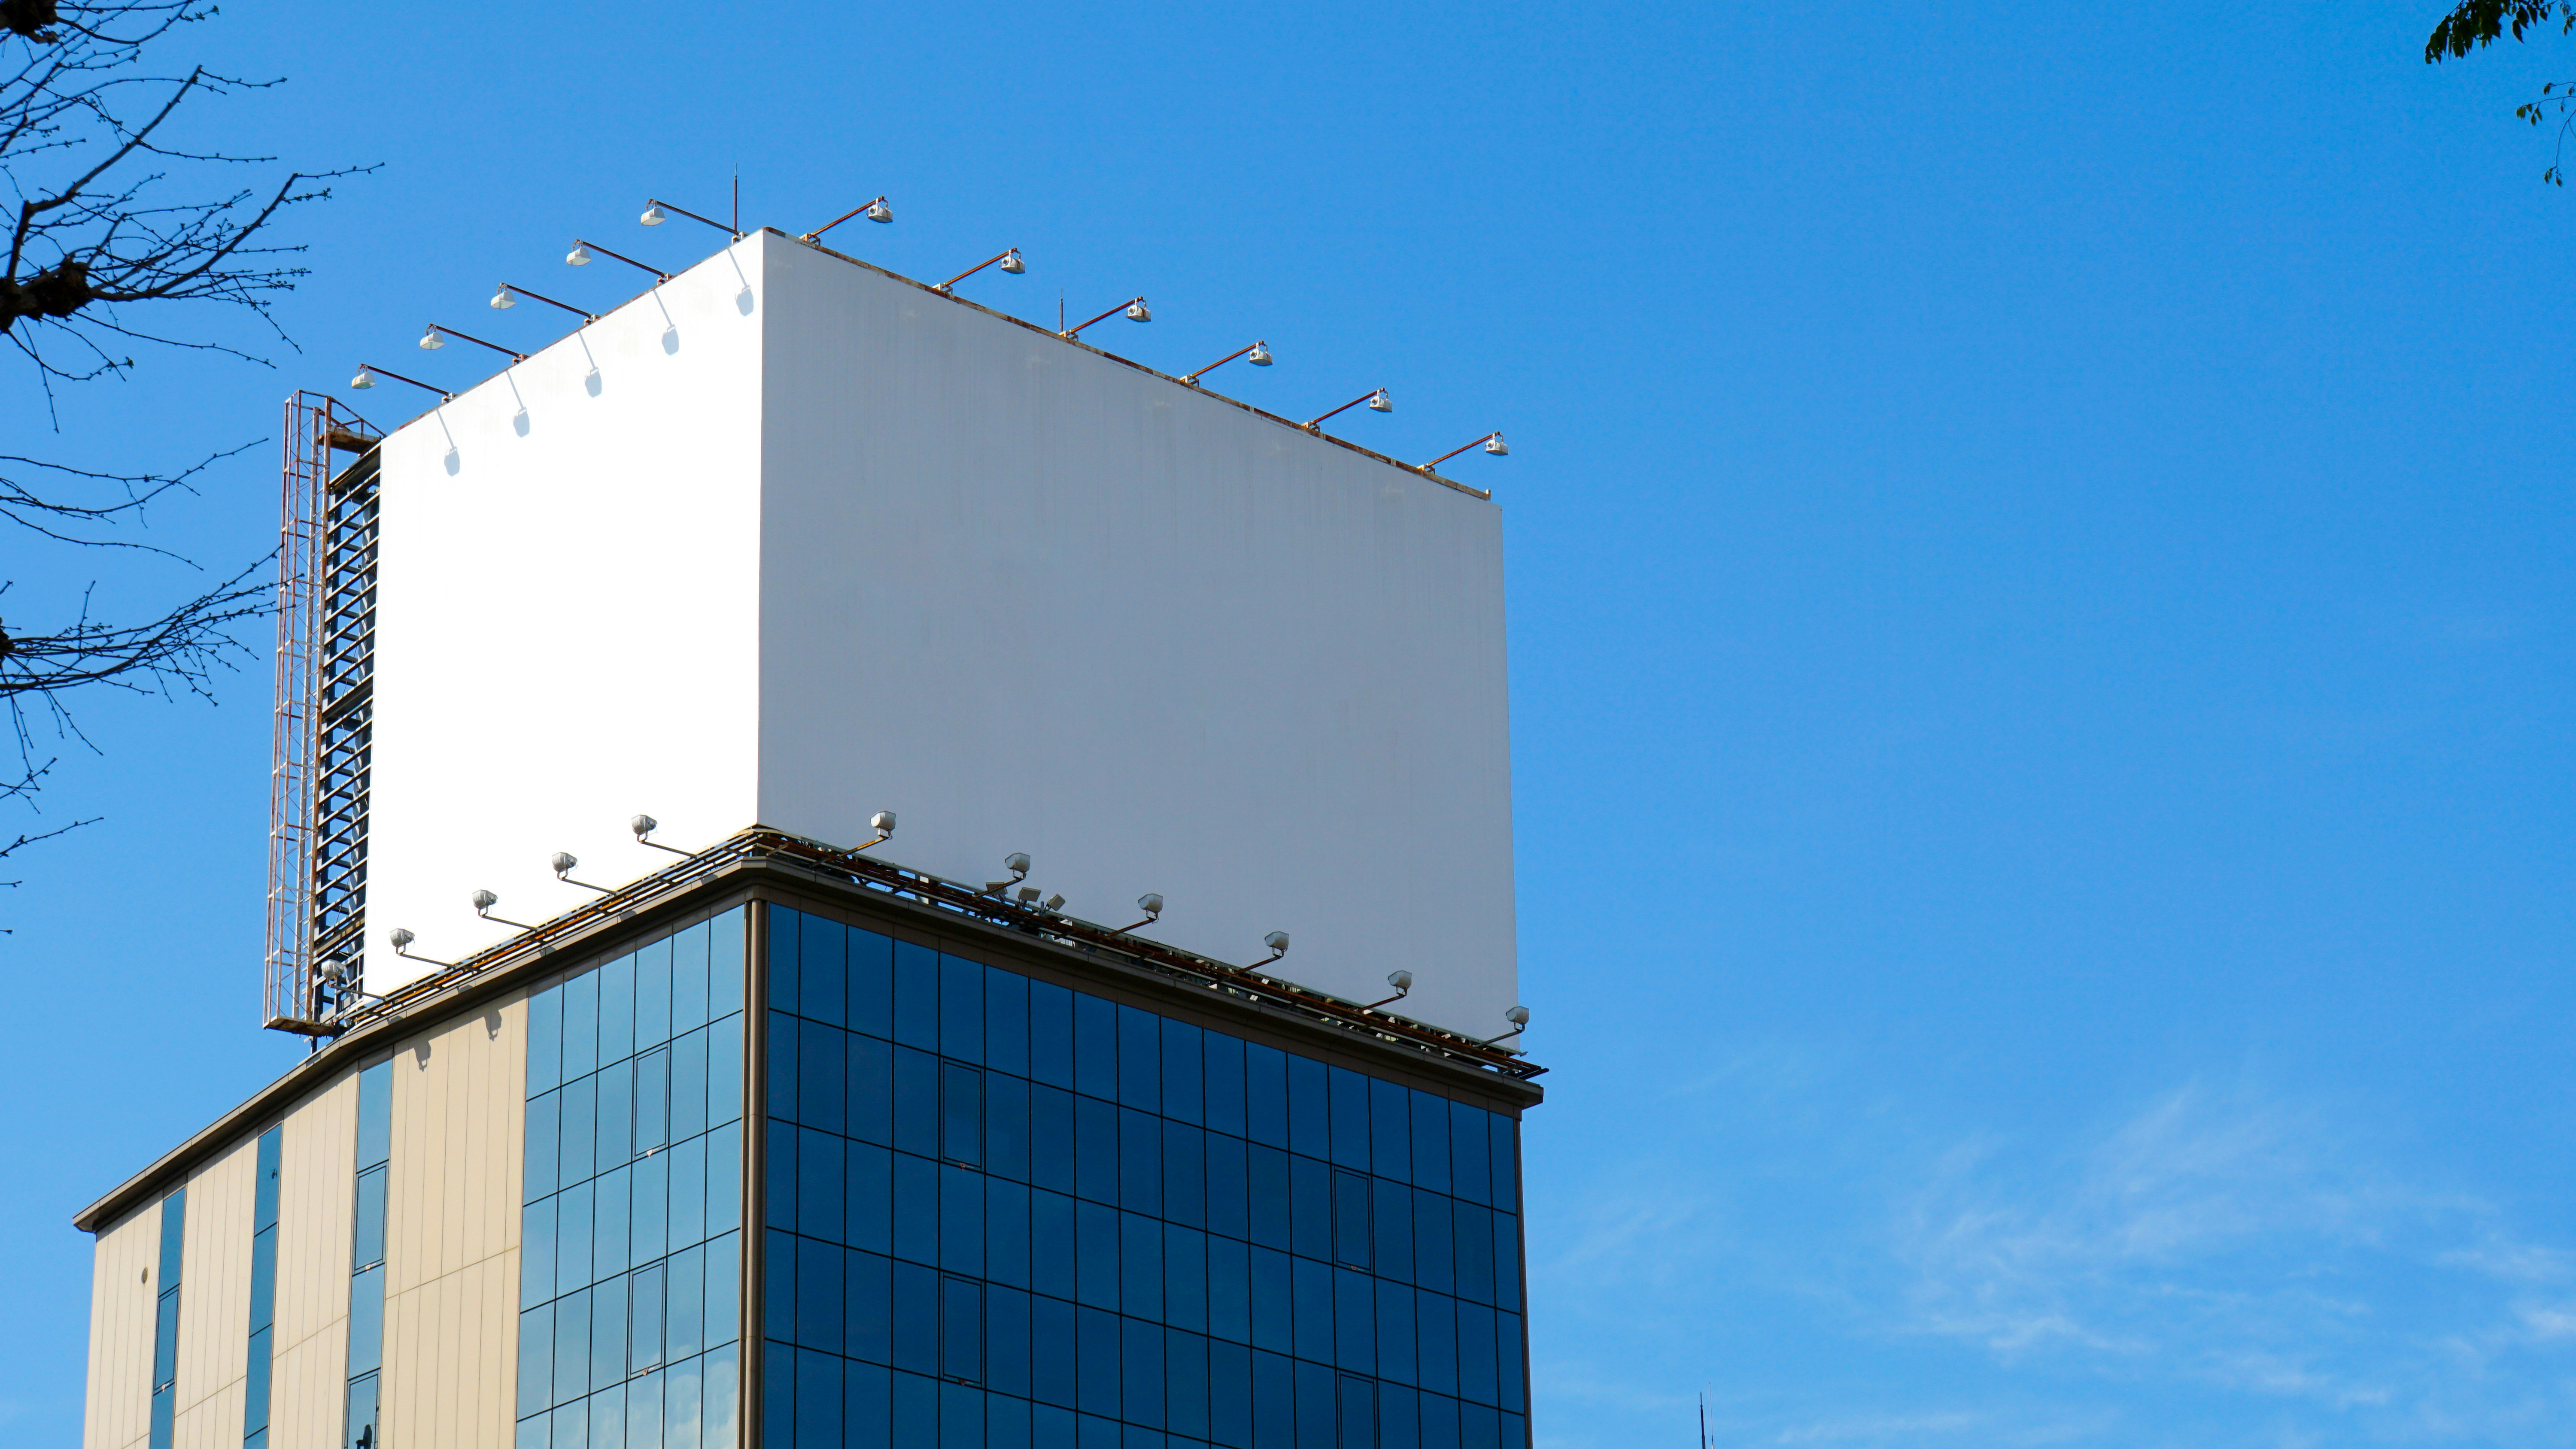 |
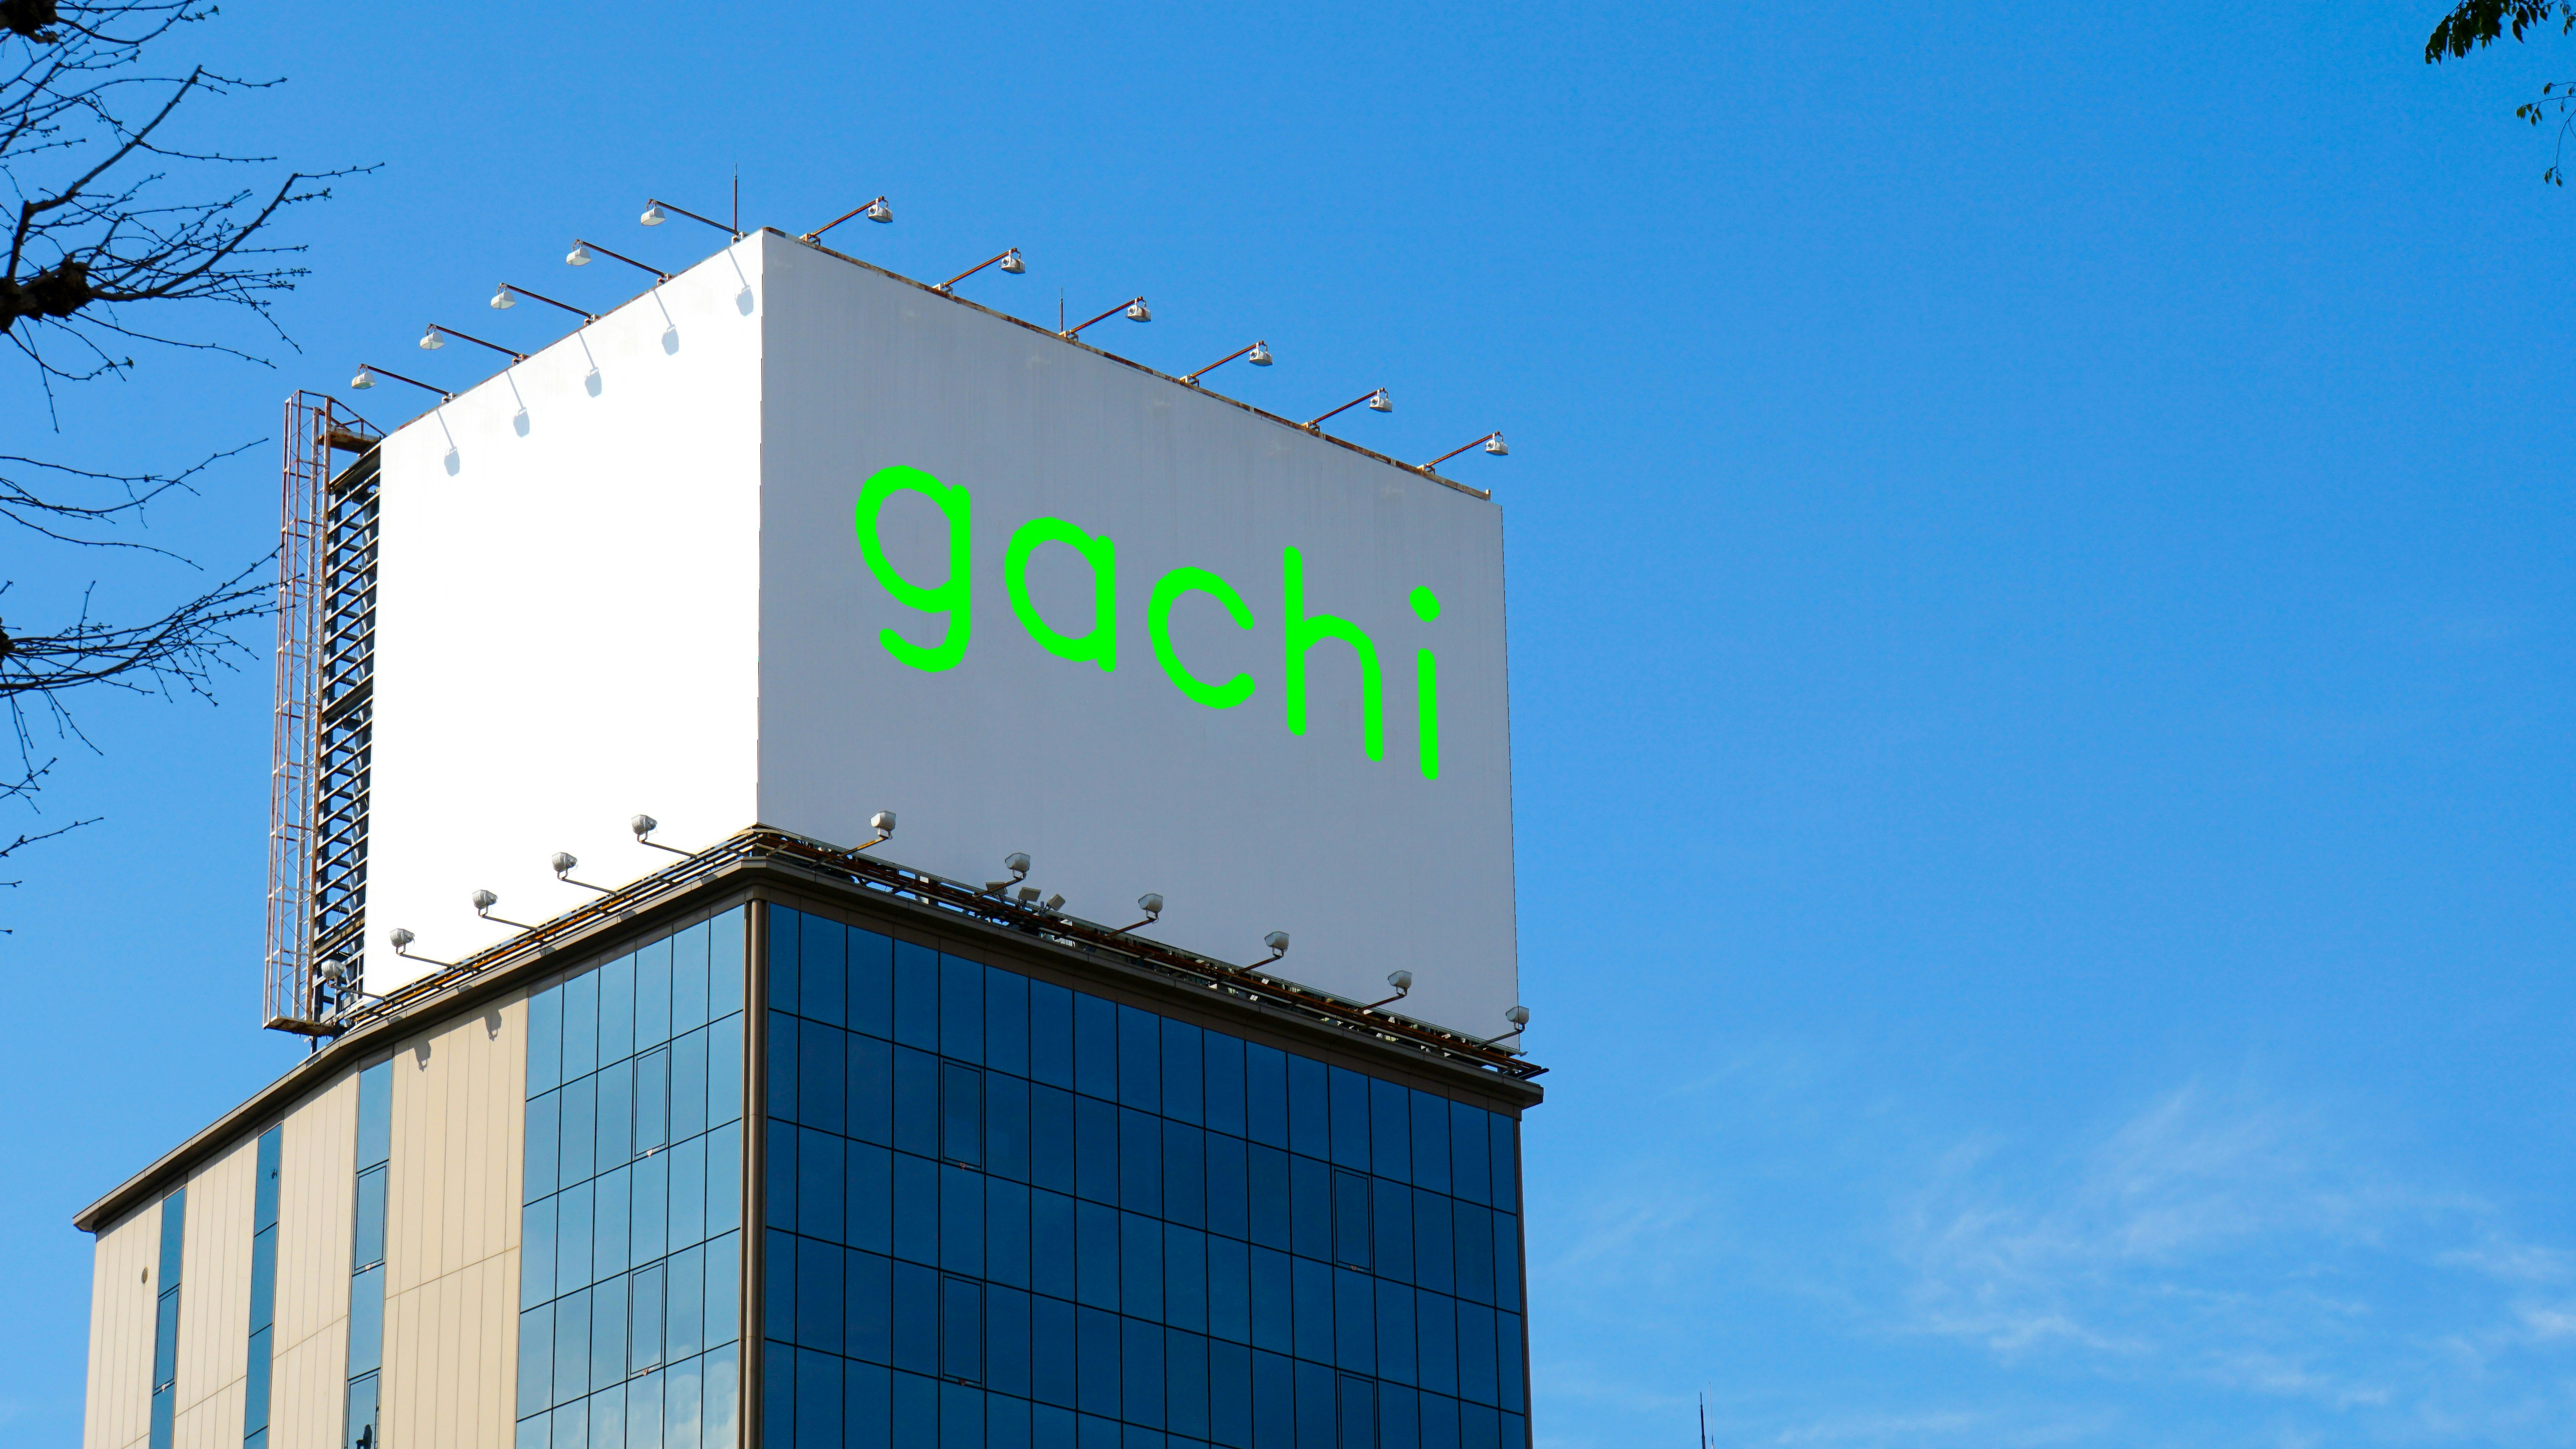 |
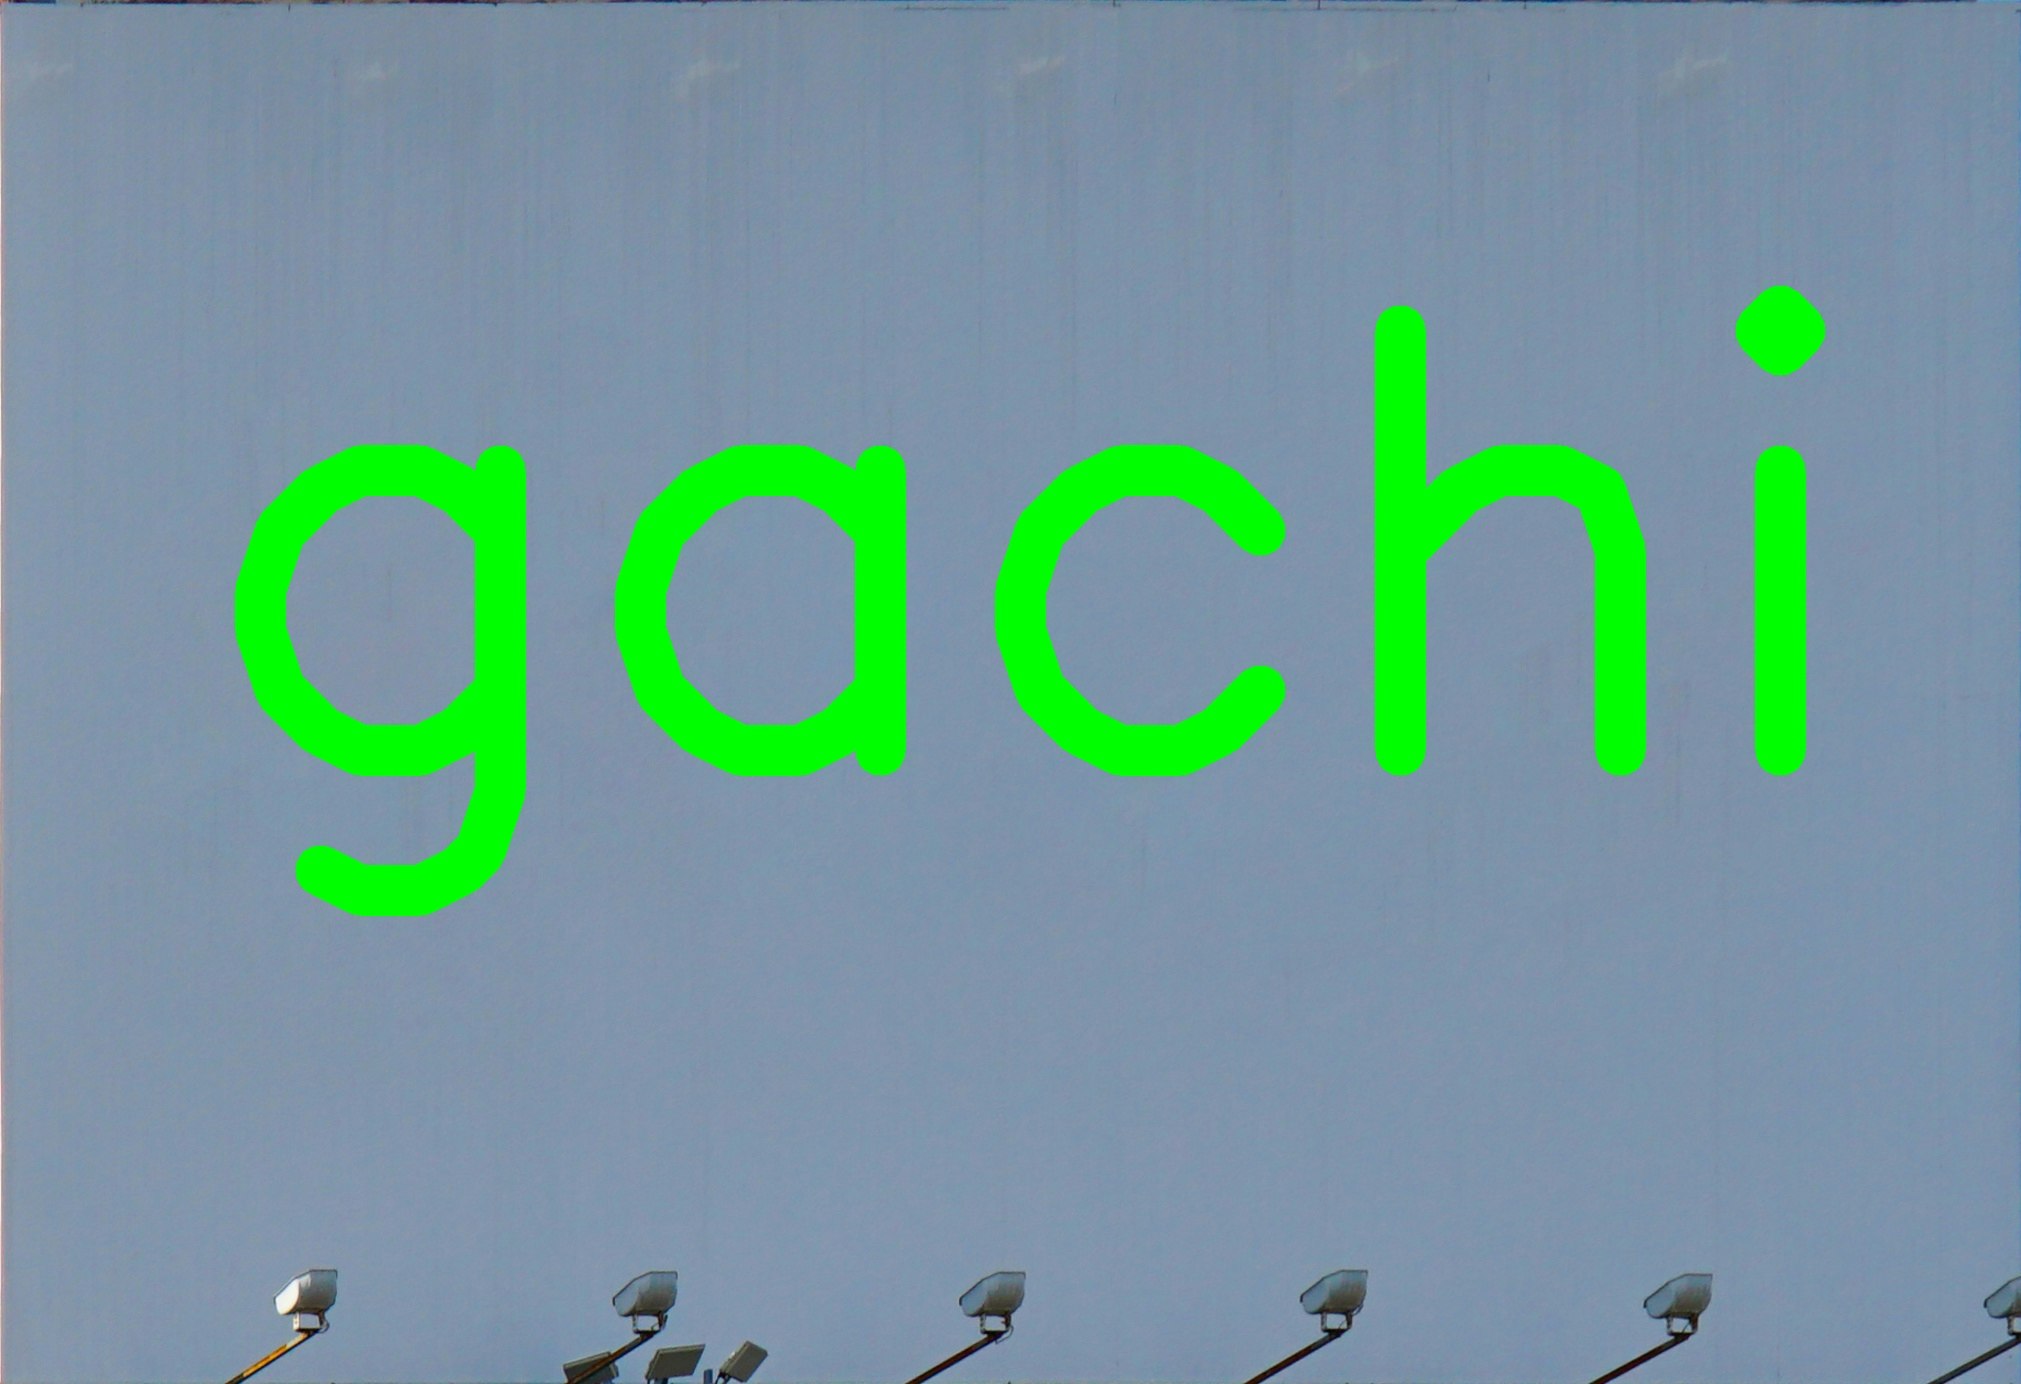 |